If you've ever tucked leftover seed packets in a drawer only to find them dead come spring, you're not alone. Most of what we hear about storing seeds boils down to "keep them cool and dark," but that blanket advice skips a critical step. The real problem isn't temperature alone.
It's moisture.
Per the USDA Agricultural Research Service, seed lifespan in storage doubles with every 1% reduction in moisture content below 12%. That single number explains why some gardeners get five years out of their tomato seeds while others barely get one. The solution isn't complicated.
It just needs a proven workflow that matches your specific seed type and storage duration. Here is how to build that system.
Quick Answer
Keep seeds in a cool, dark, dry place. Target moisture below 8%. Use airtight containers with desiccants.
Refrigerate for long-term storage. Freeze only fully dried seeds.
Why Stored Seeds Fail: Moisture, Heat, Light, and Time
Seeds are living organisms suspended in a dormant state. They stay alive by slowly burning stored energy. Four environmental factors speed up that energy burn faster than you'd think.
Moisture is the number one killer. When humidity creeps above 30 percent, seeds absorb water from the air. This triggers metabolic activity inside the seed. It starts consuming its food reserves before you even plant it.
The USDA research shows that seeds stored at 70 percent humidity lose viability up to ten times faster than seeds at 20 percent humidity. A simple silica gel packet can make that difference in your own kitchen.
Heat accelerates the damage. For every 10°F increase in storage temperature, seed lifespan roughly halves. That pantry above your stove hits 80°F on cooking days. Seeds in there are aging like they are two decades older than they really are.
The ideal range sits between 32°F and 41°F. Your refrigerator's vegetable drawer often nails this zone perfectly.
Light appears harmless but isn't. Sunlight and even artificial light can degrade the seed coat over time. Light exposure triggers germination pathways in some species. You don't want that happening inside the packet.
Opaque containers solve this instantly.
Time works against everything. Every seed has a built-in lifespan even under perfect conditions. Onion and parsnip seeds max out at about two years. Cucumbers and melons can push six.
Knowing your seed's natural expiration date helps you prioritize which varieties need using first.
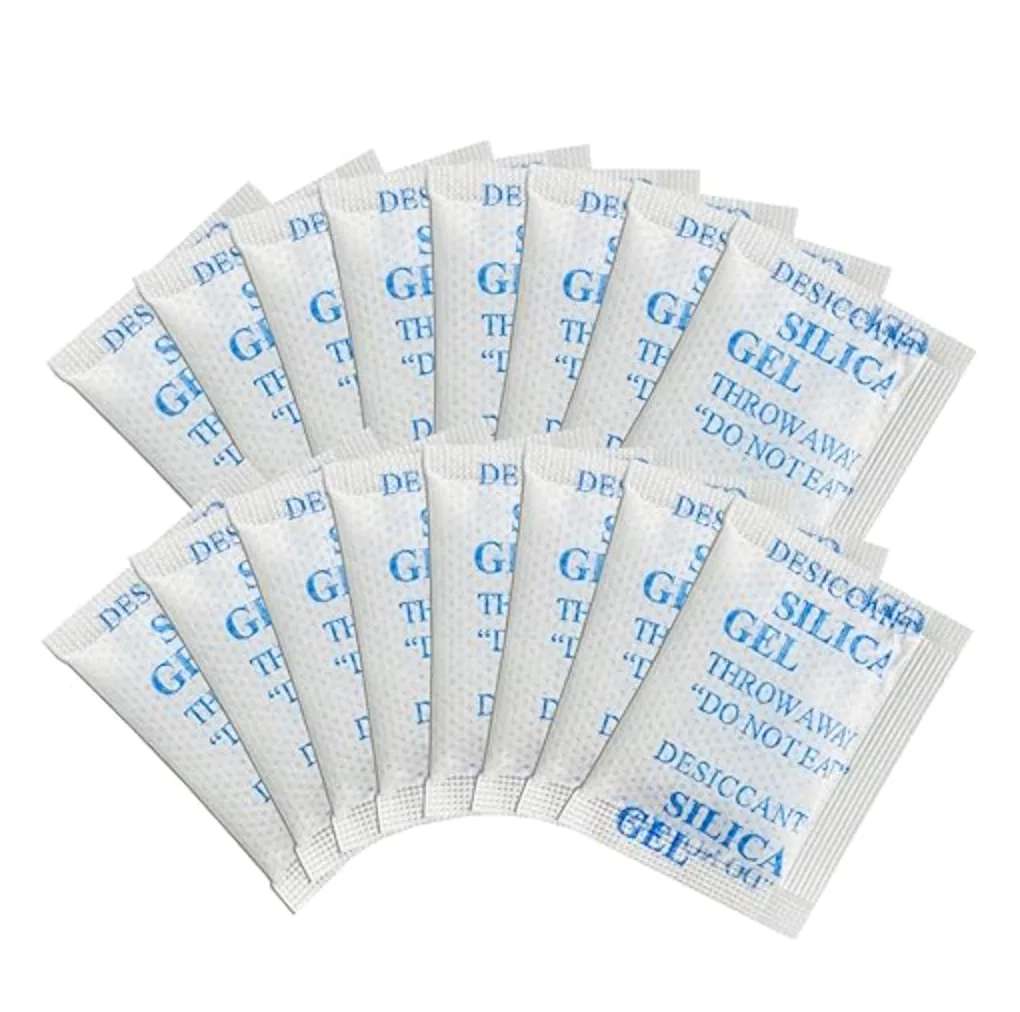
Image source: Web (Bing) / homesandgardens.com (Web image (fair-use with source credit))
The real insight here is that controlling moisture buys you the most shelf life for the least effort. A desiccant packet is cheap. A dead seed packet that cost you five dollars is not.
The 3-Question Decision Tree That Picks Your Storage Method
Most storage guides give you one generic checklist. That creates problems because a backyard gardener saving bean seeds for next year has completely different needs than a prepper building a five-year food reserve. Your storage method should change based on your actual situation.
Ask yourself three questions before you do anything else.
Question 1: How long do you need these seeds to stay viable?
- Less than six months: Room temperature storage in a paper envelope inside a drawer works fine. No special equipment needed.
- Six months to two years: Move to an airtight container with a desiccant packet. Store in a cool basement or closet away from heat sources.
- Two years to five years: Add refrigeration. A sealed glass jar or mylar bag in the fridge gives you dramatic longevity gains with minimal effort.
- Five years or more: Use a freezer and oxygen absorbers inside a moisture-proof mylar bag. You must dry the seeds to below 6 percent moisture first or freezing will damage them.
If you aren't sure about your timeline, assume the middle option. Two years of easy refrigerator storage covers almost any normal gardening scenario.
Question 2: What type of seeds are you storing?
Some seeds are naturally tough. Most brassicas, beans, peas, and squash hold their viability well. Others are sensitive.
Onions, leeks, parsley, and parsnips lose viability fast even under good conditions. Know your seed's reputation before committing to a storage plan.
The high-oil seeds are the ones that spoil first. They have more fat inside the embryo, and fat oxidizes faster than starch. Parsnips and sweet corn are notorious.
If you grow these, prioritize using them within eighteen months or freeze them under ideal conditions.
Question 3: What is your local climate like?
Humidity is your biggest enemy here. Gardeners in dry climates like the Southwest already have an advantage. Their ambient relative humidity sits low enough that simple paper envelopes work for short-term storage.
Gardeners in humid climates face a harder challenge. The Southeast, Pacific Northwest, and tropical zones routinely hit 70 percent indoor humidity. Paper envelopes are a disaster in these areas because they actively wick moisture into the seeds.
Airtight glass jars with desiccants are essential, not optional.
| Your Situation | Recommended Method | Container | Temperature |
|---|---|---|---|
| Short-term, dry climate | Room temperature drawer | Paper envelope | 60–75°F |
| Short-term, humid climate | Cool pantry with desiccant | Glass jar with silica gel | 60–75°F |
| Medium-term (1–2 years) | Basement or closet | Airtight container with desiccant | 50–65°F |
| Long-term (2–5 years) | Refrigerator | Sealed jar or mylar bag | 32–41°F |
| Very long-term (5+ years) | Freezer | Mylar bag with oxygen absorber | 0–10°F |
If you answered "fridge" and "long-term," you are in the most common situation for serious gardeners. The next section walks through exactly what containers and temperatures work for that scenario.
If you answered "freezer," pay close attention to the drying step. Freezing seeds that are even slightly damp will kill them. The moisture expands into ice crystals that rupture cell walls.
Matching Containers and Temperatures to Your Storage Timeline
Your container choice matters almost as much as your temperature choice. The wrong container can undo all your careful planning in a single humid afternoon.
Paper envelopes are for short-term use only. They breathe, which means they equalize humidity with the room. That works fine for three to six months in a dry climate. In a humid environment, that breathing property is a liability.
Your seeds slowly absorb moisture every time the air gets damp.
Glass Mason jars are the best all-rounder choice. They are airtight when sealed properly. They are reusable, cheap, and stack neatly in a refrigerator. The only downside is light exposure.
Store them inside a cardboard box or in a dark space to block light.
Mylar bags are ideal for long-term freezer storage. They block light completely. They seal airtight with a household iron or heat sealer. Add an oxygen absorber inside before sealing for maximum longevity.
The oxygen absorber stops oxidation of oils inside the seed.
Plastic zipper bags are fine for a week or two. Do not rely on them for longer storage. The zipper seal is rarely completely airtight, and thin plastic allows moisture migration over time.
Temperature is simpler than most guides make it sound. You have three practical zones.
Room temperature (60, 75°F): Acceptable for up to one year. Germination rates will drop gradually, but most seeds stay usable. Keep containers away from windows, stoves, and heating vents.
Refrigerator temperature (32, 41°F): The sweet spot for most home gardeners. This roughly doubles the lifespan compared to room temperature. The vegetable drawer provides stable humidity.
Just make sure your container is sealed so condensation doesn't form inside.
Freezer temperature (0, 10°F): Best for seeds you plan to keep for five years or more. The trade-off is risk. Freezing damp seeds destroys them.
Freezing correctly dried seeds preserves them beautifully. The UK's Millennium Seed Bank at Kew Gardens uses cold storage at -4°F for their collection. That is the gold standard for very long retention.
The Step-by-Step Seed Storage Workflow: Dry, Seal, Label, Chill
Now we move from theory to action. This is the exact four-step process that seed banks and master gardeners follow. Each step builds on the one before it.
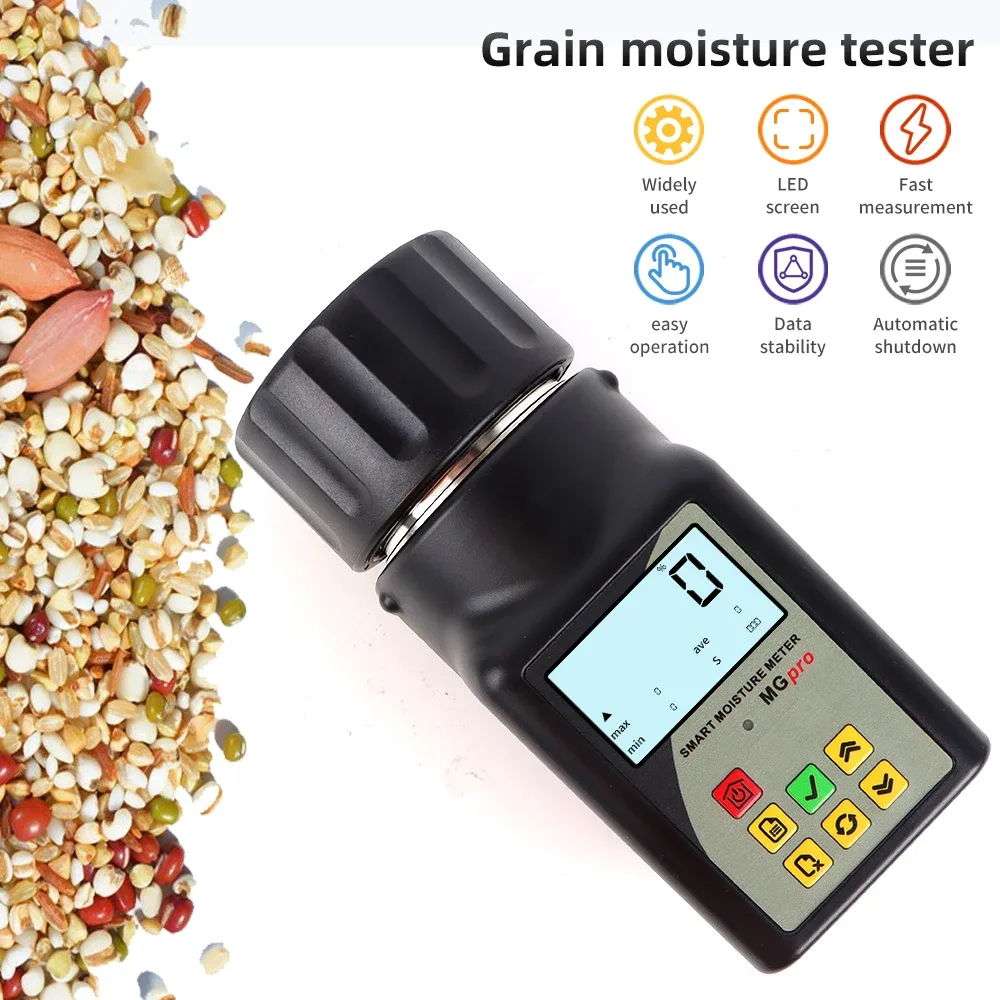
Image source: Web (Bing) / aliexpress.com (Web image (fair-use with source credit))
Step 1: Dry the seeds thoroughly.
This is the most critical step and the one most people skip. Harvested seeds from your garden still contain internal moisture. Even store-bought seeds can absorb moisture from the air between the packet and your container.
Spread seeds on a screen or a paper plate in a single layer. Leave them in a warm, dry, well-ventilated room for one to two weeks. Turn them daily.
Do not use an oven or microwave. The heat kills seeds.
How do you know they are dry enough? Take one seed and try to snap it with your fingernail. A properly dry seed breaks cleanly.
A damp seed bends or squishes. For high-value seeds, a moisture meter gives a precise reading. The target is 5 to 8 percent moisture for most species.
Step 2: Seal them in the right container.
Place the completely dry seeds inside your chosen container. Add a silica gel desiccant packet if you are using glass jars. The University of Minnesota Extension recommends including 5 grams of silica gel per quart container.
Oxygen absorbers are optional for refrigerator storage but essential for freezer storage.
Seal the container immediately. Do not leave it open while you label other jars. Every second of exposure to humid room air adds moisture.
Step 3: Label clearly and completely.
You will forget what is in that jar by next year. Write the following on a piece of paper tape or a waterproof label:
- Seed type and variety (e.g., "Tomato, Cherokee Purple")
- Harvest year (e.g., "2025")
- Estimated germination rate (e.g., "85%")
- Storage date (e.g., "Stored Oct 2026")
Place the label on the container itself. Do not rely on the lid. Lids get swapped between jars.
Step 4: Chill or freeze immediately.
Move the sealed container to your chosen storage location. Do it right away. Every hour at room temperature reduces shelf life.
For refrigerator storage, keep containers in the main compartment, not the door, where temperature fluctuates.
If you are freezing, wait twenty-four hours before opening the freezer door. Let the container stabilize. When you take seeds out later, let the container reach room temperature before opening it.
This prevents condensation from forming on the cold seeds inside.
Seed Storage Mistakes That Quietly Kill Germination
Most failed seed storage comes down to a few predictable errors. These are the ones we see in gardener forums, seed swap groups, and extension service questions year after year.
Mistake 1: Storing seeds in the garage or shed.
The temperature swings in an unconditioned garage are brutal. Summer heat can hit 120°F inside a metal shed. That single season can drop germination rates by 50 percent or more.
Mistake 2: Opening the freezer bag before it thaws.
This is the fastest way to destroy frozen seeds. Cold seeds are brittle. The moment you open the bag, warm humid air rushes in and condenses on the seed surface.
That moisture gets absorbed instantly. Thaw the entire sealed container to room temperature first.
Mistake 3: Reusing damp containers from the garden.
Containers that held soil or damp leaves can introduce mold spores. Always wash and thoroughly dry containers before storing seeds. Glass jars need to be bone dry inside.
Mistake 4: Storing different seed types together.
Mixing seeds in one container seems efficient. It is not. Different seeds have different moisture requirements.
High-oil seeds can transfer moisture to other seeds. One batch with higher moisture content can compromise an entire jar.
Mistake 5: Assuming old seeds are dead without testing.
Seeds that germinate at 40 percent are still usable. You just need to plant them a bit thicker. Do not throw away old seeds until you test them.
The next section shows you how to test them properly in under ten minutes.
How to Test Old Seeds in 10 Minutes Before You Plant Them
You do not need fancy equipment to check if your stored seeds are still alive. A damp paper towel and a plastic bag tell you everything. This simple germination test saves you from wasting time, soil, and hope on seeds that will never sprout.
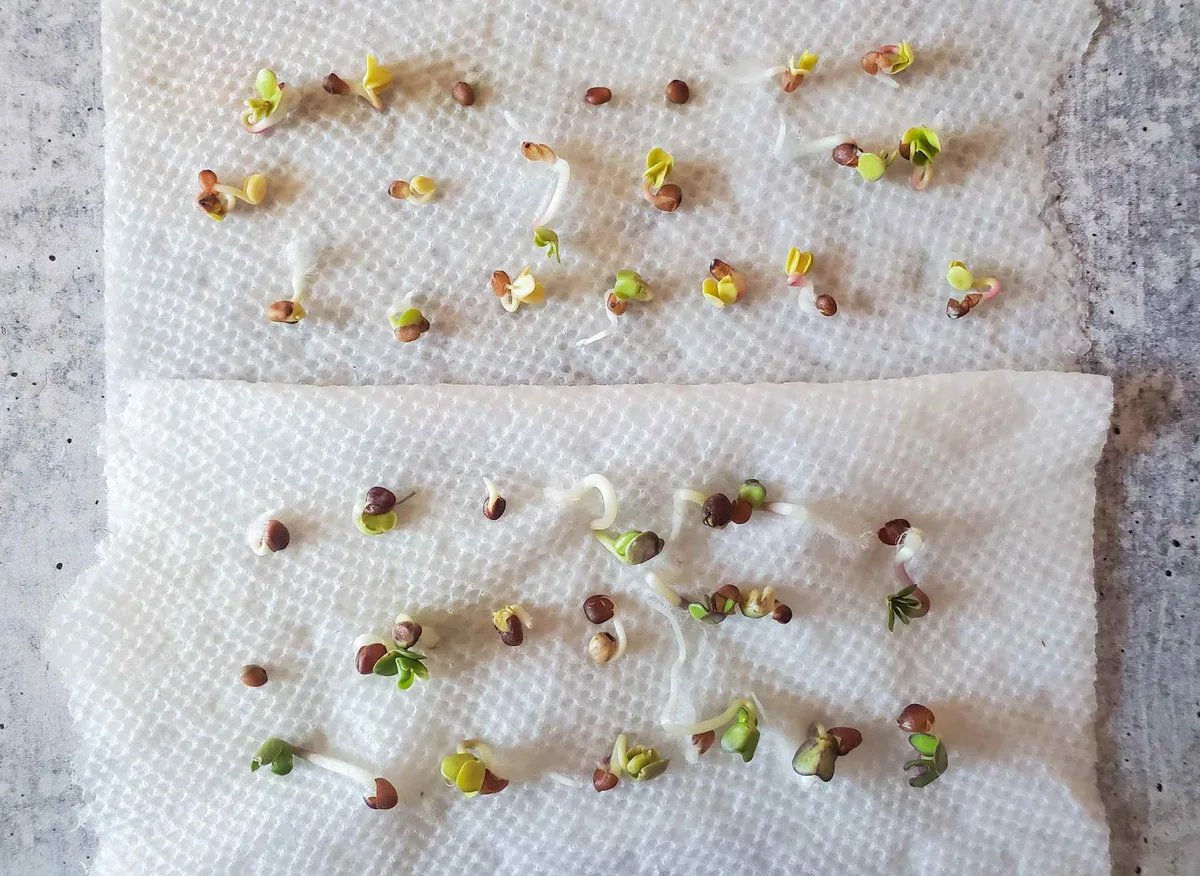
Image source: Web (Bing) / mumble.nationalgeographic.com (Web image (fair-use with source credit))
Count out ten seeds from the batch you want to test. Lay them evenly spaced on a damp paper towel. Fold the towel over the seeds and slide it into a plastic bag.
Seal the bag and place it somewhere warm, around 70 to 75°F. A kitchen counter works fine.
Check the seeds every 24 hours. Most vegetables germinate within 3 to 7 days. Count how many seeds sprout.
Multiply that number by 10 to get your germination percentage. If eight out of ten seeds sprout, you have an 80 percent germination rate.
Interpreting your results is straightforward.
- Above 80 percent: Your storage method is working perfectly. Plant normally.
- 50 to 80 percent: Plant seeds a bit thicker than usual to compensate.
- Below 50 percent: The batch is still usable for a small patch or for microgreens. But consider replacing it for main-season planting.
Different seeds take different times to sprout in a test. Lettuce and brassicas often show roots within 48 hours. Peppers and parsley can take a full two weeks.
Check the variety's typical germination time and wait long enough before calling it quits.
This test also reveals hidden problems. Mold on the paper towel means your storage container had moisture issues. Soft mushy seeds that never sprout indicate the seeds were too old or stored too warm.
Use that information to adjust your process next season.
A quick note on large seeds like beans and corn. Test these in a shallow tray of damp sand or vermiculite instead of a paper towel. The roots of large seeds tend to tangle in the fibers.
That makes counting difficult and damages the sprout.
Frequently Asked Questions
Can I store seeds in the original paper packets?
Yes, for short-term storage up to six months. The paper breathes, which helps in dry climates. For longer storage, transfer seeds to an airtight container with a desiccant packet.
Paper packets in humid air slowly wick moisture into the seeds.
How long can seeds last in the refrigerator?
Most vegetable seeds stay viable for 3 to 5 years in a sealed container in the fridge. Onion and parsnip seeds are exceptions. They max out at about 18 months.
The key is the airtight seal. Condensation inside the jar is your enemy.
Should I freeze seeds for long-term storage?
Freeze only seeds dried to below 6 percent moisture content. Any internal moisture forms ice crystals that rupture cell walls. Dried properly in a sealed mylar bag with an oxygen absorber, most seeds last 10 years or more in a freezer.
Do silica gel packets expire?
Yes. Silica gel packets saturate over time and stop absorbing moisture. You can recharge them by baking in a 200°F oven for one to two hours.
Let them cool in an airtight container before reuse. Replace them when they feel heavy or clumpy.
Can I store different seed types in the same container?
Not recommended. Different seeds have different moisture content and oil levels. High-oil seeds like brassicas can transfer moisture to dryer seeds.
Store each variety in its own labeled container for best results.
How do I know if my storage container is truly airtight?
Fill the container with water, seal it, and turn it upside down over a sink. Any leak shows as a drip. Dry the container thoroughly before using it for seeds.
Glass jars with rubber gaskets pass this test reliably.



