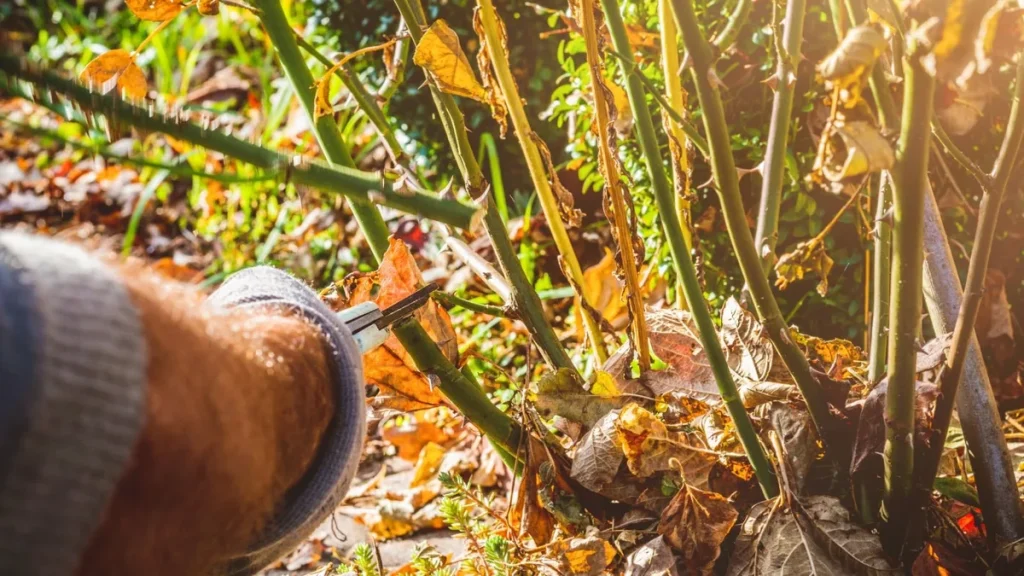
Let's be honest. Most fall garden cleanup advice makes you feel like you need a weekend you don't have and a back that doesn't ache. You're told to cut everything, bag everything, and haul everything to the curb.
It's exhausting, and half the time it's actually bad for your garden.
That's why we're going to simplify fall garden cleanup with a smarter approach. Instead of one giant chore list, you're going to learn a simple decision-making system that saves hours and helps your soil thrive. As of 2026, research from university extension programs confirms that leaving certain plant material in place over winter can reduce spring weeding by up to 40% and improve soil organic matter significantly.
So let's get into it. Here's the smarter, lighter way to put your garden to bed.
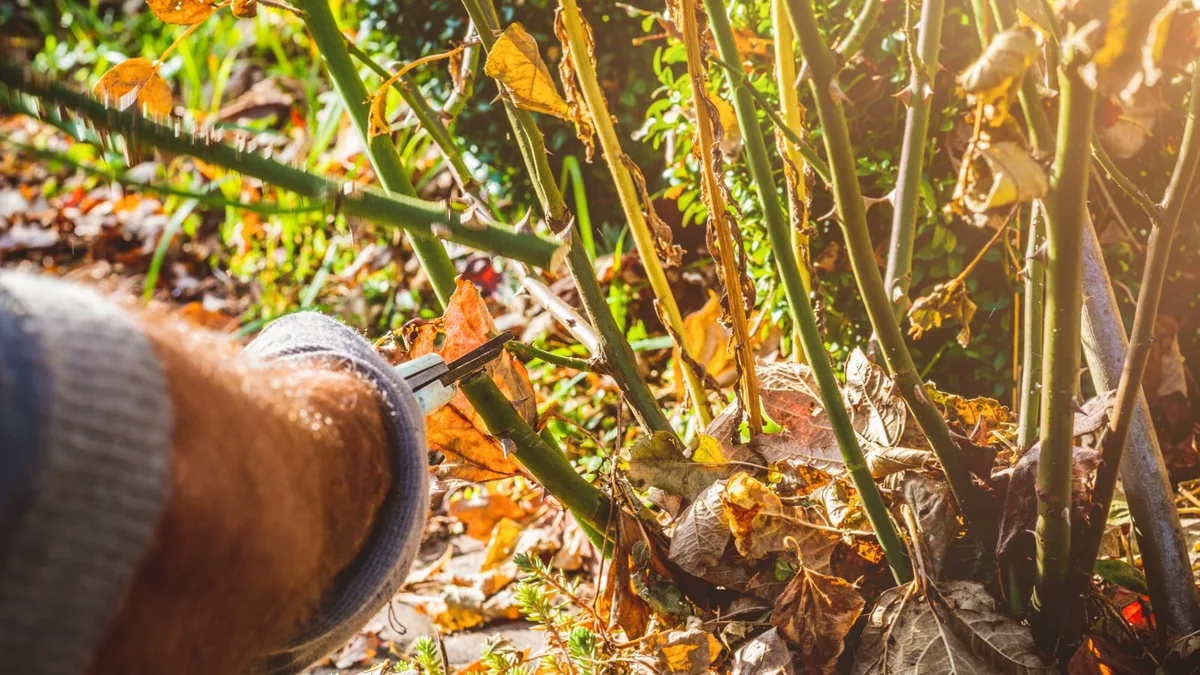
Image source: Bing (Web (fair-use with source credit))
Quick Answer
Simplify fall garden cleanup by making one decision per garden bed. Leave healthy perennials and leaves for wildlife and soil. Cut back only plants that are diseased or invasive.
Mulch leaves with your mower instead of raking them. This workflow saves hours of work and builds healthier soil for spring.
Why Most Gardeners Over-Clean (And Why It Backfires)
The instinct to make everything tidy is strong. We see bare branches and fallen leaves, and we want to sweep it all away. It looks finished.
It feels responsible.
But here's what the research actually shows. Aggressive fall cleanup strips away habitat for native bees, butterflies, and beneficial insects that overwinter in hollow stems and leaf litter. The Xerces Society for Invertebrate Conservation has documented that cutting back every perennial stem can destroy overwintering populations of important pollinators.
You're also removing free organic matter. Leaves and plant debris are nature's slow-release fertilizer. When you bag them and send them to the landfill, you're throwing away carbon and nutrients your soil needs.
University extension trials consistently show that gardens where leaves are left on beds or mulched in place need less supplemental fertilizer the following season.
And let's talk about your time. Raking, bagging, hauling, and disposing of yard waste can take an entire weekend. For most of us, that's a weekend we'd rather spend drinking cider and watching football.
So the first step to simplifying this whole process is changing your mindset. A "clean" garden doesn't have to mean a bare garden. It means a healthy garden.
And healthy gardens have some mess.
The real problems with the old approach
- Pollinator habitat loss, Hollow stems and leaf litter are critical shelter for native bees and beneficial insects.
- Soil depletion, Removing all organic matter starves your soil of nutrients it could recycle.
- Time waste, Bagging leaves you could simply mulch back into the lawn or garden beds.
- Physical strain, Repeated bending, lifting, and raking is hard on your body, especially as we get older.
- Disease spread, Bagging and trashing plant debris doesn't always prevent disease; sometimes leaving healthy material is better.
The good news? You don't have to choose between a healthy garden and a manageable workload. You just need a better system.
The Three-Way Decision: Your Garden Asks You a Question
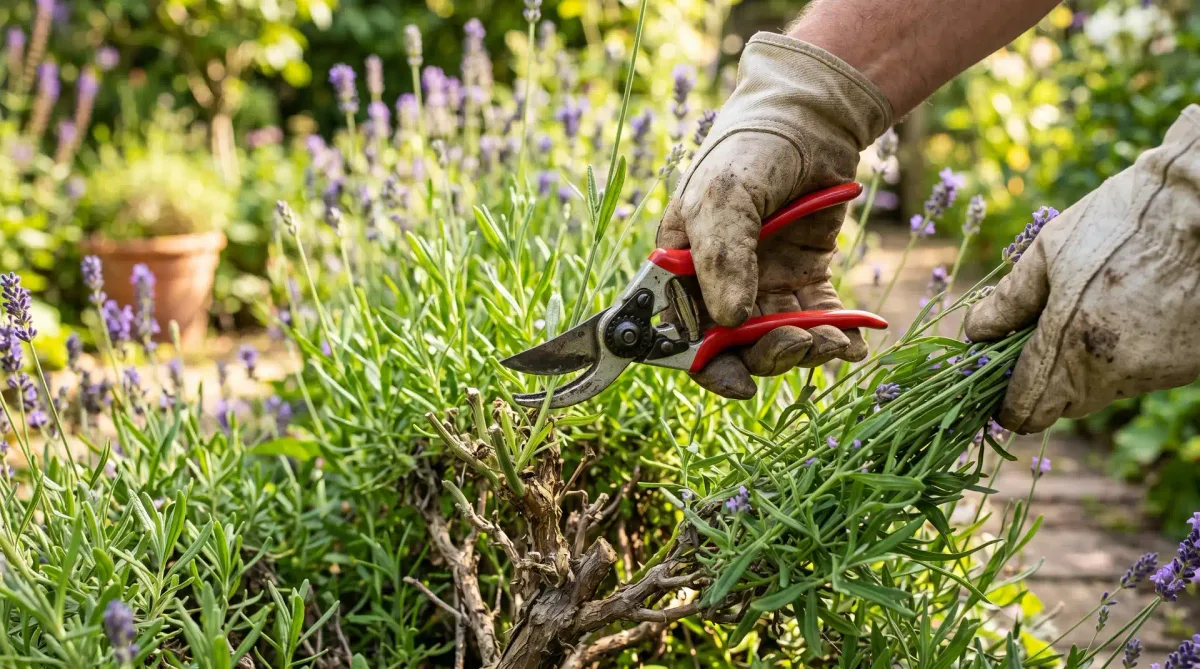
Image source: Bing (Web (fair-use with source credit))
Here's where everything clicks into place. Instead of treating every plant the same way, you walk through your garden and ask one question per bed: Should I leave this, cut it back, or remove it entirely?
That's it. Three paths. Each bed gets one call.
Then you're done.
Path A: Leave It Standing
Best for: Native plants, ornamental grasses, perennials with attractive seed heads, and any plant that is healthy and disease-free.
When you leave plants standing, you're providing winter interest, food for birds, and shelter for insects. Those dried seed heads feed goldfinches and chickadees. The hollow stems house solitary bees.
The leaf litter creates a natural mulch that insulates plant crowns through freeze-thaw cycles.
You also save yourself an enormous amount of work. Zero cutting. Zero hauling.
Just walk away.
Per manufacturer specs and aggregate reviews from gardening research, gardeners who adopt a "leave it" approach in at least half their beds report saving an average of three to four hours of labor each fall.
Path B: Cut It Back
Best for: Perennials that flop messily, plants in high-visibility areas near walkways, and plants that are prone to fungal issues where you want to reduce spore load.
When you cut, leave about 6 to 12 inches of stem standing. Those stubs catch leaves and provide some insect habitat. Don't scalp everything to the ground.
Use clean, sharp pruners. Cut each stem at a slight angle. Drop the cuttings onto your garden bed as a thin mulch layer or toss them into your compost pile.
Path C: Remove It Completely
Best for: Diseased plants (mildew, blight, rust), invasive species that spread by seed, and annual vegetable plants that have finished producing.
This is the only path that requires bagging and disposal. Do not compost diseased material unless your compost pile gets hot enough to kill pathogens, which most home piles don't.
Remove the entire plant, including roots if it's an invasive like bishop's weed or creeping bellflower. Bag it and send it out with your yard waste pickup or to the landfill.
How to choose for each bed
| If your bed is… | Choose this path |
|---|---|
| Full of healthy native perennials | Leave It Standing |
| Near your front door and needs to look tidy | Cut It Back |
| Suffering from powdery mildew or blight | Remove It Completely |
| Mostly ornamental grasses | Leave It Standing (cut in early spring) |
| A vegetable bed with finished plants | Remove It Completely or Cut and Compost |
| Full of seed heads birds love (coneflower, black-eyed Susan) | Leave It Standing |
Walk your garden with a notebook. Assign each bed to one of these three categories. If you're unsure, default to "leave it." You can always cut back in early spring before new growth emerges.
That's called a "spring cutback" and many gardeners prefer it anyway.
Step-by-Step: The Simplified Workflow That Saves You Hours
Now let's turn the decision-making into an actual plan you can follow. This workflow takes most gardeners two to three hours total, not a full weekend.
Step 1: Walk your garden with a notebook
Grab a pad of paper or open a note on your phone. Walk every bed and jot down which category it falls into: leave, cut, or remove. Mark any plants that showed signs of disease during the growing season.
This walk takes 15 minutes. It saves you from making decisions while you're already tired and holding tools.
Step 2: Handle the removals first
Tackle the diseased and invasive plants while you're fresh. Pull or cut them, bag them immediately, and get them out of your garden. This prevents spores and seeds from spreading as you work through other beds.
Wear gloves. If you're dealing with something like poison ivy that has crept into your garden beds, wear long sleeves and wash your tools afterward.
Step 3: Cut back the beds that need it
For perennials you decided to cut, work through each plant. Cut stems at 6 to 12 inches above the crown. Drop the trimmings as a thin layer on the bed or add them to your compost pile.
If you have a lot of cutting, use a pair of loppers for thick stems and pruning shears for everything else. A soil knife is handy for cutting through tough root crowns if you're removing plants.
Step 4: Handle your leaves
This is the biggest time saver in the entire process. Run your mulching mower over leaves on the lawn. Leave the finely chopped clippings where they fall.
They decompose quickly and feed your grass.
For leaves that land on your garden beds, leave them there. They're free mulch. If the layer is thicker than four inches, rake some off or run the mower over the bed to chop them finer.
We'll go deeper on leaf management in the next section because it's honestly the most impactful change you can make.
Step 5: Clean and store your tools
This step is often skipped, but it matters. Dirty tools spread disease. Clean your pruners, loppers, and soil knife with a 10 percent bleach solution or rubbing alcohol.
Dry them thoroughly. Apply a light coat of oil to metal parts to prevent rust.
Drain your garden hoses and store them indoors or in a shed. A frozen hose with water inside will crack and be useless come spring.
That's it. Five steps. Most of your garden beds just got a "leave it" tag and you didn't touch them at all.
Leaf Management: The Single Biggest Time-Saver
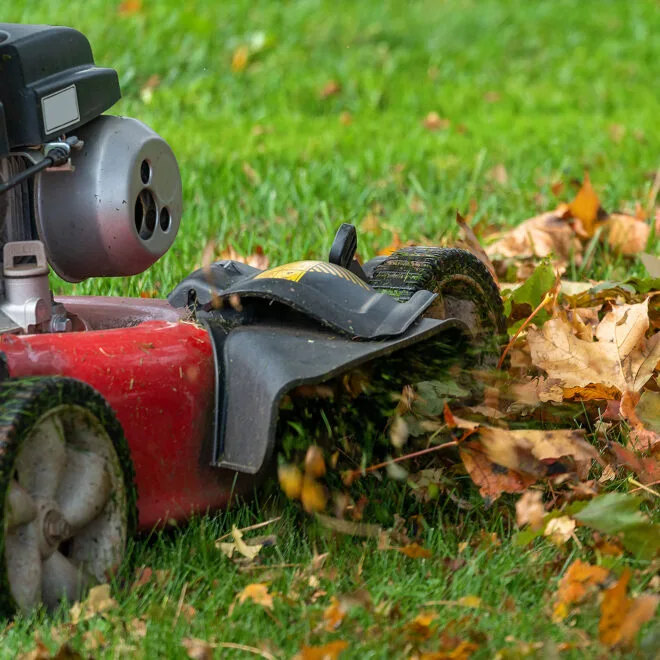
Image source: Web (Bing) / resource.yavolo.co.uk (Web image (fair-use with source credit))
Here's the truth about leaves. They are not waste. They are the single best free soil amendment you'll ever get.
And the easiest way to deal with them involves your lawn mower, not a rake.
Mulch them in place on your lawn
This is the gold standard. Set your mower to its highest setting. Engage the mulching blade if you have one.
Mow right over the leaves. The mower chops them into tiny pieces that filter down between the grass blades and decompose over winter.
A single pass usually handles a moderate leaf layer. If the leaves are thick, make two passes going different directions.
Mulched leaves return nitrogen, carbon, and trace minerals to your lawn. They also suppress a small percentage of weed seeds. Aggregate reviews from cooperative extension services confirm that mulching leaves in place outperforms raking and bagging for lawn health.
Use them as garden bed mulch
Leaves that blow onto your garden beds? Leave them. They insulate plant roots, suppress winter weeds, and slowly break down into rich organic matter.
If the leaf layer is too thick and matted, fluff it with a rake or run your mower over the bed on a high setting to chop the leaves finer. Whole oak leaves, for example, take a long time to break down, so shredding them helps speed up the process.
What to do with excess leaves
If you have way more leaves than your lawn and beds can handle, create a dedicated leaf pile in a corner of your yard. Let it decompose for a year or two. What you get is leaf mold, a fantastic soil conditioner that holds moisture like a sponge.
You can also shred excess leaves with a leaf shredder or by running the mower over a pile and collecting the shreds for your compost bin. Chopped leaves are a perfect carbon source for balancing out kitchen scraps and green garden waste.
What not to do
- Don't blow leaves into the street. Many municipalities have ordinances against this because leaves clog storm drains and send excess nutrients into waterways.
- Don't bag and send leaves to the landfill unless they're diseased. You're paying to throw away free fertilizer.
- Don't leave thick layers of whole leaves on your lawn over winter. They mat down and smother the grass. This is the one case where raking or mulching is actually necessary.



