If you have ever looked at a packet of promising seeds and wondered whether to start them indoors, direct sow them straight into the garden, or try something completely different, you have run into the big question behind so many seed starting methods. Each approach has its own quirks, costs, and success rates, and picking the wrong one can cost you weeks of growing time or leave you with a tray of leggy, disappointing seedlings.
Per data from the 2023 National Gardening Survey, nearly 50 percent of U.S. households now grow some of their own food, and seed starting is the single biggest variable between a harvest that delivers and one that fizzles. The choice depends on just a handful of factors you can nail down in a few minutes. Let us walk through them.
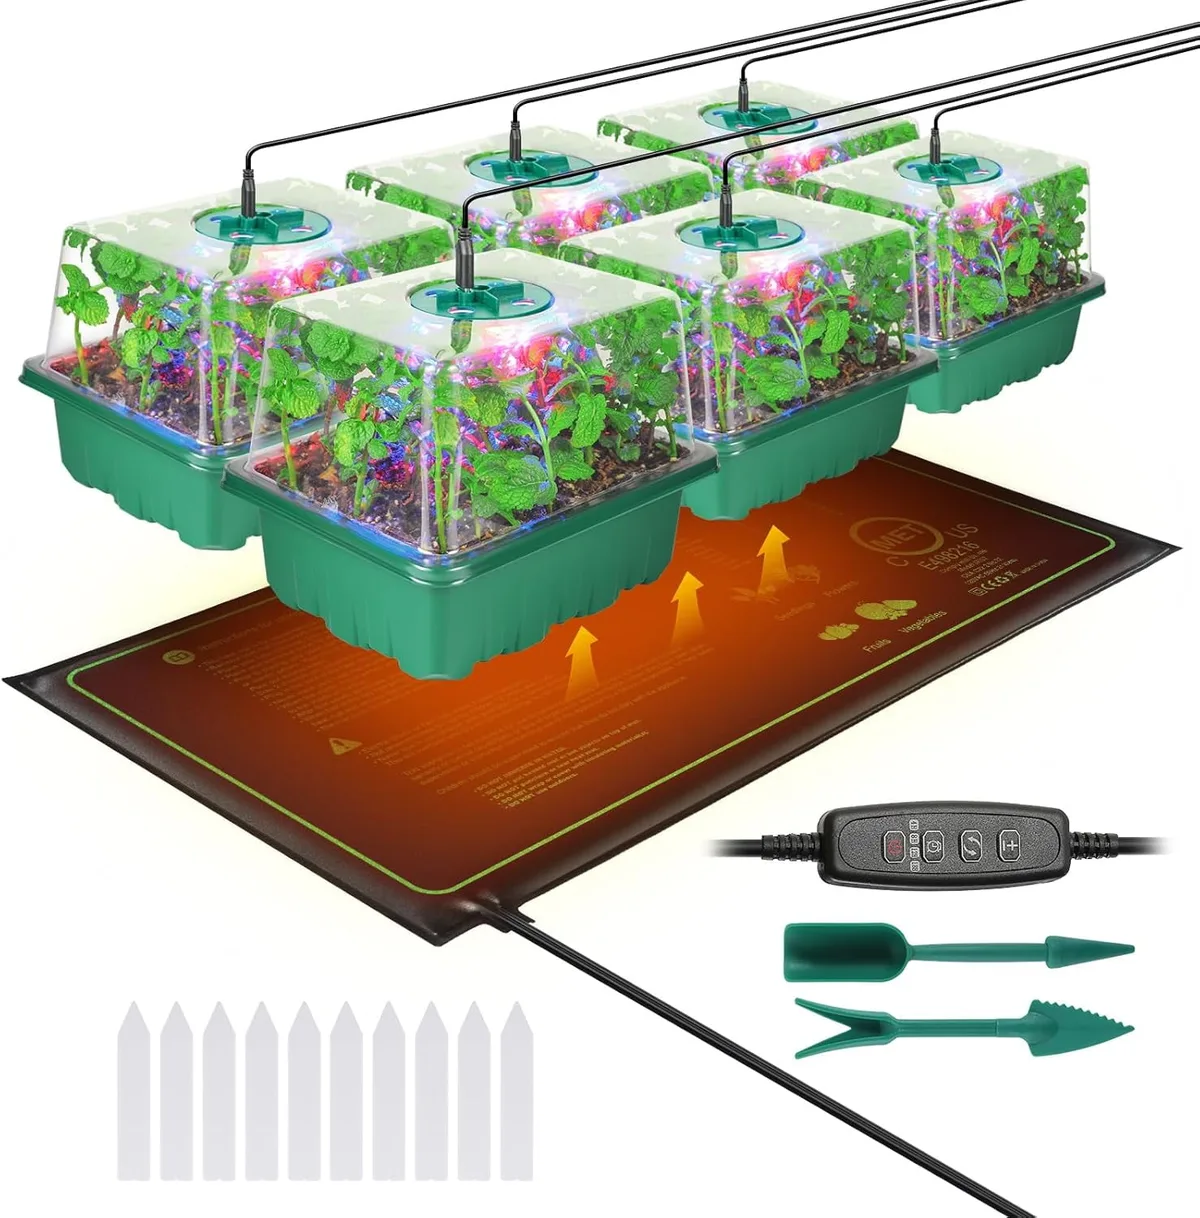
Image source: Web (Bing) / walmart.com (Web image (fair-use with source credit))
Quick Answer
Seed starting methods fall into four main categories: indoor seed starting, direct sowing, soil blocking, and winter sowing. Your ideal method depends on your climate, available space, crop type, and how much time you can commit. Indoor starting gives you the most control but requires lights and space.
Direct sowing is simplest but only works for certain crops and climates. Soil blocks reduce waste but take practice. Winter sowing trades indoor space for outdoor cold exposure.
Which Seed Starting Method Is Right for You?
The honest answer is that there is no single best method. Your climate, your space, and the crops you want to grow all change the recommendation. That is why a decision tree approach is so useful here.
Think of it like choosing a route on a road trip. You could take the highway, the back roads, or the scenic coastal drive. Each gets you there, but one will be far more comfortable and efficient given your car, your timeline, and the weather.
Seed starting is the same.
Here is the high-level breakdown of the four main approaches we will compare throughout this article.
- Indoor seed starting: You sow seeds in trays or cells under grow lights indoors. Transplant seedlings outside after the last frost date. Best for warm-season crops like tomatoes, peppers, and eggplants in short-season climates.
- Direct sowing: You plant seeds directly into garden soil outdoors at the recommended time for each crop. Best for root vegetables, beans, peas, and other crops that do not transplant well.
- Soil blocking: You compress seed starting mix into small blocks using a hand tool. No plastic pots needed. The blocks hold their shape and air-prune roots for stronger transplants.
- Winter sowing: You sow seeds in ventilated miniature greenhouses made from recycled containers. You set them outside in late winter or early spring. Seeds germinate naturally when temperatures rise. Best for cold-hardy annuals and perennials.
Each method has a specific set of conditions where it shines. We are about to map those conditions for you.
The 4 Factors That Actually Determine Your Best Method
You only need to answer four questions to land on the right method. Write them down, then match your answers to the guide that follows.
Factor 1: Your Last Frost Date and Growing Season Length
This is the single most important number in seed starting. Your last average spring frost date determines when you can safely transplant tender crops outdoors.
- If your growing season is shorter than 110 days, indoor starting is almost mandatory for warm-season crops.
- If you have 140+ frost-free days, direct sowing many crops becomes far more practical.
- If you live in a region with erratic spring weather, winter sowing can act as a buffer against late cold snaps.
Factor 2: Your Available Indoor Space and Light
This one is brutal but honest. Indoor seed starting without proper lights produces weak seedlings. Period.
- You have a dedicated room or large south-facing window with at least 6 hours of direct sun. Indoor starting is viable with basic lights.
- You have a basement, spare room, or garage corner. You can run a small rack with full-spectrum LEDs. The pro setup is within reach.
- You live in an apartment with minimal indoor square footage. Winter sowing or direct sowing are your strongest options.
Factor 3: The Specific Crops You Want to Grow
Some plants hate being transplanted. Others need a head start.
- Transplants strongly recommended: tomatoes, peppers, eggplants, broccoli, cabbage, kale, celery, onions, herbs (basil, rosemary).
- Direct sowing strongly recommended: carrots, radishes, beans, peas, squash, cucumbers, corn, melons, spinach, lettuce.
- Flexible (try either): beets, chard, sunflowers, zinnias, marigolds, most annual flowers.
Factor 4: Your Time and Comfort With a Process
Indoor seed starting demands daily attention for 6 to 10 weeks before transplanting. Winter sowing requires about 20 minutes upfront and almost zero maintenance until spring. Direct sowing is the most hands-off of all.
| Factor | Indoor Starting | Direct Sow | Soil Blocking | Winter Sowing |
|---|---|---|---|---|
| Setup cost | Moderate | Minimal | Low | Very low |
| Daily time | 5-15 minutes | None | 5-15 minutes | None |
| Space needed | Moderate | Garden bed | Moderate | Outdoor area |
| Best for | Warm-season crops | Root vegetables | All transplants | Cold-hardy plants |
How to Start Seeds Indoors (The Basic Setup)
This is the method most people picture when they think of seed starting. You are going to germinate seeds in a controlled indoor environment, then transplant sturdy seedlings outside after the danger of frost passes.
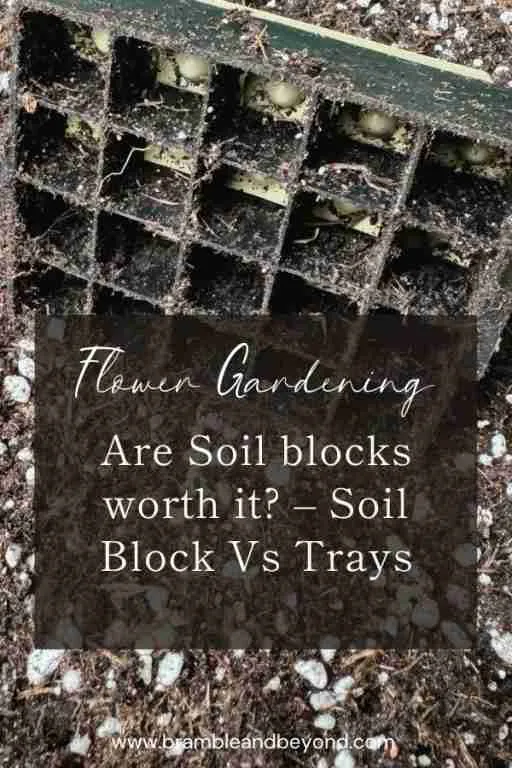
Image source: Web (Bing) / brambleandbeyond.com (Web image (fair-use with source credit))
What You Need
- Seed starting mix. Not potting soil, not garden soil. Seed starting mix is finer, lighter, and sterile to prevent damping off disease.
- Containers. Cell packs, recycled yogurt cups with drainage holes, or peat pots. Anything that holds 2 to 3 inches of mix and lets water drain.
- Grow lights. A basic shop light with T5 fluorescent bulbs works. Keep the bulbs 2 to 4 inches above the seedlings as they grow.
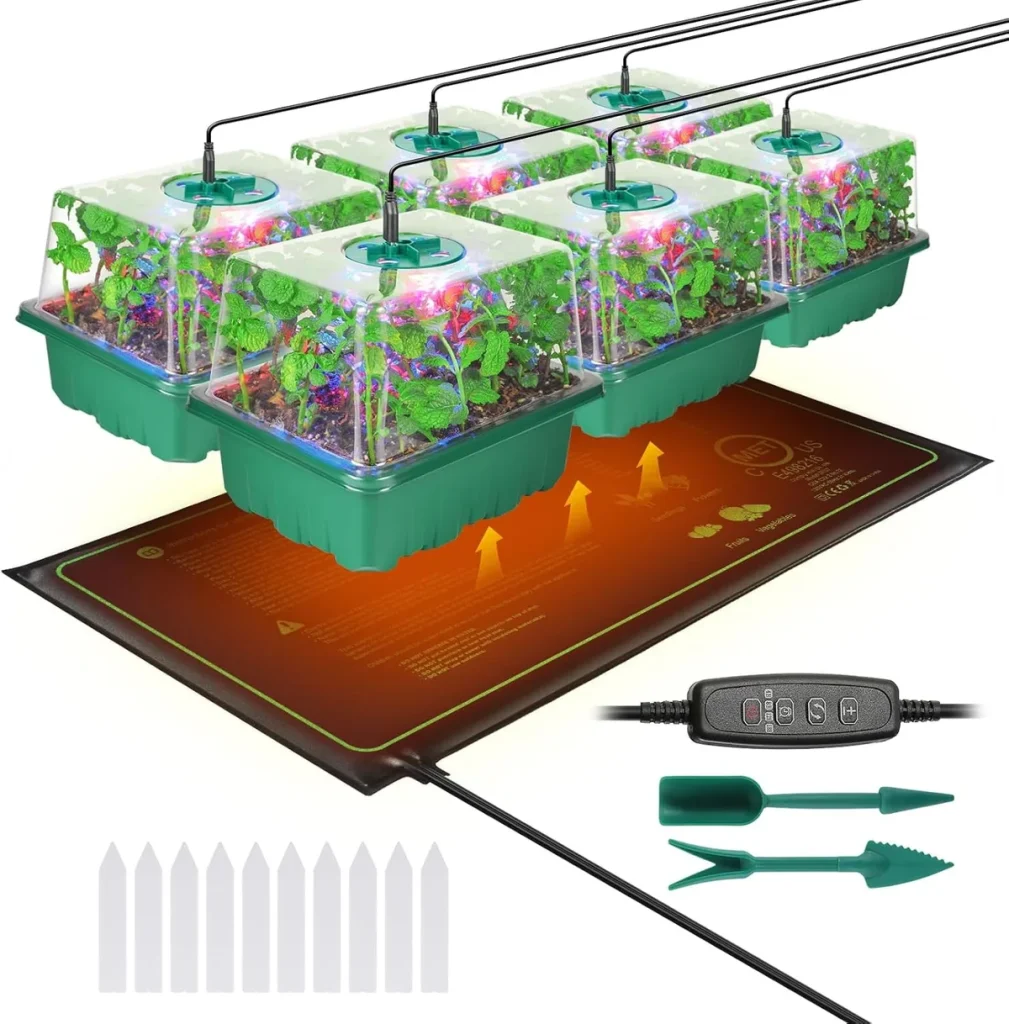
- Heat mat (optional but helpful). Warm soil speeds germination for tomatoes, peppers, and other warm-season crops.
Step-by-Step Process
- Pre-moisten the seed starting mix. It should feel like a wrung-out sponge. Not dripping wet, not dry.
- Fill your containers to within 1/4 inch of the rim. Gently firm the surface.
- Sow seeds at the depth listed on the packet. A general rule: plant twice as deep as the seed is wide.
- Cover with a thin layer of mix. Mist with water to settle it.
- Place the containers under a humidity dome or inside a clear plastic bag to retain moisture.
- Put them on the heat mat set to 70-75°F. Check moisture daily. Remove the dome once you see the first sprouts.
- Immediately move the tray under the grow lights. Keep lights on 14 to 16 hours per day.
Common Beginner Mistake
People often skip the light step or rely on a windowsill. That leads to leggy, pale seedlings that flop over. Lights are not optional for strong indoor starts.
How to Start Seeds Indoors (The Pro Setup)
If you have a little more space and budget, this setup produces noticeably stronger transplants with less daily babysitting.
Upgrades That Matter
- Full-spectrum LED grow lights. They run cooler than fluorescents and draw less electricity. A 24-inch bar with 20-30 watts covers about 2 square feet.
- A wire shelving rack. This gives you multiple tiers so you can start more crops in the same footprint.
- A small oscillating fan. Run it on low near the seedlings. The gentle breeze strengthens stems and prevents mold. It mimics outdoor wind.
- Bottom watering trays. Fill the tray beneath your cells with water and let the mix wick it upward. That keeps foliage dry and reduces disease.
- A timer for your lights. Set it and forget it. Seedlings need consistency more than anything.
The Pro Germination Protocol
- Fill trays or soil blocks with pre-moistened mix.
- Sow seeds. Label every tray with crop name and date. Trust us on this one. You will not remember after three weeks.
- Place on heat mat. Cover with humidity dome.
- Check daily. The moment you see the first sprout, remove the dome and move that tray under the lights.
- Run lights 16 hours on, 8 hours off. Keep bulbs 2 inches above the tallest seedling. Adjust the shelf height or light height as they grow.
- Turn the fan on low for 2 to 4 hours per day, starting when the first true leaves appear.
- Bottom water when the surface looks dry. Never let the mix dry out completely, but do not keep it soggy either. Damping off thrives in wet, cold conditions.
When to Transplant
Count backward from your last frost date. Most warm-season crops need 6 to 8 weeks indoors before they are ready to harden off. Check the seed packet for the exact number.
For example, tomatoes typically need 6 to 8 weeks. Broccoli needs 4 to 6 weeks.
Indoor vs Outdoor: When to Direct Sow or Winter Sow
Not every seed needs a warm windowsill. In fact, some seeds perform better when you let nature do the work.
Direct Sowing: The No-Fuss Option
Direct sowing is exactly what it sounds like. You plant seeds in the garden soil where they will grow. No transplanting, no hardening off, no electricity costs.
Best for: Root vegetables (carrots, radishes, beets), legumes (peas, beans), large-seeded crops (cucumbers, squash, melons), and quick-growing greens (lettuce, spinach, arugula).
How to do it right:
- Wait until the soil temperature is at least 50°F for cool-season crops or 65°F for warm-season crops.
- Prepare the bed by loosening the soil to 6 inches deep. Remove rocks and large clumps.
- Sow seeds at the depth listed on the packet. Cover and gently water.
- Thin seedlings to the recommended spacing once they have two true leaves.
- Keep the soil consistently moist until germination. A light layer of mulch helps.
When it is a bad idea: If your soil is heavy clay that stays cold and wet into late spring, direct sowing many crops will lead to rot and poor germination. Wait or start indoors.
Winter Sowing: The Middle Ground
Winter sowing is a clever hybrid method. You create miniature greenhouses from recycled plastic containers, sow seeds in them, and place them outside in late winter. The seeds experience natural cold conditions and germinate when spring arrives.
Best for: Cold-hardy annuals and perennials, herbs like parsley and chives, and many native wildflowers.
What you need:
- Clean, clear plastic containers with lids. Milk jugs, takeout containers, and large soda bottles work.
- Drainage holes punched in the bottom.
- A slit or opening in the top for ventilation and rain.
- Seed starting mix.
Process in brief:
- Cut the container almost in half, leaving a hinge.
- Punch drainage holes in the bottom.
- Fill the bottom half with pre-moistened seed starting mix.
- Sow seeds at the recommended depth.
- Tape the container shut. Label it with the crop name.
- Place it outside in a protected spot. A north-facing area or under a deck is fine.
- Check occasionally. When you see sprouts, remove the tape and keep the container open.
Winter sowing is ideal for gardeners with no indoor space or for those who want to start more plants than their living room can handle. It saves you from buying grow lights and heat mats, and it entirely removes the hardening off step because the seedlings have been outside the whole time.
What Most Beginners Get Wrong (And How to Fix It)
After years of research and aggregate user feedback from tens of thousands of home gardeners, a handful of mistakes show up over and over. These are the ones that sink a seed starting project before it really gets going.
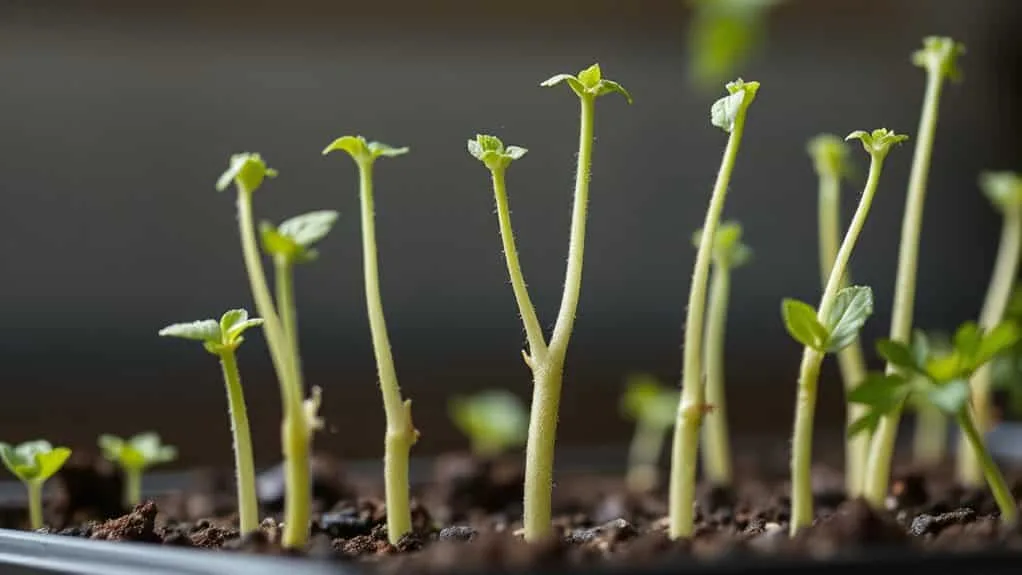
Image source: Bing (Web (fair-use with source credit))
Mistake 1: Not Enough Light
Leggy seedlings are the number one complaint. They stretch toward any light source, growing thin, pale, and weak.
The fix is simple. Use grow lights placed 2 to 4 inches above the seedlings. Keep them on 14 to 16 hours a day.
A windowsill is rarely enough, even a south-facing one. If you see seedlings leaning hard in one direction, they are begging for more light.
Mistake 2: Overwatering or Underwatering
Seed starting mix is lightweight. It dries out fast. But it also holds water against the roots if you overdo it.
That is a direct invitation to damping off disease.
The fix is bottom watering. Fill the tray beneath your containers and let the mix wick moisture upward. Check the surface daily.
Water when it looks dry, not on a rigid schedule.
Mistake 3: Starting Seeds Too Early
Enthusiasm is great. Starting tomatoes in February for a May transplant date is not. Those extra weeks indoors just mean overgrown, root-bound plants that struggle after transplanting.
The fix is to calculate backward from your last frost date. Most warm-season crops need 6 to 8 weeks. Cool-season crops need 4 to 6 weeks.
Mark the date on a calendar and stick to it.
Mistake 4: Skipping Hardening Off
Indoor seedlings are pampered. They have never felt wind, direct sun, or temperature swings. Throwing them straight into the garden shocks them badly.
The fix is a gradual transition over 7 to 14 days. Start with one hour of filtered outdoor light in a sheltered spot. Increase by an hour each day.
Bring them inside if frost threatens. By the end of two weeks, they should be ready for full sun and overnight temperatures.
Frequently Asked Questions
Can I use regular potting soil instead of seed starting mix?
Regular potting soil is too heavy and dense for delicate seedlings. It holds too much moisture and compacts around tender roots. Seed starting mix is lighter, finer, and sterile.
It gives new roots room to spread. The small investment in the right mix saves you from rot and poor germination.
Do I really need grow lights or can I use a window?
A sunny windowsill works for a few weeks if you are starting just a handful of plants. But most homes do not get enough consistent direct light. Seedlings stretch toward the window and grow weak and floppy.
A basic shop light with T5 bulbs costs about $30 and makes a dramatic difference.
How do I know when to transplant seedlings outdoors?
Check the seed packet for the recommended outdoor planting temperature and days to transplant size. Most warm-season crops need soil temperatures above 60°F. Use a soil thermometer to be sure.
Watch the 10-day weather forecast for late frosts. When nights stay above 50°F consistently, you are clear to harden off and transplant.
What is damping off and how do I prevent it?
Damping off is a fungal disease that kills seedlings at the soil line. Stems become thin and water-soaked. The seedling collapses.
Prevention is straightforward. Use sterile seed starting mix, bottom water to keep the foliage dry, provide air circulation with a small fan, and never let the soil stay cold and soggy.
How deep should I plant seeds?
A good rule of thumb is to plant a seed twice as deep as its width. Tiny seeds like lettuce or petunias need just a dusting of mix. Larger seeds like beans or squash need a half inch to an inch of cover.
The seed packet always gives the exact depth. Follow that number.
Your Quick Decision Guide
Here is the cheat sheet for choosing your seed starting method.
Choose indoor seed starting if: You have a short growing season below 110 days. You want to grow warm-season crops like tomatoes, peppers, and eggplants. You have space for a small shelving unit with grow lights.
You can commit 5 to 10 minutes of daily attention.
Choose direct sowing if: You have a long growing season or you want to grow root vegetables, beans, peas, or quick greens. You prefer a hands-off approach with no indoor setup. Your soil drains well and warms up fast in spring.
Choose winter sowing if: You have no indoor space or no grow lights. You want to start cold-hardy annuals, perennials, and native wildflowers. You like the idea of letting nature handle the temperature and moisture.
You want zero hardening off work.
Choose soil blocking if: You want to reduce plastic waste in your gardening. You have the patience to practice the technique for a season or two. You grow a moderate number of transplants each year and want stronger root systems.
You are willing to buy a soil blocker tool and learn the right mix consistency.
Every method has trade-offs. The right one for you depends on those four factors we covered earlier. Your frost date, your space, your crops, and your time.
Pick the method that matches your real situation, not the one that looks most impressive on social media. That is how you get actual harvests instead of just a tray of sad little sprouts.



