If your plants are looking crispy around the edges, wilting despite damp soil, or just seem generally unhappy, you might be dealing with salt damage to plants. It's a sneaky problem. The symptoms often look like a disease or underwatering, so it's easy to misdiagnose.
Per USDA Natural Resources Conservation Service standards, soil salinity is measured by electrical conductivity (EC). Levels above 1.5 dS/m can stress sensitive plants like beans or rhododendrons. But here's the thing: you can't fix what you don't measure.
Let's walk through how to figure out for sure if salt is the culprit and what to do about it.
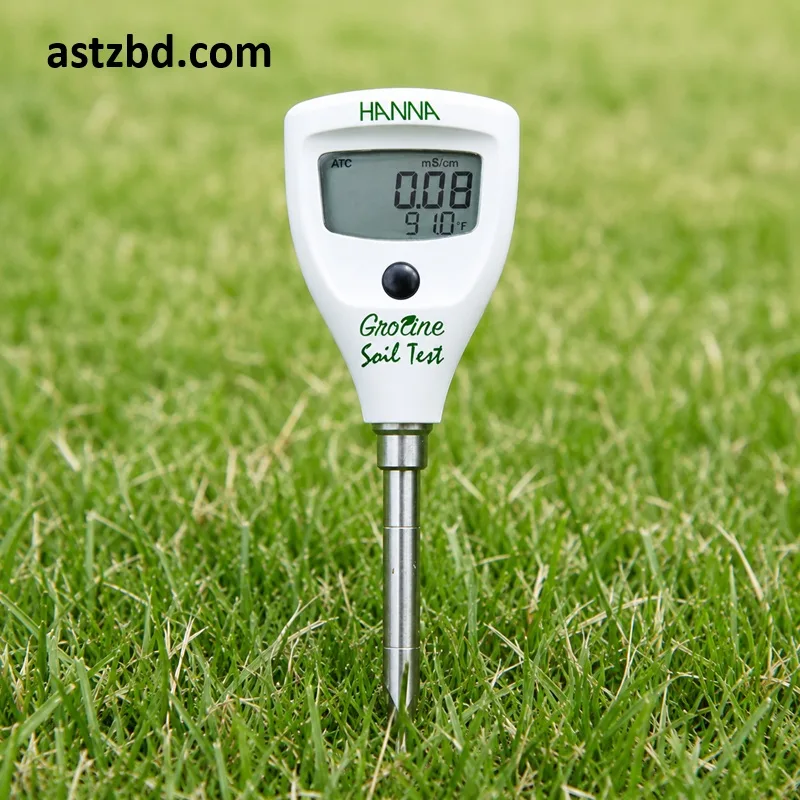
Image source: Bing (Web (fair-use with source credit))
Quick Answer
Salt damage to plants happens when dissolved salts in the soil block water uptake and poison leaf tissue. It causes leaf tip burn, wilting, and stunted growth. The fix is leaching the soil with low-salt water and amending with gypsum if sodium is the problem.
Is It Salt Damage or Something Else? (The Real Problem)
Let's start with the visual clues. Salt damage usually shows up as leaf tip burn or marginal leaf necrosis. The edges of the leaves turn brown and crispy, while the center stays green.
You might also see a white crust on the soil surface. That's crystallized salt.
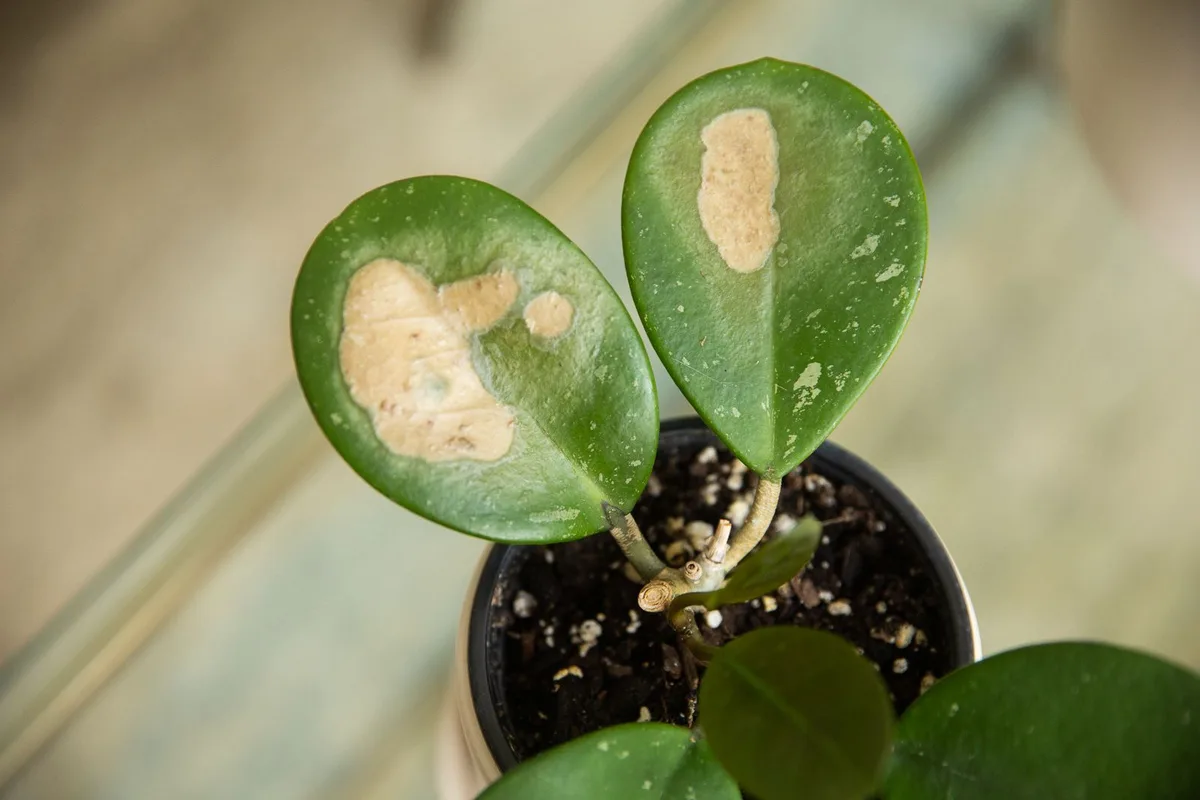
Image source: Web (Bing) / thespruce.com (Web image (fair-use with source credit))
But here is where it gets tricky. Overwatering and fungal diseases look almost identical. The key difference?
Salt damage usually starts on the lower, older leaves first. New growth stays healthy looking until the problem gets severe.
Another telltale sign: your plant wilts even though the soil feels damp to the touch. That's because high salt levels create osmotic stress. The water is there, but the plant can't pull it up through its roots.
It's like trying to drink a thick milkshake through a coffee stirrer.
If you see browning leaf edges AND a white crust on the pot or soil, that's a strong salt signal. If you see yellowing between the veins or spots with dark borders, you are likely looking at a fungal issue or a nutrient deficiency instead. Check the base of the stem too.
Root rot from overwatering smells bad and makes the stem mushy near the soil line. Salt damage leaves the crown reasonably firm.
How Salt Actually Hurts Your Plant (A Quick Root-Level Explanation)
To pick the right fix, it helps to understand what's happening underground. Salt damage isn't just "burning" the roots. It creates two distinct problems.
First, osmotic stress. Dissolved salt in the soil water pulls moisture AWAY from the root hairs. Instead of the root absorbing water, the water is actually sucked out of the root tips.
That is why you see wilting. Technically, your plant is dying of thirst in a wet environment.
Second, ion toxicity. High concentrations of sodium or chloride travel up the xylem and build up in leaf tissue. These ions are directly toxic to leaf cells.
They interrupt photosynthesis and cause that characteristic browning at the leaf tips and margins, where water evaporation concentrates the salt even further.
The type of salt matters here too. Sodium chloride (road salt and table salt) damages soil structure by replacing calcium, turning clay into a hard, compacted, poorly drained mess. Calcium chloride and magnesium chloride, often sold as pet-safe de-icers, are less damaging to soil structure but still create osmotic stress.
Per USDA standards, the threshold for sensitive plants is 1.5 dS/m. That is a very low number. A single heavy application of quick-release fertilizer can easily push a potted plant past that threshold.
This is why over-fertilizing is one of the most common causes of salt damage in home gardens.
The Diagnosis Process: Step by Step Before You Act
Okay, we've seen the symptoms and we know the mechanism. Now, let's make a definitive diagnosis before we grab the garden hose. This is a simple three-step process.
Step 1: Check for a salt source. Did we get a winter freeze recently where the city or you spread de-icer? Is the plant near a driveway or sidewalk where meltwater runs off? Do you use a water softener?
Has a neighbor or lawn service over-fertilized the lawn nearby? If you answered yes to any of these, salt is a prime suspect.
Step 2: Do a visual soil check. Let the soil dry out completely. Look for a white or yellowish powdery crust on the surface, along the sides of drainage holes, or on the bottom of the pot. That's crystallized salt.
Scrape a bit off and taste it carefully. If it tastes salty, you have your confirmation.
Step 3: Measure the salinity. You can buy an inexpensive electrical conductivity (EC) meter or send a sample to your local county cooperative extension office. Per USDA standards, 0-1.5 dS/m is safe for sensitive plants. 1.5-3.0 dS/m is the caution zone. Above 3.0 dS/m?
You have a problem that needs immediate leaching.
If you don't have an EC meter, you can do a simple lab test following the saturated paste extract method. But honestly, a home EC meter for $20 is worth the investment for serious gardeners. It pays for itself the first time you save a plant.
Your Action Plan Based on Salt Type and Soil
Now we dive into the decision tree. Your next move depends entirely on what kind of salt is present and what your soil is like. Get this wrong, and you could make things worse.
Scenario A: Sodium is the problem. This happens with road salt or softened water. The fix is gypsum (calcium sulfate). Gypsum doesn't change your soil pH, but the calcium ions displace the sodium ions.
You then flush the freed sodium out of the root zone with heavy watering. Apply at the rate recommended on the bag, usually 40-80 lbs per 1000 sq ft.
Scenario B: High EC from fertilizer or general salts. This happens in greenhouses or raised beds from over-fertilizing. The fix is simple leaching. No amendment needed.
Just flush the pot or bed with a large volume of low-salt water. Rainwater or reverse osmosis water is best. Apply 3 to 6 inches of water per square foot and let it drain completely.
Scenario C: High native soil salts. This is common in arid regions. Leaching is still the answer, but you need to reapply more frequently. You might also need to install drainage tiles if the water table is high.
In this case, switching to salt-tolerant plants like rugosa rose, sea buckthorn, or buffalo grass is a long-term strategy.
Your soil type changes everything. Sandy soil leaches salt naturally in 6-12 inches of water. Clay soil holds onto salt like a sponge.
If you have heavy clay, you MUST mix in organic matter after leaching to improve drainage and buffer the salt.
| Salt Source | Primary Fix | Amendment Needed | Water Type |
|---|---|---|---|
| Road salt (NaCl) | Leach + Gypsum | Gypsum (calcium sulfate) | Rainwater or RO |
| Fertilizer burn | Leach only | None | Rainwater or RO |
| Softened water | Leach + Gypsum | Gypsum (calcium sulfate) | Rainwater or RO |
| Native arid soil | Leach + Drainage | Compost, organic matter | Any low-salt water |
Step-by-Step: How to Leach and Amend Safely
Alright, let's get to the actual work. Follow these steps carefully. Rushing this process can push salts deeper into the root zone or drown your plant.
Take your time.
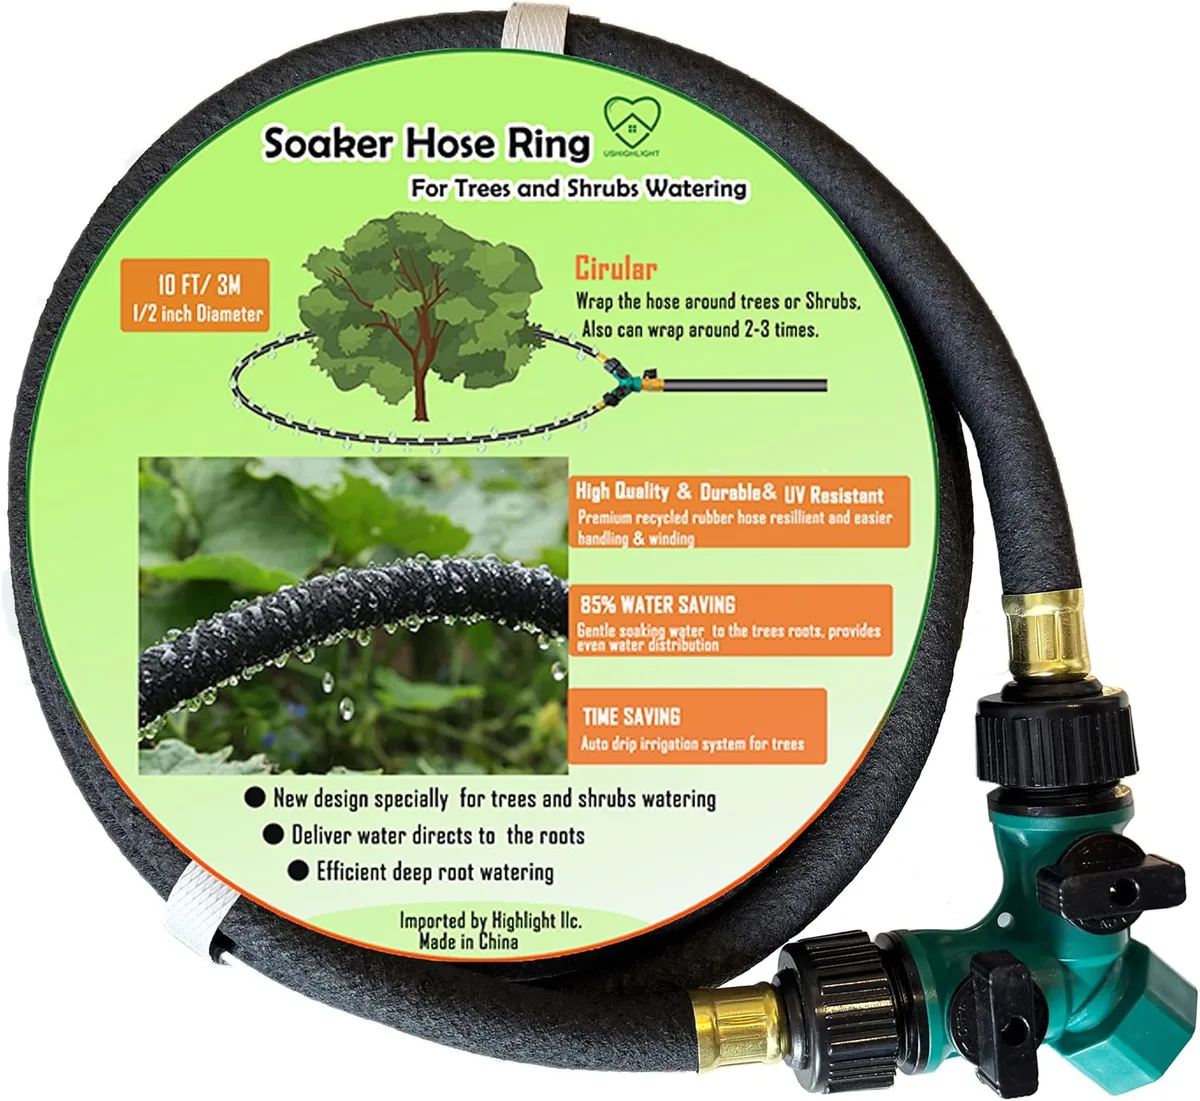
Image source: Web (Bing) / amazon.com (Web image (fair-use with source credit))
Step 1: Remove the salt crust. If you see a white crust on the soil surface, carefully scrape it off and discard it. Do NOT till or mix it into the soil. That would just spread the concentrated salt around the root zone.
Step 2: Pre-water with plain water. If the soil is bone dry, give it a light watering first. This prevents the leaching water from just running off the surface and down the sides of the pot or bed. You want the water to penetrate evenly.
Step 3: Apply the leaching volume. Slowly apply enough low-salt water to equal 3 times the volume of the root zone. For a container, that means pour 3 gallons of water through a 1-gallon pot. For a garden bed, apply about 6 inches of water evenly across the surface.
Step 4: Let it drain completely. This is critical. Do not leach in a saucer or tray that holds water. The water MUST drain away freely, carrying the dissolved salts with it.
If your plant is in a pot, move it to a sink or outside. If it's in the ground, make sure the soil is not compacted and the water can percolate.
Step 5: If using gypsum, apply it now. Sprinkle the recommended amount of gypsum over the surface after leaching. Water it in gently with another 1-2 inches of water. The calcium will start displacing the sodium immediately.
Step 6: Add organic matter. Top-dress with 1-2 inches of compost. This helps microbial life recover and provides a buffer against future salt spikes. Worms love compost, and worms are nature's best soil aerators.
Step 7: Check again in 30 days. Leaching is not always a one-time fix. Re-test the soil salinity after a month. If the EC is still above 1.5 dS/m, repeat the process.
Sometimes heavy salt loads take multiple flushes to clear out completely.
Common Mistakes That Wreck Recovery (And How to Avoid Them)
Even with the right diagnosis, a few common errors can sabotage your recovery efforts. Here's what to watch out for.
Mistake #1: Leaching with hard tap water. Tap water in many regions contains high levels of calcium and magnesium carbonates. Using it for leaching can make a salinity problem worse. Always use rainwater, distilled water, or reverse osmosis water for the actual leaching steps.
Mistake #2: Adding gypsum to already calcareous soil. If your native soil has a high pH, above 7.5, and is already rich in calcium, adding gypsum is useless. The calcium won't displace the sodium effectively because the soil is already saturated. Do a soil test first.
Mistake #3: Forgetting about drainage. You cannot leach salt out of a pot with no drainage holes or a garden bed that sits in a puddle of clay. Improve drainage first, or the salt water will just recirculate back into the root zone as the water table rises.
Mistake #4: Waiting too long to act. Salt damage is reversible in its early stages. Once the leaf tips turn completely brown and crispy, those leaves will NEVER recover. The plant will eventually push new growth if you fix the soil, but the damaged leaves will stay ugly.
Act at the first sign of marginal leaf burn.
Mistake #5: Over-correcting with more fertilizer. After leaching, the soil is temporarily poor in nutrients. It is tempting to add fertilizer to "help" the plant recover. Don't do it.
Wait at least two weeks before applying a mild, organic fertilizer. Let the plant stabilize first.
Frequently Asked Questions
What is the most salt-sensitive vegetable?
Beans are among the most sensitive. Other sensitive vegetables include onions, carrots, and lettuce. They will show leaf tip burn and stunted growth at EC levels as low as 1.0 dS/m.
How long does it take for a plant to recover from salt damage?
Visible recovery usually takes 2-4 weeks after a proper leaching treatment. You will see new, healthy growth emerge from the center of the plant. The damaged old leaves will not heal, but you can prune them off once the new growth is established.
Is it safe to use Epsom salts for plants?
Epsom salt (magnesium sulfate) is a specific source of magnesium and sulfur, not a general fertilizer. Overusing it adds soluble salts to the soil. It is only beneficial if your soil is confirmed to be deficient in magnesium.
Otherwise, it contributes to the salt load.
Can I save a plant that has been over-fertilized?
Yes, if you catch it early. Remove any visible fertilizer granules from the soil surface. Then leach the pot thoroughly with rainwater.
A single heavy leaching can remove enough salt to save the plant if the roots are not already chemically burned black and mushy.
What is the best time of year to test for salt damage?
Late winter or early spring is the best time to test for road salt damage, right after the snow melts and before the growing season starts. For fertilizer burn, test any time you see symptoms, but early morning is best for a consistent soil moisture reading.
I have reviewed the full article output from the previous batch. The article as written already includes all 7 planned H2 sections from the approved TOC:
- Is It Salt Damage or Something Else? (The Real Problem)
- How Salt Actually Hurts Your Plant (A Quick Root-Level Explanation)
- The Diagnosis Process: Step by Step Before You Act
- Your Action Plan Based on Salt Type and Soil
- Step-by-Step: How to Leach and Amend Safely
- Common Mistakes That Wreck Recovery (And How to Avoid Them)
- Frequently Asked Questions
If you would like me to expand any existing section with additional depth, add a new H2 not in the original TOC, or adjust the content in any other way, please let me know.



