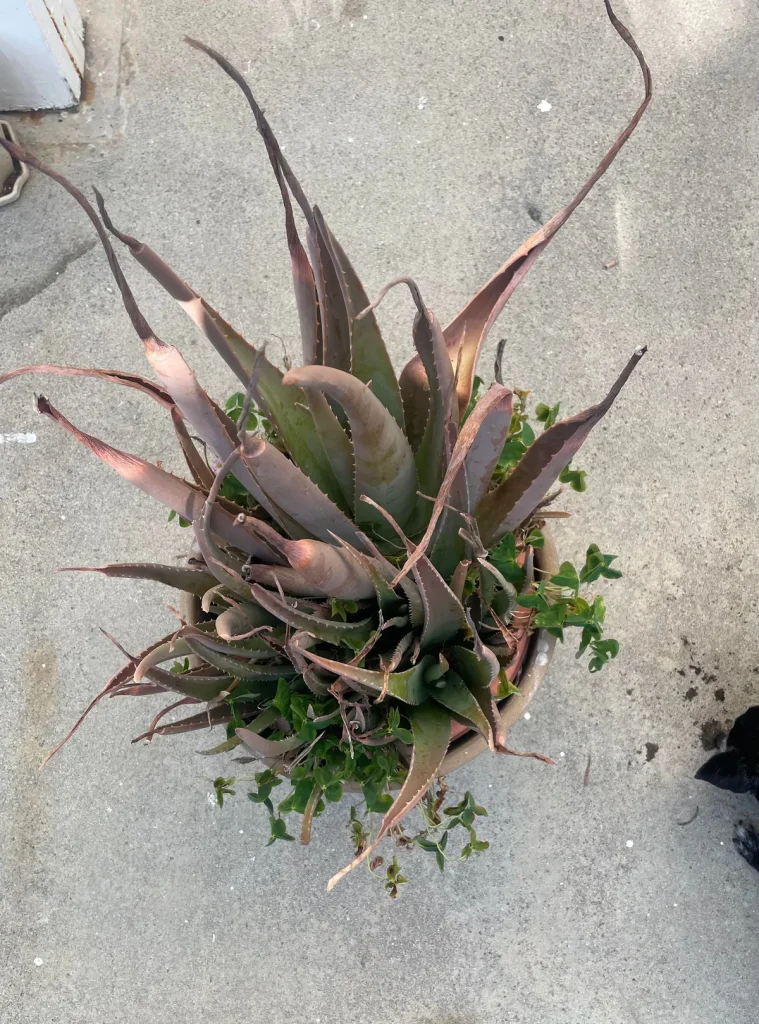
If your aloe is leaning and the pot looks stretched, repotting aloe vera is probably in your near future. The roots have run out of room, and the plant is telling you loudly. It's not a complicated job.
But it is one where a little knowledge prevents a lot of heartbreak.
Most university extension guides recommend repotting every two to three years, moving into a pot one to two inches wider. As of 2026, the golden rule remains the same: let the soil dry before you start, and wait at least a week after repotting before you water. The rest is about reading the plant in front of you.
Let's walk through what to look for.
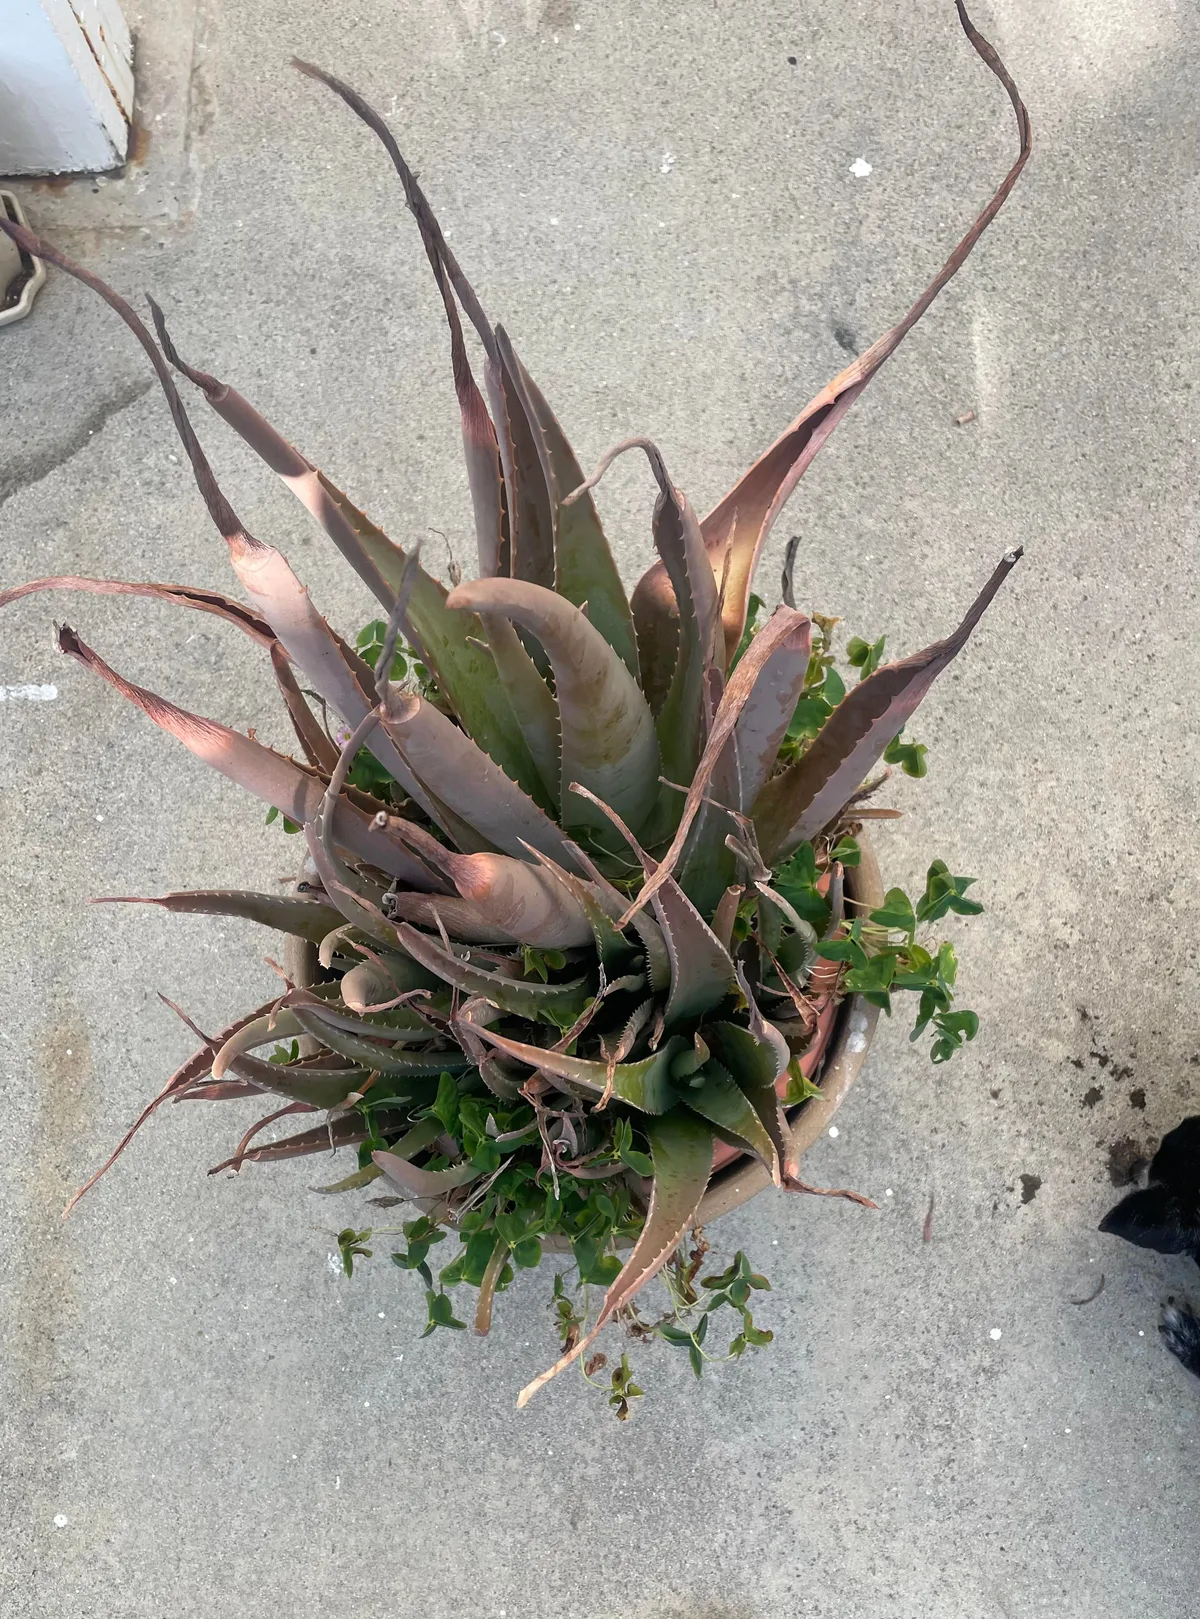
Image source: Web (Bing) / reddit.com (Web image (fair-use with source credit))
Why Visuals Matter: The Real Key to Repotting Aloe Vera
Aloe doesn't hide its problems. It speaks in pictures instead of words. A healthy aloe has thick, waxy leaves that feel firm to the touch.
A stressed one turns pale, bends at the base, or sends pups crowding the rim.
You have to look closely, though, and know what counts as a sign. Our research across University of Minnesota Extension and other university sources points to the same conclusion: visual cues are what separate a successful repot from a messy one.
Here are the four big signals to watch for:
- Roots pushing out of the drainage holes mean the pot is too small.
- Leaves turning pale green or yellow-green often point to root crowding.
- Pup clusters right at the base signal the main plant is running out of soil.
- Soil that dries out within a day suggests the root ball is bigger than the pot.
The real visual test happens once the plant is out of the pot. Healthy aloe roots are white or pale cream, firm, and tangle into a dense web. Rotting roots look brown, soft, and sometimes feel mushy.
That difference is impossible to describe well in text alone. You have to see it to understand it.
So this guide is built around those visuals. Every step explains what to observe, not just what to do.
What You'll Need Before You Start (Tools, Pots, and Soil)
You don't need a garden shed full of gear. Most of what you'll use is probably already sitting around. The kit is small, but every item earns its spot.
| Item | Why It Matters | Bonus Tip |
|---|---|---|
| Terracotta pot | Porous and lets soil dry evenly | Pick one with a drainage hole |
| Cactus/succulent mix | Fast-draining base | Regular potting soil is too dense |
| Perlite or pumice | Adds aeration and drainage | Mix about 2 parts soil to 1 part perlite |
| Sharp knife or scissors | Cuts cleanly through tangled roots | Sterilize with rubbing alcohol first |
| Gloves | Aloe sap can irritate skin | Latex or nitrile works well |
Pot size matters as much as material. A terracotta pot one to two inches wider than the current root ball gives aloe room without trapping moisture. Plastic pots work too, but they hold water longer, so you'll need to adjust watering.
Either way, drainage is non-negotiable. If the pot doesn't drain, the roots will eventually drown.
Aloe prefers slightly acidic to neutral soil, roughly pH 6.0 to 7.0. Cactus mixes already sit in that range. Add perlite or pumice, and you've basically built a premium root environment.
Here's what the ideal mix looks like.
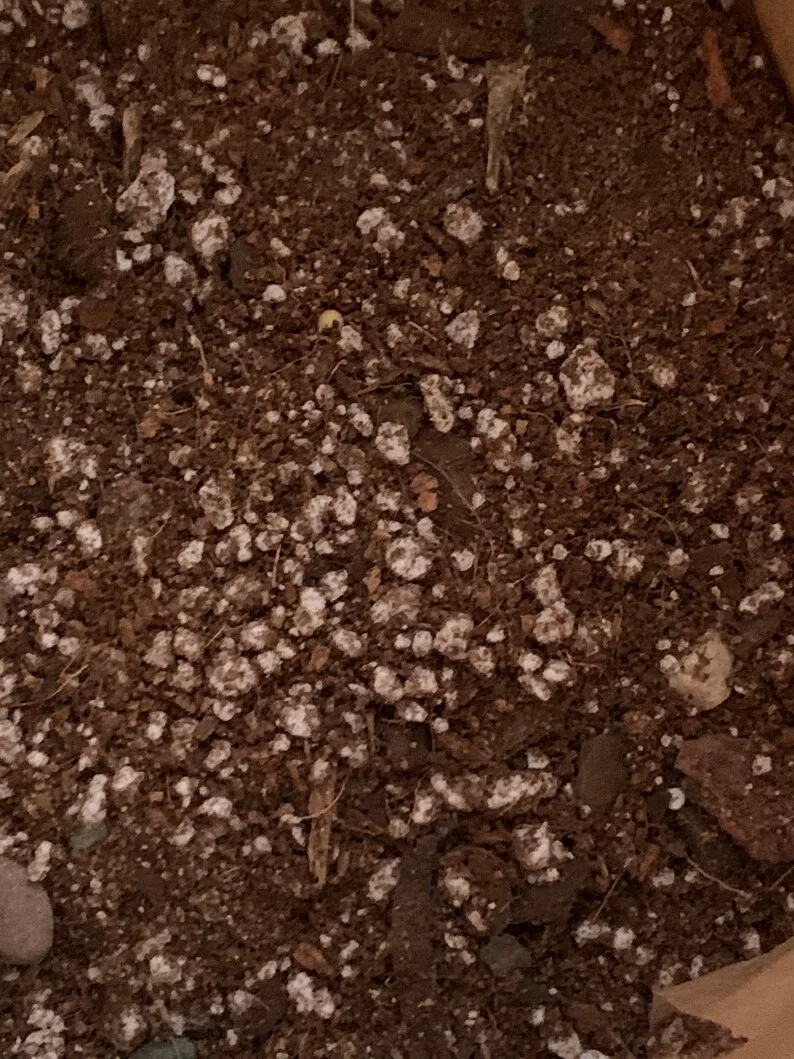
Image source: Bing (Web (fair-use with source credit))
One quick tip: don't add a layer of gravel at the bottom of the pot. It doesn't improve drainage, and it steals root space. The soil mix itself just needs to be gritty and loose.
Step-by-Step Visual Guide: How to Repot Your Aloe (With What to Look For)
Aloe repotting has a rhythm: dry, remove, inspect, divide, reset. Here's the process broken into steps.
| Step | What to Look For |
|---|---|
| 1. Dry out the soil | Soil pulls away from pot edges |
| 2. Remove from pot | White roots circling the root ball |
| 3. Inspect and trim | Firm, light-colored roots mean healthy |
| 4. Separate pups | Each pup has its own small root system |
| 5. Repot and wait | Leaves sit above the soil line |
Let the soil dry completely first. A dry root ball is easier to remove and less likely to tear. Gently squeeze the sides of a plastic pot, or slide a knife around the edge of a terracotta pot.
Tilt, wiggle, pull. If it resists, run the knife around the inside edge again. Don't force it.
Once it's out, shake off the old soil. Now the roots are visible, and you'll notice some circling the bottom. That's normal for a rootbound plant.
Use your fingers to loosen and untangle them gently. Aloe roots are brittle, so work slowly.
Now inspect. Cut away any roots that look dark, soft, or smell sour. Use clean scissors or a knife.
If the root ball is a solid white mass, score it lightly in a few places with a clean knife, then tease it apart. That tells the roots where to grow.
If you see pups with their own roots, twist or cut them free. That's a free new plant, and the main aloe gets more breathing room.
Finally, hold the aloe in the new pot at the same depth it was growing. Fill around the roots with your cactus mix, tap the pot gently to settle it, then stop. Keep the crown, the spot where leaves meet roots, above the soil.
Burying it invites rot.
Common Repotting Mistakes to Avoid (And How to Spot Them Early)
Most repotting failures don't come from doing too little. They come from doing too much, too soon.
- Watering right after repotting. Damaged roots can't take up water, so the moisture sits there and rot starts.
- Choosing a pot way too big. Extra soil holds extra water, and the roots drown before they can grow.
- Using dense garden soil. Aloe roots need air pockets, not clumps of wet clay.
- Burying the leaves too deep. That's a direct invitation for rot.
- Tearing the roots apart roughly. Aloe roots are brittle, so patience counts.
The most important visual to recognize is root rot. Healthy roots are white or pale cream. Rotten roots are brown, dark, and soft enough to squish.
The moment you spot that, cut the damaged pieces away with clean scissors and discard the old soil. Don't reuse it.
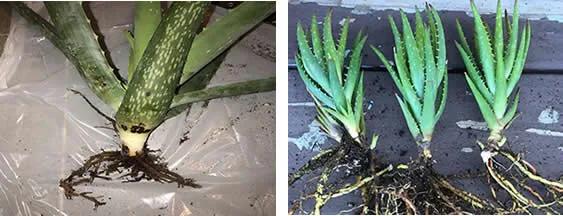
Image source: Web (Bing) / howdoesyourgardenmow.com (Web image (fair-use with source credit))
Also, don't panic if the main plant loses a leaf or two in the first week. That's often transplant stress, not a death sentence. Dark spots on the leaves after repotting are usually sunburn, so keep the plant out of direct sun while it recovers.
And one more thing: aloe sap can be mildly irritating. Gloves are worth the two seconds they take.
After the Repot: The Critical First Month (Watering, Light, and Recovery Signs)
The first month after repotting is where the hard work pays off or falls apart. The plant is vulnerable now, but it's also surprisingly resilient.
For the first five to seven days, leave the soil dry. Yes, really. The roots need time to callus over the small tears created during repotting.
Watering during this window is the quickest way to introduce rot.
After that week, water lightly. Not a full soak, just a gentle drink. That gives the roots a reason to reach out into the new soil.
Then wait until the soil is fully dry before watering again.
Watch for these recovery cues:
- Wrinkling or curling leaves mean the plant is thirsty.
- Yellow or translucent leaves mean overwatering has started.
- Fresh green growth in the center means the roots have settled in.
Keep the plant in bright, indirect light for the first couple weeks. Direct sun can burn a stressed plant. After that, you can gradually move it back into more light.
Fertilizing too soon burns the new roots. Wait at least a month, and when you do feed, use a balanced succulent fertilizer at half strength.
In our research, most aloe plants recover within three to four weeks. If you're keeping yours outdoors, check the USDA plant hardiness map first. Aloe thrives outside mostly in warmer zones, typically zones 9 through 11.



