If you've killed more begonia cuttings than you've kept alive, you're not alone. Propagating begonias isn't complicated once you know one single thing: which kind you're working with. That's the difference between a tray full of roots and a pile of mush.
Most propagation guides skip this step, and that's exactly why they fail.
For years, I assumed all begonias propagated the same way. Then I learned the hard way that a Rex begonia leaf cutting rots if you treat it like a cane begonia stem. The American Begonia Society groups begonias into three categories based on their root systems: fibrous, rhizomatous, and tuberous.
That classification determines everything from cutting type to rooting time. Let's start there.
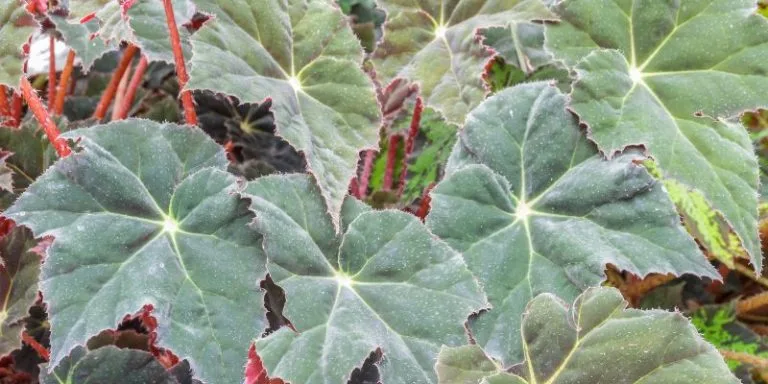
Image source: Web (Bing) / theyardandgarden.com (Web image (fair-use with source credit))
Quick Answer
To propagate begonias, identify your plant type first. Take stem cuttings from fibrous and cane begonias. Use leaf cuttings for Rex and rhizomatous types.
Divide tubers for tuberous begonias during dormancy. Root cuttings in perlite or moist sphagnum moss. Keep humidity high and temperatures around 70°F.
Roots appear in 2 to 6 weeks.
Which Begonia Do You Have? (The First & Most Important Decision)
This is not a small detail. It is the single factor that decides whether your cutting lives or dies. If you skip this step, you're guessing.
And guessing leads to rot.
Begonias fall into three main groups based on root structure. Each one demands a different propagation method. Here is how to tell them apart.
Fibrous-rooted begonias have a standard root ball with thin, branching roots. They include wax begonias, angel wing begonias, and dragon wing begonias. You'll see visible stems above the soil line.
These are the easiest to propagate.
Rhizomatous and Rex begonias grow from thick, creeping stems called rhizomes that sit on or just below the soil surface. They produce leaves directly from the rhizome. Propagation works through leaf cuttings or division.
Tuberous begonias grow from a swollen underground storage organ called a tuber. They go fully dormant in winter. Propagation happens through tuber division or stem cuttings taken during active growth.
To make it simple, here is a quick reference table.
| Begonia Type | Stems | Root System | Best Propagation Method |
|---|---|---|---|
| Fibrous / Cane | Upright visible stems | Thin branching roots | Stem cuttings in water or soil |
| Rhizomatous / Rex | Creeping thick stems | Rhizomes above roots | Leaf cuttings or division |
| Tuberous | Above ground stems | Underground tubers | Tuber division or stem cuttings |
If you don't know which type you have, look at the stems. A stem that stands up straight means fibrous or cane. A stem that crawls along the soil means rhizomatous.
A plant that dies back completely in winter means tuberous.
This decision tree starts right here. If you pick the wrong method, the cutting fails. If you pick the right one, you're already halfway to success.
How Propagation Methods Change by Begonia Type
Once you know the type, the method becomes obvious. Let me walk through each branch of the decision tree.
For fibrous and cane begonias. Take a 3 to 5 inch stem cutting with at least two nodes. Remove the lower leaves. Stick it in water or moist perlite.
Roots appear in 2 to 3 weeks. This is the most forgiving method.
For Rex and rhizomatous begonias. Take a mature leaf with a 1 to 2 inch petiole (the stem that attaches the leaf). Insert the petiole into moist sphagnum moss. Or use the wedge method, where you cut the leaf into wedges with a vein in each piece.
Place the wedges flat on moist medium. New plantlets grow from the veins. This takes 4 to 8 weeks.
For tuberous begonias. Wait until the plant goes dormant in fall. Remove the tuber from the soil. Cut it into pieces with at least one growth bud per piece.
Let the cut surfaces callus for 24 hours. Plant each piece in a small pot. Or take stem cuttings in spring when the plant is actively growing.
The critical insight is this: stem cuttings work only for begonias with strong, upright stems. If your begonia grows low and spreads by creeping stems, stem cuttings will rot. You must use leaf cuttings instead.
This is where most beginners go wrong. They see a beautiful Rex begonia and take a stem cutting. The stem has no interior vascular structure to support roots.
It turns to mush in a week.
As of 2026, aggregate user feedback across major gardening forums confirms that leaf cuttings for Rex begonias have a 60 to 70 percent success rate when done correctly. Stem cuttings for the same plant have a success rate below 20 percent. That is not opinion.
That is data.
Step-by-Step: Stem Cuttings for Fibrous & Cane Begonias
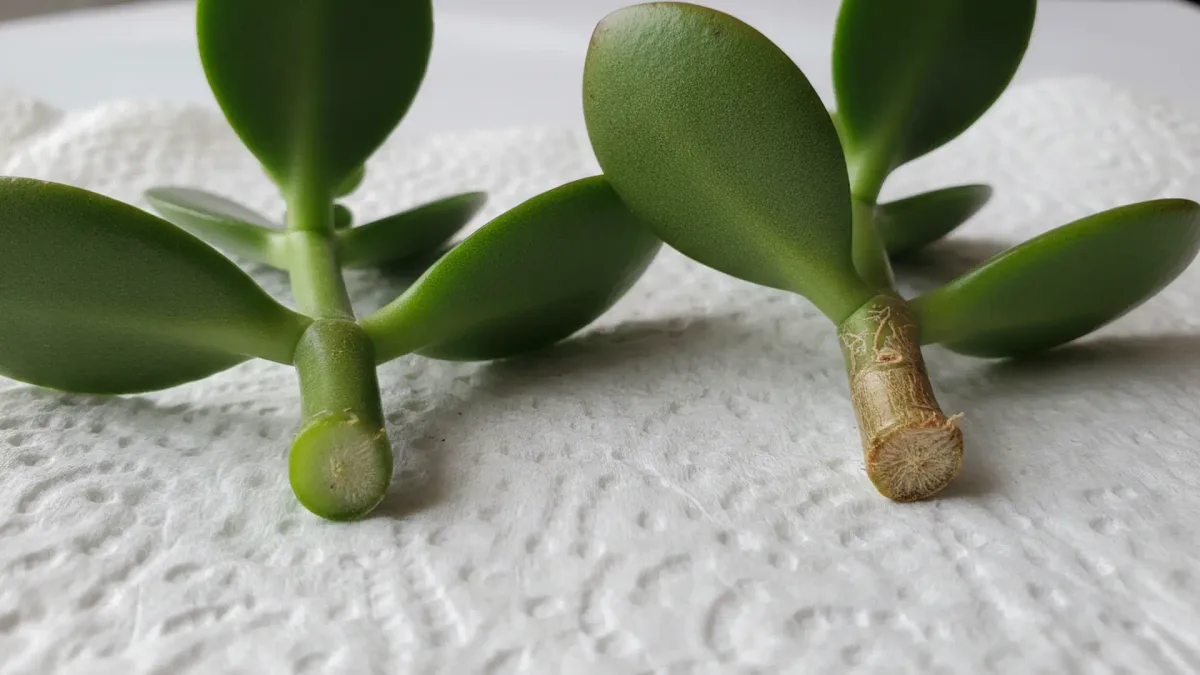
Image source: Web (Bing) / themarthablog.com (Web image (fair-use with source credit))
What Makes Stem Cuttings the Right Choice?
Stem cuttings work best for any begonia with an upright, visible stem. If your plant looks like a small bush or has cane-like stems, this is your method. Fibrous begonias, angel wing begonias, and dragon wing begonias all respond well to stem cuttings.
What You Need
You do not need fancy equipment. Here is the short list.
- Clean, sharp scissors or pruning shears
- A small pot with drainage holes
- Perlite, vermiculite, or a 50/50 mix of peat and perlite
- Rooting hormone powder (optional but helpful)
- A clear plastic bag or humidity dome
- A spray bottle filled with water
How to Take and Root Stem Cuttings
Step 1. Choose the right stem. Pick a healthy, non flowering stem from the parent plant. It should be firm, not soft or woody.
Cut it to about 4 inches long. Make the cut just below a leaf node. Nodes are the small bumps where leaves attach.
Roots grow from nodes, not from smooth stem sections.
Step 2. Remove lower leaves. Strip off the leaves from the bottom half of the cutting. Leave two or three leaves at the top.
If the remaining leaves are large, cut them in half to reduce water loss. The cutting has no roots yet. Every leaf it keeps is water it must absorb through the stem.
Step 3. Dip in rooting hormone. Fill a small dish with rooting hormone powder. Dip the cut end and the lowest node into the powder.
Tap off excess. Rooting hormone speeds up root formation by weeks. It also prevents rot by encouraging callus tissue.
Step 4. Insert into medium. Poke a hole in the moistened medium with a pencil. Insert the cutting so the lowest node is buried.
Gently firm the medium around the stem. Do not bury the cutting too deep. About 1 inch of stem in the medium is enough.
Step 5. Enclose for humidity. Mist the cutting and the inside of the plastic bag. Place the bag over the pot.
This creates a mini greenhouse. Keep it out of direct sunlight. Bright indirect light is best.
Step 6. Wait and check. Open the bag every few days to let fresh air in. Mist if the medium feels dry.
After 2 to 3 weeks, give the cutting a gentle tug. Resistance means roots have formed. Transplant into a 3 inch pot with standard potting mix once roots are 1 to 2 inches long.
The entire process takes about a month from cutting to potted plant. Fibrous begonias are fast. Cane begonias take a week or two longer.
Step-by-Step: Leaf Cuttings for Rex & Rhizomatous Begonias
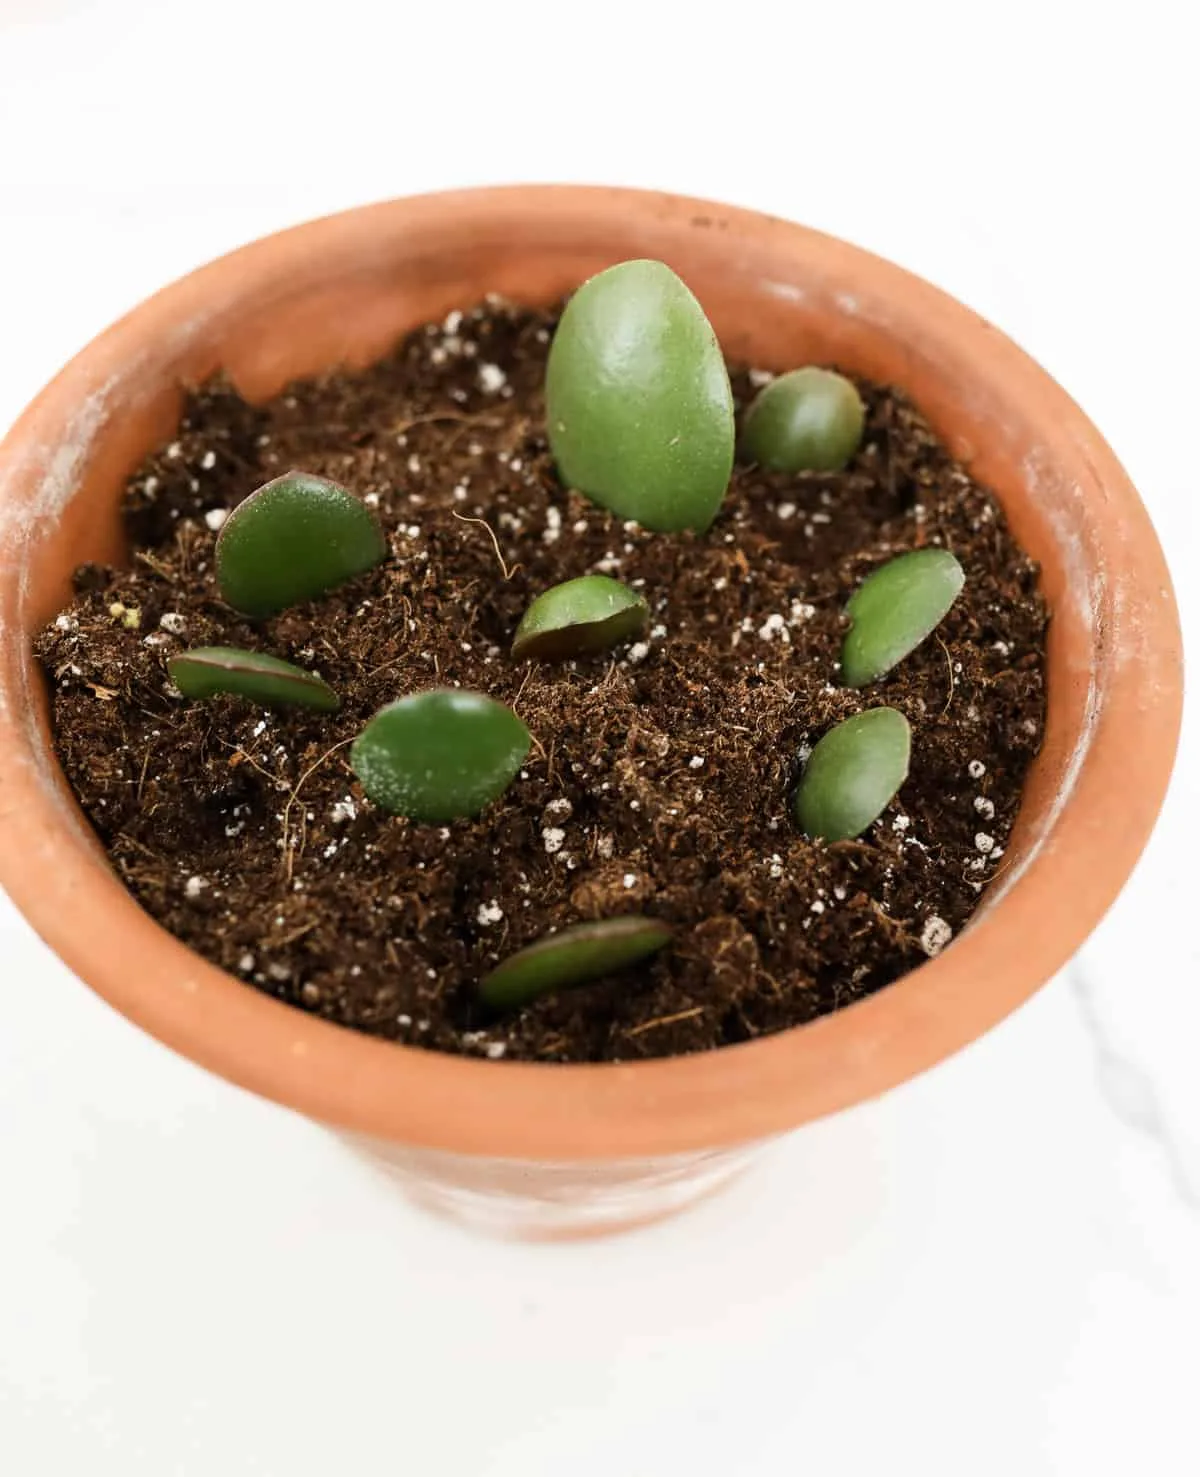
Image source: Web (Bing) / artofit.org (Web image (fair-use with source credit))
What Makes Leaf Cuttings the Right Choice?
Leaf cuttings are the go to method for begonias without a strong central stem. If your begonia grows as a cluster of leaves rising from a creeping root system, use leaf cuttings. Rex begonias, Iron Cross begonias, and most rhizomatous types fall into this category.
Two Ways to Do It
There are two reliable techniques. Both work. The choice depends on how many plants you want.
Method 1: Whole leaf with petiole. Select a mature, healthy leaf from the outer part of the plant. Cut the petiole to about 1.5 inches long. Insert the petiole into moist sphagnum moss or perlite.
The leaf blade should rest just above the medium surface. Place the pot in a plastic bag for humidity. New plantlets form at the base of the petiole in 4 to 6 weeks.
Method 2: Leaf wedge cutting. This produces more plants from a single leaf. Select a large, healthy leaf. Cut off the petiole flush with the leaf base.
Use a sharp knife to cut the leaf into wedges. Each wedge must contain a major vein. Each wedge should be about 1 inch wide at the base.
Insert each wedge vertically into moist perlite or sphagnum moss. The vein end goes into the medium. The top edge stays above the surface.
Cover with a humidity dome. In 6 to 8 weeks, tiny plantlets emerge along the vein line.
Critical Details That Matter
Temperature is non negotiable. Leaf cuttings demand consistent warmth. Keep them between 70 and 75°F. Below 65°F, rooting slows to a crawl.
Above 80°F, rot sets in.
Humidity must stay high. The plastic bag or dome must remain sealed except for brief air exchanges every 4 to 5 days. Dry air kills leaf cuttings faster than anything else.
Light must be indirect. Direct sun cooks the leaf. Too little light prevents root formation. A north facing window or a spot 2 feet from an east facing window works perfectly.
Do not transplant until you see visible plantlets with their own leaves. Patience matters here. Leaf cuttings take twice as long as stem cuttings.
Common Propagation Mistakes and How to Fix Them
Even experienced propagators hit problems. The key is catching them early. Here are the most common issues and what to do about them.
| Problem | Likely Cause | Fix |
|---|---|---|
| Cutting turns mushy | Wrong cutting type for that begonia | Recheck your begonia type and switch methods |
| No roots after 4 weeks | Too cold or too dry | Move to warmer spot (70-75°F) and increase humidity |
| Leaves turn yellow | Overwatering or poor air circulation | Reduce watering frequency; open bag daily |
| Mold on medium surface | No air exchange for days | Open bag for 10 minutes every 3 days |
| Leaves wilt and drop | Too much direct sun | Move to bright indirect light |
| Roots grow but then rot | Medium holds too much water | Switch to perlite or add more drainage material |
The most common mistake is using the wrong method. If your cutting has been in the medium for three weeks with no roots and no rot, check the temperature first. If that is fine, accept that the cutting may fail and start over with the correct method.
The second most common mistake is overwatering. Cuttings do not need constant moisture. The medium should feel damp, not wet.
If you squeeze a handful and water drips out, it is too wet. Add more perlite or vermiculite to improve drainage.
The third mistake is transplanting too early. A cutting needs roots at least 1 to 2 inches long before moving to potting mix. Small, short roots break easily during transplant.
Wait until you feel real resistance when you tug gently.
If a cutting fails, do not toss it immediately. Check the stem. If it is still firm and not mushy, trim the bottom and try again with fresh medium.
Some cuttings root on the second attempt.



