Fall is the season when most gardeners either do one of two things: they panic-clean every bed, or they just walk away. If you want to prepare vegetable garden for winter the right way, it's about making smart choices for your soil and your future harvest. Your region, your soil condition, and your goals for spring should decide how much work you actually need to do.
As of 2026, the USDA's revised Plant Hardiness Zone Map, released in 2023, shows that nearly half the country is now in a warmer half-zone than in 2012. That means fall tasks that used to be locked to a calendar date are now flexible by a couple of weeks. So the real key is reading your local frost date and your garden's actual state, not following a generic November list.
Let's get into it.
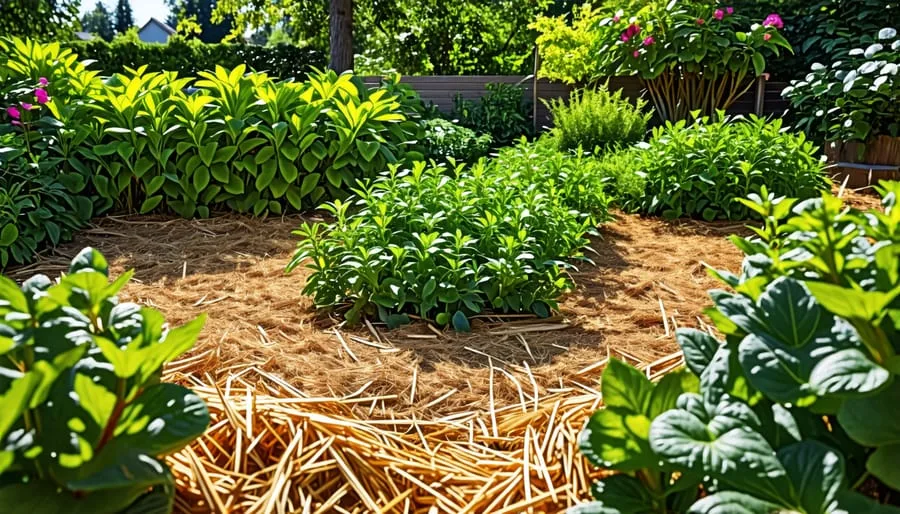
Image source: Web (Bing) / gardenoholic.com (Web image (fair-use with source credit))
What "Winterizing" Actually Means for Your Garden
Winterizing isn't a single chore. It's a decision process with three possible goals: protecting soil, preparing for spring, or keeping crops alive through the cold. Most gardens need a mix of all three, but the mix depends on your conditions.
Think about it like this. If you want an early garlic harvest next June, you need to plant cloves now and mulch them deeply. If you want to fix poor soil, you'll sow a cover crop in September or October.
If you just want to stop weeds from taking over, a simple layer of mulch does the job.
The old-school advice of "strip everything bare and till it flat" is now considered harmful for soil health. Bare soil erodes, loses nutrients, and invites winter weeds. Modern research from university extension programs shows that covered soil overwinters better, both in terms of structure and biology.
So the first question to ask yourself isn't "what should I do?" It's "what does this bed need?" A bed that grew tomatoes all summer needs different treatment than an empty bed that's been fallow since August. We'll walk through those branches step by step.
In our research, the most effective winterization plans are the ones that keep the soil biology working through the cold. Compost, cover crops, and mulch all feed the microbes that break down organic matter. That's why a one-size-fits-all checklist usually fails.
It treats every bed the same, but your garden isn't a single ecosystem.
Step 1: Zone In on Your Climate and Frost Date
Your first frost date is the starting gun for almost every fall task. It tells you when to plant garlic, when to sow cover crops, and when to pull your tender harvest. The USDA Plant Hardiness Zone Map gives you a broad region, but the exact frost date varies by town and elevation.
Here's the simple way to get your number. Search for your state's cooperative extension office. They publish local frost date tables for your specific county.
The National Oceanic and Atmospheric Administration (NOAA) also maintains historical weather data that tracks first frost dates over the last 30 years. Use both and you'll have a solid window.
If your average first frost is around October 15, like much of Zone 5, you need to plant garlic and cover crops in late September or early October. If you're in Zone 8, with a first frost around November 20 or even later, you can plant cool-weather crops in November and harvest through winter. The whole game changes based on that single date.
| USDA Zone | Average First Frost Date | Recommended Fall Actions |
|---|---|---|
| 3-4 | Late September to early October | Plant garlic in September, mulch heavily, use cold frames for greens |
| 5-6 | October 15 to November 1 | Plant garlic in October, sow cover crops by early October |
| 7-8 | November 15 to December 1 | Plant garlic in November, grow winter vegetables under row covers |
| 9-10 | December to January | Plant garlic and greens all winter, light mulch only |
Don't forget microclimates. A bed against the south side of your house will stay warmer than an exposed bed at the bottom of a hill. Low spots collect cold air, which makes them more prone to frost damage.
Walk your property and note those pockets before you decide what to plant.
Step 2: Decide Your Bed Strategy — Cleanup, Cover Crop, or No-Till
Every bed needs one of three treatments this fall. The right choice depends on what grew there this season and what you're planting next spring.
Option 1: Full Cleanup. For beds with heavy pest or disease pressure, like tomato blight or cucumber beetles, cleanup is safest. Remove all plant debris, pull weeds, and either compost the healthy material or bag the infected stuff. Leave the soil bare for a few days, then top with a light mulch.
This interrupts the pest lifecycle and gives you a clean slate.
Option 2: Cover Crops. For empty beds that will rest until spring, sow a cover crop. Winter rye, hairy vetch, and crimson clover are popular choices. They protect the soil from winter rain, fix nitrogen, and add organic matter when you till them under in spring.
Per USDA Natural Resources Conservation Service, winter rye can be seeded at a rate of 1 to 2 pounds per 1,000 square feet. That's cheap insurance against soil loss.
Option 3: No-Till and Mulch. If you're tired of tilling and want to feed your soil, skip the cover crop and lay down compost or shredded leaves directly on top of the soil. Cardboard topped with mulch works well for suppressing weeds. This is a low-effort option that preserves soil structure and worm activity.
| Strategy | When to Use | Time Needed | Best Cost |
|---|---|---|---|
| Cleanup | High pest/pressure or disease | 2-3 hours per garden | Free |
| Cover crop | Large empty beds, soil building | 1 hour for seeding | $5-15 for seed |
| No-Till / Mulch | Raised beds, limited time | 30 minutes per bed | Free if using leaves |
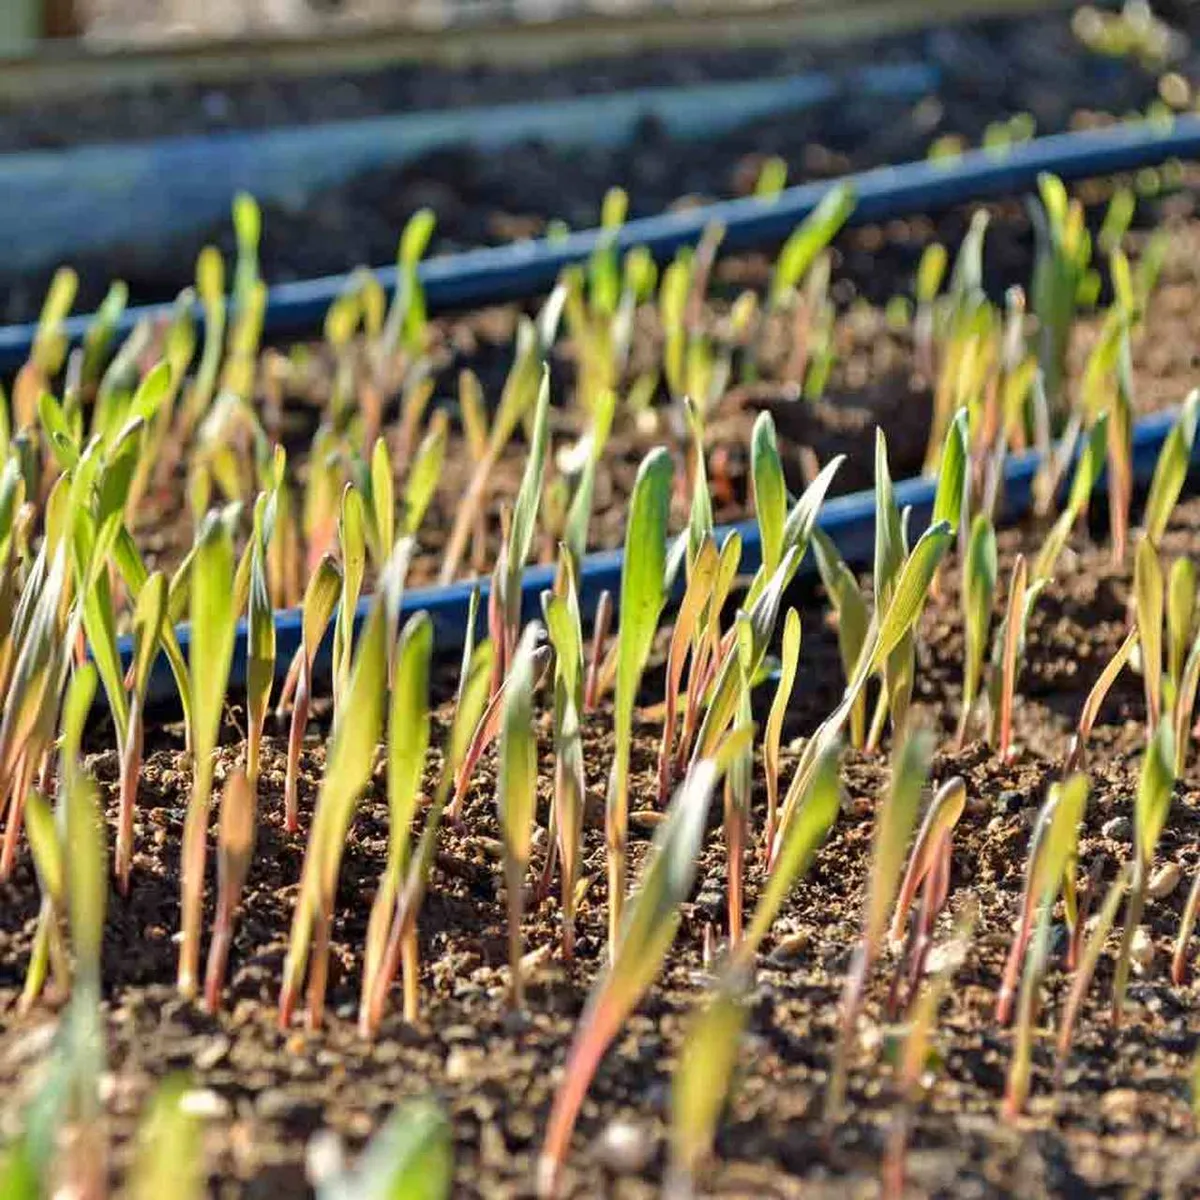
Image source: Web (Bing) / buncombemastergardener.org (Web image (fair-use with source credit))
Here's the decision rule. If you had a disease problem, don't cover crop that bed. The pathogen will overwinter.
If your soil is compacted, use a tillage radish cover crop to break it up. If you're lazy (in a good way) and have access to fall leaves, go no-till with a thick leaf mulch.
Step 3: Plant What Needs a Head Start
Fall planting isn't just for spring flowers. Several vegetables actually need winter cold to trigger their lifecycle, and others simply grow slowly through the cool season and burst ahead in spring.
Garlic is the most foolproof overwintering crop. You plant individual cloves in fall, they root before the ground freezes, then they go dormant until spring. This gives you large bulbs by early summer. In our research, garlic planted about 4 to 6 weeks before the first frost date has the highest success rate.
Plant cloves with the pointed end up, about 2 to 3 inches deep and 6 to 8 inches apart. After planting, cover the bed with 4 inches of straw or shredded leaves.
Onions can also be overwintered from sets. They're smaller and less reliable than garlic, but they yield early scallions in spring. Plant them in late October in northern zones, or December in the south. Aggregate reports from experienced growers say variety selection matters more than timing.
Look for short-day varieties specifically bred for overwintering.
Greens like spinach, kale, and mache are hardy winter winners. Spinach is tough enough to survive temperatures down to 15°F when protected. Kale becomes sweeter after a frost, so it's a great choice for cold frames. Plant these in early fall so they get established before the real cold arrives.
If your zone has a hard freeze, aim to get these plantings in the ground no later than 6 weeks before that average first frost date. That gives roots time to develop. If you miss the window, you can still plant garlic slightly later, then mulch a bit heavier, but the bulbs may be smaller.
The tradeoff is still worth it.
Step 4: Protect What Stays Alive
Once your overwintering crops are in the ground, you need to keep them alive through the worst of winter. This is where mulch, row covers, and cold frames come in. Each has a different job.
Mulch is the baseline for almost everything. A 2 to 4 inch layer of straw or shredded leaves insulates the soil. It prevents the freeze-thaw cycle from heaving garlic bulbs out of the ground. It also traps moisture and suppresses weed seeds.
In our research, gardeners who skip mulch in northern zones see significantly more winter-kill, especially in years with heavy snowfall.
Row covers are the lightest form of protection. They're made of spun polyester or polypropylene and come in different weights. A lightweight cover can protect down to about 28°F, while a heavier cover rated for winter can handle temps down to 20°F. Drape them directly over your crops or use hoops to create a small tunnel.
Just make sure they're anchored well, because wind can rip them in a single night.
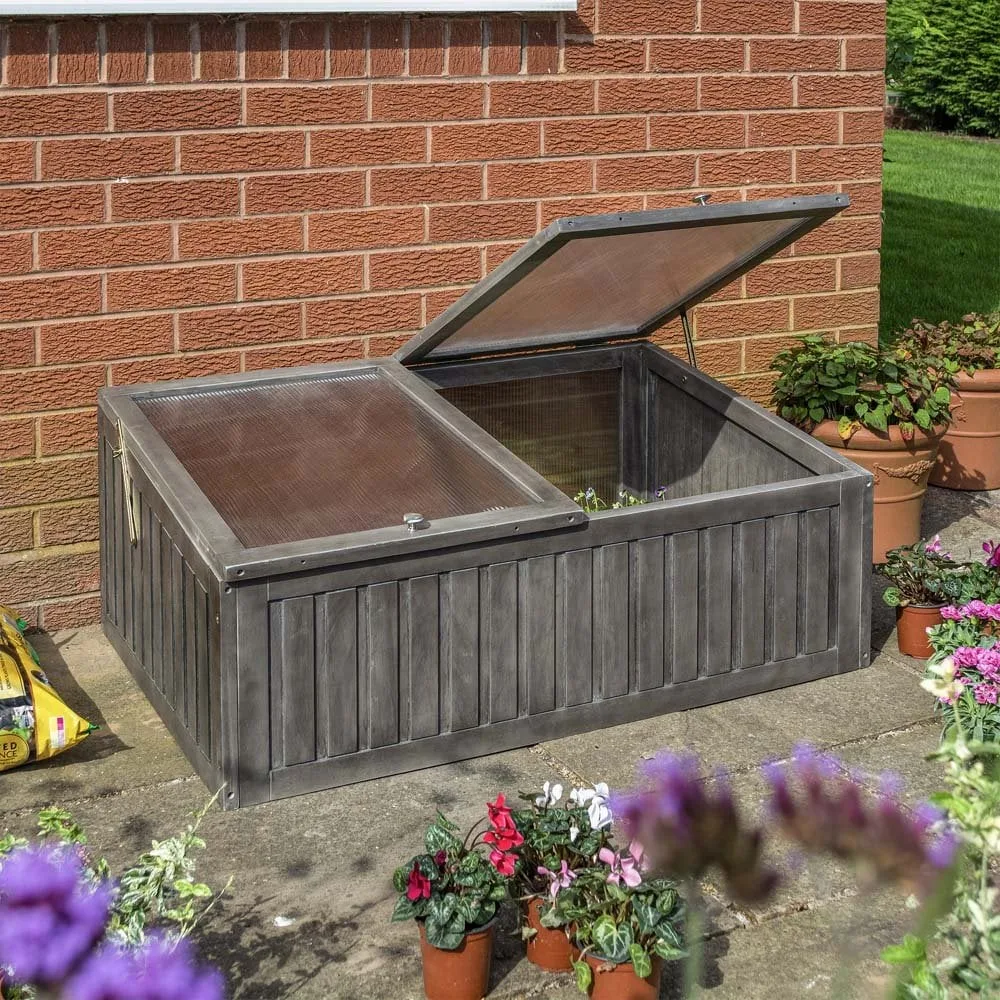
Image source: Bing (Web (fair-use with source credit))
Cold frames are the heavyweight option. They're essentially a box with a translucent lid that traps solar heat. On a sunny day, a cold frame can be 15 to 20 degrees warmer than the outside air. That's enough to keep greens like spinach and arugula growing through most winters.
The downside is cost and setup time. But if you have a few raised beds, a simple cold frame paid for itself in fresh salads by February.
If you're in Zone 6 or warmer, mulch is probably all you need for garlic. If you're in Zone 5 or colder, consider adding a row cover over your greens. If you want to harvest fresh vegetables from December through March, invest in a cold frame or two.
Match the protection level to how crazy your winters get and how much effort you want to put in.



