If you are staring at a patch of bare dirt and wondering how to prepare vegetable garden for planting this season, you are not alone. The difference between a garden that struggles and one that thrives comes down to what you do in these first few weeks. Most beginners rush straight to planting and wonder why nothing grows well.
The truth is that soil preparation determines about 80 percent of your harvest before a single seed goes in the ground. The USDA Hardiness Zone map tracks average last frost dates across the country, and that date is your starting clock. Let us walk through exactly what needs to happen between now and planting day.
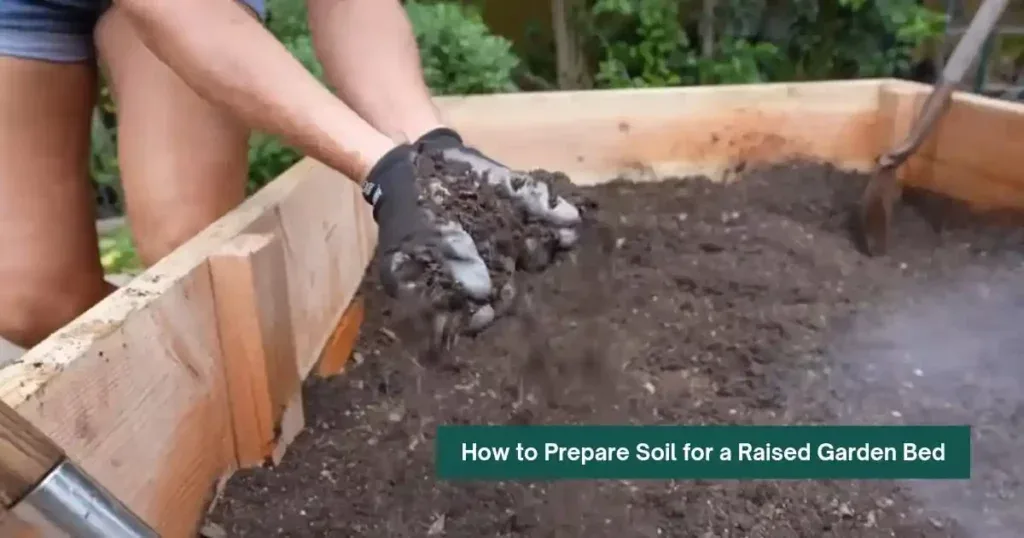
Image source: Bing (Web (fair-use with source credit))
Quick Answer
Test your soil first. Choose your garden style based on that result. Amend with compost and the right minerals.
Wait until the soil reaches the right temperature for your crops. Plant at the correct depth and spacing. Water deeply after planting.
Mulch immediately to hold moisture and block weeds.
Before You Dig: What Kind of Garden Are You Actually Starting?
You cannot prepare a garden until you decide what kind of garden it will be. The same plot of land works differently depending on whether you plant directly in the ground, build raised beds, or use containers. Each option changes how you amend the soil, how deep you dig, and how much water you need.
Ask yourself three questions before you touch a shovel.
How is the drainage where you live? Walk outside after a heavy rain. If water pools and sits for more than a few hours, your soil drains poorly. Clay soils hold water like a sponge.
Sandy soils drain so fast that nutrients wash away. Loam sits in the middle and drains well. Your soil texture determines how much organic matter you need to add.
How much sun does the spot get? Most vegetables need at least six to eight hours of direct sunlight per day. Count the hours from spring through early summer, not just one random day in April. Trees leaf out later and can block more light than you expect.
What do you actually want to grow? Deep rooted crops like tomatoes and carrots need loose soil at least twelve inches deep. Shallow rooted crops like lettuce and radishes can manage in six inches. Leafy greens tolerate some shade.
Peppers and melons demand full sun and warm soil. Your crop list changes your prep plan.
If you skip these questions, you will prepare a garden that fights against your site instead of working with it.
The Quick Soil Tests That Decide Everything
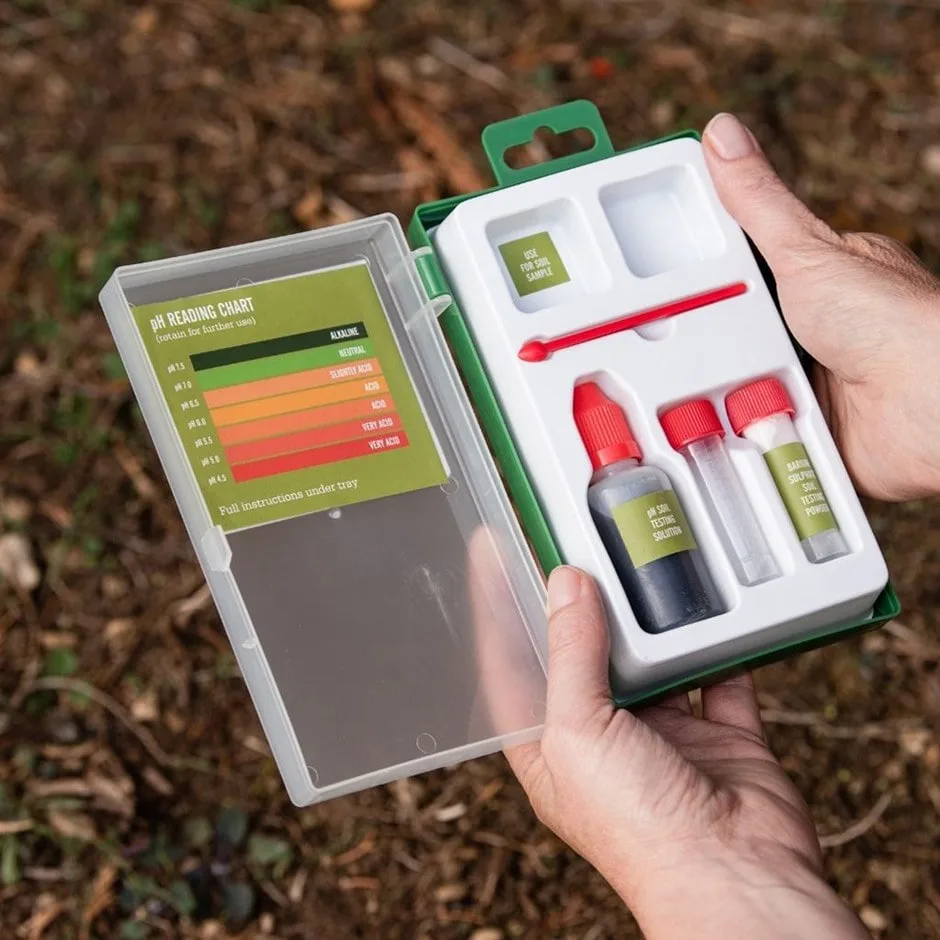
Image source: Bing (Web (fair-use with source credit))
You cannot fix your soil until you know what is wrong with it. Guessing costs you time and money. A proper soil test costs less than a bag of fertilizer and tells you exactly what to add.
Start with a pH test. The pH scale runs from zero to fourteen, and most vegetables grow best between 6.0 and 7.0. Below 6.0 means acidic soil that locks up phosphorus and calcium.
Above 7.0 means alkaline soil that traps iron and zinc. A simple home test kit gives you a reading in about ten minutes.
Then check your soil texture. Grab a handful of moist soil from the garden. Squeeze it in your fist.
If it holds together like clay and feels sticky, you have heavy clay soil. If it crumbles immediately and feels gritty, you have sandy soil. If it forms a loose ball that breaks apart when you poke it, you have loam.
That is the gold standard.
Here is how each type changes your prep:
- Clay soil needs organic matter to improve drainage and prevent compaction. Add two to three inches of compost and coarse sand if water sits on top.
- Sandy soil needs organic matter to hold moisture and nutrients. Add three to four inches of compost or aged manure.
- Loam soil needs a light refreshment of one to two inches of compost each season.
Aggregate reviews from university extension services confirm that skipping this step leads to the most common garden failures. The soil needs to be tested every two to three years because pH and nutrient levels change.
The Decision Tree: Raised Bed, In-Ground, or Containers?
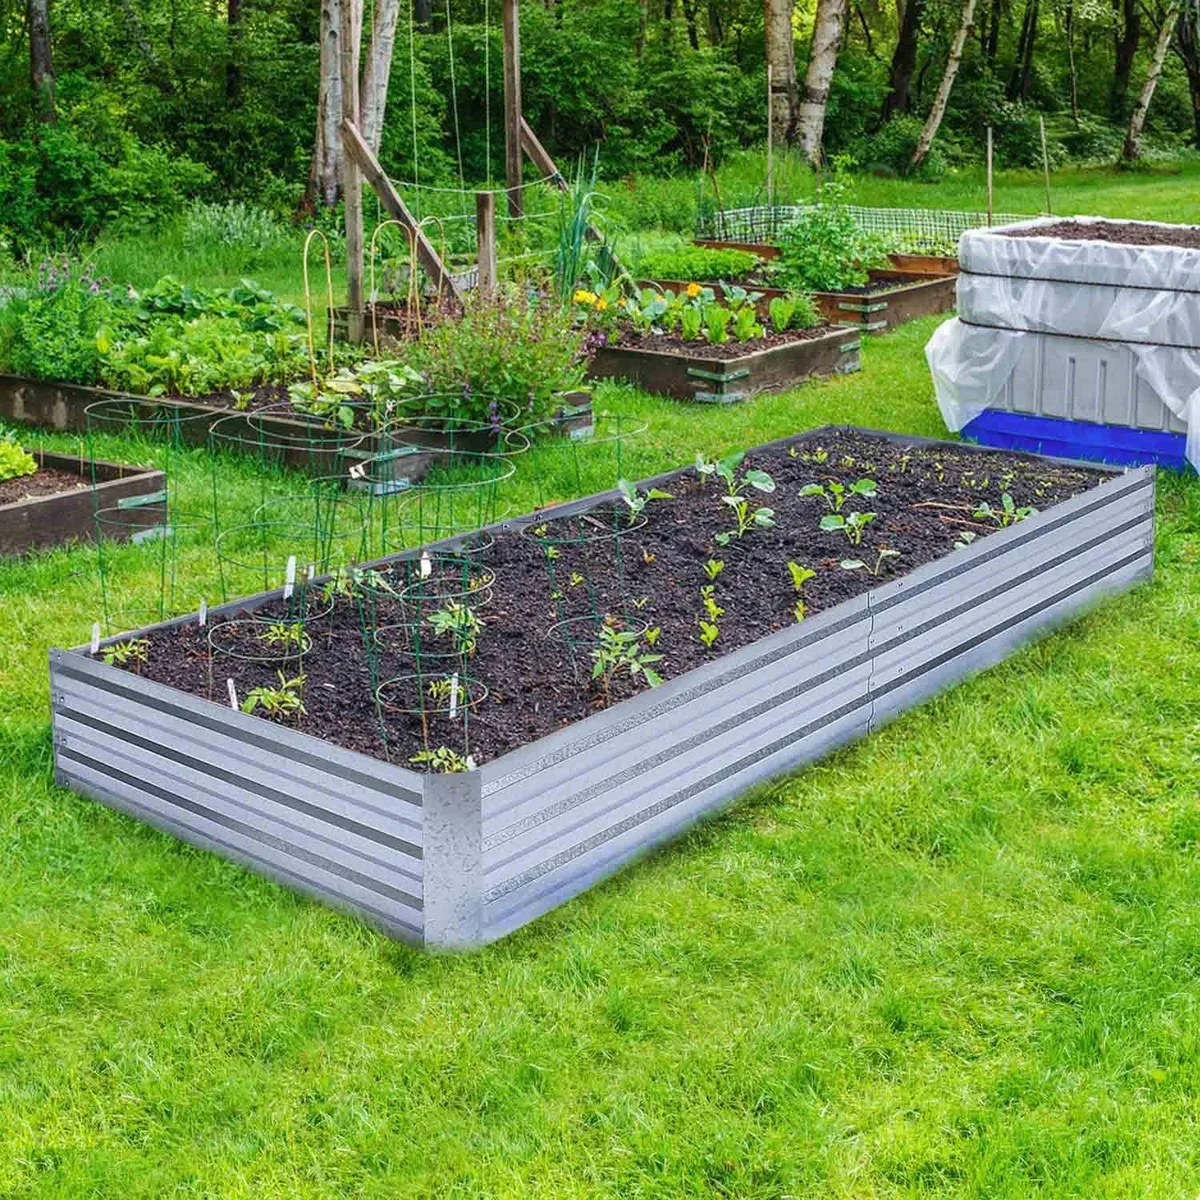
Image source: Bing (Web (fair-use with source credit))
Your soil test results tell you which garden style works best. Here is the decision tree.
If your soil test shows good drainage and pH between 6.0 and 7.0, go with in-ground beds. This is the simplest and cheapest option. You dig directly into the existing soil, add compost, and plant. It works well if you have decent native soil and the space to dig.
If your soil test shows poor drainage, heavy clay, or contaminated soil, build raised beds. Raised beds lift the soil above ground level so water drains freely. They also let you control the soil quality completely by filling them with a tested mix. Standard raised beds stand twelve to eighteen inches tall, which is deep enough for almost all vegetables.
If you have no in-ground space at all, use containers. Balconies, patios, and small yards work fine with pots and fabric grow bags. The tradeoff is more watering and less root space. Most vegetables need containers at least ten inches deep.
Tomatoes and peppers need eighteen inches minimum.
Here is a quick comparison table to help you decide:
| Garden Style | Best For | Soil Work Needed | Upfront Cost |
|---|---|---|---|
| In-ground | Good native soil, large space | Moderate (amend existing soil) | Low |
| Raised bed | Poor soil, drainage problems | Minimal (fill with bought mix) | Medium to high |
| Containers | No yard, small spaces | Minimal (bagged potting mix) | Low to medium |
If your soil is compacted and rocky, skip the in-ground option. You will fight the ground all season and get disappointing results. Raised beds give you a fresh start above the problem.
Step-by-Step: Prepping the Soil for Planting
Once you know your garden style, the actual prep work begins. The steps differ depending on whether you go in-ground, raised bed, or containers.
If You Are Prepping an In-Ground Bed
Clear all weeds, grass, and debris from the area. Turn the soil over with a garden fork to a depth of about ten inches. Break up large clumps with a rake.
Spread two inches of compost over the surface and work it into the top six inches of soil.
If your soil test showed low pH, add lime at the rate recommended by the test. For most clay soils, that means about five pounds per hundred square feet to raise pH by one point. Mix it in thoroughly.
Water the bed and let it rest for one to two weeks before planting.
If You Are Prepping a Raised Bed
Set the frame in its final location on top of bare ground. Do not install a bottom. Fill the bed with a mix of sixty percent topsoil and forty percent compost.
Some gardeners add a layer of coarse sand or perlite at the bottom for extra drainage if the local soil is heavy.
Level the soil with a rake. Water it thoroughly and let it settle for a day or two. The soil will drop by a couple of inches.
Top it off with more mix before planting. Do not walk on the soil inside the bed once it is full.
If You Are Prepping Containers
Fill each container with a high quality potting mix. Do not use garden soil from the yard. It compacts in pots and prevents drainage.
Leave about an inch of space at the top of each pot for watering.
Mix in a slow release organic fertilizer at the rate listed on the package. Container soil loses nutrients faster than in-ground or raised beds. Water the pots until water runs out the drainage holes.
Let them drain completely before planting.
Right Before Planting: Timing, Soil Temperature, and Hardening Off
Planting too early kills more gardens than any pest or disease. The air temperature can feel warm, but the soil temperature tells the real story.
Use a soil thermometer and check the temperature at two inches deep in the morning. Different crops need different minimum soil temperatures to germinate.
- Cool season crops like peas, lettuce, and carrots germinate when soil reaches 40°F.
- Warm season crops like beans, squash, and corn need at least 60°F.
- Heat lovers like peppers, melons, and okra demand 70°F or higher.
Check the soil temperature for three consecutive mornings before you plant. If it has not reached the minimum for your crop, wait. Planting into cold soil causes seeds to rot and transplants to stall.
If you are using transplants from a nursery, harden them off first. That means gradually exposing them to outdoor conditions over seven to ten days. Start with a few hours of shade, then partial sun, then full sun. Bring them inside if frost threatens.
Transplants that skip this step often turn white with sunburn and stop growing.
The last spring frost date from your local extension service is a guideline, not a guarantee. Watch the ten day weather forecast before planting anything tender. A late cold snap can wipe out a whole bed of tomatoes.
Mistakes to Avoid That Ruin New Gardens
Even with perfect soil preparation, a few common errors can undo all your hard work. Recognizing them early saves you a season of frustration.
Planting too early is the biggest mistake. Warm soil matters more than warm air. Aggregate user reports from extension services show that cold soil causes seeds to rot and transplants to stall for weeks. Check that soil thermometer for three consecutive mornings before you put anything in the ground.
Over-tilling destroys soil structure. Tilling when the soil is wet creates hard clods that turn into concrete when they dry. It also kills earthworms and beneficial fungi. If you till, wait until the soil crumbles easily in your hand.
Better yet, switch to no-till methods after the first season.
Adding too much nitrogen causes leafy growth with no fruit. Fresh manure and high nitrogen fertilizers push tomatoes, peppers, and squash to grow huge green plants that produce little to nothing. Use a balanced organic fertilizer or stick with compost.
Ignoring the drip irrigation setup until after planting makes watering harder. Installing soaker hoses or drip tape before you plant means you bury them under mulch and water the roots directly. Trying to add them later disturbs roots and wastes time.
Forgetting to harden off transplants kills more seedlings than frost. Plants raised indoors need seven to ten days of gradual outdoor exposure. Skipping this step causes sunburn, wilting, and stunted growth that sets harvest back by weeks.
Frequently Asked Questions About Preparing a Vegetable Garden
How long does soil preparation take?
Plan for two to four hours for a standard ten by ten foot in-ground bed. Raised beds take less time because you skip the digging. Containers take about an hour for a dozen pots.
The soil test takes ten minutes plus shipping time if you mail it to a lab.
Do I need to remove grass before planting?
Yes. Grass and weeds compete with vegetables for water and nutrients. Smother the grass with cardboard or landscape fabric for four to six weeks before planting.
You can also dig it out, but that disturbs soil structure more.
Can I plant right after adding compost?
Wait at least one week after mixing in compost before planting. Fresh compost can release ammonia that burns tender roots. Water the bed thoroughly and let it settle.
This also gives soil microbes time to start breaking down the organic matter.
Should I add fertilizer to the soil before planting?
Only if your soil test shows a deficiency. Most vegetables do fine with just compost added at planting time. Adding extra fertilizer without a test wastes money and can burn roots.
Follow the test recommendations exactly.
What if I missed the spring planting window?
Many vegetables still grow from a summer planting. Beans, squash, cucumbers, and carrots all mature in 50 to 70 days. Use transplants instead of seeds to save time.
Water more frequently in hot weather and mulch heavily to keep the soil cool.
How often should I test my soil?
Every two to three years is enough for most home gardens. Test more often if you notice poor growth, yellowing leaves, or if you add large amounts of amendments each season. Fall is the best time to test so you can amend before spring.



