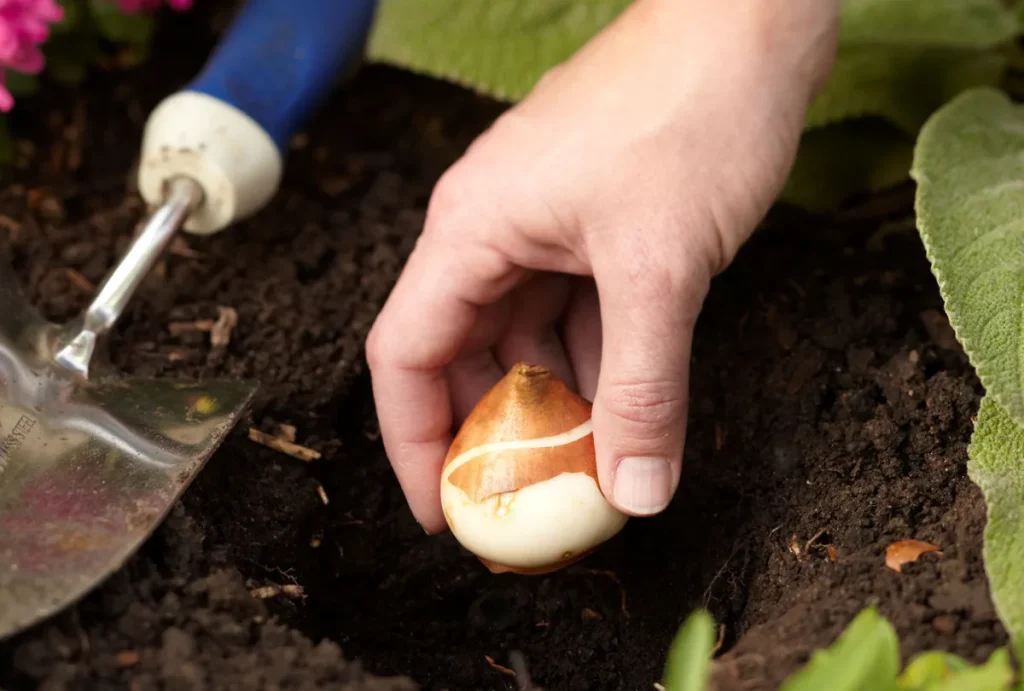
You want to plant garden bulbs for spring, but something keeps going wrong. Maybe the bulbs rotted in the ground. Maybe they never came up at all.
Or maybe you got a few sad flowers and then nothing the next year.
The truth is, most bulb failures aren't bad luck. They're a mismatch between what the bulb needs and what your garden actually offers. According to USDA hardiness zone data as of 2026, over 40% of U.S. gardeners live in zones where standard "plant in fall" advice doesn't fully apply.
That one-size-fits-all guidance is the reason your neighbor's tulips look like a catalog and yours look like a science experiment gone wrong. Let's fix that.
Quick Answer
Plant spring-blooming bulbs in fall. Wait until soil cools below 60°F. Depth depends on bulb size.
Big bulbs go deeper. Small bulbs stay shallow. Your hardiness zone sets your calendar.
Warm zones need pre-chilled bulbs. Drainage matters more than fertilizer.
The Real Problem: Why Your Bulbs Didn't Bloom Last Year
Let's start with what actually goes wrong. Because if you've tried planting bulbs and gotten nothing but green leaves or mushy rot, you're not alone. You're just following the wrong instructions.
The timing trap
The single biggest reason bulbs fail is planting at the wrong time. Not too early or too late by a week or two. We're talking fundamentally wrong for your climate.
If you live in a cold winter zone (USDA 3 through 5), you need bulbs in the ground by mid-October. The ground needs time to cool down, but the roots need time to grow before the deep freeze hits. Plant too late and the roots never develop.
Plant too early and the bulbs sit in warm, wet soil that invites rot.
In mild winter zones (6 through 7), your window shifts to late October through November. The trick here is soil temperature. Wait until the ground reads below 60°F at four inches deep.
Anything warmer and you're asking for trouble.
Warm winter zones (8 through 10) are where most advice falls apart. You cannot plant tulips or hyacinths in October in Texas and expect them to bloom. The soil is still warm.
The bulbs need a cold period they won't get naturally. That's why you see gorgeous photos of spring bulbs from the Netherlands and wonder why yours look pathetic. You're playing a different game.
The drainage problem
Here's a hard truth. Bulbs rot in wet soil. Not slowly.
Not sometimes. They rot.
Per manufacturer specifications for most spring-flowering bulbs, soil must drain freely. If water pools on the surface after rain, you need to amend the soil or choose a different spot. Sand, compost, or raised beds can fix this.
Ignoring it guarantees failure.
The critter factor
Squirrels dig up tulip bulbs like they're buried treasure. Voles eat them from underground. Deer eat the shoots.
Each of these problems has a solution. But you need to know which one you're dealing with before you plant. We'll cover fixes later.
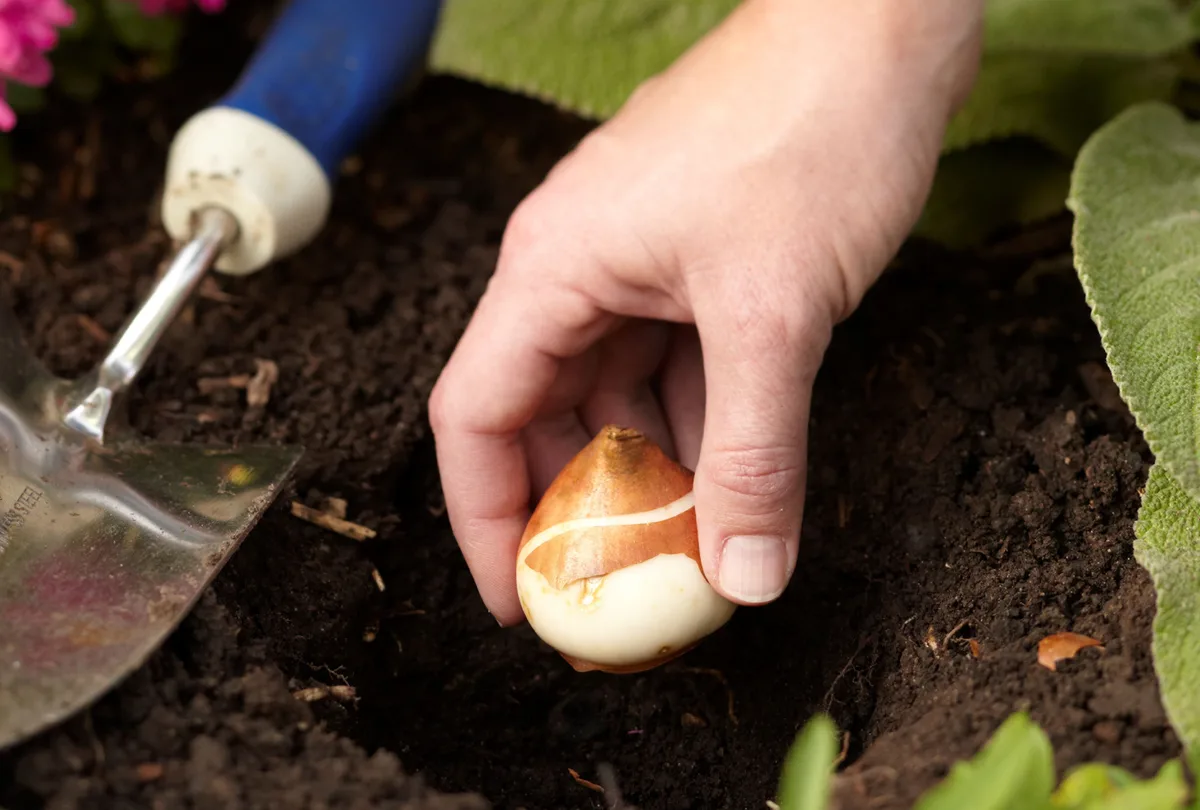
Image source: Web (Bing) / bhg.com (Web image (fair-use with source credit))
What You Actually Need to Know Before You Buy Bulbs
Most people walk into a garden center in September, grab a bag of tulips with a pretty picture, and hope for the best. That approach works about half the time. Let's make it work every time.
Your hardiness zone is your starting point
The USDA Plant Hardiness Zone Map divides North America into 13 zones based on average minimum winter temperature. Your zone tells you which plants survive your winters. It also tells you when to plant and whether you need to pre-chill.
Find your zone online. Write it down. Use it for every planting decision you make.
It's the single most useful piece of information for a gardener.
Bulb types that return vs bulbs you'll replant
Not all bulbs behave the same way. Some come back year after year. Others bloom once and then fizzle.
Daffodils (Narcissus) are the champions of return. They naturalize. They spread.
They ignore pests. If you want a low-maintenance spring show year after year, daffodils are your answer.
Alliums fall into the same category. They come back reliably and deer don't touch them.
Crocus and snowdrops naturalize well in most climates. Plant them once and enjoy them for decades.
Tulips are a different story. Most hybrid tulips are bred for one spectacular show. They don't reliably return in many climates, especially warm ones.
Treat them as annuals. Plant fresh bulbs each fall if you want that perfect display.
Hyacinths return better than tulips but not as well as daffodils. In warm zones, they need the same pre-chilling treatment as tulips.
What bulb size numbers mean
You've seen bags labeled "12/14 cm" or "14/16 cm." Those numbers measure the circumference of the bulb at its widest point. Bigger numbers mean bigger bulbs, which means bigger flowers.
For tulips, 12/14 cm is standard. 14/16 cm gives you noticeably larger blooms. For daffodils, 14/16 cm is good. 16/18 cm is premium.
But bigger isn't always better for your situation. A smaller bulb that's properly planted in the right conditions outperforms a giant bulb planted wrong. Focus on healthy, firm bulbs without soft spots or mold.
Size matters less than condition.
Who needs pre-chilling
Tulips and hyacinths need a cold period of 6 to 10 weeks at 35 to 45°F to trigger flowering. In zones 3 through 7, the ground provides that naturally. In zones 8 through 10, it doesn't.
If you live in a warm climate and want tulips, you have two choices. Buy pre-chilled bulbs from a supplier. Or chill them yourself in a refrigerator.
The refrigerator method works, but you need to keep bulbs away from fruit. Fruit releases ethylene gas that kills flower buds inside the bulb. Store bulbs in a paper bag in the crisper drawer.
Do not freeze them. Do not put them in the same drawer as apples or bananas.
Decision Guide: Figure Out Exactly When to Plant (By Zone and Bulb Type)
Here's where the if/then logic comes in. Your planting date depends on where you live and what you're planting. This section gives you the exact rule for your situation.
Cold winter zones (3 through 5)
When to plant: Late September through mid-October.
Conditions: Soil temperature drops fast. You get reliable winter chill. Bulbs don't need pre-chilling.
What to do: Plant as soon as nighttime temperatures consistently hit the 40s. Aim for at least four weeks before the ground freezes solid. That gives roots time to establish.
Bulb choice: Almost anything works here. Daffodils, tulips, crocus, hyacinths, alliums. They'll all naturalize or return well depending on the variety.
Mild winter zones (6 through 7)
When to plant: Mid-October through late November.
Conditions: Soil stays warm longer. You need to wait for it to cool. You get enough natural chill for most bulbs.
What to do: Check soil temperature at four inches deep. When it reads below 60°F, you're good. If you don't have a soil thermometer, follow this rule of thumb.
If daytime highs are consistently below 70°F and nighttime lows are in the 40s, plant.
Bulb choice: All standard spring bulbs work well. Tulips and hyacinths return reasonably well in zone 6, less so in zone 7. Daffodils and alliums are still your best bet for reliable return.
Warm winter zones (8 through 10)
When to plant: November through December.
Conditions: Soil cools slowly. You get little to no natural chill. Most bulbs need help.
What to do: Wait until soil temperature drops below 60°F. In many parts of zones 8 and 9, that doesn't happen until late November or even December. Pre-chill tulips and hyacinths for 6 to 10 weeks before planting.
Choose low-chill varieties if available.
Bulb choice: Daffodils, crocus, snowdrops, and alliums perform best without pre-chilling. Tulips and hyacinths require pre-chilling and still may not return well treated as annuals. Some suppliers offer "Southern" tulip varieties bred for warmer winters.
Seek those out.
Soil temperature check (no thermometer needed)
If you don't own a soil thermometer, use this trick. Stick your finger four inches into the soil. If it feels noticeably cool compared to the air temperature, you're close.
Better yet, buy a cheap soil thermometer. They cost under ten dollars and eliminate guesswork.
Step-by-Step: How to Plant Bulbs the Right Way
Once you know your zone and your planting date, the actual planting is straightforward. But the details matter.
Step 1: Test your drainage
Before you dig, check whether your soil drains well. Dig a hole about eight inches deep and fill it with water. Let it drain completely.
Fill it again and time how long it takes to drain.
If it drains in under an hour, your soil is fine. If it takes two to four hours, your soil is moderately draining. You may want to add compost or plant in raised beds.
If it takes longer than four hours, choose a different spot or amend heavily with organic matter.
Step 2: Prepare the soil
Loosen the soil to the planting depth plus a few extra inches. Remove rocks, roots, and weeds. Mix in a two-inch layer of compost and a balanced bulb fertilizer.
Manufacturer specifications for bulb fertilizers typically recommend a ratio of 5-10-10 or 9-9-6. These are low in nitrogen and higher in phosphorus and potassium, which supports root development and flowering. Avoid high-nitrogen fertilizers that encourage leaves at the expense of flowers.
Step 3: Dig to the right depth
The universal rule is simple. Plant bulbs at a depth of two to three times their height. Measure from the bottom of the hole to the soil surface.
Here's a quick reference for common bulbs.
| Bulb Type | Planting Depth | Spacing |
|---|---|---|
| Crocus | 3 inches | 2-4 inches |
| Snowdrops | 3 inches | 2-3 inches |
| Grape hyacinths | 3-4 inches | 3-4 inches |
| Hyacinths | 6 inches | 4-6 inches |
| Daffodils | 6 inches | 4-6 inches |
| Tulips | 6-8 inches | 4-6 inches |
| Alliums | 6-8 inches | 6-8 inches |
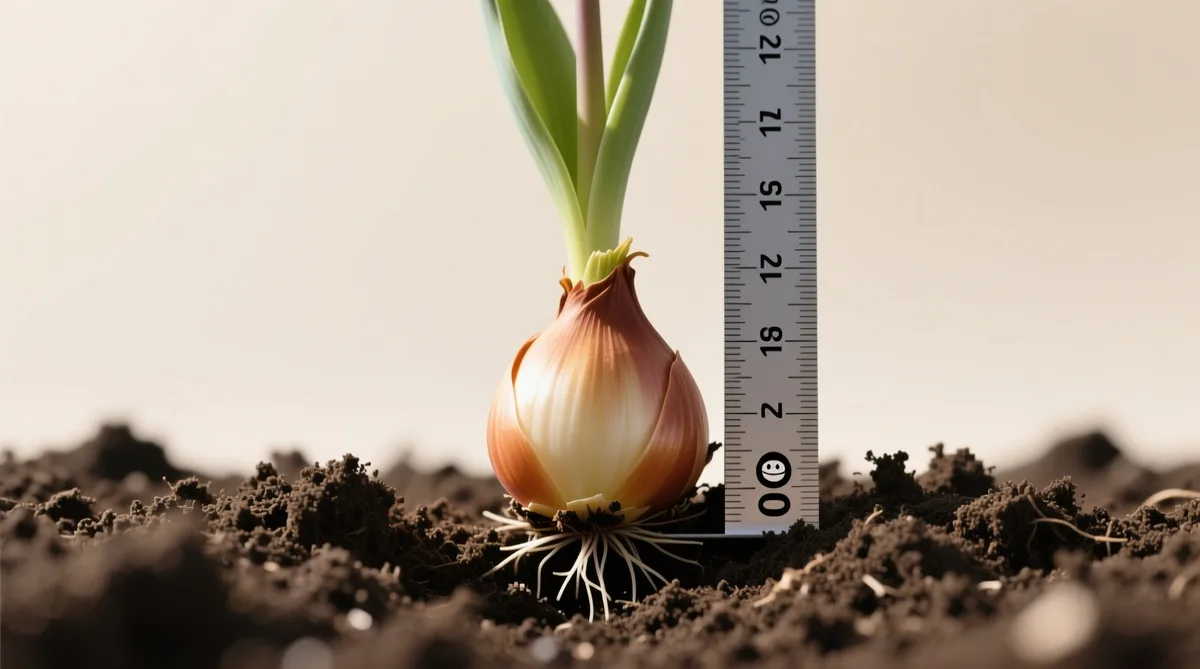
Image source: Web (Bing) / gardening.alibaba.com (Web image (fair-use with source credit))
Step 4: Orient the bulb correctly
Pointy end goes up. Roots go down.
If you can't tell which end is which, lay the bulb on its side. It will find its own way. The shoot always grows upward, even if you plant it sideways.
Step 5: Space properly
Spacing depends on the effect you want. For a natural look, scatter bulbs and plant them where they land. For a formal look, space them evenly.
Tighter spacing gives you a denser show but means you'll need to divide bulbs sooner. Looser spacing looks more natural and gives bulbs room to multiply.
Step 6: Water once
After planting, water the area thoroughly. This settles the soil and initiates root growth. After that, don't water again until spring unless you're in an unusually dry area.
Bulbs rot in wet soil during winter dormancy.
Lasagna planting for containers
If you're planting in pots, use the lasagna method. Layer bulbs by bloom time and depth.
Start with a drainage layer of gravel or pot shards at the bottom. Add soil. Plant the largest, latest-blooming bulbs at the deepest level (alliums, tulips).
Cover with a layer of soil. Add mid-sized, mid-season bulbs (daffodils, hyacinths). Cover again.
Add the smallest, earliest bulbs near the surface (crocus, snowdrops). Top with soil and water.
The result is a pot that blooms from early to late spring with continuous color.
The Most Common Mistakes (and How to Fix Each One)
Even experienced gardeners make these mistakes. Here's what to watch for and how to avoid each one.
Mistake 1: Planting too early or too late
We covered this already, but it deserves repeating. Planting too early causes rot. Planting too late prevents root development.
Your zone calendar is your best tool.
Mistake 2: Not marking where you planted
This is the most frustrating mistake. You plant bulbs in fall, forget where they are, and dig them up in spring while adding a new shrub or perennial.
The fix is simple. Use plant markers, popsicle sticks, or a garden marker. Or draw a map and take a photo with your phone.
Anything that reminds you where the bulbs are.
Mistake 3: Ignoring critters
Squirrels dig up tulip bulbs like they're doing a treasure hunt. The solution depends on the pest.
For squirrels, lay chicken wire flat over the planting area after you cover the bulbs. Pin it down with landscape staples. Remove it in early spring before shoots break through.
For voles and mice, plant bulbs in wire mesh baskets buried in the soil. The roots grow through the mesh, but the rodents can't reach the bulb itself.
For deer, choose bulbs they don't eat. Daffodils, alliums, fritillaria, and snowdrops are naturally deer-resistant. Tulips and hyacinths are deer candy.
Mistake 4: Cutting back foliage too soon
This is the mistake that kills next year's flowers. After bulbs bloom, the foliage continues to photosynthesize and store energy for next year. If you cut it back, braid it, or tie it in knots, you rob the bulb of its food supply.
Let the leaves die back naturally. This takes about six weeks after blooming. When they turn yellow and floppy, you can remove them.
Do not braid daffodil leaves. That old gardening trick reduces the leaf surface area and reduces the energy the bulb can store. Just leave them alone.
Mistake 5: Letting bulbs get overcrowded
After three to five years, bulbs in the ground multiply and become crowded. They stop blooming well. You get lots of leaves and few flowers.
The fix is to dig them up in late summer or early fall, separate the offsets, and replant them at proper spacing. This is called dividing. It's easy and it revitalizes your bulb bed.
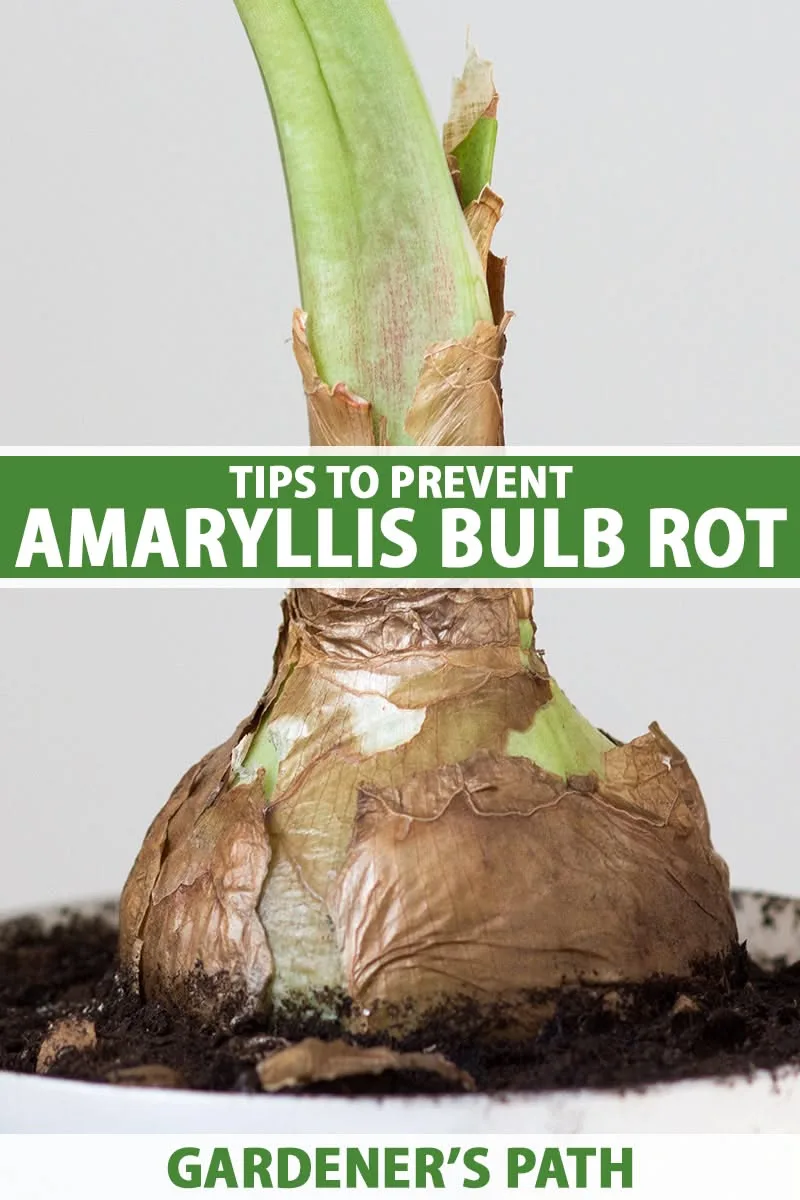
Image source: Web (Bing) / storage.googleapis.com (Web image (fair-use with source credit))
Mistake 6: Overwatering
Bulbs don't need water during winter dormancy. Rain is usually enough. If you water your garden out of habit, you're drowning your bulbs.
Stop watering after planting until spring growth appears.
If you notice bulbs turning mushy or developing mold, that's rot. Remove affected bulbs immediately. Improve drainage in that area before replanting.



