You're standing in your kitchen with a pile of fresh beets from the garden or farmers market, and you're wondering how to turn them into something that lasts. A good pickled beets recipe is the answer, and it's simpler than most people think. The real question isn't whether you can make them, but which method fits your situation.
Here's the honest truth as of 2026: there are two completely different paths to pickled beets, and picking the wrong one for your setup can waste hours of work or, worse, create unsafe food. The USDA Complete Guide to Home Canning spells out exactly what makes each method safe and when to use it. Let's walk through which path is right for you.
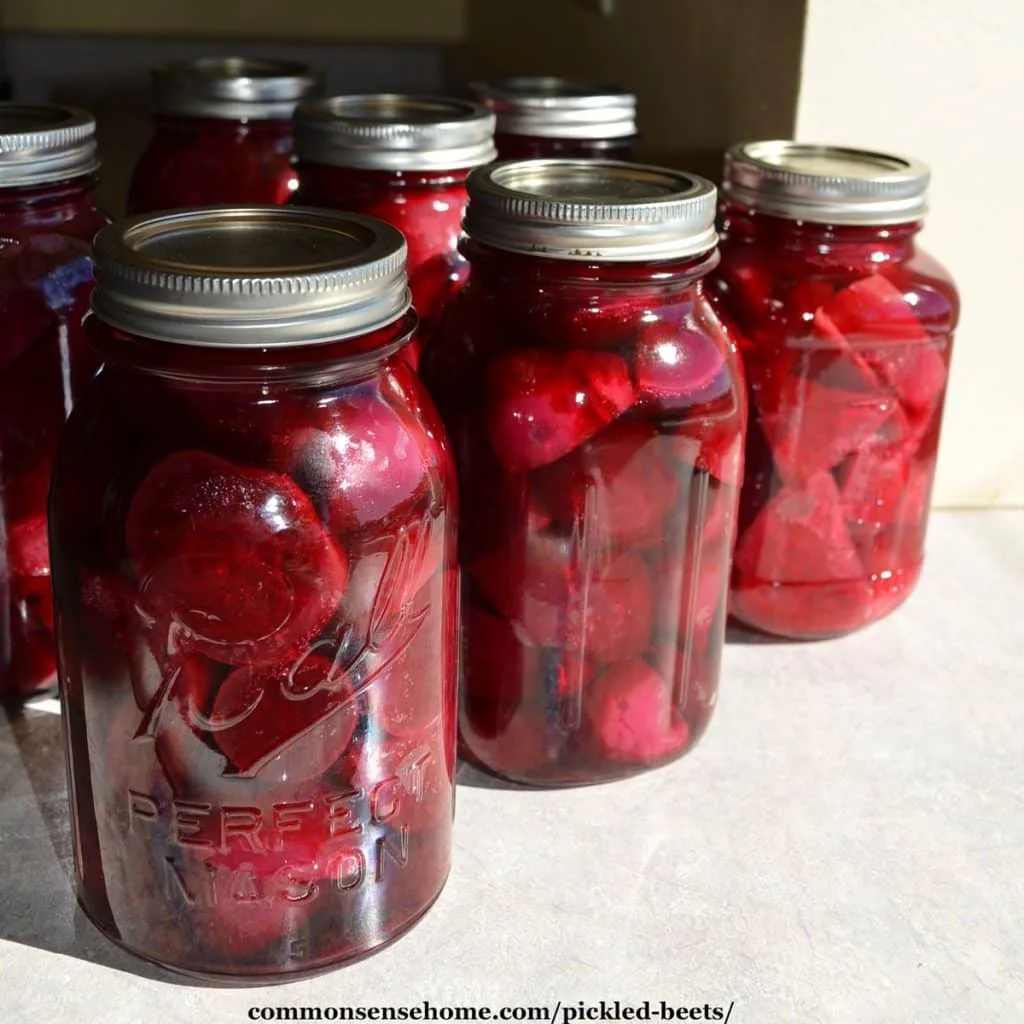
Image source: Web (Bing) / commonsensehome.com (Web image (fair-use with source credit))
Quick Answer
Forget complicated recipe roundups. Pickled beets follow one of two methods. Refrigerator pickles need no special gear and last two months.
Canned pickled beets need a water bath canner but stay shelf-stable for over a year. Choose based on your time, tools, and how long you need them to last.
The Key Variables That Choose Your Method: Time, Tools, and Taste
Three factors determine which pickling path you should take. Time matters most. Refrigerator pickles take about 30 minutes of active work and are ready to eat in 24 hours.
Water bath canning takes at least two hours from start to finish, plus the beets need to rest for a few weeks before the flavor peaks.
Tools are the second deciding factor. To make shelf-stable canned pickled beets, you need a water bath canner with a rack, canning jars with new lids, a jar lifter, and a bubble remover tool. That's about $60 to $80 in gear if you're starting from scratch.
Refrigerator pickles need just a pot for the brine and any clean glass jar with a lid you've got lying around.
Taste is the third variable, and it's worth being honest about. Canned beets soften more during the heat processing. They end up tender, almost melt-in-your-mouth.
Refrigerator pickles stay noticeably crunchier. If texture matters to you, that alone can decide the method.
| Variable | Refrigerator Pickles | Canned Pickles |
|---|---|---|
| Active time | 30 minutes | 30 minutes prep + 30-40 min processing |
| Ready to eat | 24 hours | 2-4 weeks for best flavor |
| Shelf life | 1-2 months | 12-18 months |
| Special equipment | None | Water bath canner, jars, lids, lifter |
| Texture | Crunchy | Soft, tender |
| Food safety risk | Low (refrigeration) | Moderate (must follow tested recipe) |
Decision Branch: Quick Fridge Beets or Water-Bath Canned Beets?
Here's how to decide. If you've never pickled anything before and you're not sure you'll do it again, start with refrigerator pickles. The barrier to entry is basically zero, and you won't risk wasting a whole batch if something goes wrong.
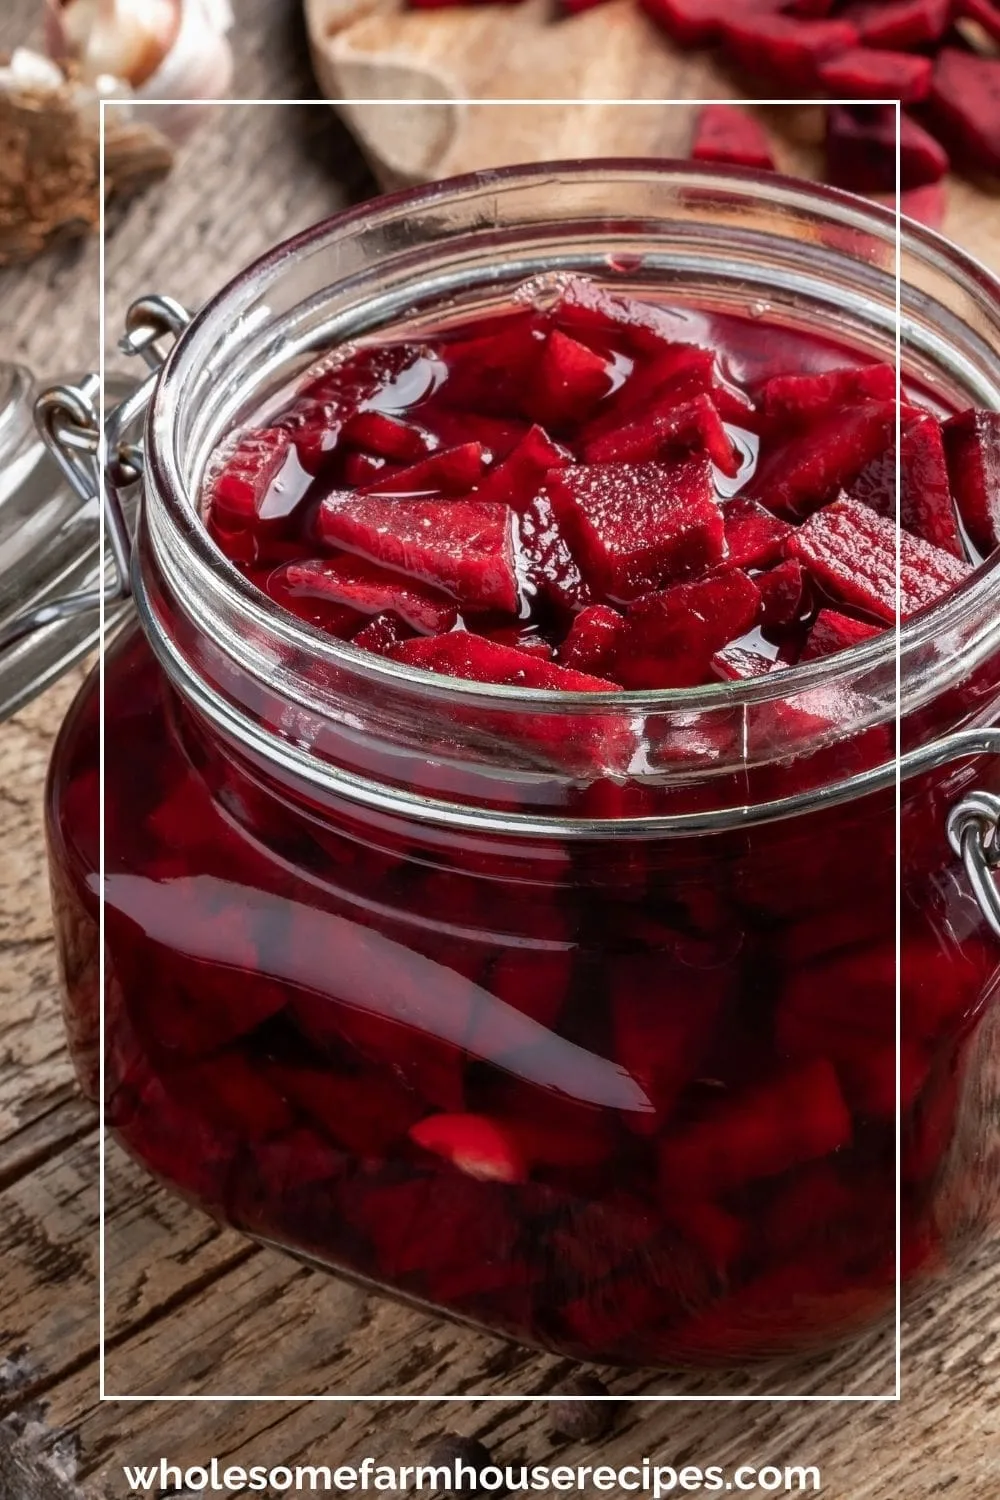
Image source: Web (Bing) / wholesomefarmhouserecipes.com (Web image (fair-use with source credit))
If you have a garden that produces beets by the pound, or you found a killer deal on a bushel at the farmers market, water bath canning is your better bet. A single canning session can put up 10 to 15 pints. That's enough pickled beets to last your household until next harvest.
If you're on the fence, think about your fridge space. Refrigerator pickles take up premium real estate in your fridge for weeks or months. Canned beets live in your pantry or basement.
They don't compete with your leftovers and condiments.
One more scenario worth mentioning: gifting. Homemade canned pickled beets make excellent presents. They look beautiful in the jar, they're shelf-stable, and people genuinely appreciate getting something homemade that doesn't need to go straight into the fridge.
Refrigerator pickles are harder to give away because the recipient needs to keep them cold.
Step-by-Step Pickled Beets Recipe: The Full Workflow for Both Paths
The steps for both methods overlap quite a bit in the beginning. You'll prep the beets the same way regardless of which path you take.
Start by washing your beets thoroughly. Leave the root tail and about an inch of the stem on. That sounds fussy, but it prevents the beets from bleeding their color into the cooking water.
Nobody wants pale beets because the color leaked out before they even hit the brine.
Put the beets in a large pot and cover them with water. Bring to a boil. Reduce to a simmer and cook until fork-tender.
Small beets take about 25 to 30 minutes. Big beets can take up to an hour. Drain them and let them cool just enough to handle.
Rub the skins off with your fingers or a paper towel. They should slip right off. Trim off the root and stem ends.
Now you've got two choices. If your beets are small, leave them whole. If they're larger than about two inches across, slice them into quarter-inch rounds or cut them into wedges.
Even pieces pickle more evenly.
Next comes the brine. The standard ratio is one part vinegar to one part water. You need vinegar with at least 5 percent acidity.
Check the label. That's not negotiable for canning safety. For refrigerator pickles, you can use a higher vinegar ratio if you like things tangier, but with canning you must stick to a tested ratio.
A basic brine recipe: combine 2 cups vinegar, 2 cups water, 1 tablespoon pickling salt, and 1/2 cup sugar. Add spices if you like. Whole cloves, a cinnamon stick, and a few allspice berries are classic.
Bring the brine to a boil, stirring to dissolve the salt and sugar.
For refrigerator pickles, pack your beets into a clean jar. Pour the hot brine over them, leaving a little headspace. Let the jar cool to room temperature, then put the lid on and stash it in the fridge.
That's it. They're ready to eat in 24 hours.
For canned pickled beets, pack the beets into hot sterilized jars. Leave 1/2 inch of headspace. Pour the hot brine over the beets, maintaining that same headspace.
Run a bubble remover tool or a chopstick around the inside of the jar to release trapped air. Wipe the jar rims clean with a damp paper towel. Any food residue on the rim can prevent a seal.
Place new lids on the jars and screw on the bands until finger tight.
Process the jars in a water bath canner. For pints at sea level, process for 30 minutes. For quarts, 35 minutes.
Add 5 minutes for every 1,000 feet above sea level. When the time is up, turn off the heat and let the jars sit in the canner for 5 minutes. Then lift them out and set them on a towel-lined counter.
Leave them undisturbed for 12 to 24 hours. Check the seals. The lid should be concave and not flex when you press the center.
Pickled Beet Mistakes That Ruin Texture, Flavor, and Seals
Even experienced home canners make some of these errors. The good news is they're all avoidable once you know what to watch for.
The most common mistake is overcooking the beets before they go into the jar. Beets continue to soften during processing. If you cook them until they're completely soft on the stove, they'll turn to mush in the canner or in the fridge brine.
Cook them until just tender. They should offer some resistance when you pierce them with a fork.
Second mistake: using table salt instead of pickling salt. Table salt contains anti-caking agents and sometimes iodine. Those additives turn your brine cloudy.
It doesn't affect safety, but it makes the jars look unappealing. Pickling salt dissolves cleanly and keeps your brine clear. Kosher salt works too, but check that it's pure without additives.
Third mistake: skimping on vinegar. Some people try to reduce the vinegar to make the beets less sour. That's dangerous with water bath canning.
The acidity is what prevents botulism. If you dilute the vinegar below a 1:1 ratio with water, you risk creating an environment where harmful bacteria can grow. Stick to tested recipes.
For refrigerator pickles, you have more flexibility, but the flavor will still be best with enough vinegar.
Fourth mistake: packing jars too tightly. Beets need room for the brine to circulate around them. If you cram them in, you'll get uneven pickling and potentially unsafe temperature distribution during processing.
Leave a little space between pieces.
Fifth mistake: not adjusting for altitude. People who live at 5,000 feet often process their jars the same way they did when they lived at sea level. That's a safety issue.
Higher altitudes require longer processing times because water boils at a lower temperature. Check your elevation before you start. The USDA provides clear altitude adjustment tables.