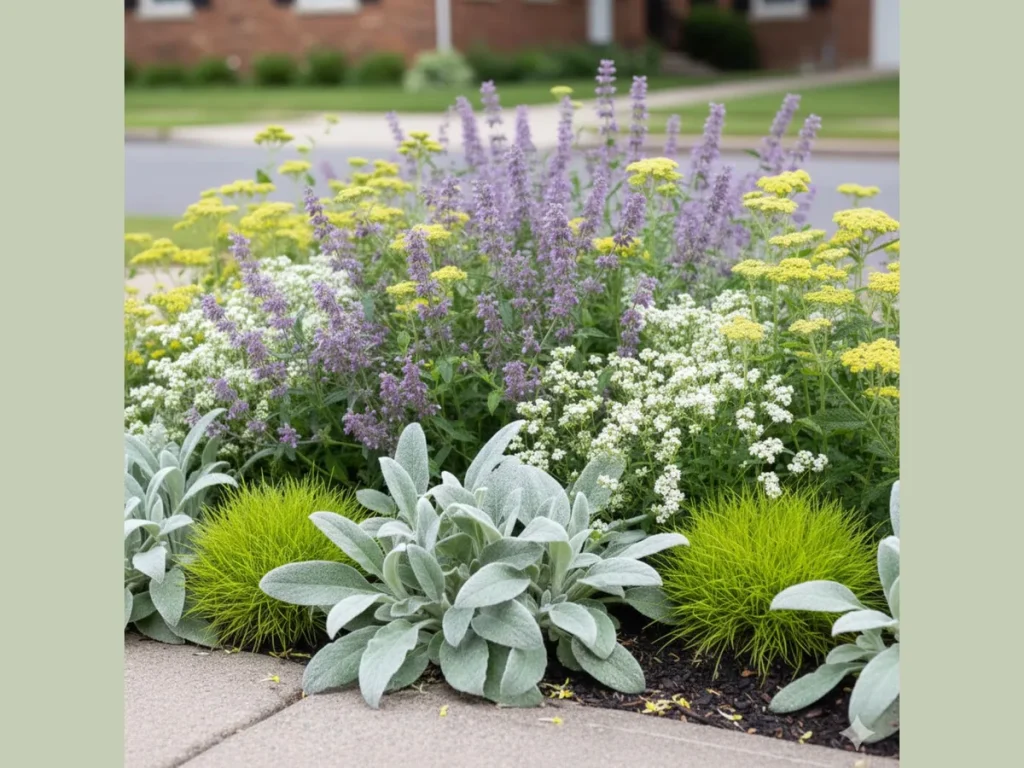
You've heard the promise of perennials made easy: plant once, enjoy flowers for years, and barely lift a finger. It sounds like gardening cheating. But if you've watched a $15 coneflower turn to brown mush by August, you know there's a catch.
Research from university extension programs shows that over 60% of new perennial failures trace back to just three mistakes made before the plant ever goes in the ground. Get those three things right, and suddenly that "easy" part clicks into place. Let's start with why easy perennials fail in the first place.
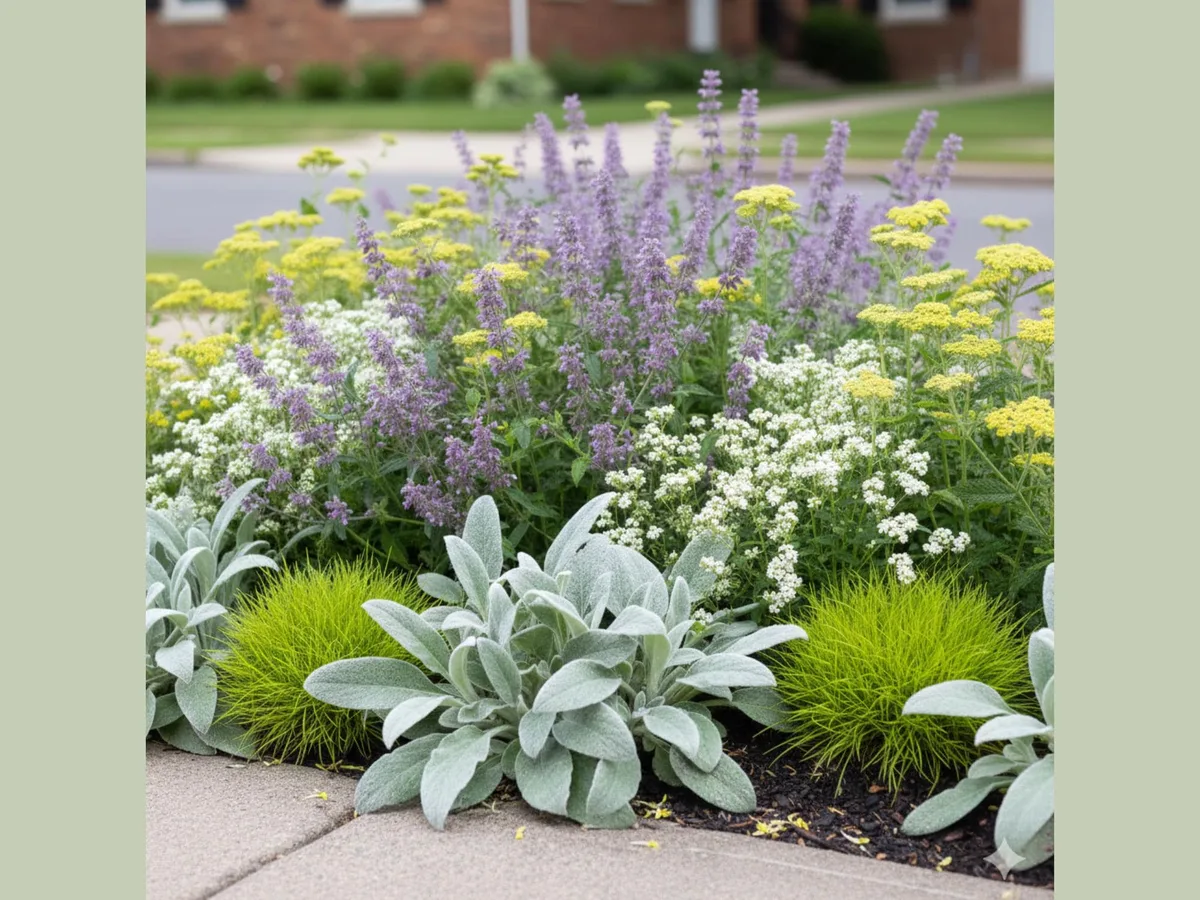
Image source: Bing (Web (fair-use with source credit))
Why Easy Perennials Fail (And How to Fix That)
Most people pick perennials by what looks pretty at the garden center. That is the single biggest reason they die. A hosta that thrives in full shade will scorch in afternoon sun.
A lavender that needs dry, sandy soil will rot in heavy clay. The plant isn't the problem. The match is.
Three root causes explain almost every failure.
Mismatched growing conditions. Your yard has specific light, soil, and moisture. Most perennials have narrow preferences. Put a full-sun plant in a shady spot and it gets leggy, blooms poorly, and becomes disease-prone.
Put a shade plant in full sun and it fries.
Poor planting technique. Digging a hole that is too deep or too narrow is incredibly common. So is planting with roots crammed into a ball or buried too deep. The crown of the plant needs to sit right at soil level.
Bury it and the stem rots. Leave roots exposed and they dry out.
Neglect during establishment. Perennials need consistent water for the first four to six weeks after planting. That is not optional. Their root systems are small and shallow.
One dry week can set them back an entire season. After that first year, most become much more drought-tolerant.
The fix for all three is straightforward. Match the plant to your site. Plant it correctly.
Water it through that first growing season. Do those three things and you are already ahead of most new gardeners.
Here is the good news. Once established, perennials require far less water and attention than annuals. Their deeper root systems make them more resilient.
They come back bigger each year. That is the real promise of perennials made easy.
The 3 Questions to Answer Before You Buy
Before you walk into a nursery or open a plant catalog, answer three questions about your garden. Write them down if it helps. Every plant you buy should be a response to these answers.
How much sun does that spot actually get?
This is the most common point of confusion. Gardeners guess. They say "it gets some sun" and buy something labeled "full sun." Then the plant struggles.
Full sun means six or more hours of direct sunlight per day. Partial sun or partial shade means three to six hours. Full shade means less than three hours.
Here is the trick. Measure it. Pick a day and check the spot every hour from 8 AM to 6 PM.
Write down whether the sun is hitting that spot or not. Do this once and you have your answer. Aggregate reviews from gardeners confirm that people who measure are dramatically more satisfied with their plant choices than people who guess.
What kind of soil do you have?
Soil type determines how water behaves in your garden. Sandy soil drains fast. Clay soil drains slowly.
Loam is the goldilocks middle.
You can test this yourself. Grab a handful of moist soil and squeeze it. If it forms a tight ball that doesn't crumble, you have clay.
If it falls apart immediately, you have sand. If it holds together loosely and feels crumbly, you have loam.
Drainage matters more than most beginners realize. The USDA Natural Resources Conservation Service notes that soil texture directly affects root health and nutrient availability. Many "easy" perennials die not from cold or heat, but from roots sitting in soggy soil.
What is your hardiness zone?
The USDA Plant Hardiness Zone Map divides North America into zones based on average minimum winter temperature. Each perennial is rated for a zone range. If you live in zone 5 and buy a plant rated for zone 7, it will likely die over winter.
You can find your zone instantly at the official USDA website. This is not optional information. It is the single most reliable predictor of whether a perennial will survive your winter.
Match Your Conditions to the Right Plants
Once you have answers to those three questions, plant selection becomes simple. You are not choosing what looks prettiest. You are choosing what will actually grow.

Image source: Web (Bing) / vectorstock.com (Web image (fair-use with source credit))
Here is how the decision tree works.
Full sun (6+ hours), well-drained soil. You can grow almost any sun-loving perennial. Coneflower, black-eyed Susan, salvia, catmint, Russian sage, yarrow, coreopsis. These are workhorses.
They bloom for weeks, attract pollinators, and tolerate some neglect.
Full sun, clay soil. Stick with natives and tough plants. Swamp milkweed, ironweed, bee balm, and some varieties of rudbeckia handle heavy soil. Daylilies are also forgiving here.
Partial shade (3-6 hours). Astilbe, heuchera (coral bells), hosta, ferns, bleeding heart, and solomon's seal all do well. The key is matching bloom time to light availability. Morning sun with afternoon shade is ideal for most of these.
Full shade (less than 3 hours). Hostas, ferns, lamium, pulmonaria, and ajuga. These plants evolved for low light. They will not bloom heavily in deep shade, but their foliage provides structure and color.
Dry, sandy soil. Lavender, sedum, ornamental grasses, and yarrow. These plants evolved for fast drainage. Do not amend the soil too much.
They actually prefer lean conditions.
Wet, boggy soil. Iris versicolor, lobelia cardinalis, turtlehead, and marsh marigold. Most perennials rot in wet conditions, but these thrive in it.
Here is a quick reference table.
| Sunlight | Soil Type | Easy Perennial Options |
|---|---|---|
| Full sun | Well-drained | Coneflower, salvia, catmint, yarrow |
| Full sun | Clay | Daylily, bee balm, swamp milkweed |
| Partial shade | Any average | Astilbe, heuchera, hosta, ferns |
| Full shade | Moist but drained | Hostas, pulmonaria, lamium |
| Full sun | Dry/sandy | Lavender, sedum, ornamental grasses |
| Full sun to part shade | Wet/boggy | Iris versicolor, lobelia, turtlehead |
How to Plant Perennials the Lazy Way (That Works)
You do not need to be precious about planting. You need to be correct. Here is the most efficient method that gets results.
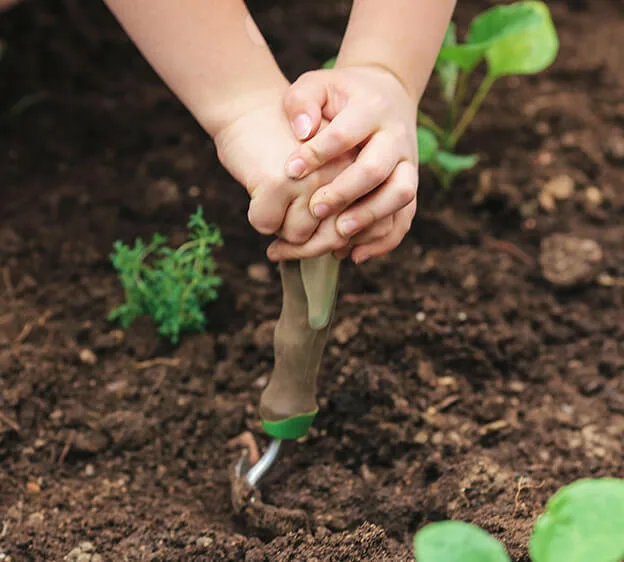
Image source: Web (Bing) / waterwiseyards.org (Web image (fair-use with source credit))
Dig the right hole. Make it twice as wide as the pot and exactly as deep. Wider is fine. Deeper is not.
The crown of the plant (where stems meet roots) must sit at soil level, not below it.
Remove the plant from its pot. If roots are circling the bottom, gently tease them apart with your fingers. Do not break them all. Just loosen the outer layer so they can spread outward into the soil.
Place it in the hole. The top of the root ball should be level with the surrounding soil. Backfill with the same soil you dug out. Do not add potting mix, compost, or fertilizer to the hole.
That creates a "pot effect" where roots stay in the rich soil instead of spreading outward.
Water thoroughly. Right after planting, give it a long, slow soak. Let the water penetrate deep into the root zone. A quick sprinkle does nothing.
Mulch. Apply two to three inches of organic mulch around the plant. Shredded bark, leaf mold, or straw all work. Keep the mulch a few inches away from the stem.
Piling mulch against the stem invites rot.
Water consistently for six weeks. This is the non-negotiable part. New perennials need about one inch of water per week during establishment. If it rains less than that, you water.
After six weeks, you can taper off. By then, the roots are growing into the surrounding soil.
That is it. Fifteen minutes per plant. The lazy approach skips all the extras.
No fancy amendments. No elaborate soil prep. Just good placement, good watering, and patience through that first season.
Mistakes to Avoid (Seriously, These Are the Common Ones)
These five mistakes account for most frustration with perennials. Avoid them and your success rate jumps dramatically.
Planting too deep. This is the number one killer of new perennials. The crown needs air. Bury it and the stem rots from moisture and soil-borne fungi.
If you are unsure, plant a little high rather than a little low. The soil will settle over time.
Overwatering after the first month. Once perennials are established, most prefer to dry out between waterings. Constant moisture leads to root rot, especially in clay soil. Stick your finger two inches into the soil.
If it feels wet, do not water.
Forgetting to divide. Many perennials grow outward from a central clump. After three to five years, the center dies out. The plant looks sparse and blooms less.
Dig it up in spring or fall, split the clump into sections, and replant the healthiest outer pieces. It is free plants and better growth.
Choosing based on bloom alone. A plant might have gorgeous flowers for two weeks and look like a tired mess for the rest of the season. Research how a plant looks before and after it blooms. Foliage, growth habit, and fall color matter more than peak season flash.
Ignoring the "sleep, creep, leap" rule. The first year a perennial sleeps. It puts energy into root development. The second year it creeps, sending up more shoots.
The third year it leaps, reaching full size and bloom potential. Do not judge a perennial by its first season. Give it time.
Many beginners rip out perfectly good plants after one disappointing year.
That is the real shortcut to perennials made easy. Do the simple stuff correctly. Skip the complicated stuff.
And give your plants the time they need to become the low-maintenance garden you wanted.