If your shed looks like a game of pickup sticks every time you open the door, you're not alone. Organizing garden tools is one of those chores we all know we should do, but somehow it keeps slipping to the bottom of the list.
According to the University of Minnesota Extension, rust and corrosion account for more than 40% of preventable garden tool failures. That's a big chunk of damage you can avoid with a little planning. Let's walk through how to set up a system that actually stays organized.
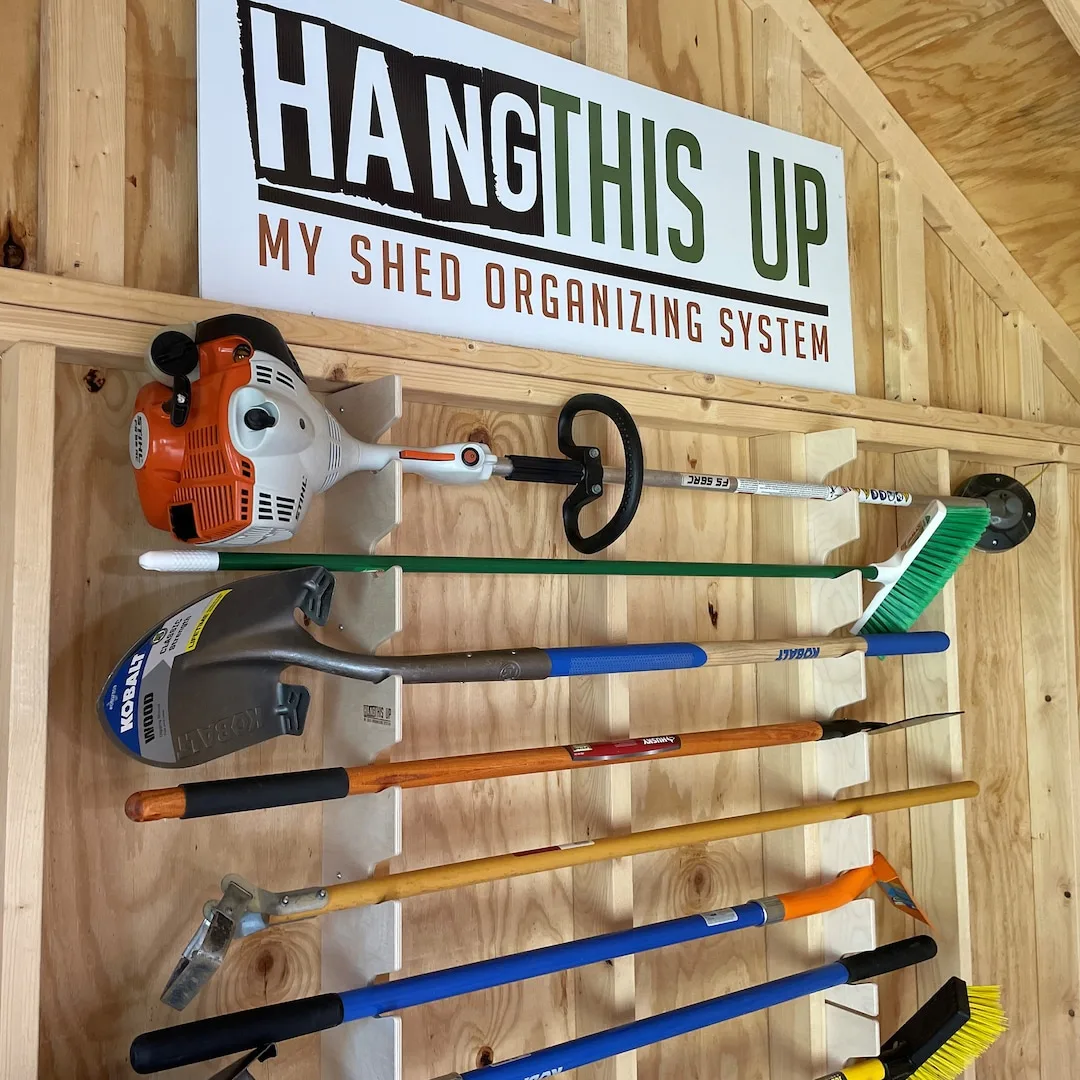
Image source: Web (Bing) / etsy.com (Web image (fair-use with source credit))
Why Your Garden Tools Keep Ending Up in a Pile
Tools end up in a mess for a few predictable reasons. First, you probably finish gardening and just toss things back. Mud, dirt, and sap get left on blades and handles.
Over time, that grime traps moisture and speeds up rust.
Another reason is wasted floor space. You lean a rake against the wall, then a shovel, then a hoe. Soon it's a tangled pile that tips over when you grab one.
That's frustrating and wastes time.
Worse, dull blades and damaged handles are almost always a storage problem. Rakes left on the floor get stepped on. Pruning shears tossed in a bucket get knocked around.
The University of Minnesota Extension notes that cleaning and drying tools before storing them cuts rust risk by more than half.
The fix is simple: give every tool a dedicated home. But the right home depends on your space.
The Core Decision: Picking a Storage System That Works with Your Space
You have four main choices for garden tool storage. Each fits a different situation.
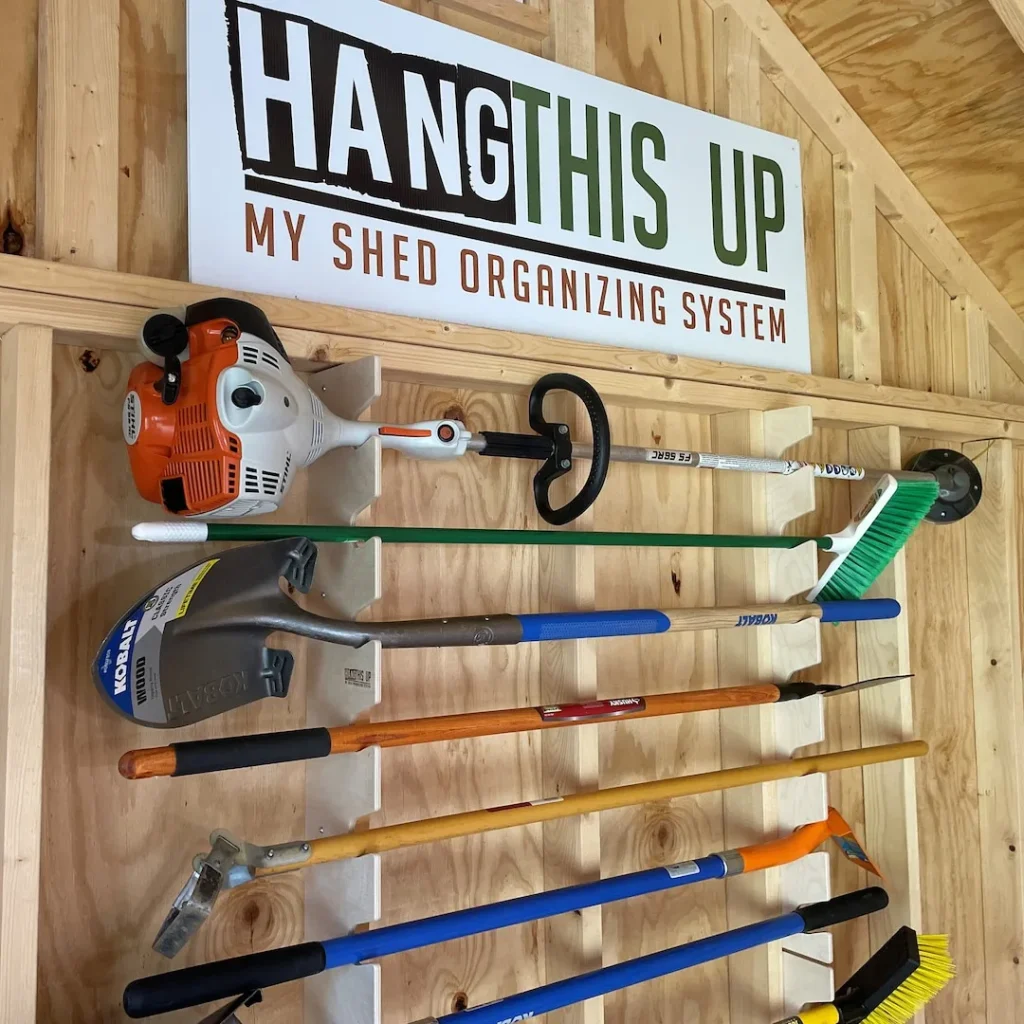
Wall-mounted racks are the most common. They work best if you have open wall space in a shed or garage. Long-handled tools hang on hooks, which keeps them off the floor.
Look for galvanized steel racks that hold 50 to 100 pounds.
Freestanding organizers are great if you can't drill into walls. They sit on the floor and hold tools in slots or rings. They're portable, so you can move them around.
But they take up floor space.
Pegboard systems give you flexibility. You can rearrange hooks easily. But they require a solid backing board and proper anchors.
Pegboard alone can't hold heavy tools like shovels unless you install it on studs.
Slatwall is stronger than pegboard. It uses horizontal channels and specialty hooks. It costs more but holds heavier items and looks clean.
So which one for you? Here's a quick decision guide.
- If you have at least one empty wall, go with a wall-mounted rack.
- If you're renting and can't drill, pick a freestanding organizer.
- If you want flexibility to rearrange often, choose pegboard or slatwall.
- If you have heavy tools like post hole diggers or axes, choose heavy-duty wall racks or slatwall.
The key is matching the storage to your toolset and wall type. Concrete walls need masonry anchors. Drywall needs toggle bolts or stud mounting.
Wood studs are the easiest to work with.
How to Set Up a Wall-Mounted Tool Organizer Step by Step
Setting up a wall-mounted organizer takes about an hour. Here's the process.
Step 1: Empty and sort. Take everything out of your shed or storage area. Group tools into keep, repair, donate, and discard piles. This is the perfect time to pull out anything rusty or broken.
Step 2: Clean and prep. Scrub off dirt and mud with a stiff brush. Wipe metal parts with a rag and light oil. A 50/50 mix of white vinegar and water works well for light rust.
Dry everything thoroughly.
Step 3: Measure and mark. Find your wall studs using a stud finder. Mark them with a pencil. Measure the height where you want the rack.
Most long-handled tools need 5 to 6 feet of clearance. The rack should sit about knee-high so you can reach the handles comfortably.
Step 4: Install the mounting board or rack. If you're using pegboard, attach furring strips to the studs first. Screw the pegboard into those strips. If you're using a heavy-duty rack, screw it directly into the studs.
Use at least two screws per stud for a secure hold.
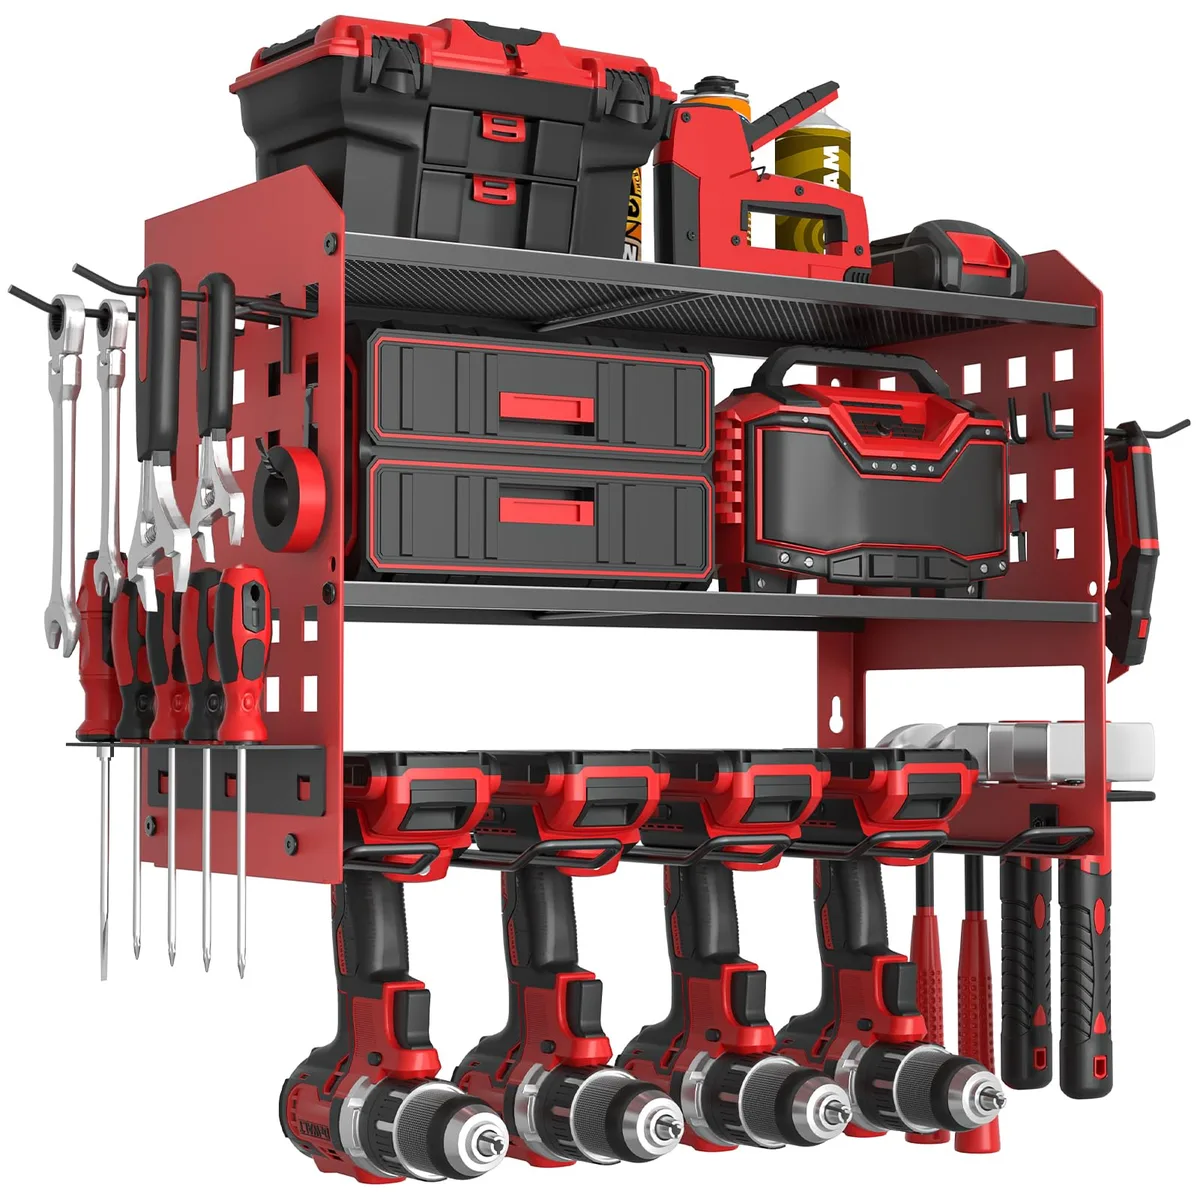
Image source: Web (Bing) / amazon.com (Web image (fair-use with source credit))
Step 5: Hang tools. Place the most-used tools at eye level. Put seasonal tools higher up. Hang long-handled tools with the handle down and the head up.
This prevents dirt from falling onto the handle and keeps the cutting edge safe.
Step 6: Add small tool storage. Use a magnetic bar for pruners and trowels. A small shelf bin works for gloves, plant tags, and twine. Keep these at chest height for easy access.
The whole job takes about an hour for an average shed. The payoff is huge: no more digging through piles.
3 Common Mistakes That Ruin Your Garden Tool Organizer
Even with the best system, a few mistakes can wreck your progress.
Mistake 1: Skipping the wall anchor step. Drywall alone won't hold heavy tools. Without proper anchors, the board pulls out and tools crash down. Always use toggle bolts or screw directly into studs.
For masonry walls, use sleeve anchors. This is a safety issue, not just convenience.
Mistake 2: Ignoring moisture. Hanging tools still get rusty if the shed is damp. Make sure the area has ventilation. Cut a small vent in the shed wall or leave the door open occasionally.
You can also hang a moisture absorber like silica gel or a passive dehumidifier. Never store wet tools. Wipe them down and let them air dry before hanging.
Mistake 3: Not grouping by use. If you hang tools randomly, you'll still waste time finding things. Group them by task. Pruning tools go together.
Digging tools go together. Soil prep tools go together. This simple step saves minutes each time you work.
These mistakes are easy to avoid. Take the extra few minutes to do it right the first time.
Keeping Rust, Dirt, and Disorganization from Coming Back
Organization isn't a one-time event. It's a habit. The good news is you only need a few minutes each time.
After every use: Wipe dirt off the tool with a rag. For sticky sap, use rubbing alcohol. Hang the tool back in its spot.
That's it. Thirty seconds per tool.
Weekly during peak season: Check for rust spots. A quick scrub with steel wool and a little oil stops rust from spreading. Keep a spray bottle of light machine oil handy.
Monthly deep clean: Take everything down. Wipe the rack and wall. Check hooks for looseness.
Tighten any screws. Re-oil metal parts. This takes about 15 minutes.
Seasonal reset: At the start of each season, do a full sort. Pull out any tools that broke over the winter. Sharpen blades.
Replace worn handles. Reorganize based on what you'll use most that season.
A simple routine beats a perfect system that gets ignored. Make it easy to put things away, and you'll actually do it.
Pro Arrangement Tips for Faster Garden Work
Once your tools are hung and clean, the next step is arranging them for speed. The goal is to reach the right tool without thinking about it.
Group by task. Put all digging tools together. Shovels, spades, trowels, and edgers go in one section. Pruning tools go in another: shears, loppers, saws.
Soil prep tools like rakes, hoes, and cultivators form a third group. This cuts search time in half.
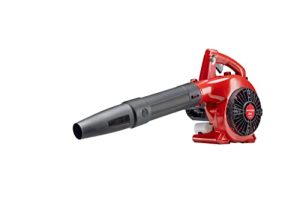
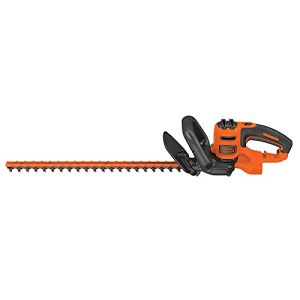
Put most-used tools at eye level. Your shovel and rake get used almost every time you garden. Hang them at chest height. Seasonal tools like leaf blowers or hedge trimmers go higher or lower.
You should be able to grab your daily tools without bending or stretching.
Use the right hooks for the right handles. D-handle tools need a wider hook. T-handle tools fit a standard hook. Long handles with no grip can slide off smooth hooks.
Use rubber-coated hooks or add a dab of hot glue to the hook tip for grip.
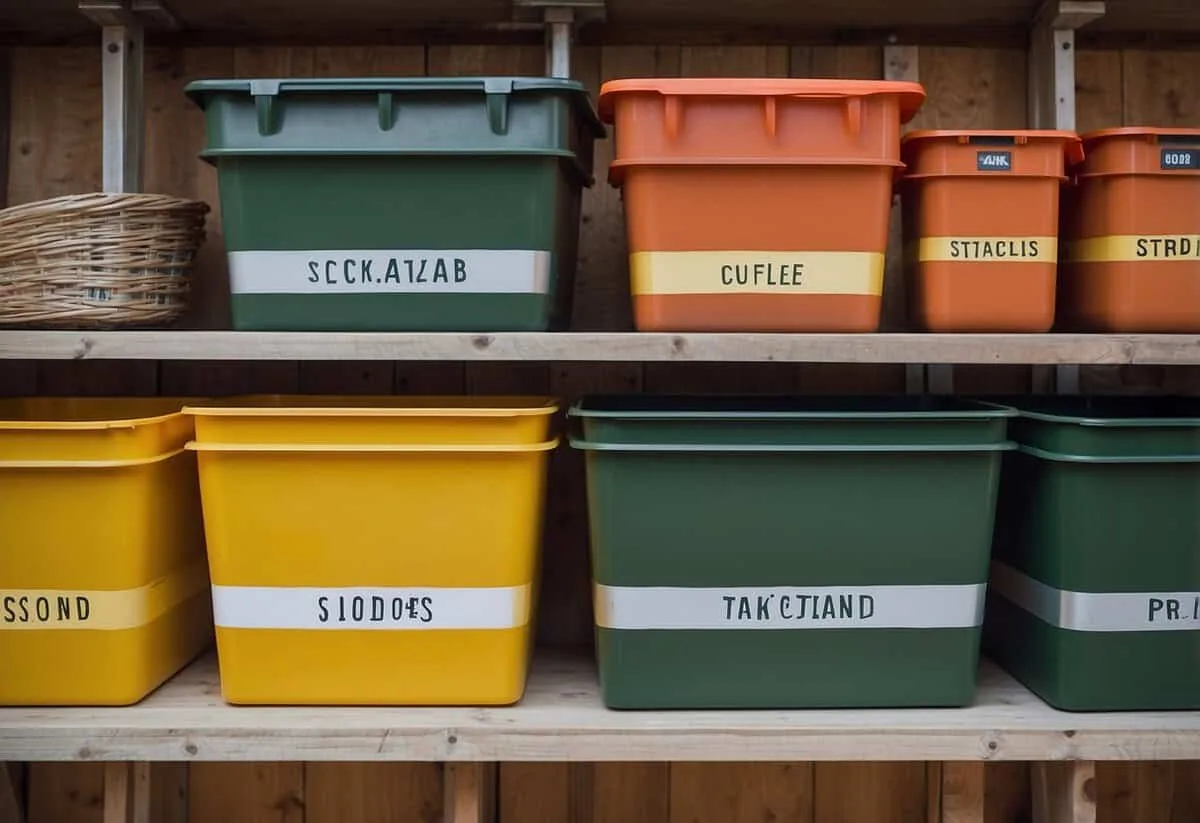
Image source: Bing (Web (fair-use with source credit))
Keep small hand tools visible. Trowels, pruners, and weeding knives vanish in a bucket. Use a magnetic bar on the wall or a shallow bin mounted at waist height. You can see everything at a glance and grab what you need.
Leave a gap between tools. Crowding hooks makes it hard to pull a tool out without knocking others down. Space long-handled tools about 4 to 6 inches apart. For small tools, leave enough room for your hand to wrap around the handle.
Use labels if you share the space. A simple label maker or even masking tape and a marker helps family members return tools to the right spot. This is especially useful in community gardens or shared sheds.
These small tweaks turn a functional organizer into a time-saving system.
Frequently Asked Questions About Organizing Garden Tools
How long does it take to organize a shed?
Plan for about two to three hours if you're starting from scratch. That includes emptying, cleaning, sorting, installing the rack, and hanging everything. If you already have a rack installed, a deep clean and reorganize takes about 45 minutes.
What is the best way to store long-handled tools?
Hang them vertically on a wall-mounted rack. Use hooks that hold the tool by its handle. Hang the handle down and the head up.
This keeps dirt from falling onto the grip and protects the blade or tines.
Can I organize garden tools without a shed?
Yes. A freestanding organizer in a garage, basement, or covered porch works well. You can also use a rolling cart that moves indoors when not in use.
For small spaces, a bucket organizer with slots holds several tools upright.
How do I keep tools from rusting in storage?
Always dry tools before storing them. Wipe metal parts with a rag soaked in light machine oil after each use. Store them in a dry, ventilated space.
If the area is humid, add a silica gel dehumidifier or open the shed door regularly.
Should I store garden tools with handles up or down?
For long-handled tools, hang them handle down and head up. This prevents dirt and moisture from collecting on the handle near the grip. For small hand tools, store them blade down in a holster or on a magnetic strip to protect the cutting edge.