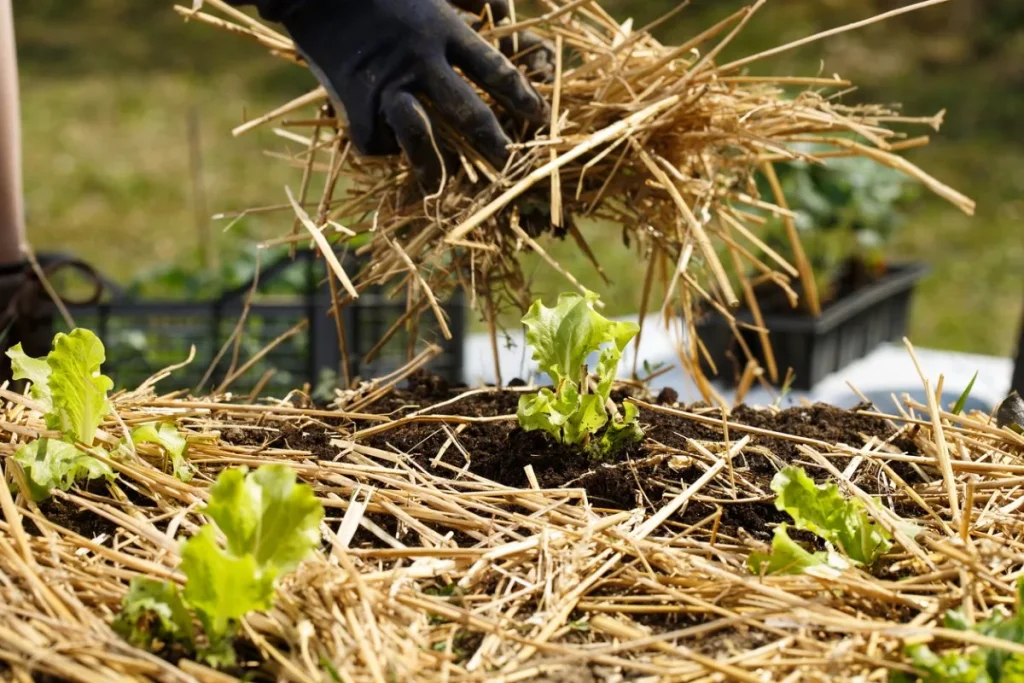
Mulching a vegetable garden isn't a one-size-fits-all situation. The best choice changes completely depending on your climate, soil type, the vegetables you're growing, and what pests you're dealing with. Too many gardeners grab a bag of whatever is on sale, and it often causes more trouble than it solves.
Getting it right means understanding how each mulch actually performs in your specific conditions.
Our research across university extension resources and USDA soil health data confirms that a well-chosen mulch layer can cut your watering needs by 30 to 50 percent, depending on your region and material. But that benefit only happens when the mulch matches your garden's actual needs. So how do you pick the right one for your situation?
Let's break it down step by step.
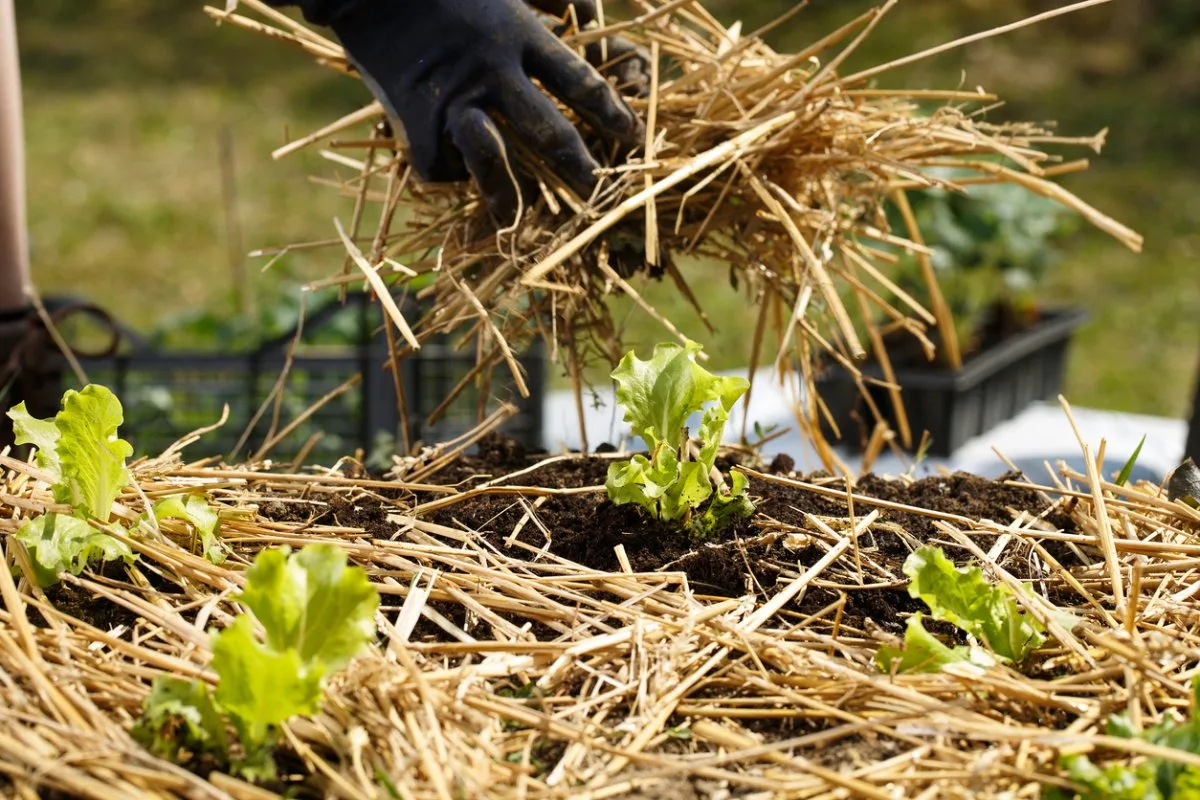
Image source: Web (Bing) / foodgardening.mequoda.com (Web image (fair-use with source credit))
Quick Answer
Mulch your vegetable garden with a 2 to 3 inch layer of organic material. Straw works best in most gardens. Use black plastic only in cool spring conditions.
Keep all mulch away from plant stems to prevent rot. Reapply organic mulch as it breaks down through the season.
Why Your Mulch Choice Depends on Your Garden's Conditions
Think of mulch as a tool, not a blanket solution. Every material changes how your soil behaves. Some keep heat in, which is great for peppers and tomatoes in cool climates.
Others keep heat out, which saves your lettuce and spinach during a hot July stretch. That's why your specific conditions should drive the decision.
The USDA Natural Resources Conservation Service has documented that different mulches affect soil temperature by 10 degrees Fahrenheit or more in either direction. That's a massive swing for a growing plant. A layer of black plastic can push a soil reading from 55 to 65 degrees in early spring, buying you weeks in a short season.
But that same plastic in August can cook your roots into submission.
Your soil type changes the equation too. Heavy clay soils hold moisture naturally, so a thick dense mulch like wet grass clippings can turn your garden into a swamp. Sandy soils drain fast and need coarse materials like straw or wood chips to slow evaporation.
If you've ever watched water run straight through a raised bed, you know what we're talking about.
Pest pressure is another variable people forget about. Slugs thrive under a thick damp layer of shredded leaves or grass clippings, especially in humid climates and shady gardens. If slugs have been a problem for you, consider coarse wood chips or even a thin layer of straw that stays drier on the surface.
That simple switch can make more difference than any trap or bait.
The core idea here is conditions first, then material. Ask yourself three questions: Is my soil cold or warm? Does it drain fast or slow?
Do I have a pest problem that mulches can help or hurt? Those answers will point you toward the right choice.
The Quick Decision Tree: Start With Your #1 Constraint
This is where we make things simple. Instead of listing every possible mulch and hoping you figure it out, let's run through a short series of yes-or-no questions. Follow the branch that matches your situation and you'll land on the best option for your garden.
Image source: Web (Bing) / edrawmax.wondershare.com (Web image (fair-use with source credit))
Start here: Is your soil still cold in May and June?
If yes, you need a warming mulch. Black plastic is your best bet for the first month after transplanting. Lay it down two weeks before planting to let the soil heat up.
Cut slits for your plants and keep it in place until soil temperatures hit 65 degrees. After that, swap to an organic mulch for summer or remove the plastic entirely. If your soil warms up early in the season, skip the plastic and move to the next question.
Is your summer heat intense enough to stress plants like lettuce and spinach?
If yes, you need a cooling mulch. Straw and shredded leaves reflect sunlight and keep the root zone comfortable. A 3 to 4 inch layer of straw can lower soil temperatures by 10 to 15 degrees compared to bare soil.
That's the difference between bitter bolting lettuce and a sweet crisp harvest. If heat is not your problem, move on.
Do you have a serious slug or snail problem?
If yes, avoid thick damp organic mulches. Grass clippings, shredded leaves, and uncomposted kitchen scraps are slug highways. Switch to coarse wood chips, aged bark, or a thin layer of straw that stays dry on top.
Landscape fabric also works if you want a barrier that slugs can't hide under. If slugs are manageable, choose based on your other priorities.
Is your soil mostly heavy clay that stays wet after rain?
If yes, use coarse open materials. Wood chips, aged bark, and straw allow air and water to move through. Avoid grass clippings, plastic, and fine shredded leaves that seal the surface and create anaerobic conditions.
If your soil is sandy or loamy, you have more flexibility.
These branches will get you to the right material about 80 percent of the time. The rest comes down to fine-tuning thickness and timing, which we'll cover in the application section.
Organic vs. Synthetic Mulch: What Each Actually Does
Now that you know which direction to go, let's look at the main categories side by side. Organic mulches include straw, shredded leaves, grass clippings, wood chips, and compost. Synthetic options include black plastic, landscape fabric, and biodegradable plastic films.
Each behaves differently in the garden.
| Material | Moisture Retention | Weed Suppression | Soil Warming | Decomposes | Best For |
|---|---|---|---|---|---|
| Straw | Good | Good | Mild cooling | 6-12 months | Most vegetables |
| Shredded leaves | Excellent | Fair | Cooling | 3-6 months | Cool-season beds |
| Grass clippings | Very good | Fair | Neutral | 1-2 months | Quick top-up |
| Wood chips | Good | Excellent | Cooling | 1-3 years | Pathways, long beds |
| Black plastic | Excellent | Excellent | Warming | No | Early spring |
| Landscape fabric | Good | Excellent | Neutral | No | Perennial beds |
Organic mulches feed your soil as they break down. That's a huge long-term advantage. Earthworms move in, microbial activity increases, and your soil structure improves over time.
The trade-off is that they need replenishment every year or two, depending on the material. They can also harbor pests if applied too thick or left wet.
Synthetic mulches offer convenience. Black plastic warms soil like nothing else and blocks all light for complete weed control. Landscape fabric lets water through while stopping weeds, making it great for long-season crops.
But synthetics don't feed the soil. They also create waste at the end of the season unless you buy biodegradable versions, which have a shorter lifespan and higher cost.
The choice between them really depends on your season. If you're in a short growing zone with cold springs, plastic is your friend for those first few weeks. If you're growing in a long warm season with decent soil, organic mulches give you more long-term benefits.
Many experienced gardeners use a hybrid approach: plastic early, then switch to organic once the heat arrives.
How to Apply Mulch the Right Way, Depth and All
Getting the material right is only half the job. Apply it wrong and you can cause more problems than you solve. Here's the process that works based on verified grower methods and university extension recommendations.
Prepare the bed first. Pull all existing weeds before you lay anything down. If you mulch over weeds, they'll push through or root into the organic layer and become a bigger mess later. Water the soil thoroughly before mulching.
Dry soil under a thick layer of straw can stay dry for weeks, and your plants will suffer.
Set up irrigation if you use it. Drip tape or soaker hoses should go underneath organic mulches. If you bury them under a layer of wood chips, they're protected from sunlight last longer and deliver water right where it's needed. For plastic mulch, lay the drip line before rolling out the plastic.
Apply the correct depth for your material. This is where most people mess up. Too thin and weeds push through. Too thick and you create a soggy pest refuge.
- Straw: 3 to 4 inches
- Shredded leaves: 2 to 3 inches
- Grass clippings: 1 to 2 inches (never more, it mats into a slimy layer)
- Wood chips: 3 to 4 inches (around pathways or well-established plants)
- Compost: 1 inch as a thin top-dressing
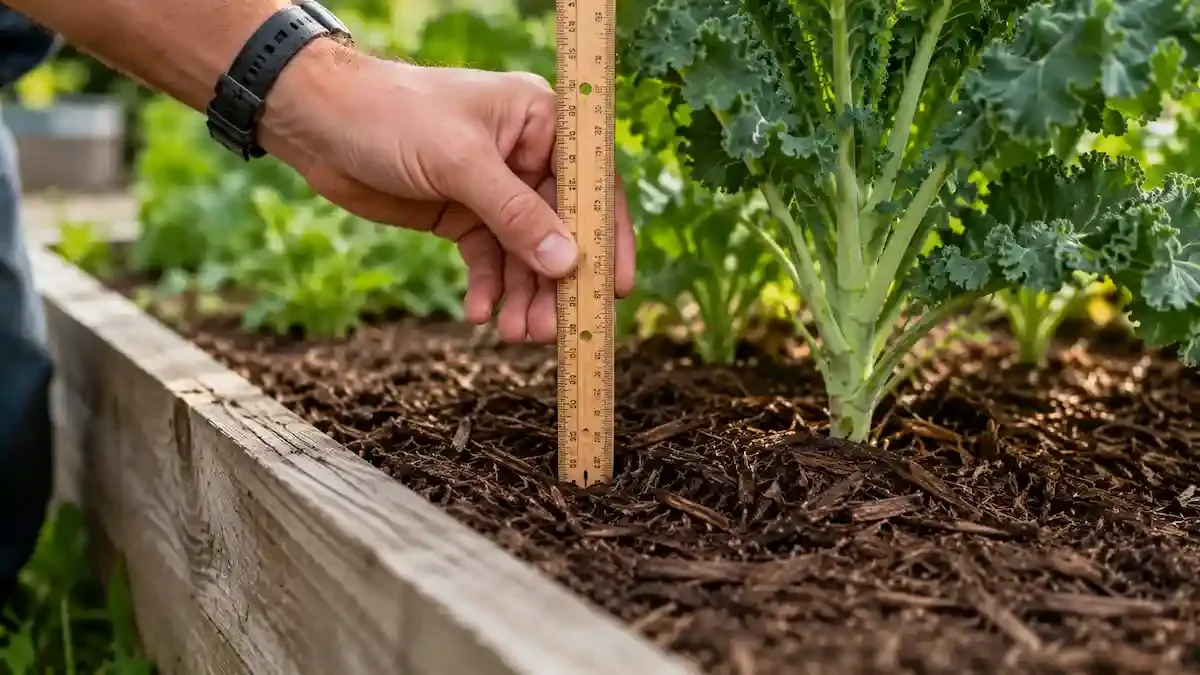
Image source: Web (Bing) / agrifarming.in (Web image (fair-use with source credit))
Keep mulch away from stems. This is critical. Organic mulch sitting directly against a tomato or pepper stem traps moisture and invites rot. Leave a 2 to 3 inch bare circle around each plant.
For black plastic, cut an X slit for the plant and tuck the flaps down against the soil, but don't let plastic wrap around the stem.
Water after applying organic mulch. This settles the material and starts the decomposition process. A quick soak with a hose or drip line will keep the mulch from blowing away and help it start working.
Timing matters. Apply warming mulches like black plastic two to three weeks before planting in spring. Apply cooling mulches like straw after the soil has warmed up naturally, usually around late spring or early summer. Applying straw too early can keep the soil cold and stunt your peppers and eggplants.
Matching Mulch to Your Season and Climate
Your local weather pattern is the biggest factor in choosing the right mulch. What works in the Pacific Northwest will fail in the Arizona desert. Let's look at the main climate types and what performs best in each.
Hot and humid climates like the Southeast US. You need cooling mulches that don't mat down and create a wet blanket. Coarse wood chips, pine straw, and old leaves that have been shredded work well. Avoid black plastic after May.
It will push soil temperatures past 100 degrees and stress or kill heat-sensitive crops. Grass clippings are risky here because they decompose fast and turn slimy in the humidity.
Arid climates like the Southwest. Your priority is moisture retention. Straw and shredded leaves are excellent because they hold water close to the soil. Apply a thicker layer around 4 inches to compensate for the dry air.
Black plastic is tricky because it can create condensation underneath that attracts pests like pill bugs and earwigs, and it heats the soil more than you want. Landscape fabric with a thin layer of gravel works for in-ground beds but is harder to manage in vegetable rotations.
Short-season climates like the Northern US and Canada. Your growing window is tight, so warming the soil fast is key. Black plastic is your best tool for early spring. Lay it down as soon as the soil can be worked.
Once summer heat arrives in late June, you can pull the plastic and switch to straw or remove it entirely. This hybrid approach gives you the early boost without the summer overheating problem.
Rainy climates like the Pacific Northwest. The top concern is waterlogging and fungal issues. Coarse materials like wood chips and bark let water drain while still suppressing weeds. Avoid plastic and landscape fabric, which trap moisture against the soil and create a perfect environment for root rot.
Thick layers of shredded leaves also hold too much water in this region, so stick with straw or chips.
Transitional climates where seasons swing hard. This is most of the Midwest and Mid-Atlantic. Use a season-specific approach. Black plastic or clear plastic for early spring warming.
Switch to straw or shredded leaves by June. You can leave the organic layer in place through fall to protect soil over winter. Remove plastic at the end of the growing season.
Common Mulching Mistakes That Hurt Your Veggies
Even with the right mulch, a few common errors can undermine your whole season. Here are the ones we see most often, based on verified grower feedback and university extension reports.
Applying grass clippings too thick. A thick layer mats down, blocks air, and turns into a slimy anaerobic mess. Stick to 1 to 2 inches max, and let clippings dry out for a day before spreading.
Using fresh wood chips in the vegetable bed. Fresh chips tie up nitrogen in the soil as they decompose, which stunts plants like tomatoes and peppers. Use aged chips or reserve fresh ones for pathways only.
Laying mulch over dry soil. This is a big one. If the soil is bone dry and you add mulch, water will struggle to penetrate later. Always water deeply before applying.
Putting mulch right against plant stems. Organic mulch touching stems creates a moist environment that invites rot, especially for tomatoes and squash. Keep a 2 to 3 inch bare circle around the base.
Ignoring herbicide contamination in hay and straw. Some hay and straw come from fields treated with persistent herbicides like picloram or aminopyralid. These chemicals survive composting and can damage broadleaf crops. Source from trusted local farms and ask about herbicide use.
Forgetting that black plastic overheats in summer. Plastic is a spring tool. Leave it through July and you can push soil temperatures past dangerous levels for many vegetables. Switch materials when the season shifts.
Organic Mulch Breakdown and Refreshing Schedule
Organic mulches are not a one-time job. They decompose and disappear over time, which is exactly what you want. The table below shows how quickly each material breaks down in typical garden conditions.
| Material | Decomposition Time | Refreshing Schedule | Soil Benefit |
|---|---|---|---|
| Grass clippings | 1 to 2 months | Every 4 to 6 weeks | Adds nitrogen |
| Shredded leaves | 3 to 6 months | Every season | Adds organic matter |
| Straw | 6 to 12 months | Twice per season | Adds carbon, improves drainage |
| Wood chips | 1 to 3 years | Rarely needed | Builds long-term soil structure |
| Compost | 2 to 4 months | Every season | Feeds soil organisms directly |
Your refresh schedule depends on the material and your climate. Hot humid regions break down mulch fast. Arid regions keep it around longer because microbial activity slows without moisture.
A simple rule: check your mulch monthly. If you can see bare soil in spots or weeds are pushing through, it's time to top up. Add another 1 to 2 inches of material over the thin areas, but never exceed the recommended total depth.
The decomposition process is a feature, not a bug. As organic mulches break down, they feed earthworms and beneficial microbes. You'll notice darker, crumbly soil underneath after a full season.
That's free soil improvement happening under your feet.
FAQs
Should I remove mulch before planting in spring?
No, unless it's a thick layer of wood chips. Fine organic mulches like straw and shredded leaves can be pulled back, then the soil works easily. Wood chips need to be raked aside or fully removed because they don't break down fast enough.
How much mulch do I need per square foot?
For a 3 inch layer, you need about 1 cubic foot of mulch per 4 square feet of bed. A standard 10 by 10 foot garden needs roughly 25 cubic feet, or about 8 to 10 bales of straw.
Can I use grass clippings from a treated lawn?
Only if the lawn hasn't been treated with herbicides or weed killers. Products like clopyralid and picloram stay active even after composting. When in doubt, don't use them on vegetables.
Human urine and pet waste are also off-limits.
Is it better to use mulch or landscape fabric?
For vegetables, organic mulch wins almost every time. It feeds the soil, improves structure, and supports beneficial life. Landscape fabric is better suited for pathways or permanent perennial beds.
In a vegetable bed, fabric blocks soil improvements and makes annual planting more difficult.