You’ve probably bought a jar of crushed red pepper from the store, used it a few times, and then let it sit in the cabinet until the color faded to a dusty brown. The flakes end up tasting more like old hay than actual chili. That’s the real problem with buying pre-made: you have no idea how long those peppers have been sitting in a warehouse.
But when you’re making crushed red pepper at home, you control every single variable, starting with the pepper itself.
The process is straightforward, but the margin between perfect flakes and a moldy brick is entirely about visual cues. Per the National Center for Home Food Preservation, properly dried peppers should retain less than 10 percent moisture. That’s not a number you can feel, it’s something you have to see and snap.
So let’s walk through the visual cues that separate a successful batch from a wasted one.
Quick Answer
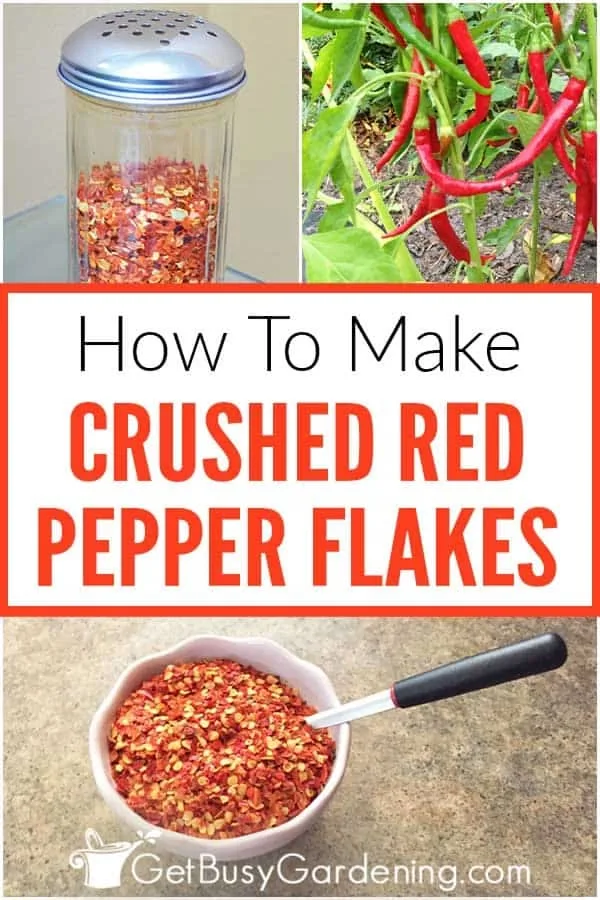
Dry fresh red peppers until brittle. The snap test confirms readiness. Crush using a mortar and pestle or grinder.
Sift out fine powder. Store in an airtight jar away from light. Homemade flakes last one to two years.
Why Visual Cues Matter When Making Crushed Red Pepper
Drying and crushing peppers is not a precise recipe sport. There is no single temperature or timer that works for every pepper. A thin cayenne dries faster than a fleshy Fresno, and an oven that runs hot can scorch a batch in thirty minutes.
The only reliable way to know you’ve done it right is to look, feel, and snap.
What does a perfectly dried pepper look like? It should be brittle. When you bend a piece, it should snap cleanly in half, not bend like a leather shoelace.
The color should remain a vibrant deep red, not turn brown or black. Brown means you toasted the flesh, which creates a bitter, acrid flavor that no amount of crushing can fix.
| Visual Cue | What It Means | What To Do |
|---|---|---|
| Snaps cleanly | Properly dried | Cool and crush |
| Bends but doesn’t snap | Still has moisture | Continue drying |
| Dark brown or black | Scorched / over-toasted | Discard, lower temp next time |
| Leathery and pliable | Under-dried, mold risk | Return to dehydrator or oven |
Most home cooks fail at the drying stage because they treat it like baking cookies. They set a timer and walk away. You can’t do that.
Every pepper in your batch is slightly different in thickness and water content, so each one finishes at a slightly different time. Pulling them all out because the timer went off is a recipe for a batch that spoils in the jar three months later.
Choosing Peppers by Look: Color, Ripeness, and Size
You cannot make great crushed red pepper from green or partially ripe peppers. Green peppers lack the sugar development and color compounds that give dried red flakes their characteristic warmth. You need fully ripened red peppers, period.
Look for peppers that are entirely red from tip to stem, with no green shoulders. The skin should be firm and glossy, not wrinkly or soft. Soft spots indicate over-ripeness or the start of rot, both of which will carry through into the dried product.
Size and thickness matter more than you might expect. Thin-walled peppers like cayenne or tabasco dry quickly, often in six to eight hours in a dehydrator. Thick-walled peppers like Fresno or ripe jalapeño can take twelve hours or more.
If you mix thin and thick peppers in the same batch, the thin ones will be done hours before the thick ones, and they’ll start to scorch if you leave them in.
The heat level also varies by variety, and that’s something you can see in the dried flake. Cayenne flakes are hot and bright red. Fresno flakes are milder, slightly fruity, and a deeper red.
Thai bird’s eye flakes are searing hot and tiny. You can mix varieties in a single batch, just keep the thickness similar so they dry evenly.
Drying the Peppers: Step-by-Step Visual Cues
This is the stage that makes or breaks your entire batch. The goal is to remove enough water so that mold and bacteria cannot grow, but without cooking the pepper into a bitter mess.
Oven Drying: What to Watch For
Set your oven to the lowest possible temperature. For most ovens that is around 170°F, though some go as low as 150°F. Arrange pepper pieces in a single layer on a baking sheet.
Do not overlap them, they need air movement to dry evenly.
Here is the visual cue that tells you it is working: the pepper pieces should slowly shrink and curl at the edges. The skin will wrinkle, and the color will darken slightly from bright red to a deeper brick red. If the pieces are browning at the edges within the first hour, your oven is too hot.
Crack the door open a few inches to let heat escape.
Check every thirty minutes after the two-hour mark. The thin pieces will finish first. When a piece snaps rather than bends, pull it out immediately.
Leave the thicker pieces in. This batch-done approach prevents scorching.
Dehydrator Drying: The Hands-Off Option
A dehydrator is the most forgiving method because it runs at a lower temperature, typically 125°F to 145°F, and circulates air constantly. You can load multiple trays and walk away for hours.
The visual cues are similar but slower. Peppers will shrink, wrinkle, and darken gradually over six to twelve hours. The biggest advantage here is that the margin for error is wide.
You can leave cayenne pieces in for ten hours without scorching. It is nearly impossible to over-dry in a dehydrator, which makes it the safest choice for beginners.
Air-Drying: The Old-School Method
Air-drying works only if you live in a dry climate with low humidity. In humid regions, peppers will mold before they dry. The visual cue for air-drying is the same snap test, but it may take one to three weeks.
The peppers shrink very slowly and often develop a slightly leathery texture on the outside while the inside stays moist. You must check them frequently and discard any that show soft spots or fuzzy mold.
Crushing Dried Peppers: How to Get the Perfect Flake Size
Once your peppers are completely dry and cool, it is time to crush them. The method you choose determines the texture of the final product, and texture matters almost as much as flavor.
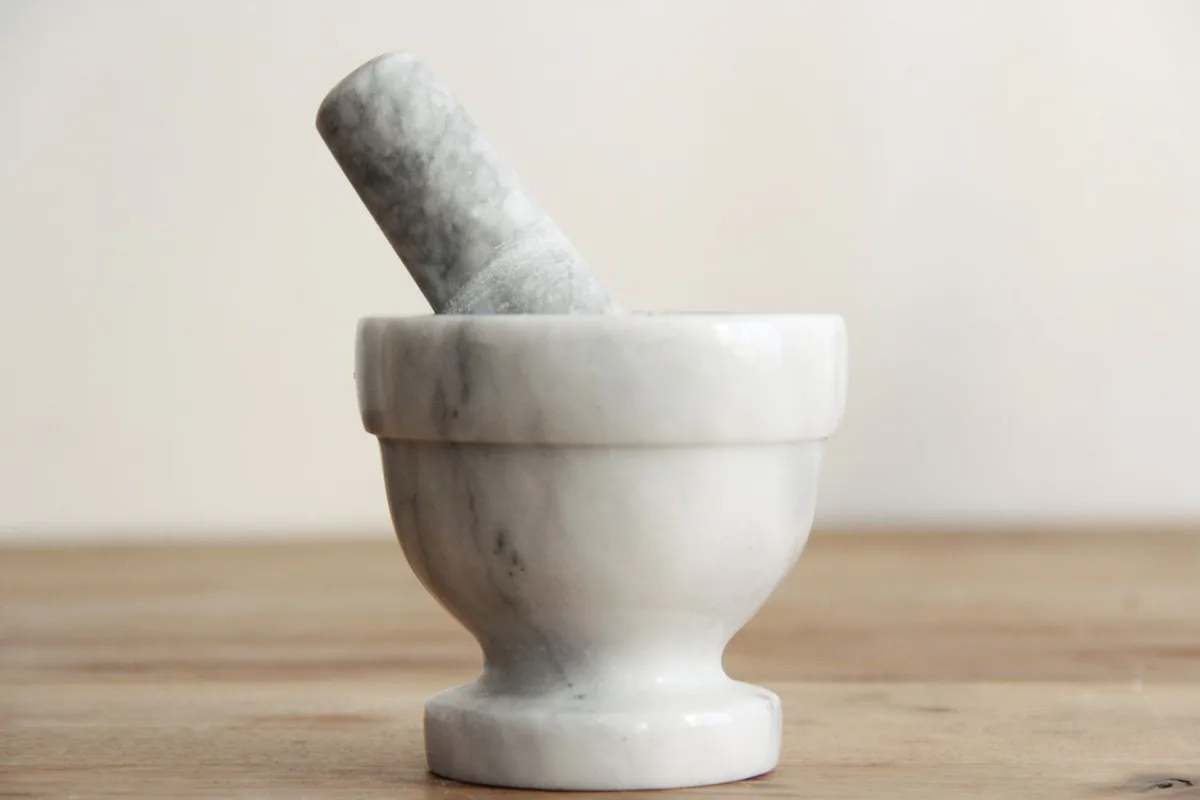
Mortar and Pestle: Full Control, Visual Feedback
This is the best tool for anyone who wants coarse, irregular flakes that stick to pizza or pasta. The mortar and pestle gives you direct tactile feedback. You can see exactly how coarse or fine the pieces are as you work.
Start by breaking the dried peppers into smaller pieces with your gloved hands. Work in small batches, about a handful at a time. Press and twist the pestle in a circular motion.
Stop and look at the flakes every few rotations. You want a mix of small flakes and seeds, but not so much fine dust that it blows away when you open the jar.
The visual cue to stop is uniform flake size. When you no longer see large pieces larger than about a quarter inch, you are done. Sift the flakes through a fine-mesh strainer to separate out the powder.
Save the powder for cooking, but do not mix it back into the flakes or it will settle to the bottom of the jar.
Spice Grinder: Fast and Even
A spice grinder or clean coffee grinder produces more uniform flakes, but it also creates much more fine dust. The advantage is speed. You can process a full batch in under a minute.
The visual risk here is over-grinding. Pulses of one to two seconds are ideal. Check the texture after each pulse.
Stop when the largest pieces are about the size you want. The fines will be substantial, so plan to sift thoroughly.
Rolling Pin and Bag: The No-Gear Option
Place the dried peppers inside a sturdy zip-top bag. Seal it, then roll over it with a rolling pin or the bottom of a heavy pan. The visual cue is straightforward: you see the peppers crack and break into smaller pieces.
The downside is inconsistent sizing, you will get some powder and some big pieces. But it works in a pinch and requires zero special tools.
Visual Mistakes That Ruin Homemade Chili Flakes
Three common errors account for nearly all failed batches. Each one is entirely avoidable if you watch for the right visual signals.
The Leathery Pepper Problem (Under-Drying)
Peppers that bend instead of snapping still contain too much moisture. If you seal them in a jar, that moisture slowly releases inside the container. Within a few weeks, you will see condensation on the glass.
Shortly after, mold appears. The fix is simple: do not stop drying until every single piece snaps. If you are unsure, snap a test piece.
If it bends at all, back in the dehydrator it goes.
The Scorched Batch (Over-Toasting)
Brown or black edges mean you cooked the pepper rather than dried it. The flavor turns bitter and slightly smoky in a bad way. This happens most often in ovens that run hot or when thin pieces are left in too long.
The only fix is prevention. Check early and often, and pull individual pieces as they finish.
Uneven Flakes and the Fine-Powder Flood
If you grind too aggressively or too long, you end up with mostly powder instead of flakes. Powder is useful for cooking but does not work as a finishing sprinkle. The solution is to pulse in short bursts and sift between rounds.
Separate the powder and use it in sauces or rubs.
Visual Reference Guide: What Good Crushed Red Pepper Looks Like
When you open a jar of homemade flakes, you should see a mix of deep red pieces with a few lighter seeds scattered through. The color should be vibrant, not dusty or brown. If it looks faded, the peppers were either over-dried or stored incorrectly.
Good flakes have a range of sizes, but none should be larger than about a quarter inch across. Tiny powder particles are fine, just sift them out and use them separately. The seeds add visual texture and a bit of extra heat, so leaving them in is a personal preference.
| Pepper Variety | Dried Color | Typical Flake Heat | Notes |
|---|---|---|---|
| Cayenne | Bright red | Hot | Thin skin, dries fast |
| Fresno | Deep red | Mild to medium | Fruity undertones |
| Thai bird's eye | Dark red | Very hot | Tiny pieces, intense |
| Tabasco | Orange-red | Medium | Tangy, slightly smoky |
The flakes should feel dry and crisp, not oily. If they feel greasy to the touch, the peppers may have been dried at too high a temperature, which releases oils prematurely. That oil can turn rancid over time.
Storing and Using Your Homemade Crushed Red Pepper
Proper storage is the difference between flakes that last a year and flakes that lose their punch in three months. You need an airtight container, a cool dark place, and minimal exposure to moisture.
Glass jars with tight sealing lids work best. Plastic containers can absorb oils over time and develop a lingering smell. Keep the jar in a dark cabinet away from the stove or dishwasher, where heat and humidity accelerate flavor loss.
| Storage Condition | Shelf Life | Visual Signs of Degradation |
|---|---|---|
| Airtight jar, dark, cool (60-70°F) | 1-2 years | Slight color fade after 12 months |
| Same jar near stove | 6-9 months | Noticeable browning at 6 months |
| Plastic bag or open container | 3-4 months | Pale color, stale smell |
You can create custom blends from a single batch. Mix cayenne with a bit of smoked paprika for a barbecue-style flake. Combine Fresno and garlic powder for a pizza topping blend.
The flakes themselves stay good for a long time, but ground powder loses potency faster, so sift and store those separately.
Signs that your flakes have gone bad include a musty smell, visible mold, or a complete loss of red color. If you see any of those, toss the batch and start fresh.



