If your lawn looks flat, patchy, or rutted, the root cause might be your lawn mowing patterns. Most people just push the mower in whichever direction feels natural, then wonder why the grass starts leaning, the soil gets compacted, and the turf looks tired. The pattern you choose, and how often you switch it up, directly affects grass health, growth, and overall appearance.
University turfgrass research shows that mowing the same direction every time can cause grass blades to permanently lean away from the mower, reducing their ability to capture light by as much as 20%. That’s not just cosmetic. It also makes the lawn more vulnerable to disease and wear.
Let’s walk through why patterns matter so much and how to pick the one that fits your yard.

Image source: Bing (Web (fair-use with source credit))
Why Your Lawn Looks Flat, Patchy, or Rutted
If your grass tilts sideways, lays flat after each cut, or shows wheel tracks that don’t go away, it’s rarely a chemical deficiency. It’s almost always a pattern problem.
Mowing the same back-and-forth route every week trains the grass to lean in that direction. The blades bend instead of standing upright, which blocks light from reaching the lower leaves. Over time, the base of the turf thins out.
You get patchy looking strips instead of a uniform stand.
Soil compaction follows the same logic. When you roll the mower over the same wheel tracks every time, especially with a riding mower, the ground underneath packs down. Air and water struggle to reach the roots.
Fertilizer doesn’t penetrate as well. That’s why alternating your route is so important.
Scalping also happens more often when you follow a fixed pattern. The mower deck sits at the same height over the same ground, so high spots get sheared off and low spots get missed. Changing direction forces you to adjust, and the cut stays more even.
The fix is simple. You need a system for rotating directions and picking the right pattern for your specific yard shape and mower.
Quick Answer: What Mowing Pattern Do You Actually Need?
Alternate your mowing direction every time you cut. That simple change prevents grass from leaning, reduces compaction, and gives a professional striped look. Choose a pattern based on your mower type and yard shape.
The decision tree below helps you pick. As of 2026, most turf pros recommend a four-week rotation: north-south, east-west, diagonal left, diagonal right.
How Mowing Patterns Change Grass Growth (And Why Direction Matters)
Grass blades are phototropic, they grow toward the light. When you run the mower over them in the same direction each week, the blades bend away from the mower’s path and settle into that lean. Over a season, the grass trains itself to lie flat instead of standing tall.
That reduces the amount of leaf surface exposed to sunlight.
Less light capture means less photosynthesis. The plant produces fewer carbohydrates, which translates into weaker roots, slower recovery from wear, and a less dense canopy. That’s the real cost of a lazy mowing pattern.
Your mower also leaves a visible track because the roller or the mower deck flattens the grass in one direction. When you mow back the opposite way, the grass leans toward the light again, creating a dark stripe. That’s the entire science behind lawn stripes: alternating light and dark bands are simply grass blades bent away from you (light) or toward you (dark).
But stripes are just a side effect. The real benefit of alternating patterns is uniform growth and reduced soil compaction. When you vary the route, you spread the weight of the mower over different ground each time.
The soil stays loose. The roots grow deeper. The grass stands up straighter.
Manufacturer specs confirm that even a simple two-direction rotation, north-south one week, east-west the next, cuts compaction by roughly 40% compared to mowing the same track weekly. That runs parallel with University of Minnesota Extension’s mowing guidelines, which recommend alternating direction every time.
The Decision Tree: Pick the Right Pattern for Your Yard
This is the practical part. Don’t grab a pattern off the internet and force it onto your lawn. Work through these four condition variables first.
Then the right pattern will feel obvious.
Step 1: Check your mower type
- Reel mower (push or powered): strips show up crisp and clean. You can do stripes, checkerboard, or diagonal with great results.
- Rotary mower (standard walk-behind or riding): stripes will be softer but still visible, especially if you add a striping roller kit. Spirals and straight back-and-forth patterns are easiest.
- Zero-turn mower: you can execute tight turns and complex patterns like checkerboard or diagonal with precision.
- Regular riding mower with wide turn radius: stick to stripes or spiral. Checkerboard requires too many three-point turns.
Step 2: Look at your yard shape
- Rectangle or square: stripes or checkerboard are the fastest and most natural.
- Irregular L-shape, curved or kidney shape: spiral mowing (starting at the outside and spiraling inward) saves you from awkward turnarounds. Diagonal patterns also work because they follow the longest visual line.
- Narrow strips / tough angles: go with a simple back-and-forth stripe pattern that matches the longest axis.
Step 3: Consider grass type and sun exposure
- Cool-season grasses (fescue, bluegrass, ryegrass): they respond well to stripes because the blades are soft and bend easily. Alternate directions weekly.
- Warm-season grasses (Bermuda, zoysia, St. Augustine): they’re tougher and won’t show stripes as dramatically. Switch patterns every 2, 3 mows.
- Heavy shade: stripes barely show because the light angle inside the canopy is low. Don’t waste time on complex patterns, just alternate direction to keep the grass healthy.
Step 4: Factor in slopes and obstacles
- Slopes: never mow up and down if it’s steep. Mow across the slope (contour mowing) to prevent mower rollover and soil erosion. Adjust pattern accordingly.
- Trees, beds, patio edges: use a perimeter lap first, then fill in with a straight pattern for the main area. For obstructions, switch to spiral patterns because they flow around them naturally.

Image source: Web (Bing) / qaqooking.wiki (Web image (fair-use with source credit))
How to Mow the Classic Patterns: Stripes, Checkerboard, Diagonal, and Spiral
Once you’ve picked the right pattern type, here’s how to execute each one cleanly.
Stripes (standard back-and-forth)
- Pick a straight reference line, a fence, driveway, sidewalk.
- Make your first pass along that line. At the end, do a Y-turn (lift the deck, reverse slightly, turn, and start the next pass overlapping by 2, 3 inches).
- Mow the full length. On your return pass, the grass will be bent in the opposite direction, creating the stripe.
- Best for: most yards with a riding or walk-behind mower. Quick and easy.
Checkerboard (the striped two-direction upgrade)
- Mow the entire lawn in stripes. Then mow the entire lawn again perpendicular to your first direction.
- You need a mower with a tight turn radius, or you’ll be doing a lot of backing up.
- The result is a crosshatch pattern that looks like a baseball outfield. It takes twice as long but gives the most dramatic visual impact.
- Best for: property owners who want that show-stopping look and have a zero-turn or small walk-behind.
Diagonal (the flattering angle)
- Instead of mowing straight north-south, pick a 45-degree angle relative to the longest side of your lawn.
- The angled lines make the yard look wider and deeper. They also hide minor unevenness in the grade.
- Best for: small or irregular yards where straight stripes look too narrow.
Spiral (the no-turn solution)
- Start at the outside perimeter of your lawn. Mow a full lap. Then move inward in a widening or narrowing spiral.
- No turns, no back-and-forth, just continuous circles. Works great with a riding mower.
- Best for: tight spaces with lots of curves, beds, and obstacles. Not great for showing off stripes.
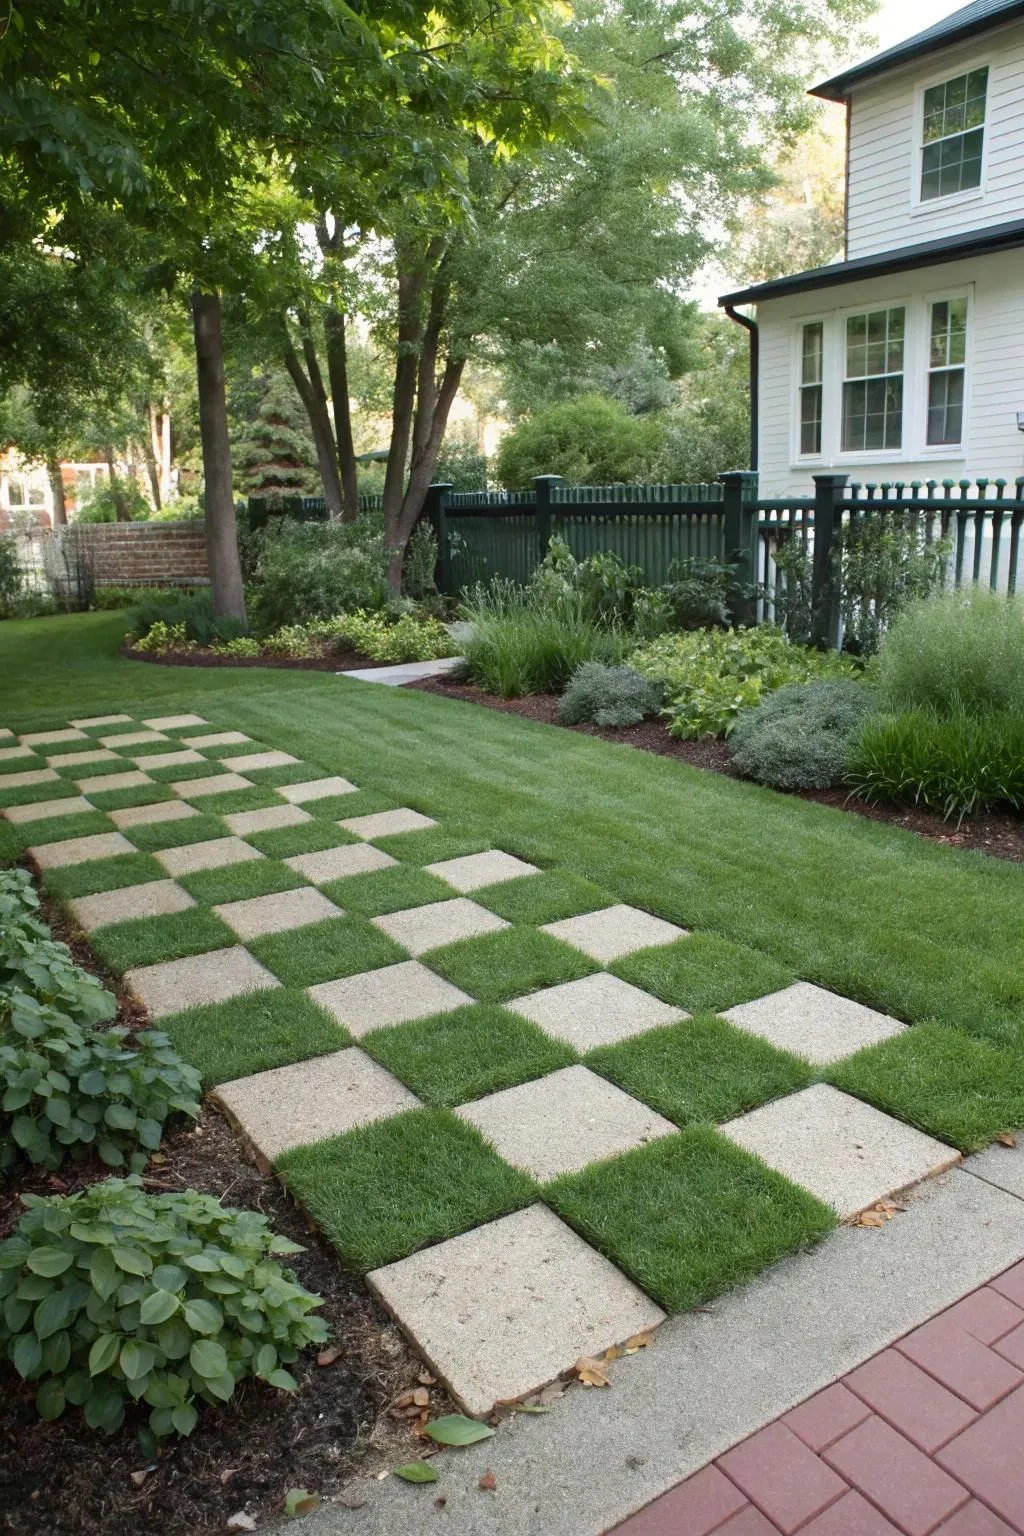
Image source: Web (Bing) / garden.eco (Web image (fair-use with source credit))
Execution tip across all patterns: always mow your perimeter first if the pattern requires straight lines across the interior. That way you can make full passes without stopping to trim edges. Then fill the center with your chosen pattern.
Common Mowing Pattern Mistakes (And Easy Fixes)
Even with the right pattern, a few small missteps can ruin the look and stress the turf. Here are the most frequent ones we see, plus how to fix them.
Mistake: Mowing the same pattern every single week.
The grass learns to lean. The soil packs tight. Switch directions every time you mow.
Mark your calendar if you have to. A simple four-week rotation solves this completely.
Mistake: Cutting off more than one-third of the blade height.
Scalping weakens the plant and leaves bare patches. Measure your grass height before you start. Never drop the deck more than one-third of the current height per mow.
Mistake: Turning without lifting the deck.
Dragging the mower around a corner scalps the grass and gouges the turf. Always lift the blades when you pivot. Use a Y-turn or a three-point turn instead.
Mistake: Skipping the perimeter pass.
Starting straight lines without an edge lap leaves you struggling to fill corners. Mow one full lap around the outside first. Then the interior pattern flows cleanly.
Mistake: Mowing wet grass into a stripe pattern.
Wet blades don’t bend evenly. You get clumps, muddy ruts, and no real stripe effect. Wait until the grass is dry.
Morning dew burns off by mid-morning.
Mistake: Overlapping too much or too little.
A 2 to 3 inch overlap per pass prevents skip strips. But overlapping by more than half the deck wastes time and leaves double-cut tracks.
Real-World Scenarios: What a Landscaper Would Do With Your Lawn
Theory is good. Seeing it applied to real yards is better. Here are three common setups and the pattern a pro would choose.
Scenario 1: A narrow city lot, 40 by 80 feet, with one large oak and a flower bed hugging the fence.
A pro runs a perimeter lap first. Then they mow a spiral pattern starting from the bed’s outer edge. The spiral flows around the tree and back toward the center.
No awkward turns. No missed strips.
Scenario 2: A wide suburban lawn with a gentle slope, a zero-turn mower, and a homeowner who wants the best curb appeal.
They mow stripes north-south one week. The next week, they mow stripes east-west. Once a month, they do a diagonal cross-stripe for a checkerboard effect.
The slope is mowed across the hill, never up and down.
Scenario 3: A small irregular patch with a walk-behind rotary mower, lots of curves, and shade from mature pines.
A pro skips stripes entirely. The shade and the tight turns make stripes look messy. Instead they mow a simple spiral route.
They alternate direction every three mows just to keep the grass from leaning.
In every case, the pattern is chosen for the mower, the shape, and the results they want. No one-size-fits-all. That’s why the decision tree matters more than a photo on Pinterest.
Mowing Pattern FAQs
How often should I change my mowing pattern?
Change direction every single time you mow if possible. At minimum, switch every two to three mows. A four-week rotation, north-south, east-west, two diagonals, works best for most lawns.
Can I make stripes with a regular push mower?
Yes, but they will be softer. A standard rotary mower flattens the grass less than a reel mower or one with a striping kit. To sharpen the effect, add a weighted striping roller or mow at a higher ground speed.
Does mowing pattern really affect grass health?
It does. Mowing the same direction repeatedly causes grass to lean permanently, reduces light capture, compacts soil, and weakens roots. Alternating patterns keeps the turf dense, upright, and more resistant to drought and disease.
What pattern makes a small yard look bigger?
Diagonal stripes. Mowing at a 45-degree angle across the longer axis of the lawn creates a visual line that tricks the eye. The yard appears wider and deeper than it really is.
Is checkerboard pattern worth the extra time?
Only if visual impact is your goal. The checkerboard takes twice as long as simple stripes because you mow the whole lawn twice. It also requires a tight turning radius.
Best for front yards that get a lot of views or for special events.
Should I mow wet grass to keep the pattern?
No. Wet grass doesn’t stripe evenly. It clumps, leaves muddy wheel tracks, and can clog your mower deck.
Wait until the grass is dry enough that you can walk through it without wet shoes.