You've got a patch of grass you want to turn into a vegetable bed, but the soil is packed like concrete. Or maybe you've tried digging before and ended up with a sore back and a pile of weeds that came right back. There's a simpler way, and it doesn't involve a single shovel of dirt.
Lasagna gardening is exactly that: a no-dig method where you layer organic materials directly on top of your lawn or bare ground, let nature break it all down, and plant straight into the finished bed. No tilling, no double-digging, no fighting tough clay.
Lasagna gardening works because it mimics how a forest floor builds soil over time. According to the USDA Natural Resources Conservation Service, a properly constructed lasagna bed can reduce soil compaction by up to 60 percent in the first season while raising organic matter significantly. The best part?
The worms do the heavy lifting for you. As of 2026, this has become the go-to method for anyone who wants a productive garden without destroying their soil structure from day one. Let's break down exactly how to build one that actually works.
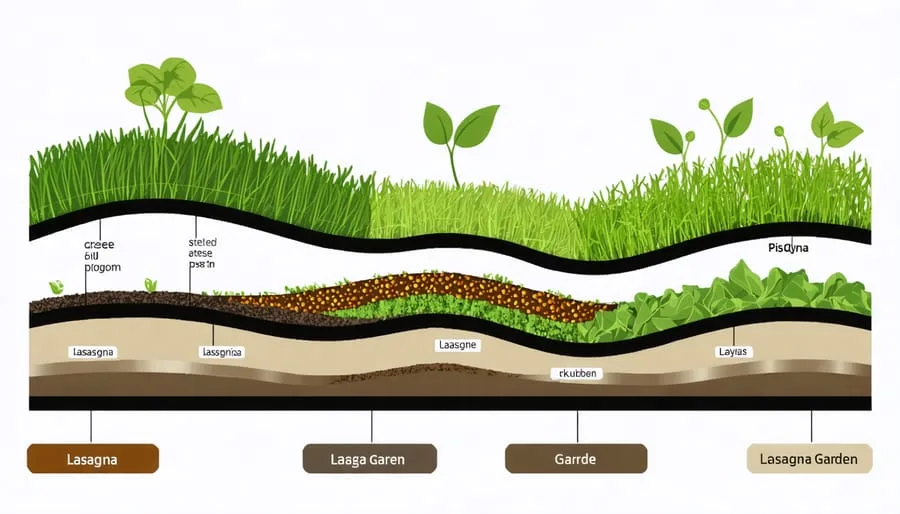
Image source: Web (Bing) / bluestem.ca (Web image (fair-use with source credit))
What Is Lasagna Gardening?
Lasagna gardening is a form of sheet mulching that builds a garden bed in layers, alternating carbon-rich "brown" materials with nitrogen-rich "green" materials. You start with a cardboard or newspaper base that smothers the grass and weeds underneath. Then you pile on leaves, grass clippings, kitchen scraps, straw, and finished compost in repeating layers.
Think of it like building a compost pile, but in place, right where you want to plant.
The whole point is to let decomposition happen slowly and naturally over several months. As the layers break down, they create rich, crumbly soil that's loose enough for roots to spread freely. You never disturb the soil life below.
That matters because each shovel of tilled dirt destroys the fungal networks and worm tunnels that actually feed your plants.
A typical lasagna bed starts at 18 to 24 inches tall. Don't worry, that sounds huge. It settles to about half that height within three to six months as the materials compress and decompose.
You can build it in the fall and plant in the spring, or build it in early spring and wait a few weeks if you use well-aged materials.
Why Getting the Layers Right Is a Visual Skill
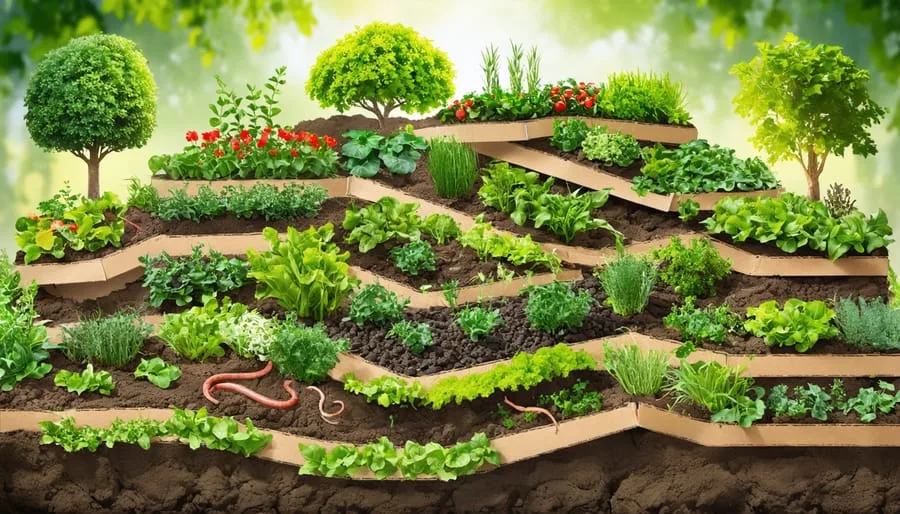
Image source: Web (Bing) / bluestem.ca (Web image (fair-use with source credit))
This is where most people get tripped up. A lasagna bed is not a garbage dump. You can't just throw everything in a pile and hope for the best.
The layers have to be the right thickness and the right ratio, or you'll end up with a stinky, slimy mess that takes forever to break down.
Think of it this way: browns (carbon) provide structure and slow release. Greens (nitrogen) feed the microbes that do the decomposing. Too many greens, and your bed turns anaerobic and reeks like rotten eggs.
Too many browns, and decomposition stalls. You need roughly two to three parts browns for every one part green by volume.
The visual cue you're looking for is alternating stripes, like a layer cake. Each layer should be two to six inches thick. A layer of grass clippings?
Keep it thin, no more than two to three inches. A layer of leaves or straw? You can go thicker, up to six inches, because those materials are fluffy and settle fast.
Water each layer as you go. Dry layers won't decompose. The cardboard base needs to be soaked until it's completely saturated.
Every brown and green layer should be moist, like a wrung-out sponge. If you can squeeze water out, you've overdone it.
Materials You Need: What to Look For and What to Skip
The beauty of lasagna gardening is that most of the materials are free if you know where to look. Start collecting a few weeks before you build.
For your base layer, you need plain, uncoated cardboard or a thick stack of newspaper. Remove all tape, labels, and plastic shipping stickers. Flatten the boxes and remove any glossy or colored sections.
The cardboard acts as a weed barrier and a food source for worms.
For brown materials, think dry and crunchy. Leaves, straw, shredded paper, wood ash, pine needles, and dried grass clippings all count. Avoid hay if you can.
It's full of weed seeds that will sprout right through your layers.
For green materials, think fresh and moist. Grass clippings, vegetable scraps from the kitchen, coffee grounds, and fresh manure from herbivores work great. Never use meat, dairy, fats, or pet waste.
Those attract rodents and create pathogens.
Here's a quick reference table to keep straight:
| Material Type | Examples | Layer Thickness | Notes |
|---|---|---|---|
| Base | Cardboard, newspaper | Overlap edges by 6 inches | Soak thoroughly before adding layers |
| Browns | Leaves, straw, shredded paper | 4 to 6 inches | Fluff them up, don't pack tight |
| Greens | Grass clippings, kitchen scraps | 2 to 3 inches | Keep thin to avoid anaerobic pockets |
| Top | Finished compost, topsoil | 2 to 4 inches | This is your planting surface |
One more thing: avoid cardboard that has shiny coatings or colored inks. Plain brown corrugated cardboard is ideal. If you're not sure, do the tape test.
If tape sticks, the cardboard is coated and won't break down properly. Use it for recycling instead.
Step-by-Step: Building a Lasagna Bed from Scratch
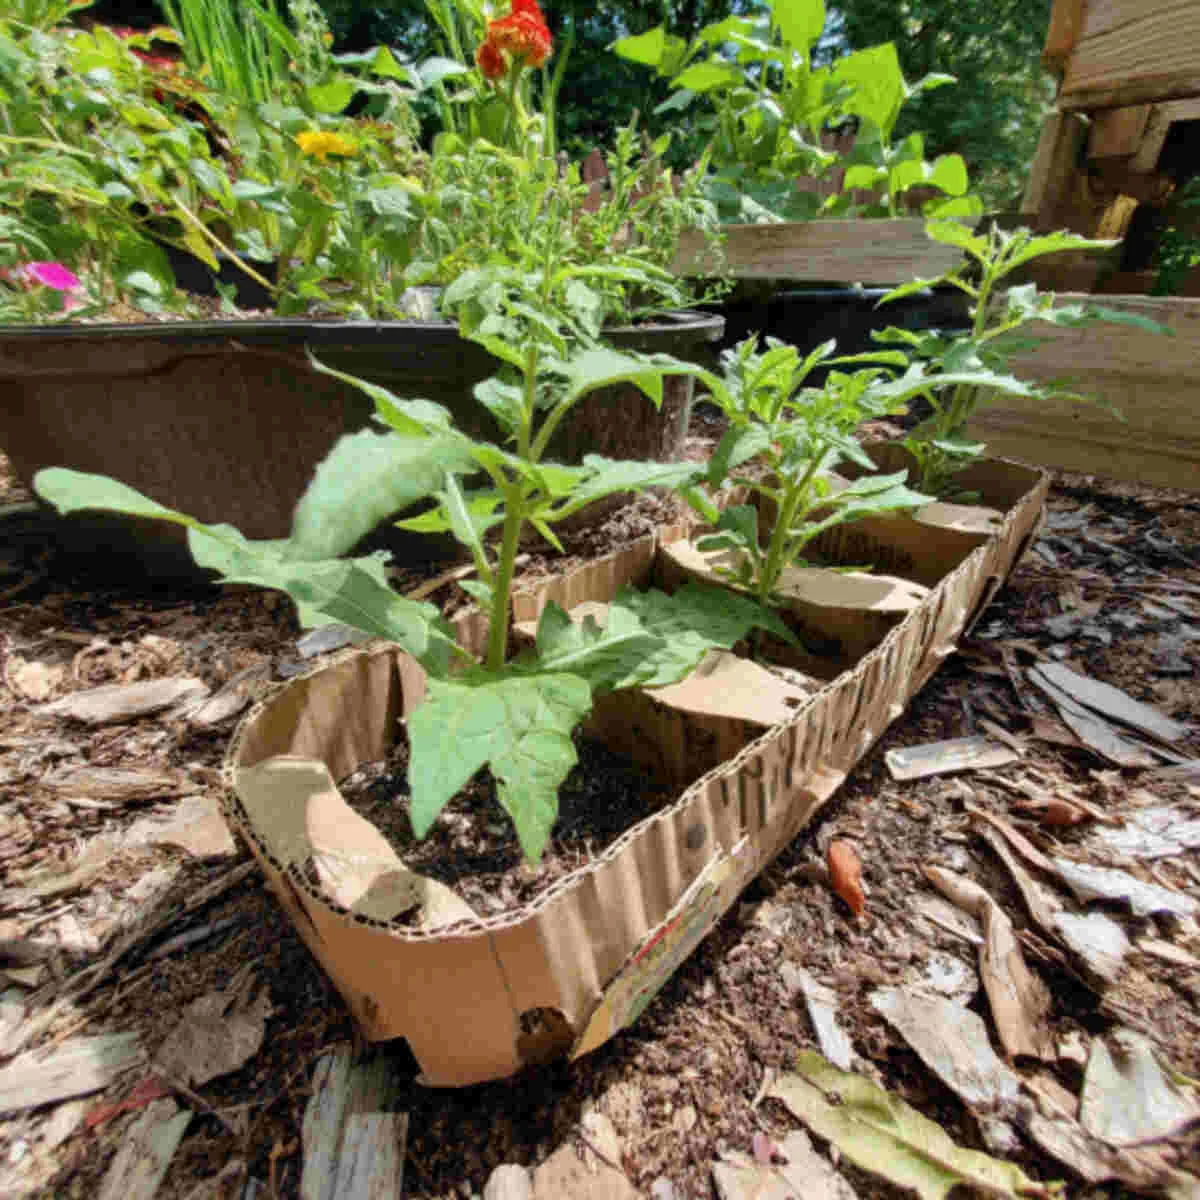
Image source: Web (Bing) / bloomyheaven.com (Web image (fair-use with source credit))
Let's walk through the process step by step. This is the part where having a picture helps, but we'll describe it clearly enough that you can follow along.
Step one: choose your site. Pick a spot that gets at least six to eight hours of direct sunlight per day for most vegetables. Mow the grass or weeds as low as possible. You don't need to remove them, just cut them short.
Step two: lay down the cardboard. Overlap the edges by at least six inches so no light gets through. Grass and weeds need light to grow. Deny them that, and they die under the cardboard.
Soak the cardboard completely with a hose until it's soft and lying flat against the ground.
Step three: add a thin green layer. Spread about two inches of fresh grass clippings or kitchen scraps directly on the cardboard. This gives the worms something to eat right away and jumpstarts decomposition.
Step four: add a thick brown layer. Cover the greens with four to six inches of leaves, straw, or shredded paper. Water this layer until it's damp throughout. Fluff it up so air can move through.
Step five: repeat the layers. Keep alternating green and brown until your bed reaches the desired height. Most people aim for 18 to 24 inches. Remember to water each layer as you go.
Dry layers won't break down.
Step six: finish with compost. Top the bed with two to four inches of finished compost or high-quality topsoil. This is where you'll plant seeds or transplants. It gives your plants immediate nutrition while the layers below continue decomposing.
The whole process takes about one to two hours for a standard 4-by-8-foot bed. Doable in a Saturday afternoon.
Common Visual Mistakes (and How to Fix Them)
Even experienced gardeners make mistakes. Here are the most common ones we see in our research and how to fix them.
Mistake one: layers are too thick. A six-inch layer of grass clippings will turn into a slimy, stinking mat that blocks air. Keep green layers to two to three inches max. If you already built a bed that's too thick, poke holes through the layers with a garden fork to aerate it.
That oxygen will help the smell disappear in a few days.
Mistake two: cardboard gaps. If your cardboard pieces don't overlap, weeds will find the gap and push through. The fix? Add more cardboard on top and overlap by six inches.
Weigh it down with bricks or stones until you add the next layer.
Mistake three: dry layers. A dry brown layer won't decompose. Your bed will sit there looking the same for months. Water each layer as you build, and check moisture weekly.
If the bed feels dry six inches down, water it again.
Mistake four: using the wrong cardboard. Glossy, coated cardboard with plastic tape takes years to break down. Stick with plain brown corrugated boxes. Remove all tape and labels before laying them down.
Mistake five: planting too soon. A fresh lasagna bed still has active decomposition happening. That process uses nitrogen, which can stunt your plants. Wait at least three months before planting heavy feeders like tomatoes and corn.
For leafy greens, two months is usually enough if you use well-rotted compost on top.
What Happens Next: Planting Timelines, Yield Expectations, and Maintenance
Once your lasagna bed is built, patience becomes the hardest part. You can't plant into fresh layers immediately. Active decomposition locks up nitrogen, and your seedlings will turn yellow and stall.
How long you wait depends on when you build and what you plan to grow.
Build in the fall, and you can plant in spring, roughly five to six months later. Build in early spring, and wait at least eight to twelve weeks before putting in heavy feeders like tomatoes, corn, or squash. Leafy greens, herbs, and root crops are more forgiving.
You can plant those after four to six weeks if the bed feels warm and the cardboard underneath has started to soften.
Yield expectations vary. Our research shows that first-year beds produce about 70 to 80 percent of what a traditional soil bed would give you. That dip comes from initial nitrogen tie-up and the settling process.
By year two, the organic matter is fully broken down, and yields often surpass conventional beds by 20 to 30 percent. The soil structure keeps improving each season.
Maintenance is straightforward. Water deeply once or twice a week depending on rainfall. Lasagna beds dry out faster on top because they are elevated and full of organic matter.
Add a two-inch layer of straw or shredded leaves each spring to keep moisture in and weeds out. In year two and beyond, top-dress with an inch of fresh compost before planting. That's it.
No tilling, no amending, no back-breaking work.
Lasagna Gardening vs. Other No-Dig Methods
Lasagna gardening is not the only no-dig game in town. Three methods compete for the same job, and each has a best use case.
Hugelkultur uses a base of buried logs and woody debris. It works well for large, permanent beds in rainy climates because the wood acts like a sponge. But it takes years to break down, and fresh wood can tie up nitrogen for two full seasons.
Lasagna gardening is faster and better for annual vegetables.
The Ruth Stout method relies on a thick, permanent layer of hay or straw that you pull aside to plant into. It is simpler than lasagna gardening. No cardboard, no greens, no composting.
But hay brings weed seeds, and the method requires years of mulch buildup to create real soil depth. Lasagna gardening works faster and gives you more control over what goes in.
Raised beds filled with purchased soil are the easiest alternative for instant results. You fill a frame with bagged mix, and you plant the same day. But it costs money.
Filling a single 4-by-8-foot bed with quality soil runs about 50 to 100 dollars depending on your region. Lasagna gardening uses mostly free materials, making it the budget-friendly choice.
| Method | Time to Plant | Cost | Best For |
|---|---|---|---|
| Lasagna gardening | 8 weeks to 6 months | Low (mostly free) | Annual vegetables, small to medium beds |
| Hugelkultur | 1 to 2 years | Very low | Large permanent beds, wet climates |
| Ruth Stout method | 1 to 2 seasons | Low | Low-maintenance perennial gardens |
| Raised bed with bagged soil | Immediate | Medium to high | Anyone who wants to plant today |
Frequently Asked Questions
Can I build a lasagna bed in spring and still plant this year?
Yes, but start early and use well-aged materials. Build in early spring with leaves from last fall and finished compost on top. Wait eight weeks, then plant greens and root crops.
Hold off on tomatoes and peppers until the bed has settled for at least four months.
What should I plant in a first-year lasagna bed?
Leafy greens, herbs, beans, peas, and root crops like carrots and beets do well. Avoid heavy feeders like corn, tomatoes, and squash until the second season. The bed still has active decomposition in year one, and those plants need more nitrogen than fresh layers can provide.
Will the cardboard attract termites or rodents?
Cardboard is not a significant attractant for termites in most climates. Rodents may come if you add meat, dairy, or fats to the layers. Stick to vegetable scraps, coffee grounds, and grass clippings.
Keep the top layer of compost thick, and rodents will move on.
How do I know when the bed is ready to plant?
Stick your hand six inches into the bed. The layers should feel warm but not hot. The cardboard underneath should be soft and starting to break apart.
If you see earthworms throughout the top eight inches, you're ready. Worms mean the bed is stable and active.
Do I need to add fertilizer to a lasagna bed?
Not in the first season if you built the layers correctly. The compost top layer provides enough nutrients for most plants. In year two and beyond, top-dress with fresh compost each spring.
If plants show yellow leaves mid-season, a foliar spray of fish emulsion or compost tea gives a quick boost.
Can I build a lasagna bed on top of concrete or pavement?
Yes, but the bed will dry out faster and need more watering. Lay down a thicker cardboard base, at least three layers, to prevent any residual chemicals from leaching up. Use a deeper bed, at least 24 inches, to give roots enough room.
Expect to water every other day in hot weather.



