Imagine having a dedicated space in your garden where you can store tools, pot plants, or even escape for a quiet moment. Building your own wooden garden shed can turn this dream into reality.
Not only does it add charm to your outdoor space, but it also provides practical storage solutions. You might think constructing a shed is complicated, but with the right guidance, it’s simpler than you expect. By following this guide, you’ll discover how to craft a sturdy and beautiful shed that meets your needs.
You’ll save money, and gain a sense of achievement and a personalized addition to your garden. Ready to roll up your sleeves and get started? Let’s dive in and explore how you can build a wooden garden shed that’s both functional and aesthetic.
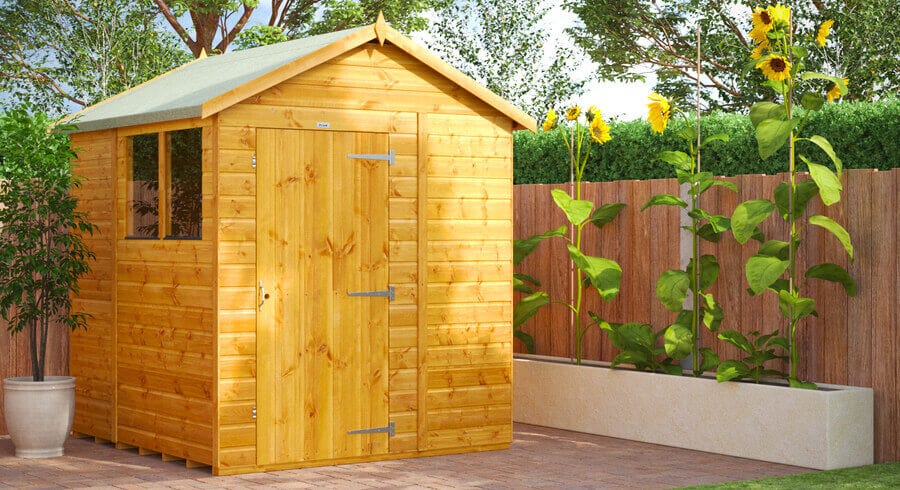
Credit: www.robertdyas.co.uk
Planning Your Garden Shed
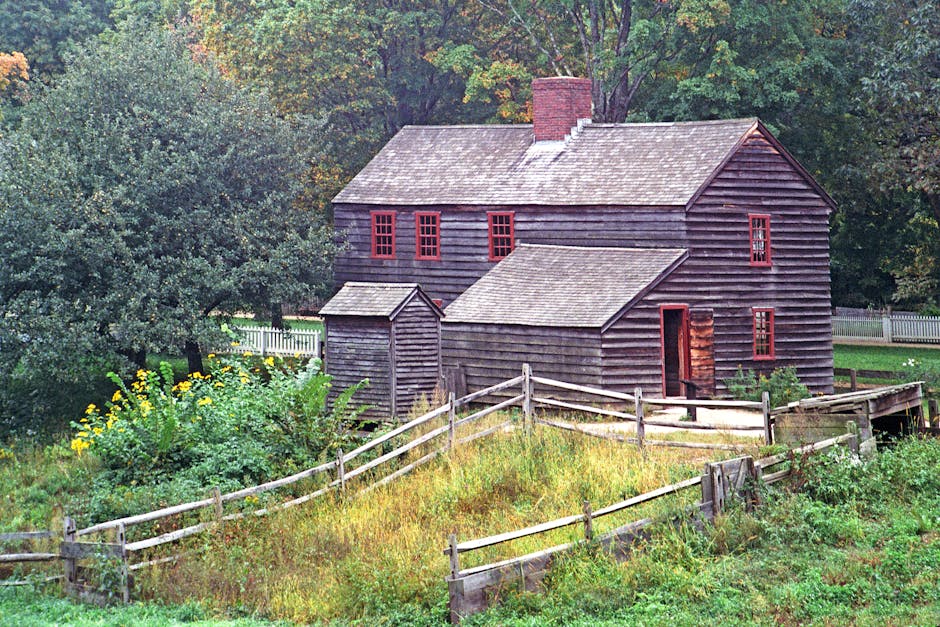
Building a wooden garden shed involves choosing the right location and materials. Consider the shed’s size and purpose before starting construction. Planning ensures your shed complements the garden, offering both functionality and aesthetic appeal.
Planning Your Garden Shed Creating a wooden garden shed requires careful planning. The right preparation ensures functionality and longevity. With thoughtful consideration, your shed can become a cherished part of your garden. Below, find key areas to focus on during your planning process.Choosing The Right Location
The location of your garden shed matters. Look for a flat area in your garden. Ensure easy access to the shed from your house. Consider sunlight and shade throughout the day. Avoid places with water pooling during rain. Proximity to water and electricity sources is beneficial. Think about how the shed fits into the overall landscape.Determining Size And Design
The size of your shed depends on its purpose. A small shed works for storing tools. Larger sheds can accommodate workshops or gardening spaces. Think about height and width. Ensure enough space for doors and windows. Choose a design that complements your garden. Rustic or modern, the design should reflect your style.Gathering Necessary Permits
Check local building regulations before starting. Permits may be required for construction. Visit your local city office for guidance. Ensure compliance with zoning laws. Proper permits prevent future legal troubles. Document all approvals and keep them safe.Gathering Materials And Tools
Gathering materials and tools is the first step in building a wooden garden shed. Select quality wood, nails, and screws. Include essential tools like a saw, hammer, and measuring tape. Prepare everything in advance to ensure a smooth construction process.
Gathering the right materials and tools is a crucial step in constructing a wooden garden shed. This stage determines the overall quality and durability of your shed. It’s like setting the foundation for a successful DIY project. By ensuring that you have everything you need before you start, you save time and prevent unnecessary trips to the hardware store. Let’s dive into what you’ll need to gather.Essential Wood Types
Choosing the right wood is vital for the longevity of your garden shed. Cedar is a popular choice due to its natural resistance to decay and insects. Pine is another option, offering affordability and ease of use, though it may require additional treatment to withstand the elements. Consider pressure-treated wood for the floor to prevent moisture damage. Each wood type offers different benefits, so think about your local climate and budget. What wood will best suit your garden environment?Key Tools Required
Having the right tools on hand can make your building process smoother. A cordless drill is essential for assembling the frame and securing panels. A circular saw will help you make precise cuts, ensuring each piece of wood fits perfectly. Don’t forget a tape measure and a level. These tools are crucial for accuracy, ensuring your shed is stable and square. Do you have these tools ready in your toolbox?Safety Equipment
Safety should never be an afterthought. Equip yourself with protective gear to avoid accidents. Safety goggles and gloves are must-haves to protect your eyes and hands from flying debris and splinters. If you’re using power tools, ear protection is a wise investment. Remember, it’s better to be safe and prepared than to regret not taking precautions. Are you fully equipped to handle your shed-building project safely?Preparing The Foundation
Preparing the foundation is crucial for building a wooden garden shed. Start with a level area and clear debris. Use gravel or concrete for stability and drainage.
Building a wooden garden shed begins with a solid foundation. Without a stable base, your shed might face structural issues down the road. Preparing the foundation isn’t just about laying some bricks or concrete; it’s about ensuring your shed stands firm and lasts for years. Let’s dive into the essentials of preparing the foundation, including clearing and leveling the ground, choosing the right foundation type, and laying it down efficiently.Clearing And Leveling The Ground
Before you start, clear the area of any debris, rocks, and vegetation. A clean space ensures that your foundation will be stable. Leveling the ground is crucial. Uneven surfaces can cause your shed to tilt or settle unevenly. Use a long piece of wood and a level to check for any dips or rises. If needed, add or remove soil until you have a flat, even surface. Imagine trying to balance a teetering shed—definitely not what you want!Choosing The Foundation Type
The type of foundation you choose can depend on your budget, the size of the shed, and your ground condition. A concrete slab offers durability and is great for larger sheds. However, it can be more expensive and time-consuming to install. For smaller sheds, skid or gravel foundations are cost-effective and easier to lay down. Consider what suits your needs and resources.Laying The Foundation
Once your ground is prepped and your foundation type is chosen, it’s time to lay it down. For concrete, pour it evenly and use a screed to level it out. Ensure you have proper drainage to prevent water from pooling. This step can prevent future issues like wood rot. For gravel foundations, spread the gravel evenly and compact it well. Use a tamper to make sure it’s packed tightly. A well-laid foundation is like a promise of durability to your shed. Get it right, and you’ll thank yourself later.
Credit: www.youtube.com
Building The Shed Frame
Crafting a sturdy shed frame begins with selecting quality wood for the base. Secure the beams tightly to ensure stability. Ensure all corners are square to maintain a proper structure.
Building the frame of your wooden garden shed is the foundation of your project. It’s where your shed starts to take shape, and each step requires precision and care. As you begin this journey, remember that a sturdy frame ensures a long-lasting structure.Constructing The Floor Frame
Start by choosing a flat, level area for your shed’s foundation. This will make your job easier and your shed more stable. Use pressure-treated lumber for the floor frame to protect against moisture and rot. Measure and cut your lumber to size. Assemble the outer frame first, then add joists spaced evenly for support. Secure everything with galvanized screws for durability. Consider laying a vapor barrier or gravel beneath the frame. This provides extra protection against moisture from the ground.Assembling Wall Frames
Wall frames give your shed its shape and support. Begin by cutting your studs and plates to the correct dimensions. Assemble each wall on a flat surface, ensuring the corners are square. Use a framing nailer or screws to attach the studs to the plates. Include openings for windows and doors as per your design. Label each wall for easy identification during assembly. When lifting the walls, get assistance. It ensures safety and prevents damage to your structure.Installing Roof Supports
The roof supports cap off your frame and protect your shed from weather. Begin by installing the ridge beam, which runs along the peak of the roof. Ensure it’s level and securely attached to the walls. Cut rafters to fit the slope of your roof. Attach them to the ridge beam and the top plates of the wall frames. Use hurricane ties for added security against strong winds. Before you cover the roof, think about adding insulation or a vapor barrier. This step can make your shed more comfortable and extend its life. Have you ever wondered how a small change could improve your shed’s durability? Consider using metal brackets for extra strength at key joints. Small enhancements like this can make a big difference in the longevity of your structure.Installing Walls And Roof
Building a wooden garden shed involves installing walls and a roof for protection and stability. Use sturdy timber for walls and ensure a solid roof structure to withstand weather conditions. Proper insulation can enhance durability and comfort, making the shed a practical addition to your garden.
Building a wooden garden shed can be a rewarding project. Once the foundation is set, the next crucial step is installing walls and roof. These elements provide structure and protection. Follow these steps to ensure a sturdy and weather-resistant shed.Securing Wall Panels
Begin by positioning the wall panels upright. Align each panel with the shed’s base. Ensure they are flush with the edges. Use a level to check vertical alignment. Secure each panel using galvanized screws or nails. Fasten them to the base and adjoining panels. It’s vital to ensure tight connections. This prevents moisture from seeping in. Continue until all panels form a complete enclosure.Adding Roof Sheathing
Once walls are secure, focus on the roof. Start by installing roof trusses or rafters. Space them evenly across the top. Use metal brackets to secure them. Next, lay the roof sheathing. This can be plywood or oriented strand board. Align the sheets with the roof edge. Fasten them using screws or nails. Make sure there are no gaps. This forms the base for the roofing material.Applying Roofing Material
Choose a durable roofing material. Common options include asphalt shingles or metal sheets. Begin at the roof’s lower edge. Lay the first row of shingles. Overlap each piece slightly. This prevents water ingress. Secure them with roofing nails. Continue upwards, row by row. Ensure consistent overlap and alignment. For metal sheets, align them with the roof edge. Use screws to fasten them securely. Add ridge caps for added protection. This ensures a water-tight finish.
Credit: www.veikous.com
Adding Doors And Windows
Doors and windows ensure light and easy access in a wooden garden shed. Choose durable materials for long-lasting use. Proper placement boosts natural light and ventilation.
Adding doors and windows to a garden shed enhances its functionality and style. The right choices can transform a simple structure into a charming retreat. Doors and windows not only improve accessibility and light but also contribute to the overall aesthetic. Selecting quality materials and styles ensures durability and complements the design. Focus on these aspects for a well-rounded approach.Choosing Door Styles
Choosing the right door style is essential for both appearance and utility. Consider the size and weight of the door. Lightweight doors are easier to install and operate. Popular styles include single, double, and sliding doors. Sliding doors save space and provide a modern look. Wooden doors offer a classic appearance and can be painted or stained. Ensure the door complements the shed’s architecture. Check for sturdy hinges and locks for security.Installing Windows
Windows bring light and ventilation into the shed. Decide on the window size and placement early in the design. Smaller windows offer privacy while larger ones brighten the space. Consider fixed or operable windows based on ventilation needs. Install windows at eye level for easy access. Use weather-resistant frames to protect against elements. Securely attach windows to prevent leaks and drafts.Ensuring Proper Insulation
Proper insulation keeps the shed comfortable year-round. Choose materials that regulate temperature and reduce energy costs. Insulate around doors and windows to prevent heat loss. Foam and fiberglass are effective insulation options. Seal gaps and cracks with weatherstripping. Ensure windows are double-glazed for better insulation. Insulation also helps reduce noise and moisture inside the shed.Finishing Touches
Building a wooden garden shed is a rewarding project. It’s time for the finishing touches that make your shed stand out. These final steps enhance the look and functionality of your garden shed.
Painting And Sealing
Choose a paint that complements your garden. Use colors that blend well with nature. This helps the shed become part of the landscape. Apply a primer first to protect the wood. Then, add two coats of your chosen paint. Sealing the wood is crucial. It guards against moisture and extends the shed’s life. Use a sealant specifically for outdoor use. Apply evenly for the best protection.
Landscaping Around The Shed
A well-landscaped area enhances the shed’s appeal. Plant flowers or shrubs around the shed. They add color and life to the space. Consider using mulch to keep weeds away. A small path leading to the shed is inviting. Use stones or wood chips for a natural look. These elements transform the shed area into a garden retreat.
Organizing Interior Space
Maximize your shed’s interior for functionality. Use shelves to store tools and supplies. Hooks are great for hanging items like hoses and rakes. Bins and boxes help keep smaller items sorted. Consider a pegboard for organizing tools. Label everything for easy access. Keep the floor clear for safety and mobility. This makes the shed a practical part of your gardening routine.
Frequently Asked Questions
Is It Cheaper To Build A Wood Shed Or Buy One?
Building a wood shed is often cheaper than buying one. Costs depend on materials and labor availability. Building allows customization, while buying saves time. Consider budget and skills before deciding.
How To Build A Wooden Shed Step By Step?
Start by selecting a level site and creating a solid foundation. Construct the frame and secure the walls. Install the roof trusses and add roofing material. Attach siding and doors, ensuring everything is weatherproof. Finish by painting or staining the shed for protection and aesthetics.
What Type Of Wood Is Best For A Garden Shed?
Cedar is ideal for garden sheds due to its durability and resistance to rot and insects. It offers natural insulation, keeping the shed cooler. Pine is a budget-friendly option but requires treatment to prevent decay. Both woods provide an attractive appearance and are popular choices for outdoor structures.
What Is A Mistake When Building A Shed?
A common mistake is not preparing a level foundation. An uneven base can cause structural issues. Avoid skimping on quality materials. Ignoring local building codes can lead to legal problems. Inadequate ventilation may lead to moisture buildup. Poor planning of space can result in inefficient use.
Conclusion
Building a wooden garden shed is rewarding. With patience, it becomes a cozy space. You’ll love the process. Each step adds charm to your garden. Use quality wood; it lasts longer. Remember safety tips while working. Your shed will host tools and plants, maybe even hobbies.
Enjoy the new addition to your garden. Share your shed-building journey with friends. Inspire others to create. It’s an achievement you’ll cherish. Happy building!


