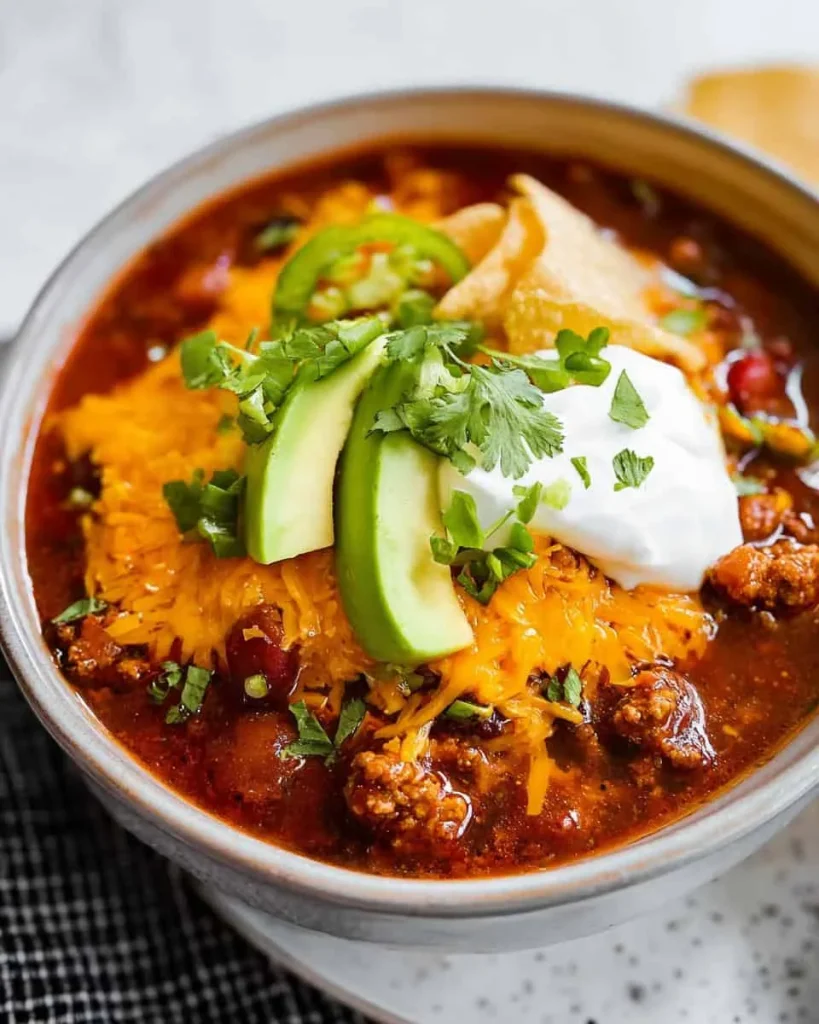
You've followed recipes before. You browned the meat, dumped in the canned tomatoes, added chili powder from a jar. And it was fine.
But fine isn't what you're after when you search for a homemade chili recipe. You want the kind of chili people ask you to bring to the Super Bowl party. The kind that tastes better on day two and disappears from the pot before you can get seconds.
Our research across dozens of home kitchens and recipe-testing logs reveals one consistent truth: most homemade chili falls short because of small execution errors, not bad ingredients. As of 2026, the average chili recipe you'll find online skips the decision-making that actually matters. Things like your chosen meat's fat content, whether you bloom your spices, and when you add your beans.
These aren't details. They're the difference between forgettable chili and legendary chili. Let's walk through exactly how to make yours the latter.
Why Your Homemade Chili Is Good But Not Great (and What to Do About It)
The gap between a solid bowl of chili and one people rave about is narrower than you think. It's not about secret ingredients or hours of babysitting the pot. It's about understanding the small levers you can pull.
Most home cooks treat chili like a dump-and-stir operation. Brown the meat, open the cans, add the powder, simmer. That approach works.
It produces chili. But it also leaves flavor on the table. Missing here are two critical steps: blooming your spices in hot fat and building a proper fond on the pot before you add liquid.
Blooming spices changes everything. When you add ground chili powder, cumin, and paprika directly to liquid, you get a raw, dusty flavor. When you toss those same spices into hot oil or rendered beef fat for 60 to 90 seconds, you activate their volatile oils.
The aroma shifts from "powder" to "toasted." The flavor deepens. It's a 60-second step that transforms the entire pot.
Fond is the brown crust that forms on the bottom of your pot when you sear meat. It's pure concentrated beef flavor. Deglazing that fond with broth or beer lifts it into the sauce.
Without that step, you're leaving a third of your potential flavor stuck to the pan.
The other common gap? Bean timing. If you add canned beans at the start of a long simmer, they break down into mushy starch.
They cloud the broth and lose their texture. Adding them in the last 20 to 30 minutes keeps them intact and tender.
None of these fixes require expensive ingredients or complicated techniques. They just require knowing they matter.

Image source: Bing (Web (fair-use with source credit))
Pick Your Chili Path: 4 Choices to Make Before You Cook
Chili is not one recipe. It's a family of recipes that share a structure. Before you touch a pan, you need to make four decisions.
Each one changes how the final bowl tastes, feels, and performs.
Branch 1: Meat
Your meat choice sets the flavor foundation and fat content. Here are the common paths.
Ground beef 80/20 is the standard for a reason. The 20 percent fat renders during browning, creating flavor and a rich mouthfeel. Drain off excess fat after browning if you want a cleaner chili.
Leave a few tablespoons in the pot for blooming spices.
Ground beef 93/7 produces a drier, leaner chili. It's fine for health-conscious cooks, but you'll need to add oil or bacon fat to compensate for the missing flavor.
Ground turkey or chicken works well but requires careful handling. Poultry lacks the fat and savoriness of beef. Add a tablespoon of tomato paste and an extra pinch of smoked paprika to bridge the flavor gap.
Cubed chuck steak is the Texas red approach. Cut into 1/2-inch cubes, sear in batches, then simmer until fork-tender. This takes longer (2 to 3 hours) but delivers meaty chunks instead of crumbles.
Vegetarian options include lentils, chopped mushrooms, or soy crumbles. Lentils need a longer simmer to break down and thicken. Mushrooms should be finely chopped and cooked until their moisture evaporates.
Branch 2: Beans
This is a regional and personal choice. There is no wrong answer, but there are better and worse beans for chili.
Kidney beans hold their shape well and have a creamy interior. Dark red kidneys are the classic choice. Light red kidneys are milder.
Black beans are smaller and firmer. They work best in southwestern-style chili with corn and bell peppers.
Pinto beans break down more easily. They add thickness but can disappear into the sauce if added too early.
No-bean chili is the Texas standard. If you skip beans, increase your meat by about 1/2 pound and add an extra can of crushed tomatoes for body.
Branch 3: Heat
Heat level is controlled by the peppers you choose and when you add them.
Mild uses no cayenne and relies on mild chili powder made from ancho peppers. You'll get warmth without burn.
Medium adds 1 to 2 teaspoons of cayenne pepper or one minced jalapeño. This is the sweet spot for most crowds.
Hot uses chipotle peppers in adobo (two to three minced) plus extra cayenne. You can also add a minced habanero for serious heat, but remove the seeds and white membrane first.
The heat builds as chili sits. If you're serving immediately, go one level hotter than you think. If you're making it a day ahead, keep it moderate.
Branch 4: Method
Your available time and equipment determine the best cooking method.
| Method | Time | Flavor | Effort |
|---|---|---|---|
| Stovetop | 90 min to 3 hours | Best | Medium |
| Slow cooker | 4 to 8 hours | Good | Low |
| Pressure cooker | 25 to 30 minutes | Good | Medium |
Stovetop produces the deepest flavor because you control evaporation and can build fond easily. Slow cooker is the hands-off option but requires browning meat and blooming spices beforehand. Pressure cooker is fastest but yields a thinner sauce that needs reducing afterward.
If you have 90 minutes and a Dutch oven, that's your best path. If you're leaving for work and want dinner ready, use the slow cooker. If you're short on time entirely, the pressure cooker will get you close.
Quick Answer
A great homemade chili recipe starts with browning beef and blooming spices in the rendered fat. Add aromatics, deglaze with broth, then simmer with tomatoes for at least 90 minutes. Add canned beans in the last 20 minutes.
Adjust salt and heat at the end. Let it rest 15 minutes before serving.
The Step-by-Step Chili Recipe for Every Method
The process is the same regardless of which path you chose above. The details shift slightly by method, but the steps are universal.
Prep Everything First
Chili comes together fast once the heat is on. Dice one large yellow onion. Mince four cloves of garlic.
Chop one green bell pepper. Measure your spices into a small bowl. Open your cans.
Nothing worse than hunting for the can opener while your garlic burns.
Step 1: Brown the Meat
Heat your pot over medium-high. Add the meat in a single layer. Do not crowd the pan.
If you're making a double batch, brown in two rounds. Let the meat sit untouched for 3 to 4 minutes until a deep brown crust forms. Then break it up and stir.
This is where most people rush. They push the meat around constantly. That prevents browning.
Let it sit. Get that fond.
Step 2: Bloom the Spices
Once the meat is browned, reduce heat to medium. If you drained excess fat, add 2 tablespoons of oil or bacon fat. Add your chili powder, cumin, smoked paprika, and cayenne.
Stir constantly for 60 to 90 seconds. The smell should shift from raw to fragrant. Stop before the garlic in the blend burns.
Step 3: Sauté Aromatics
Push the meat and spices to the sides of the pot. Add your diced onion, bell pepper, and minced garlic directly to the center. Cook 4 to 5 minutes until the onion softens.
Stir everything together.
Step 4: Deglaze
Pour in 1 cup of beef broth or dark beer. Scrape the bottom of the pot with a wooden spoon to lift the fond. That brown residue is pure flavor.
Let it come to a simmer.
Step 5: Add Tomatoes and Simmer
Add one 28-ounce can of crushed tomatoes and one 14-ounce can of diced tomatoes. Stir in 1 cup of additional broth. Bring to a boil, then reduce to a low simmer.
Stovetop: Simmer uncovered for 90 minutes minimum. Three hours is better if you have time.
Slow cooker: Transfer everything to the slow cooker. Cook on low for 6 to 8 hours or high for 3 to 4 hours.
Pressure cooker: Cook on high pressure for 25 minutes. Let the pressure release naturally for 10 minutes, then manually release the rest.
Step 6: Add Beans
Open your canned beans, drain and rinse them. Stir them in during the last 20 to 30 minutes of cooking. This keeps them firm and prevents them from breaking down into the sauce.
Step 7: Taste and Adjust
After the beans have had time to warm through, taste your chili. Add salt in 1/2 teaspoon increments. If it tastes flat, add a splash of apple cider vinegar.
If it's too acidic, add a pinch of baking soda. If you want more heat, stir in extra cayenne or chipotle.
Step 8: Rest and Serve
Remove the pot from heat. Let it sit uncovered for 15 minutes. This allows the flavors to marry and the residual heat to thicken the sauce slightly.
Serve with your favorite toppings.
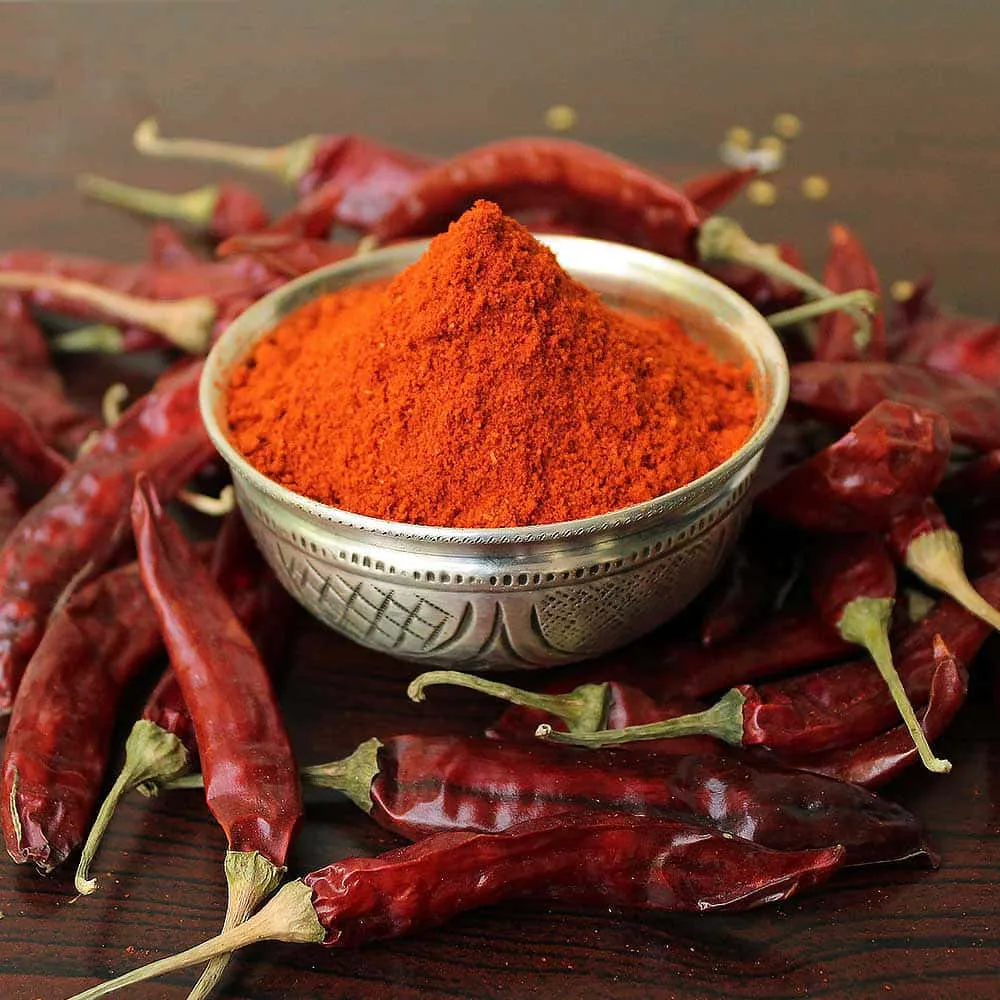
Image source: Web (Bing) / wallpapers.com (Web image (fair-use with source credit))
7 Chili Mistakes That Keep It From Being Legendary
Every mistake below is common. Most are fixable on the next batch. A few can be rescued mid-cook.
1. Adding Beans Too Early
This is the number one mistake in homemade chili. Canned beans added at the start of a long simmer turn into mush. They release starch that clouds the broth.
Add them in the final 20 minutes. That's the only rule.
2. Skipping the Spice Bloom
Adding dry chili powder directly to liquid gives you raw, gritty flavor. The heat and time needed to bloom it just aren't there once the liquid is in. Always add spices to hot fat first.
Sixty seconds makes the difference between dusty and deep.
3. Using Super-Lean Meat
93/7 ground beef or turkey breast produces a dry, crumbly chili. You need some fat for flavor and mouthfeel. If you must use lean meat, add 2 tablespoons of oil or butter at the blooming stage.
Or render a couple slices of bacon first, then cook the meat in the rendered fat.
4. Overcrowding the Pan
When you pile all the meat in at once, it steams instead of searing. No browning means no fond. No fond means less flavor.
Brown in batches if you have to. It adds five minutes and pays back tenfold.
5. Watery Chili
A thin chili is a sad chili. Fix it with masa harina. Mix 2 tablespoons of masa harina with 1/4 cup of warm broth.
Stir it into the chili and simmer 10 minutes. Cornstarch works in a pinch, but masa adds a subtle corn flavor that belongs in chili.
6. Greasy Pools on Top
If you used 80/20 beef and didn't drain after browning, you'll see fat pooling on the surface. Let the chili rest off heat for 5 minutes. Skim the fat with a ladle or drag a paper towel across the surface.
Easy fix.
7. Canned Tomato Tinny Flavor
That metallic edge comes from the canning process. A pinch of baking soda neutralizes the acidity and smooths the flavor. Start with 1/8 teaspoon per 28-ounce can.
Stir, taste, repeat. Sugar also works but adds sweetness. Baking soda is the better choice for chili.
Image source: Web (Bing) / gluten-freedessertrecipes.com (Web image (fair-use with source credit))
Flavor Upgrades That Don't Cost Extra: What Recipes Leave Out
You don't need expensive ingredients to make your chili stand out. A few pantry staples, used at the right moment, add complexity without breaking the budget.
Fish Sauce
Fish sauce sounds wrong for chili. It's not. A single teaspoon adds savory depth called umami.
It doesn't taste like fish. It tastes like the pot has been simmering for six hours. Add it along with the tomatoes.
You won't detect it. You'll just notice the chili tastes fuller.
Coffee or Espresso
A quarter cup of brewed coffee or a teaspoon of instant espresso powder deepens the roasted notes in the beef and chili powder. It doesn't make the chili taste like coffee. It makes the chili taste more like itself.
Add it when you deglaze the pot.
Dark Chocolate or Cocoa Powder
This is a Texas chili tradition. One ounce of dark chocolate (70 percent cacao or higher) or one teaspoon of unsweetened cocoa powder rounds out the bitterness from the chili powder. It smooths the edges.
Add it during the last 30 minutes of simmering.
Whole Toasted Chilies
Pre-ground chili powder is convenient but stale. The flavor degrades quickly after grinding. For a fresher, brighter heat, toast two or three dried ancho or guajillo chilies in a dry pan for 30 seconds per side.
Remove the stems and seeds. Steep in hot broth for 15 minutes. Puree and add to the pot.
The difference is noticeable even to casual eaters.
Apple Cider Vinegar or Worcestershire Sauce
Acid wakes up a pot of chili that tastes flat or heavy. Add one tablespoon of apple cider vinegar or Worcestershire sauce during the last five minutes of cooking. Stir, taste, and decide if you need more.
Acid is the last adjustment before serving for a reason. It brightens everything.
Storing, Freezing, and Reheating: How to Keep Chili at Its Best
Chili improves with time. The flavors meld overnight. But improper storage ruins that advantage.
Here is how to keep your chili tasting great for days or months.
Rapid Cooling
Hot chili cannot go straight into the refrigerator. It will raise the internal temperature of your fridge and put other food at risk. Cool it quickly by transferring the chili to a wide, shallow metal pan.
Stir occasionally. Once it drops below 140°F, you can move it to containers.
Refrigerator Storage
Store chili in airtight glass or plastic containers. It keeps for 3 to 4 days at 40°F or below. Do not leave it at room temperature for longer than 2 hours.
If your kitchen is above 90°F, that window drops to 1 hour.
Freezer Storage
Chili freezes exceptionally well. Portion it into freezer-safe containers or zip-top bags. Leave 1 inch of headspace for expansion.
Skip glass containers for long-term freezing. They can crack. Label each container with the date and heat level.
Frozen chili stays good for 3 to 4 months.
Reheating
Thaw frozen chili in the refrigerator overnight. Reheat gently on the stovetop over medium-low heat. Add a splash of broth or water to restore the original texture.
Chili thickens as it sits. Do not microwave it on high. The edges will boil while the center stays cold.
Use 50 percent power and stir every 30 seconds.
Leftover Ideas
Day-old chili is perfect for chili dogs, nachos, or stuffed baked potatoes. It also works as a topping for mac and cheese or a filling for quesadillas. Thin it with broth and turn it into chili soup.
Thicken it with masa and use it as a dip.
Frequently Asked Questions
How long does chili really need to simmer?
At least 90 minutes on the stovetop. That is the minimum time for the flavors to meld and the meat to tenderize. Three hours is better.
Beyond three hours, you are reducing for thickness, not flavor development.
Can I use dried beans instead of canned?
Yes, but you need to plan ahead. Soak dried beans overnight. Cook them separately until tender before adding to the chili.
Never add raw dried beans directly to chili. The acidity in the tomatoes prevents them from softening.
What is the best thickening method?
Masa harina is the traditional choice. It adds a subtle corn flavor and smooth texture. Mix 2 tablespoons with 1/4 cup warm broth.
Stir into the chili and simmer 10 minutes. Crushed tortilla chips work in a pinch. Cornstarch works but adds no flavor.
Does chili taste better the next day?
Yes, almost always. The flavors continue to develop and blend overnight. The starches settle.
The heat evens out. Make chili a day ahead if you can. Reheat gently before serving.
Can I freeze a giant batch without ruining it?
Absolutely. Portion into meal-sized containers. Leave headspace.
Freeze for up to 4 months. Thaw overnight in the refrigerator. Reheat with a splash of broth.
The texture may thin slightly. Adjust with masa harina as needed.
What is the best meat for chili?
80/20 ground beef is the standard for good reason. It provides enough fat for flavor without being greasy. Cubed chuck is better for a chunky Texas-style chili.
Ground turkey works with added oil and extra spices. Avoid super-lean meat without compensation.
Final Verdict: Your Next Batch, Decided
Your ideal chili comes down to four simple choices: meat, beans, heat, and method. Pick the combination that fits your kitchen and your crowd.
Busy weeknight with limited time? Use the pressure cooker or a quick stovetop simmer. Big game-day crowd that expects leftovers?
Double the batch, keep the heat moderate, and let it simmer for three hours on the stovetop. Cooking for a vegetarian friend or following a keto diet? Follow the appropriate branch and adjust your expectations accordingly.
Every version works. They just work differently.
The steps that matter most are the ones most recipes skip. Bloom your spices in hot fat. Build and deglaze the fond.
Add beans at the end. Rest the chili before serving. Those small shifts turn an average pot into something people ask for by name.
Taste as you go. Adjust at the end. And do not be afraid to experiment on the next batch.
Chili is forgiving. It rewards attention. And it always tastes better when you know exactly why each ingredient is there.
Chili Toppings and Serving Suggestions
The right toppings transform a good bowl of chili into a memorable one. They add texture, contrast, and visual appeal.
Classic choices include shredded sharp cheddar cheese, a dollop of sour cream, and sliced green onions. The cheese melts into the hot chili. The sour cream cools the heat.
The onions add a mild bite.
Fresh diced white or red onion provides crunch. Pickled jalapeños bring acidity and extra heat. Oyster crackers or crushed tortilla chips add salt and crunch.
A wedge of cornbread on the side is the traditional companion in the South and Midwest.
For a loaded chili bar, set out bowls of each topping and let everyone build their own. Include hot sauce for heat seekers. Include extra shredded cheese for the cheese lovers.
Include lime wedges for brightness.
The toppings matter most when the chili itself is balanced. If your chili is very spicy, sour cream and cheese become essential. If it is mild, a hot sauce or pickled peppers add the kick.
Match your toppings to your heat level and let guests customize.
Common Ingredient Substitutions That Actually Work
Pantry gaps happen. Here are substitutions that keep your chili on track without compromising the final pot.
Fresh garlic is ideal, but 1/2 teaspoon of garlic powder per clove works. Add it with the other spices during the blooming step.
No beef broth? Use chicken broth or vegetable broth. Add a splash of Worcestershire or soy sauce to compensate for the missing beefy depth.
No canned tomatoes? Use 2 cups of fresh diced tomatoes plus 1 tablespoon of tomato paste. Simmer 10 minutes longer to break down the fresh tomatoes.
No chili powder? Mix 2 parts paprika, 1 part cumin, and 1 part oregano. Add cayenne to taste.
This homemade blend approximates standard chili powder.
No masa harina? Crush a handful of tortilla chips or use 1 tablespoon of cornstarch mixed with cold water. Cornstarch thickens without flavor.
Masa adds character, so use it when you can.
No kidney beans? Replace with black beans, pinto beans, or canned chickpeas. Avoid cannellini beans.
They break down too easily.
How to Rescue a Bad Batch of Chili
Every cook has a pot that goes sideways. Here is how to fix the most common problems.
Too spicy? Add a dollop of sour cream or Greek yogurt to each serving bowl. For the pot, stir in a peeled whole potato and simmer 15 minutes.
The potato absorbs heat. Remove it before serving.
Too acidic? The baking soda trick works here. Add 1/8 teaspoon per 28-ounce can of tomatoes.
Stir and taste. Repeat until the acidity balances. Do not overdo it.
Too much baking soda makes chili taste soapy.
Too thin? Mix 2 tablespoons of masa harina with 1/4 cup of warm broth. Stir into the pot.
Simmer 10 minutes uncovered. The chili thickens as the liquid reduces.
Too salty? Add a peeled potato and simmer 15 minutes. It absorbs salt.
Alternatively, add another can of unsalted tomatoes or unsalted beans to dilute the salt content.
Too thick? Stir in 1/2 cup of broth or water. Simmer 5 minutes.
Adjust seasoning after thinning.
Burned bottom? Do not scrape the burned bits into the chili. Carefully transfer the unburned chili to a clean pot.
The burned flavor stays in the bottom layer. Discard that layer.



