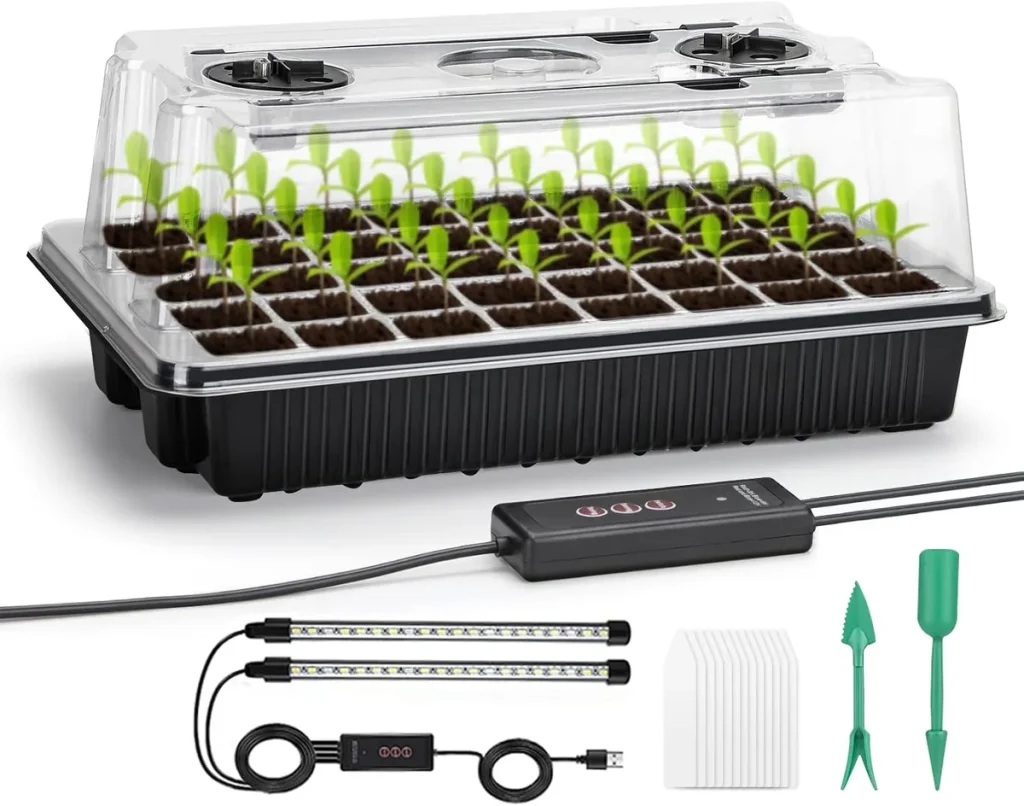
Every gardener who has ever dropped a seed into soil has asked the same question. Will it grow? The truth is, the act of growing seeds is deceptively simple on the surface, but the difference between a tray of stocky, healthy seedlings and a handful of spindly, dampened-off failures comes down to a handful of decisions you make before that seed ever hits the dirt.
If you have ever felt like you are doing everything right and still losing half your starts, you are not alone and you are probably missing one key step.
In our research across university extension guides and the USDA Plant Hardiness Zone standards as of 2026, the most consistent predictor of seedling success is matching your method to your crop and climate. Tomatoes and peppers need heat and time indoors. Carrots and beans want direct soil contact and cool weather.
Pick the wrong branch of the decision tree, and no amount of expensive lights or fancy soil will fix it. Let us walk through which path is right for you.
Quick Answer
Growing seeds means germinating seeds under controlled conditions. You either start them indoors or direct sow them in the garden. Each method works for specific crops and climates.
The right choice saves weeks of frustration.
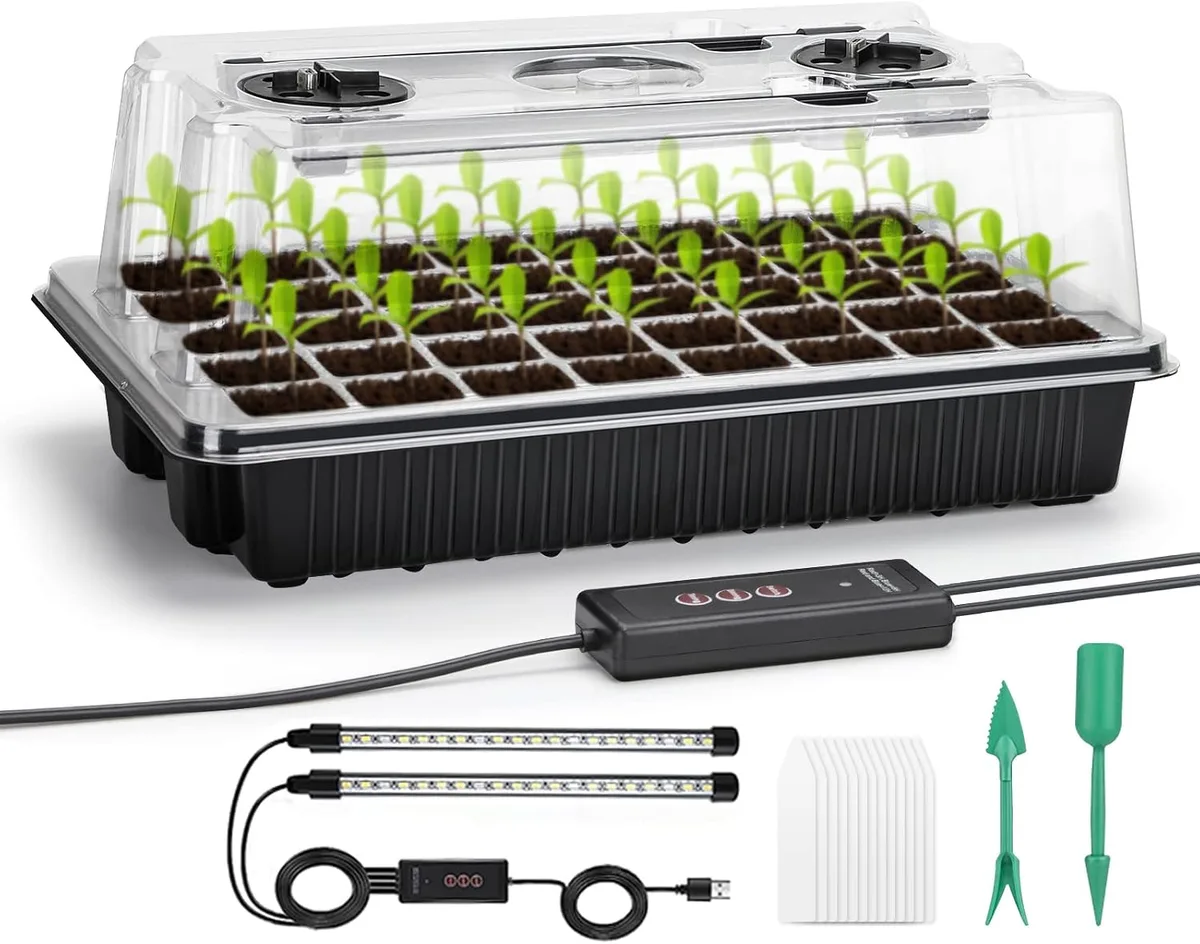
Image source: Web (Bing) / amazon.com (Web image (fair-use with source credit))
The First Decision That Changes Everything
Here is the part most guides skip. Growing seeds is not one process. It is two entirely different processes that share a name.
You are either an indoor seed starter or a direct sower, and the wrong choice for your situation will produce weak plants, low germination, or wasted time.
Indoor seed starting means you control everything. Temperature, light, moisture, and timing are all in your hands. You can start long-season crops like tomatoes, peppers, and eggplant weeks before your last frost date.
You can baby each seedling through its vulnerable first weeks. The trade-off? You need equipment, space, and daily attention.
Direct sowing means you let nature do the work. You prepare the soil, drop the seed, and wait. It works beautifully for crops with large seeds that germinate fast: beans, peas, squash, carrots, radishes, and most flowers.
The catch is that you are at the mercy of weather. A cold snap or a downpour can rot your seeds before they even sprout.
Why the Decision Matters
Here is a concrete example. If you direct sow tomatoes in a Zone 5 garden with a 140-day growing season, you will get exactly zero ripe fruit before frost kills the plants. Tomatoes need 60 to 85 days to mature from transplant, and they refuse to germinate in cold soil.
Same seed, same soil, different method. One result is a harvest. The other is a complete loss.
The USDA Cooperative Extension system publishes state-specific planting calendars for a reason. The data is real. The difference between success and failure is often just a two-week window.
Direct Sow vs. Indoor Start: Pick Your Branch
You need to answer three questions to land on the right path. Write these down. They will save you every season.
Question 1: What is your growing season length?
Count the days between your average last frost in spring and your average first frost in fall. That is your growing season. Compare it to the "days to maturity" listed on your seed packet.
- If your season is shorter than the crop needs, you must start indoors.
- If your season is comfortably longer, you can direct sow.
For example, bell peppers need 70 to 85 days from transplant. Add another 8 to 10 weeks for indoor seedling growth. That is 140 days total.
Anyone north of Zone 7 needs to start those indoors.
Question 2: Does the crop tolerate root disturbance?
Some crops hate having their roots moved. Carrots, parsnips, dill, and poppies develop a taproot that does not like being transplanted. Direct sowing is the only reliable method for these.
Other crops tolerate transplanting well. Tomatoes, peppers, brassicas (broccoli, cabbage, kale), and lettuce are forgiving. They actually benefit from the head start.
Question 3: How much time and space do you have?
Indoor seed starting is a hobby. It takes commitment. You need:
- A dedicated space with consistent warmth.
- Grow lights positioned 2 to 4 inches above the seedlings.
- Daily checks for moisture, airflow, and disease.
If you travel frequently or do not have a window sill that gets six hours of direct sun, direct sowing is the more reliable path.
Decision Table: Indoor Start vs. Direct Sow
| Crop Type | Best Method | Why |
|---|---|---|
| Tomatoes, peppers, eggplant | Indoor start | Need 8-12 weeks before transplant; warm soil required |
| Carrots, radishes, beans | Direct sow | Taproot sensitive; fast germination |
| Broccoli, cabbage, kale | Either | Tolerant of transplant; also cold-hardy for early direct sow |
| Squash, melons, cucumbers | Direct sow preferred | Fast growth; transplant shock common |
| Basil, marigolds, zinnias | Indoor start | Frost sensitive; need heat to germinate |
Step-by-Step: Indoor Seed Starting That Actually Works
If you belong on the indoor branch, here is the workflow that produces sturdy, transplant-ready seedlings. Follow these steps in exactly this order.
Step 1: Pre-Moisten Your Seed Starting Mix
Do not fill a dry tray and water from above. It compacts the mix and displaces seeds. Instead, dump your mix into a bucket.
Add warm water gradually while stirring. You want the texture of a wrung-out sponge. It should hold together when squeezed but not drip water.
Step 2: Fill Your Trays Without Compacting
Scoop the moistened mix into your cells or pots. Tap the tray gently to settle the mix. Do not press it down.
Compacted soil restricts root growth and slows germination. Level the surface with a straight edge.
Step 3: Sow at the Correct Depth
This is the most common mistake. The general rule is to plant a seed at a depth of two to three times its width. But here is the exact data from seed industry standards:
- Tiny seeds (lettuce, petunia, basil) should sit on the surface. Press them gently into the mix. Do not bury them. They need light to germinate.
- Small seeds (tomatoes, peppers, cabbage) go 1/8 to 1/4 inch deep.
- Medium seeds (beans, squash, cucumbers) go 1/2 to 1 inch deep.
- Large seeds (peas, corn) go 1 to 1.5 inches deep.
Cover the seed with dry mix or vermiculite, not the pre-moistened mix. The dry layer wicks moisture upward and prevents crusting.
Step 4: Provide Bottom Heat
Most seeds need soil temperatures between 70 and 80°F to germinate reliably. Room temperature air does not warm the soil that high. A seedling heat mat raises the soil temperature by 10 to 15°F above ambient.
It is the single most effective tool for consistent germination.
Without a heat mat, you can place trays on top of a refrigerator or near a radiator. Monitor the temperature with a soil thermometer. Below 60°F, germination slows dramatically.
Below 50°F, many seeds simply rot.
Step 5: Cover with a Humidity Dome
Seeds need consistent moisture to germinate. A clear plastic dome traps humidity and reduces the need for watering. Remove the dome the moment you see the first sprouts.
Leaving it on invites damping-off disease.
Step 6: Move Under Lights Immediately
As soon as a seedling breaks the surface, it needs strong light. Position your lights 2 to 4 inches above the top of the seedlings. Raise the lights as they grow.
If the seedlings stretch tall and thin, the light is too far. If they stay short and bushy, you have the distance right.
Run the lights 14 to 16 hours per day. Use a timer. Consistency matters more than intensity.
Step 7: Water from the Bottom
Once seedlings are up, stop watering from above. Pour water into the tray underneath. The soil wicks it upward through the drainage holes.
Bottom watering keeps the foliage dry, which prevents fungal diseases. It also encourages roots to grow downward.
Step 8: Thin to One Seedling Per Cell
When seedlings have their first set of true leaves (the second set that appears after the cotyledons), snip the weakest ones at soil level. Do not pull them. You do not want to disturb the roots of the survivor.
Leave one strong seedling per cell.
Step 9: Harden Off Before Transplanting
This step kills more seedlings than any disease. Starting 7 to 10 days before transplant day, move your seedlings outside for a few hours each day. Start in full shade.
Increase sun exposure and duration gradually. Bring them inside at night. By the end of the week, they should be outside 24 hours a day.
Do not skip this. A seedling that goes straight from a warm window to a garden bed will sunburn and die within hours.
Direct Sowing Done Right: No Trays, No Lights, No Problems
If you chose the direct sow branch, your process is simpler but less forgiving. You get one shot. Here is how to make it count.
Prepare the Soil Before You Sow
Direct sowing works best in loose, well-draining soil. Till or dig the bed to at least 6 inches deep. Remove rocks, clumps, and weed roots.
Rake the surface smooth.
The ideal soil temperature for most direct-sown crops is between 60 and 75°F. Use a soil thermometer to check. Cold soil is the number one killer of direct-sown seeds.
They sit there and rot instead of germinating.
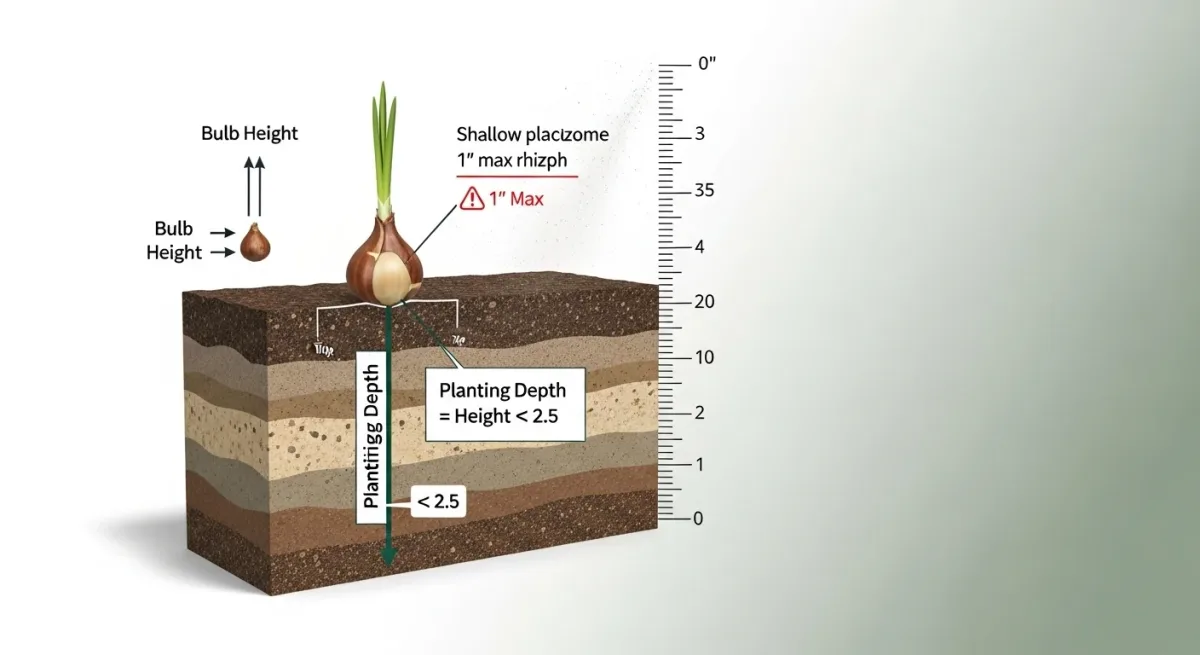
Image source: Bing (Web (fair-use with source credit))
Create a Furrow at the Right Depth
Use a stick, trowel edge, or the corner of a hoe to draw a straight furrow. The depth depends on the seed. Refer to the same depth guidelines in the indoor section above.
A common mistake is planting too deep. Seeds have limited energy stored inside. If they have to push through too much soil, they run out of steam before reaching the surface.
Space Seeds According to Packet Directions
Direct sowing seeds too close together is a waste. You will have to thin them anyway. Follow the recommended spacing on the packet.
For tiny seeds like carrots, mix them with dry sand in a salt shaker. This distributes them evenly instead of dumping them in a clump.
Water Gently and Consistently
After covering the seeds, water the furrow with a gentle spray. A strong blast will wash seeds out of their row. Keep the soil consistently moist, not soaked.
Sandy soil may need watering every day. Clay soil holds moisture longer.
If the surface dries out and crusts over, seeds underneath may not be able to push through. Cover the row with a thin layer of vermiculite or fine compost to prevent crusting.
Protect from Birds and Pests
Birds love fresh seeds. Cover the row with floating row cover or bird netting until the seedlings are established. Slugs and cutworms are also a threat.
Diatomaceous earth sprinkled around the row deters soft-bodied pests.
The Five Mistakes That Kill More Seedlings Than Anything Else
If you know these five errors, you will avoid 90 percent of seed starting problems. Aggregate reviews from university extension services and master gardener programs confirm these as the most common failures.
Mistake 1: Overwatering and Damping-Off
Damping-off is a fungal disease that attacks seedlings at soil level. The stem looks pinched and the seedling falls over. It is almost always caused by overwatering, poor airflow, or both.
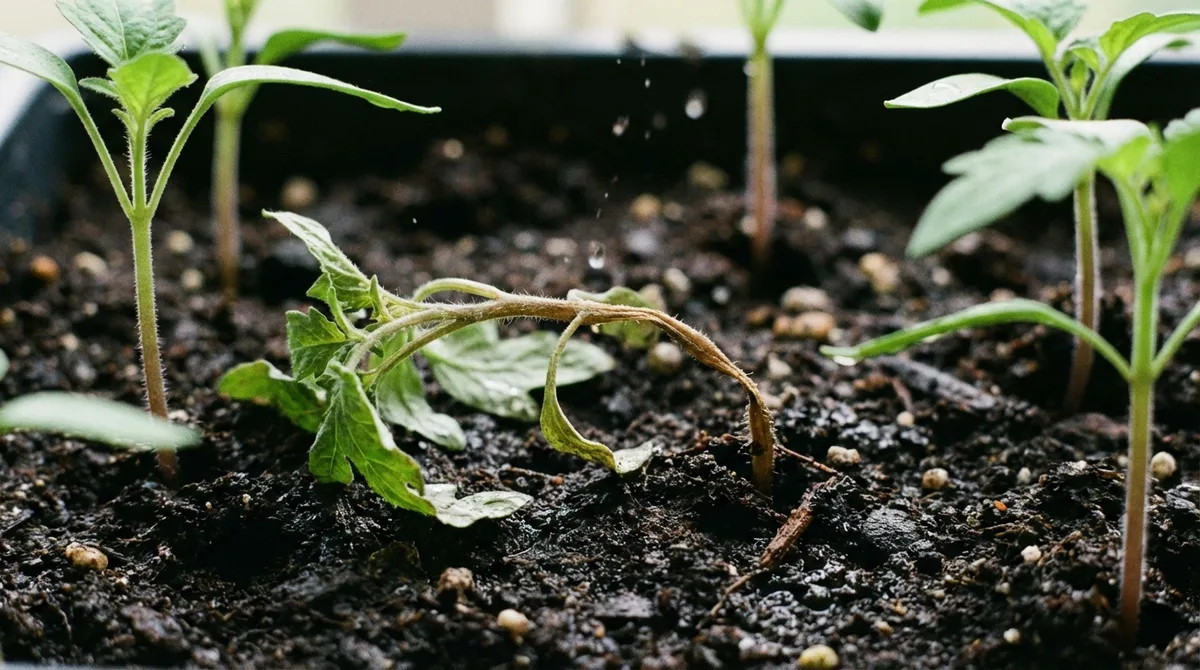
Image source: Web (Bing) / harvestpak.com (Web image (fair-use with source credit))
Prevention is simple. Water from the bottom. Provide air circulation with a small fan.
Do not leave humidity domes on after germination. Keep the soil surface dry between waterings.
Mistake 2: Insufficient Light
A seedling that is tall, pale, and leaning is called "leggy." It happens when the light source is too far away or too weak. Leggy stems are weak stems. They snap during transplant and struggle to support the weight of mature leaves.
The fix is brutal but simple. Move the light closer. If your seedlings are already leggy, you can bury the stem deeper when transplanting.
Tomatoes and peppers will grow roots from a buried stem. Most other crops will not.
Mistake 3: Planting Too Early
Just because stores sell seed packets in February does not mean you should plant in February. Seeds planted too early in the garden sit in cold, wet soil and rot. Seeds started indoors too early become large, root-bound plants that struggle after transplant.
The rule of thumb is to back-calculate from your last frost date using the seed packet instructions. Most vegetable transplants need 6 to 10 weeks indoors. Starting a tomato seed 12 weeks early does not give you a better plant.
It gives you a stressed plant.
Mistake 4: Skipping the Hardening-Off Step
This is the most heartbreaking mistake because it happens right at the finish line. A gardener raises perfect seedlings for eight weeks. Then they carry them straight from the house to the garden.
The next day, every leaf is white or brown. The plants are dead within 48 hours.
Hardening off is not optional. It is the gradual process of exposing indoor-grown plants to wind, sun, and temperature swings. Without it, the leaves burn and the plant cannot recover.
Mistake 5: Ignoring Soil Temperature
Ambient air temperature is not the same as soil temperature. You can have a 70°F day and 45°F soil. Seeds respond to soil temperature, not air temperature.
A soil thermometer costs ten dollars and removes all guesswork.
Each crop has a minimum soil temperature for germination. Lettuce germinates at 40°F. Beans need 60°F.
Melons need 70°F. Sowing before the soil reaches that minimum guarantees either slow germination or complete failure.
When to Break the Rules (Real-World Exceptions)
Every rule in seed starting has an exception. Experienced gardeners learn when to bend the standard advice. Here are three situations where the usual workflow flips.
Winter Sowing for Cold-Hardy Crops
Winter sowing is a technique for gardeners who have no indoor space. You plant seeds in sealed, ventilated plastic containers (think milk jugs) and set them outside in midwinter. The seeds experience natural stratification.
They germinate when conditions are right in spring.
It works beautifully for hardy perennials, native wildflowers, and cold-tolerant vegetables like kale and spinach. Do not try it with tomatoes or peppers. They need stable warmth to germinate.
Stale Seed Beds for Weedy Gardens
If your garden soil is full of weed seeds waiting to sprout, direct sowing into freshly tilled ground is a losing battle. The stale seed bed technique fixes this.
Prepare your bed normally. Water it. Wait a week or two.
Let the weed seeds germinate. Then lightly cultivate or flame weed the surface. This kills the first flush of weeds.
Sowing your crop seeds into this cleaned bed gives them a clear head start.
Short-Season Hacks for Northern Gardeners
For gardeners north of Zone 5, soil warms slowly in spring. You can warm it artificially by covering beds with black plastic or clear plastic two weeks before sowing. Black plastic absorbs heat and warms the soil underneath by 5 to 10°F.
Another trick is to build raised beds. They drain faster and warm up earlier than flat ground. The difference can be a full two weeks of growing time.
Frequently Asked Questions
How do I know if my old seeds are still viable?
Place 10 seeds on a damp paper towel. Fold it. Seal it in a plastic bag.
Keep it in a warm spot. Check after the expected germination period. If at least 7 out of 10 sprout, the packet is fine.
Lower than 60 percent means buy fresh seeds.
Do I really need a heat mat for seed starting?
Not strictly, but it is the most reliable way to hit the soil temperature that seeds need. Most homes sit at 65 to 70°F. Tomatoes and peppers want 75 to 80°F soil.
Without a heat mat, germination is slow and uneven. A mat costs about $20.
Can I use regular garden soil for seed starting?
You can, but you should not. Garden soil compacts in containers. It holds too much water and too little air.
Seeds rot. Diseases thrive. Use a soilless seed starting mix.
It is lightweight, sterile, and drains well.
How deep is too deep when planting seeds?
A seed planted more than three times its width deep is too deep. It runs out of stored energy before reaching the surface. Tiny seeds like lettuce and petunia should not be buried at all.
They sit on the surface and need light to germinate.
Why are my seedlings falling over and dying at the base?
That is damping-off disease. It is caused by a fungus that thrives in wet, stagnant conditions. Water from the bottom.
Point a small fan at your seedlings for gentle airflow. Do not leave humidity domes on after sprouts appear. Remove affected seedlings immediately to stop the spread.
When should I start seeds indoors for spring transplant?
Back-calculate from your average last frost date. Find that date for your zip code through your local cooperative extension office. Subtract the recommended weeks on your seed packet.
Most vegetables need 6 to 10 weeks. Starting earlier than that gives you root-bound plants, not better plants.



