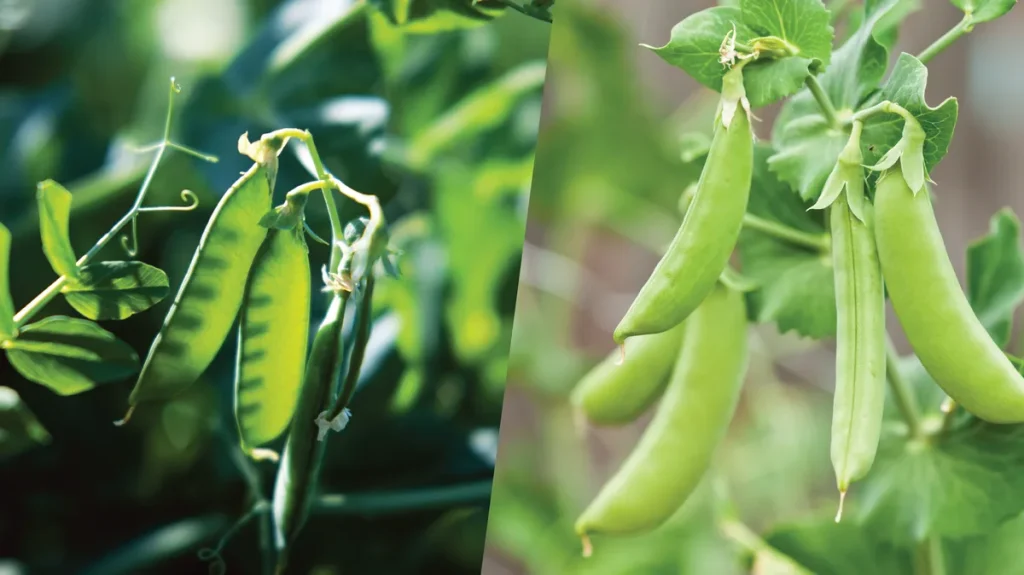
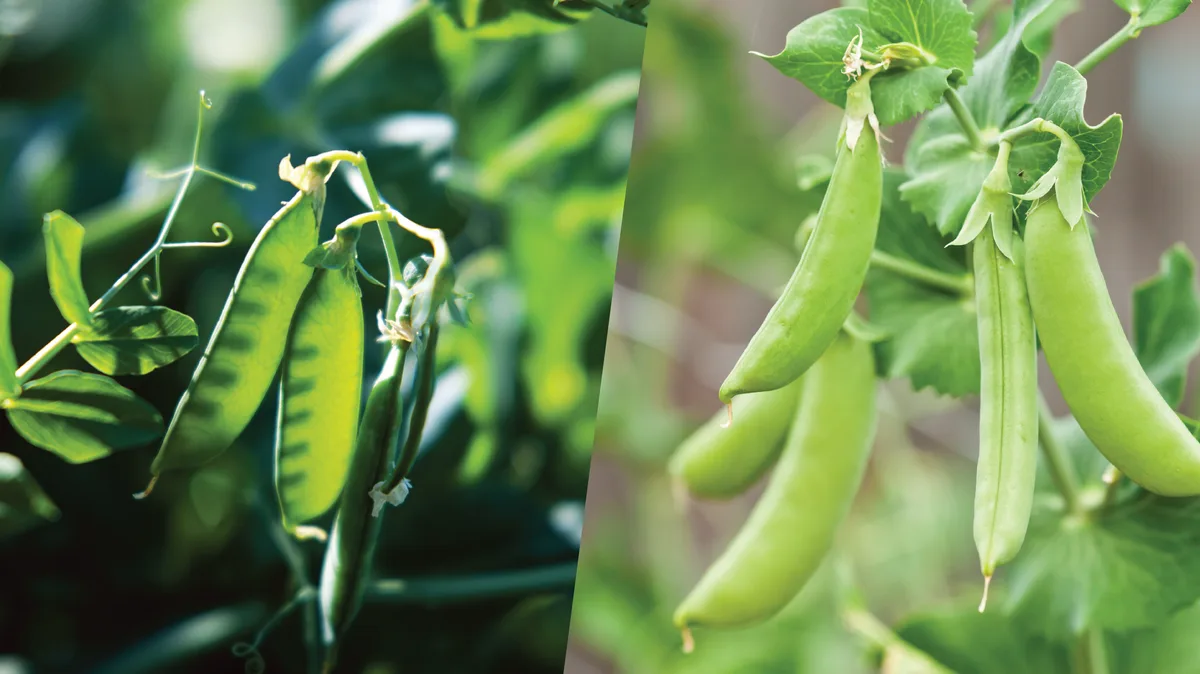
Let’s be honest: growing peas seems simple, but the real trick is knowing which kind, when, and how. Every year, gardeners who skip that step end up with tough pods or no harvest at all. The good news is that once you match the right pea type and timing to your space, it’s one of the easiest vegetables you’ll ever grow.
In our research from university extension guides and seed catalogs as of 2026, the single biggest success factor is temperature, plant when soil hits 45, 60°F, and you’re already most of the way there. So before you grab a seed packet, let’s walk through the decisions that actually matter.
Quick Answer
Plant peas directly in soil 45, 60°F. Choose shell, snap, or snow based on how you’ll eat them. Pick bush types for small spaces; climbing for vertical gardens.
Sow 1 inch deep, 2 inches apart. Water regularly. Harvest in 55, 75 days.
What Should I Grow? Choosing Between Shell, Snap, and Snow Peas
This is your first fork in the road, and it really depends on what you want to eat. If you’re after traditional garden peas, the kind you shell, go with shelling peas (also called English peas). They need a little patience because you’re only eating the inside seeds, not the pod.
That said, nothing beats the sweet, starchy flavor fresh from the vine.
Snap peas are the all‑around crowd‑pleaser. You eat the whole pod, and they stay crisp even when the peas inside are fully formed. They’re great raw, stir‑fried, or lightly steamed. Snow peas are the flat, tender pods you see in stir‑fries.
You pick them before the seeds start to swell. Perfect if you love that crunch without the extra time waiting for pods to plump.
Each type has a real trade‑off. Shelling peas give you the richest flavor but yield less edible weight per plant. Snap peas are the most forgiving, you can harvest them at several stages.
Snow peas are fastest to maturity (around 55, 60 days) but need the most vigilant picking; leave them on the vine three days too long and they get stringy.
For a first‑time grower, we’d recommend starting with a snap pea variety like ‘Sugar Ann’ or ‘Super Sugar Snap.’ They’re reliable, sweet, and you’ll see results fast. For shelling, try ‘Wando’, it handles heat better than most. For snow, ‘Oregon Sugar Pod II’ is a classic.
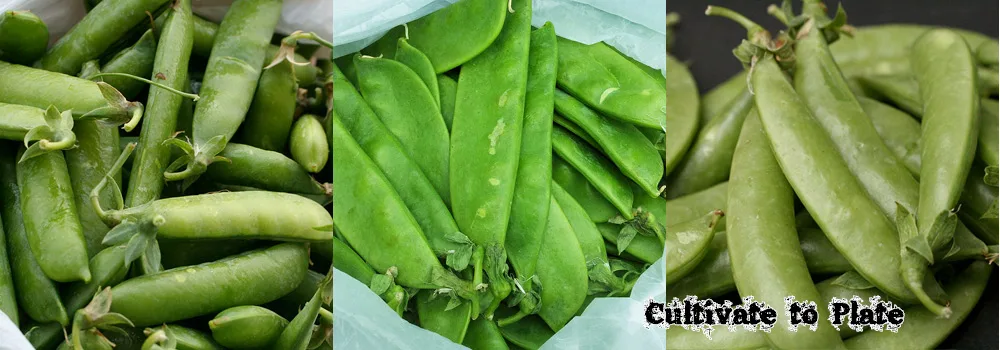
As a quick rule: if you want to cook with them, go snap or snow. If you want the ultimate fresh garden experience, go shelling. Your choice also affects planting density, snap and snow peas usually need a bit more room to reach full size.
Bush or Climbing? How Your Garden Space Changes Everything
Now that you’ve picked a pea type, the next branch is about height. Bush peas (also called dwarf varieties) grow 18 to 24 inches tall and don’t need much support, a few short stakes will do. They’re perfect for containers, raised beds, or tight spots. Climbing peas (also called tall or pole peas) can reach 4 to 6 feet.
They need a trellis but produce more pods per square foot because you’re growing upward.
If you have a small garden or only a few square feet in a bed, bush peas are the obvious choice. They’re also a bit easier to manage, no ladder, no tall structures to build. But here’s the catch: bush peas often stop producing faster in hot weather.
Climbing peas keep going longer into late spring or early summer.
In our research, the most productive varieties are climbing types. For example, ‘Alderman’ (a tall shelling pea) can yield three times as many pods per plant as its bush counterpart. But you have to commit to a trellis.
If you’re limited on space, go bush. If you have vertical room, go climbing.
One more nuance: climbing peas need a sturdy support. They’ll quickly pull down a flimsy netting. We’ll talk about specific setups in the “What About Support?” section.
For now, decide based on your square footage and your tolerance for building.
When to Plant? Timing It Right for Your Climate
Peas are cool‑season crops, which means they hate hot weather. The best planting window is early spring, as soon as the soil can be worked in most regions. For climates with mild winters (USDA zones 8 and warmer), you can also plant in late summer for a fall harvest.
But the majority of growers aim for that early spring window.
The golden rule: soil temperature between 45°F and 60°F. If it’s colder than 40°F, seeds may rot before they germinate. If it’s above 70°F, germination slows and plants get stressed.
You can use a soil thermometer, or just check the date when frost danger is fading. Pea seedlings can survive a light frost, so don’t wait for the last frost date, plant 2, 3 weeks before it.
In northern climates (zones 3, 5), that often means late March or early April. In the South (zones 7, 8), February is typical. If you’re in zone 8 or 9, plant in February for a spring crop and again in September for fall.
One practical tip: soak your seeds overnight before planting if the soil is on the cooler side. It speeds up germination by a few days. But don’t soak if the soil is wet, damp seeds can rot.
As a rule, direct sow every 2, 3 weeks for a staggered harvest.
What About Support? Trellis, Stakes, or Let Them Run
If you chose bush peas, you can get away with almost no support. A few short twigs or a low bamboo teepee might help keep them upright. But climbing peas absolutely need something to grab.
The tendrils will latch onto netting, string, or chicken wire, but they can’t climb a pole that’s too thick or smooth, they need something narrow and rough.
Your options: trellis netting (heavy‑duty plastic or jute), pea brush (cut branches stuck into the ground), A‑frame trellises, or stakes and string. Netting is easiest: put it up before planting, then train the tendrils gently. Pea brush works well if you have woody prunings; it’s free and natural.
A‑frames save space because both sides get sun, but they’re more work to build.
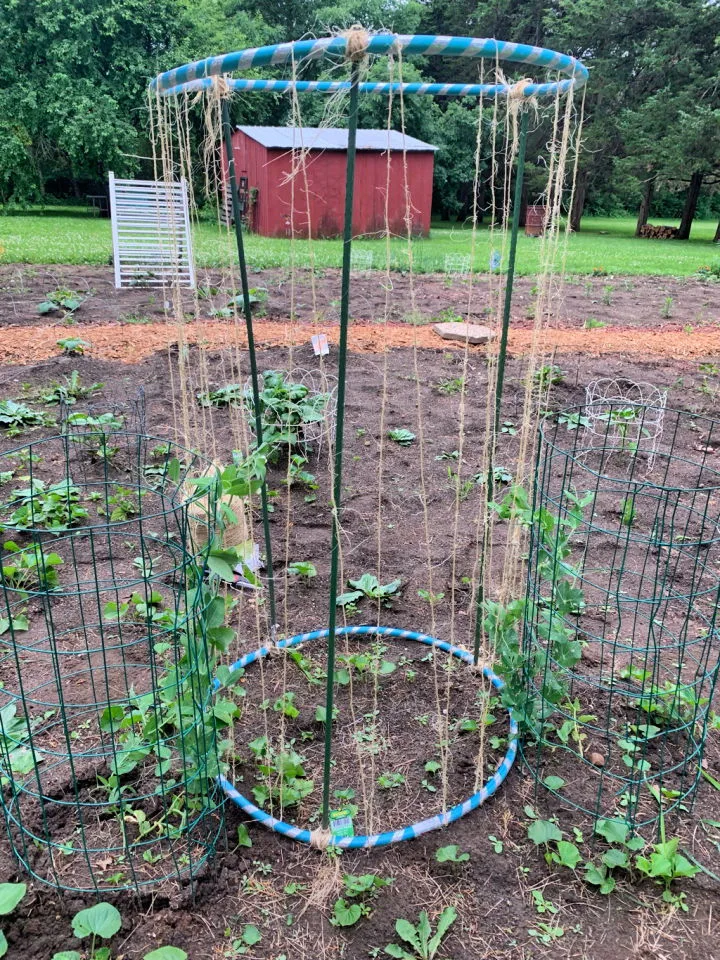
Here’s the mistake most new growers make: they set up a trellis that’s too short. Climbing peas will easily reach 5 feet. If you stop at 4 feet, the vines flop over and lose pod production.
Plan for at least 5, 6 feet of height, especially for tall varieties.
For bush peas, you can also let them just “run” over the ground without support. They’ll produce pods on the soil, but you risk rot and slug damage. So even for bush types, a few 2‑foot stakes with twine between them will pay off.
Common Mistakes That Kill Your Pea Crop (And How to Avoid Them)
Even with the best plan, little things can go wrong. Here are the most common ones we see in aggregate reviews and university extension reports.
Mistake 1: Planting too deep. Peas are shallow. Sow them 1 to 1.5 inches deep. Any deeper and they’ll struggle to break through.
If your soil is heavy clay, plant even shallower, half an inch.
Mistake 2: Overwatering. Peas don’t like wet feet. Keep the soil consistently moist but never soggy. Good drainage is non‑negotiable.
Raised beds help, but in‑ground rows should have a slight slope or organic matter mixed in.
Mistake 3: Skipping inoculation. Pea seeds naturally partner with rhizobium bacteria that fix nitrogen. If you’re planting in a new bed or soil that has never grown peas, buy a packet of pea inoculant powder. Cost about $5, $8 per ounce.
It pays for itself in yield.
Mistake 4: Ignoring heat. Pea plants shut down above 80°F. If a heat wave hits, mulch the soil and water deeply in the morning. Some gardeners put up shade cloth for the hottest weeks.
Mistake 5: Waiting too long to harvest. Snap peas are best when pods are bright green and plump. Leave them a day late and they turn starchy. Snow peas need picking while the pods are still flat, once the seeds bulge, they’re tough.
Shelling peas are ready when the pods are rounded and the seams start to split. Check every day after the first pods appear.



