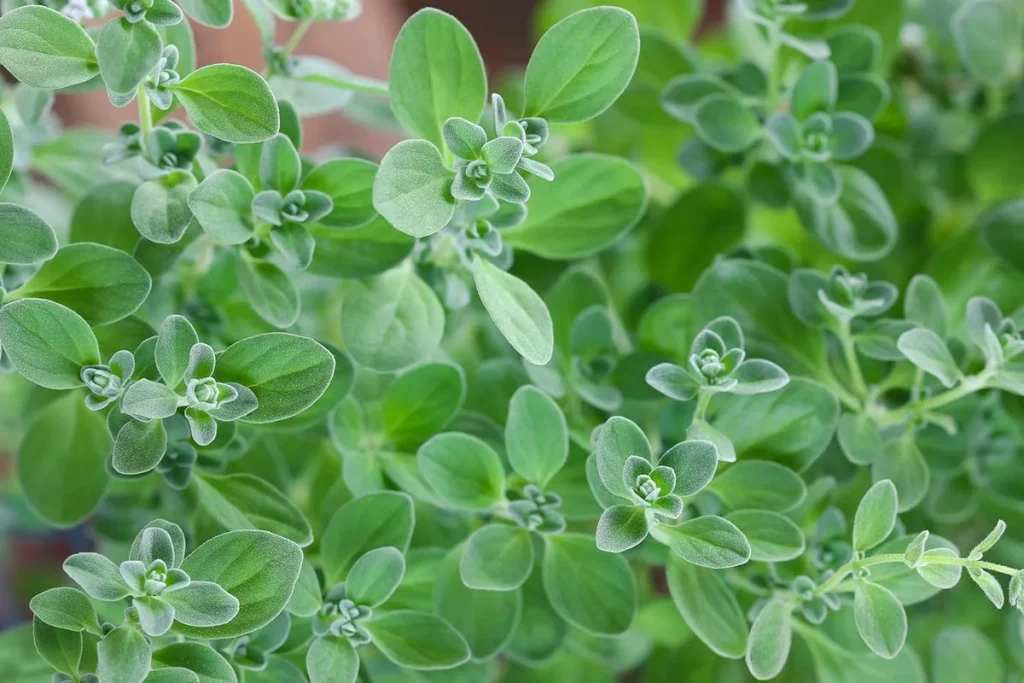
Growing marjoram is one of those herbs that makes you look like a better gardener than you actually are. It's forgiving, compact, and rewards you with a steady supply of sweet, aromatic leaves that elevate everything from roasted chicken to tomato sauce. The real challenge isn't keeping it alive, it's knowing which growing path fits your situation before you start.
Growing marjoram (Origanum majorana) typically needs 60 to 90 days from seed to harvest, with germination taking 7 to 14 days at soil temperatures between 65 and 75°F. That timeline shifts depending on whether you're starting indoors, direct sowing, or buying nursery transplants. In our research, the biggest difference between success and failure comes down to matching your approach to your space, climate, and patience level.
Image source: Web (Bing) / smokecampcrafts.com (Web image (fair-use with source credit))
Quick Answer
Marjoram is a Mediterranean herb that loves full sun and well-drained soil. Start seeds indoors 6 to 8 weeks before the last frost, or buy transplants for a faster harvest. Keep the soil lightly moist but never soggy.
Pinch back growing tips to encourage bushy growth. Harvest leaves once the plant reaches 4 to 6 inches tall. It's perennial in USDA zones 8 through 10 and treated as an annual elsewhere as of 2026.
The single most important factor is drainage. Marjoram hates wet feet.
Should You Start From Seed or Buy Transplants?
This is the first fork in the road, and your answer depends mostly on time and patience.
Starting from seed gives you more variety options and costs less. A single packet of seeds runs $3 to $5 and can produce dozens of plants. But marjoram seeds are tiny and slow to establish.
You'll need to start them indoors under grow lights or on a bright windowsill 6 to 8 weeks before your last frost date. Germination takes 7 to 14 days, and the seedlings grow slowly at first. If you're the type who forgets to water, seeds might not be your best bet.
Buying transplants is the shortcut that almost always succeeds. A 4-inch nursery pot costs $3 to $6 and gives you a head start of 6 to 8 weeks. You can plant it directly into your garden or a container the same day.
Transplants are ideal if you're growing marjoram for the first time, want a quick harvest, or only need one or two plants. Aggregate reviews from home gardeners consistently show higher success rates with transplants.
Our research suggests a middle path. If you want variety, start a few seeds indoors. If you just want fresh marjoram for cooking, buy one transplant.
You can always try seeds next season once you've learned how the plant behaves in your specific environment.
Indoor vs. Outdoor: Which Setup Matches Your Space and Climate?
Marjoram adapts to almost any growing situation, but not equally well. Your choice between indoor and outdoor growing comes down to three variables: light, temperature, and available space.
Outdoor growing is the natural choice if you have a sunny spot that gets 6 to 8 hours of direct sun daily. Marjoram thrives in garden beds, raised beds, and containers on patios or balconies. It's drought-tolerant once established, which means it forgives occasional neglect.
Outdoor plants also benefit from natural pollinators and better air circulation, which reduces disease pressure. If you live in USDA zones 8 through 10, marjoram will behave as a perennial and come back year after year.
Indoor growing works year-round but demands more attention. The most common failure is insufficient light. A south-facing windowsill can work, but winter sun in northern climates often isn't strong enough.
Most indoor growers need supplemental grow lights running 14 to 16 hours per day. Without them, marjoram gets leggy, pale, and weak. Indoor plants also need good airflow to prevent powdery mildew, which thrives in stagnant, humid conditions.
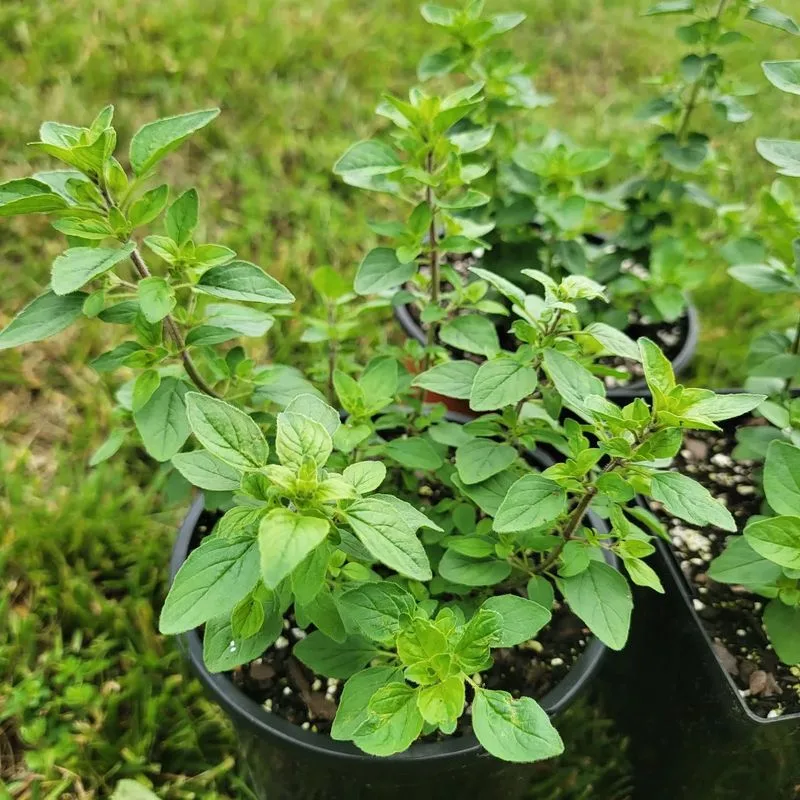
Image source: Web (Bing) / plantisima.com (Web image (fair-use with source credit))
If you have both options, outdoor is easier for most people. Indoor growing makes sense if you want fresh herbs in winter, live in a small apartment, or have a patio that's too shaded. You can also do both, growing marjoram outdoors in summer and moving a potted plant inside before the first frost.
Marjoram is shallow-rooted, so it adapts well to container life. Just bring it in gradually over 7 to 10 days so it acclimates to lower light conditions.
Tips for each path:
- Outdoor: Choose a spot with well-drained soil and full sun. Amend heavy clay with compost or sand to improve drainage. Space plants 10 to 12 inches apart.
- Indoor: Use a pot with drainage holes and a well-draining potting mix. Place it in the brightest spot you have. Add a small fan for air circulation.
How to Plant Marjoram the Right Way
Planting marjoram correctly is straightforward, but small mistakes compound. Let's walk through the whole process step by step.
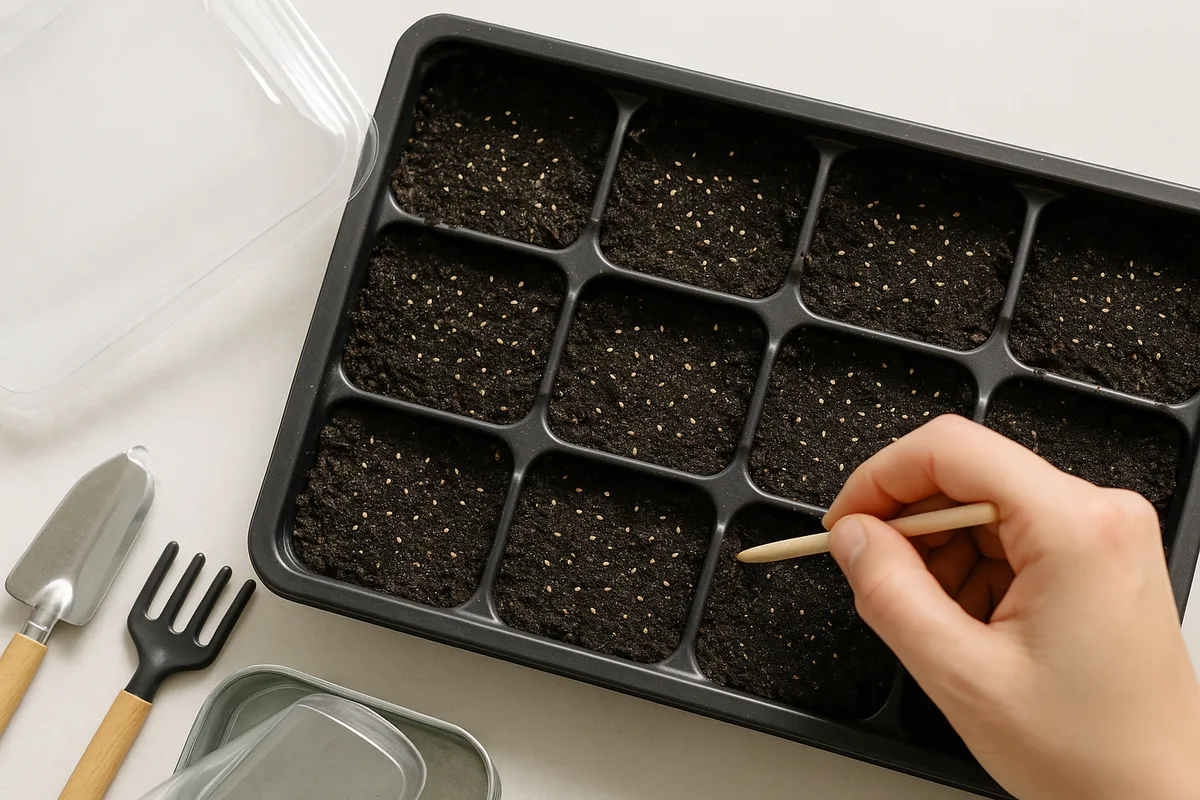
Image source: Web (Bing) / cultivatedearth.com (Web image (fair-use with source credit))
For transplants:
- Prepare the soil. Marjoram prefers a pH between 6.0 and 7.5. Mix in a handful of compost per planting hole. If you're using a container, choose a pot at least 6 inches in diameter for one plant. Fabric grow bags work well because they improve drainage.
- Dig a hole slightly larger than the root ball. Gently loosen the roots before planting. Place the transplant at the same depth it was in the nursery pot.
- Backfill and water lightly. Firm the soil gently around the base. Water until it settles, then let the top inch dry out before watering again.
- Space correctly. Outdoor plants need 10 to 12 inches of space between them. Crowded plants compete for light and air, which invites disease.
- Mulch lightly. A thin layer of straw or bark suppresses weeds and retains moisture. Keep mulch an inch away from the stem.
For seeds:
- Start indoors 6 to 8 weeks before your last frost. Use seed trays with drainage and a lightweight seed-starting mix.
- Sow seeds on the surface. Marjoram seeds need light to germinate. Press them gently into the soil or cover with a very thin dusting of vermiculite, no more than 1/8 inch.
- Keep warm and moist. Place trays in a warm spot between 65 and 75°F. Cover with a humidity dome or plastic wrap until germination. Water from the bottom to avoid disturbing seeds.
- Provide light immediately. As soon as seedlings emerge, move them under grow lights or to a bright windowsill. Without strong light, they'll stretch and flop over.
- Thin seedlings to 2 inches apart once they have two sets of true leaves. Harden off outdoors for 7 to 10 days before transplanting.
Container-specific tips:
- Use a high-quality potting mix, not garden soil.
- Ensure the pot has drainage holes. Place a saucer underneath and empty it after watering.
- A 12-inch pot comfortably holds three plants.
The 4 Mistakes That Ruin Most Marjoram Plants
Our research consistently identifies the same four mistakes across home gardener forums, university extension guides, and horticultural journals. Avoid these and you're most of the way there.
1. Overwatering
This is the number one killer. Marjoram comes from rocky Mediterranean hillsides, not wetlands. Soggy soil leads to root rot, which usually shows up as yellowing leaves and a drooping plant.
The plant looks thirsty, so people water more, which kills it faster. Let the top inch of soil dry out completely between waterings. When in doubt, skip a day.
2. Insufficient light
Marjoram is a sun lover. Indoors, a north-facing window won't cut it. Even a bright east-facing windowsill may not provide enough light during winter months.
Plants grown in weak light get pale, leggy, and lose their aromatic oils. If you see stems stretching toward the window, that's a cry for help. Move the plant or add a grow light.
Per manufacturer specifications, a basic LED grow light running 14 hours daily works well.
3. Letting it flower too early
Marjoram flowers are pretty, but they signal the end of peak leaf production. Once the plant bolts, leaves turn bitter and woody. The solution is regular pinching.
Every time you harvest, cut stems just above a leaf node. This encourages bushier growth and delays flowering. If flowers do appear, pinch them off immediately unless you're collecting seeds.
4. Planting in heavy, compacted soil
Clay soil holds moisture like a sponge, which is the opposite of what marjoram needs. Even with careful watering, heavy soil can waterlog the roots. Fix this before planting by amending with compost, coarse sand, or perlite.
If your garden bed has poor drainage, a raised bed or container is the smarter choice. Marjoram's shallow root system means it thrives in containers where you control the soil mix entirely.
Keeping Your Plant Thriving Month After Month
Once your marjoram is established, the work shifts from planting to ongoing care. Here's what a full season looks like.
Watering
Marjoram needs about 1 inch of water per week, including rainfall. During hot, dry spells, check containers daily, as they dry out faster than garden beds. In cooler weather, ease off.
A gentle rule: stick your finger an inch into the soil. If it's dry, water. If it's damp, wait.
Fertilizing
Marjoram doesn't need much feeding. Over-fertilizing produces lush leaves with weak flavor. A light application of balanced liquid fertilizer every 4 to 6 weeks during active growth is plenty.
Compost mixed into the soil at planting usually covers the rest. If you're growing in containers, start with a diluted half-strength fertilizer once plants have been growing for a month.
Pruning and harvesting
You can start harvesting once the plant reaches 4 to 6 inches tall. Cut stems with scissors, taking no more than one-third of the plant at a time. Regular harvesting doubles as pruning, so don't be shy.
This constant trimming keeps the plant compact and productive.
Overwintering
If you're in zones 3 through 7, marjoram will not survive outdoors. Options include:
- Bring it inside. Pot up a plant, treat for pests, and place it on a sunny windowsill.
- Take cuttings. Root stem cuttings in water or moist soil for new plants.
- Dry your harvest. Hang bunches upside down in a dark, airy space for one to two weeks.
Pest watch
Indoor plants are most vulnerable to aphids and spider mites, which thrive in dry, warm air. Check the undersides of leaves regularly. A strong spray of water knocks most pests off.
Neem oil works for heavier infestations and is safe for culinary herbs. Outdoor marjoram rarely needs intervention since the plant's aromatic oils naturally repel many pests.
Long-term care
In zones 8 through 10, marjoram grows as a woody perennial. Cut it back to 2 to 3 inches in late winter to encourage fresh spring growth. Replace container plants every 2 to 3 years as the soil degrades and the plant gets woody at the base.
Division works, but starting fresh from cuttings is often easier.
University extension guides like those from USDA plant hardiness zones and University of Minnesota Extension provide excellent region-specific advice. Check what growing zone you're in before deciding on your overwintering strategy.



