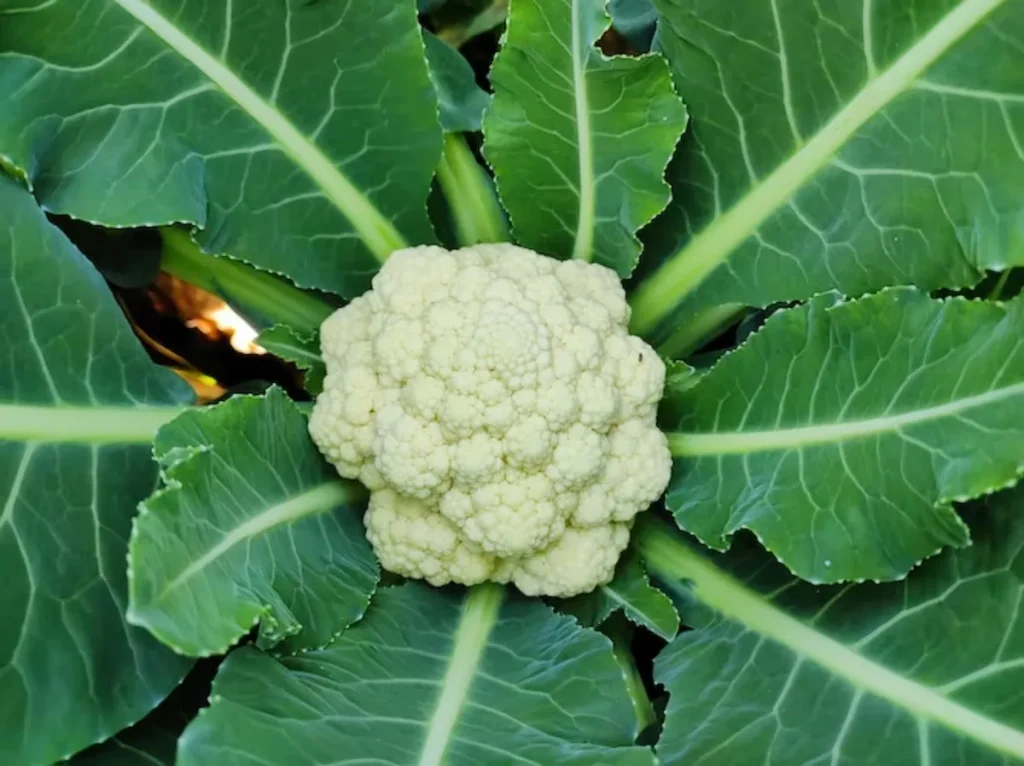
Let’s be real: you’ve tried growing cauliflower before and ended up with a handful of leaves and a tiny, bitter knob. That’s not your fault, cauliflower is the diva of the veggie patch. It bolts at the first hint of heat, buttons up into marble-sized heads when stressed, and gets its curds sunburned if you blink at the wrong time.
But here’s the thing: cauliflower is also one of the most rewarding vegetables you can grow once you understand its rules. As of 2026, university extension guides (like those from Cornell and Oregon State) consistently show that fall-planted cauliflower beats spring crops in nearly every US climate zone. And the trick isn’t luck, it’s timing, variety choice, and a few simple habits.
Let’s walk through them so your next harvest is the one you actually eat.
Quick Answer
Cauliflower is a cool‑season crop that needs steady temperatures between 60°F and 70°F. Plant it in spring or fall based on your local frost dates. Choose a variety that matches your growing window.
Give it consistent water, rich soil, and a little shade when it gets warm. That’s the whole playbook.
Why Cauliflower Is Worth the Fuss (and Why It Fails)
You’ve probably heard the line: “cauliflower is hard to grow.” Not really. It’s just unforgiving. Unlike broccoli, which will forgive you a missed watering or a sudden heat spike, cauliflower punishes every mistake with a ruined head.
The most common failure points? Planting too late in spring, choosing a slow variety for a short season, and forgetting to keep the soil evenly moist.
But here’s the good news: once you understand what triggers bolting (prolonged heat above 80°F) and buttoning (any stress, cold, drought, transplant shock, during the first few weeks after transplant), you can avoid both. And because homegrown cauliflower tastes noticeably sweeter and denser than store‑bought, the payoff is real. It’s not a beginner crop, but it’s a doable one.
First Decision: Spring or Fall?
Your climate determines the answer. Here’s the decision tree.
If your summer regularly hits 85°F or higher, spring cauliflower is a gamble. You can still try it, but you’ll fight heat the whole way. Fall planting is much safer because temperatures are cooling down as the heads size up.
In cool‑summer areas (Pacific Northwest, coastal Northeast, UK, Northern Europe), spring works fine, just time it so harvest happens before the first heatwave.
If your growing season is short (fewer than 90 frost‑free days), spring is your only window, but pick an ultra‑fast variety like ‘Snow Crown’ (50 days). If your winters are mild (zones 8, 10), cauliflower can even overwinter, plant in late summer for a spring harvest.
The rule of thumb from extension research: count backward from your average first fall frost date. For a 70‑day variety, transplant seedlings 10, 12 weeks before that frost. For spring, transplant 2, 4 weeks after your last spring frost, once soil temps hit 50°F.
Choosing a Cauliflower Variety That Matches Your Window
Once you know your season, pick your variety. This decision determines success more than any other. Aggregated grower feedback across forums and seed catalogs highlights three categories:
| Variety Type | Days to Maturity | Best For | Notes |
|---|---|---|---|
| Fast (50–60 days) | 50–60 | Short seasons, fall plantings | Self‑blanching often; ‘Snow Crown’, ‘Amazing’ |
| Medium (65–80 days) | 65–80 | Most climates, spring or fall | Great flavor; ‘White Corona’, ‘Cheddar’ |
| Slow (80–120 days) | 80–120 | Cool, long seasons; overwintering | Large heads; ‘Purple Cape’, ‘Di Sicilia Violetto’ |
Self‑blanching varieties (like ‘Snow Crown’) naturally wrap their leaves around the curd, saving you the step of tying leaves. Colored varieties (orange cheddar, purple graffiti, green broccoflower) don’t need blanching at all, they stay that color in the sun. But in our research, the fastest‑maturing white hybrids (50, 55 days) consistently produce the most reliable heads in unpredictable weather.
If you’re a first‑timer, pick a fast hybrid. Save the heirlooms for after you’ve nailed the basics.
Seed Starting, Hardening Off, and Transplanting Without Shock
Cauliflower transplants better than it direct‑sows. Start indoors 6, 8 weeks before your target transplant date. Seed ¼ inch deep in a sterile seed mix, keep the soil at 60, 70°F.
They germinate in 5, 10 days.
The moment most people mess up is the week before transplant, hardening off. Skip it, and your seedlings get slammed by wind, sun, and cold, stunting them for weeks. The fix is simple: over 7, 10 days, move them outside for an hour the first day, then two, then four, working up to a full day.
Keep them shaded at first, then gradually expose them to direct sun.
Transplant only when soil is at least 50°F. Space plants 18, 24 inches apart in rows 24, 36 inches apart. Bury them to the first true leaf.
Water deeply right after transplant, and cover with row fabric if temps drop below 45°F or if flea beetles are active in your area. That fabric stays on for the first two weeks, it protects against cold, wind, and pests during the most vulnerable stage.
Keep It Happy: Water, Feed, and Protect
Cauliflower needs steady, consistent moisture, 1 to 2 inches per week, delivered by drip irrigation or a soaker hose. Inconsistent watering leads to loose, “ricey” curds. Mulch with straw or shredded leaves as soon as the soil warms, and that keeps moisture even and roots cool.
Fertilizer timing matters more than you think. At transplant, work in a balanced organic fertilizer (5‑5‑5 or 10‑10‑10) at the label rate. Then side‑dress with a nitrogen‑heavy option (blood meal or fish emulsion) three weeks later, cauliflower is a heavy feeder. Don’t overdo nitrogen past the halfway point, or you’ll get huge leaves and a tiny head.
As the head (curd) starts forming, about the size of a silver dollar, it’s time to blanch white varieties. Pull the outer leaves over the curd and secure them with a clothespin or a rubber band. This keeps the sun off so the curd stays creamy white.
Check under the leaves every few days; if you see yellow, you waited too long.
And finally: heat is your enemy. If daytime temps consistently hit 80°F, throw shade cloth over the row. A 40% shade cloth during the hottest part of the day can buy you another two weeks of good curd development before bolting starts.
Troubleshooting: Buttoning, Bolting, and Other Classic Heartbreak
Even if you follow every step, problems can still show up. The good news is most have a clear cause and a fix.
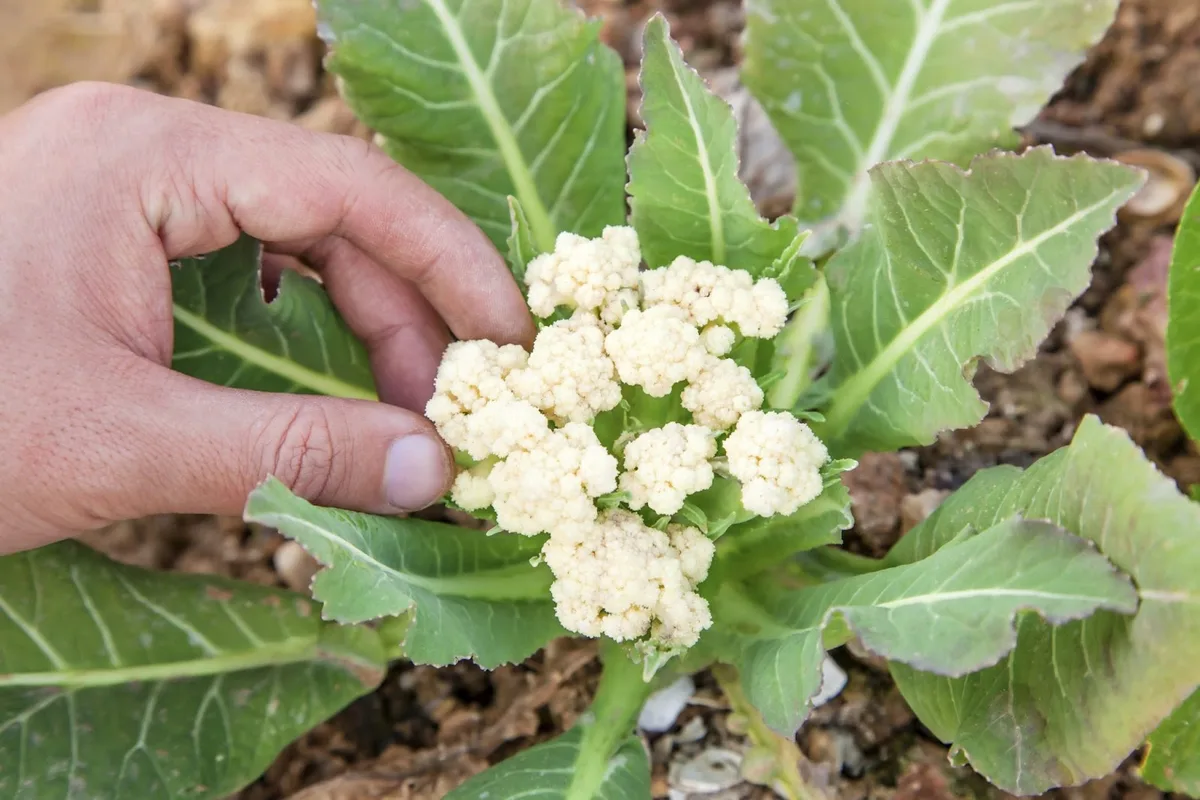
Buttoning (tiny heads the size of a ping-pong ball) happens when seedlings face stress in the first few weeks after transplant. Cold soil, drought, or a sudden frost triggers the plant to produce a head early, then stop growing. Once buttoning happens, the head won’t enlarge.
Prevention is the only cure, harden off properly and don’t transplant into cold soil.
Bolting (the head turns into a flower stalk) comes from heat stress or days above 80°F paired with long daylight. If you see the curd opening up into tiny yellow buds, it’s too late to reverse. Pull the plant and compost it.
Next time, plant earlier in spring or later in fall.
Ricey curds (loose, grainy heads) mean the plant ran out of water or got too much heat during head formation. Keep moisture steady and use shade cloth when temps spike.
Leaves huge, no head usually means too much nitrogen late in the season. You fed it too well. Cut back on fertilizer after the first side-dress.
Yellowed or discolored curds on white varieties mean you blanched too late or the leaves slipped. Tie them a day earlier next time.
Harvest and Store Without Losing Flavor
The perfect cauliflower head is dense, tight, and about 6 to 8 inches across. Check it daily once it reaches that size. If the curd starts to separate or looks “creamy,” you’ve waited a day too long.
Cut the stem with a sharp knife, leaving a few wrapper leaves attached to protect the curd during handling. Rinse off any soil, then dry it thoroughly.
Storage is straightforward. Place the head in a perforated plastic bag in the crisper drawer. It keeps for 2 to 3 weeks at 32°F with high humidity. Don’t wash it until you’re ready to eat, or mold will develop.
For longer storage, blanch and freeze the florets. They’ll keep for up to a year.
If you grow purple or orange varieties, the color stays brighter if you freeze them raw rather than blanched. And here’s a trick: a light frost before harvest sweetens the flavor, so don’t panic if a cold night hits right before cutting day.
Cauliflower FAQs
Why are my cauliflower leaves huge but no head forms?
You likely overfed with nitrogen late in the season. The plant puts all its energy into leaves instead of the curd. Next time, side-dress only once, three weeks after transplant, and switch to a balanced or low-nitrogen fertilizer after that.
Can I grow cauliflower in a container?
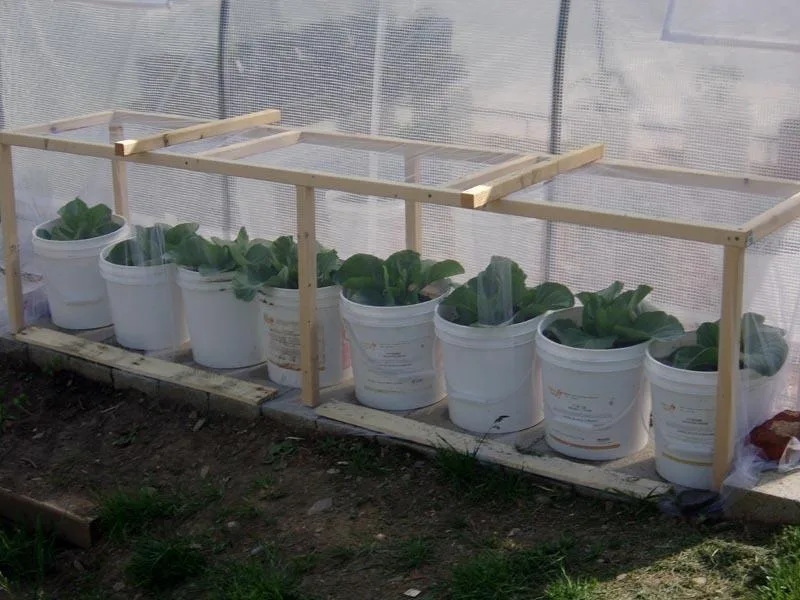
Yes, but use a pot at least 12 inches deep and wide, with drainage holes. Fill it with rich, well-draining potting mix. Keep the soil consistently moist, more so than in the ground, because containers dry out faster.
Expect smaller heads than garden beds.
Should I deadhead or cut the plant after harvest?
Cut the entire plant at the base once you harvest the main head. Some varieties produce small side shoots after the main head is removed (like broccoli), but most cauliflower won’t. Compost the plant or pull it up to make room for another crop.
Why did my cauliflower turn purple in the sun?
If you’re growing a white variety, purple means sun exposure. The curd developed anthocyanin pigment as a natural sunscreen. It’s still edible, just a little less white.
Blanch earlier next time. Colored varieties like ‘Graffiti’ are supposed to be purple, that’s normal and desirable.
Can I eat cauliflower leaves?
Absolutely. The leaves are tender and flavorful, especially when steamed or sautéed. Harvest the outer leaves after the head forms.
They taste similar to kale or collards and are packed with vitamins. Just wash them well before cooking.



