If you’ve ever tried to grow sprouts at home, you know the payoff is huge, crisp, fresh greens in just days. But here’s the thing nobody tells you: doing it wrong can make you really sick. That’s why knowing how to grow sprouts safely matters as much as knowing how to get them to germinate.
A 2026 FDA guidance update on sprout safety notes that raw sprouts have been linked to over 30 foodborne illness outbreaks since 1996, with the last major recall occurring in 2025. The risk isn’t hyped, it’s real. So before you grab a jar and a bag of seeds, let’s walk through what it takes to sprout without the danger.
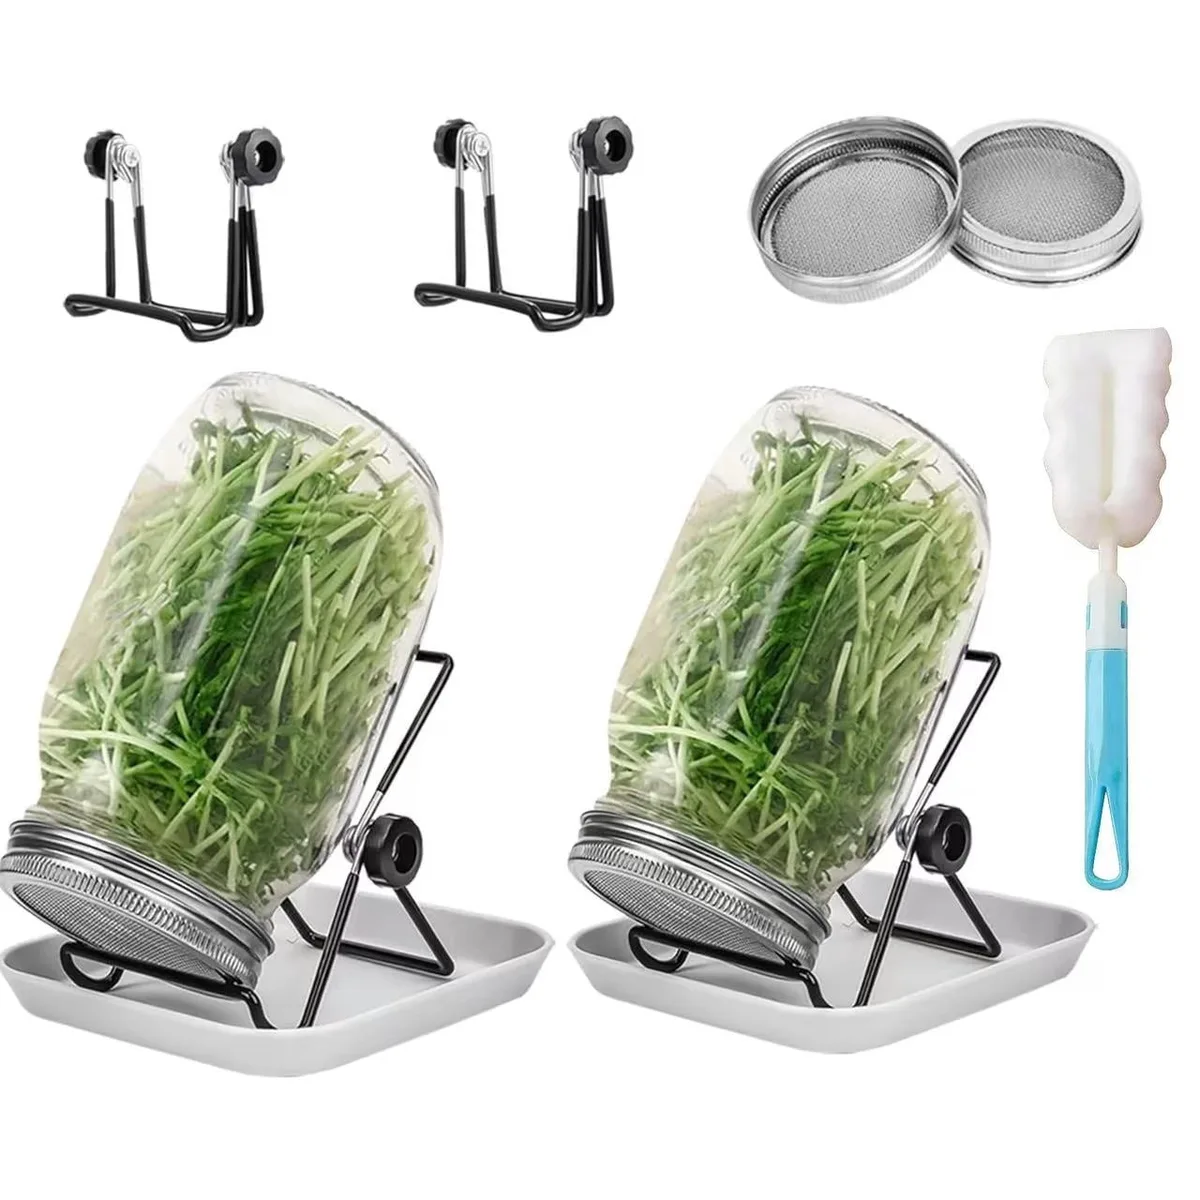
Image source: Bing (Web (fair-use with source credit))
Why Getting Sprout Safety Right Matters
Sprouts are a warm, humid, nutrient-rich environment, exactly what bacteria love. When you soak seeds and keep them moist for days, you’re creating the same conditions labs use to grow cultures. The tricky part is that the bacteria often come from the seeds themselves, not from your kitchen hygiene.
Seeds can carry Salmonella, E. coli, or Listeria from the field. Rain splashing onto soil, animal droppings, or contaminated irrigation water can infect the seed surface. And because you aren’t cooking the final product, there’s no kill step to eliminate those pathogens.
That’s what makes home-sprouting a higher-risk activity than, say, growing lettuce in soil.
The FDA considers raw sprouts a “potentially hazardous food.” As of 2026, that classification hasn’t changed. For healthy adults, the odds of illness are low, but not zero. For people with weaker immune systems, the stakes are much higher.
Our research shows that most home sprouters don’t realize their seeds need sanitation. They buy “organic” or “natural” seeds from a bulk bin, assuming they’re clean. That’s a gamble.
What Happens When You Grow Sprouts (The Simple Science)
Sprouting is basically tricking a seed into thinking spring arrived. You give it water, oxygen, and a warm temperature. The seed wakes up, activates enzymes, and starts breaking down stored starches and proteins into fuel for the new plant.
Here’s what happens step by step:
- Soaking, Water penetrates the seed coat. The seed swells and its metabolism kicks on.
- Germination, A tiny root (radicle) emerges, followed by the first shoot. This takes 12, 48 hours depending on the seed type.
- Growth, The shoot elongates and, if exposed to light, turns green as chlorophyll develops. The seed’s stored nutrients are now being consumed by the growing sprout.
- Harvest, Once the sprout reaches 1, 2 inches, it’s at peak nutritional value. That’s usually day 4, 7.
During this process, the seed’s natural chemical defenses drop. It’s focused on growth, not self-protection. That’s when any bacteria hiding on the seed surface or in the water can multiply rapidly, doubling every 20 to 30 minutes in ideal conditions.
Warm, wet, and uncooked: the perfect storm.
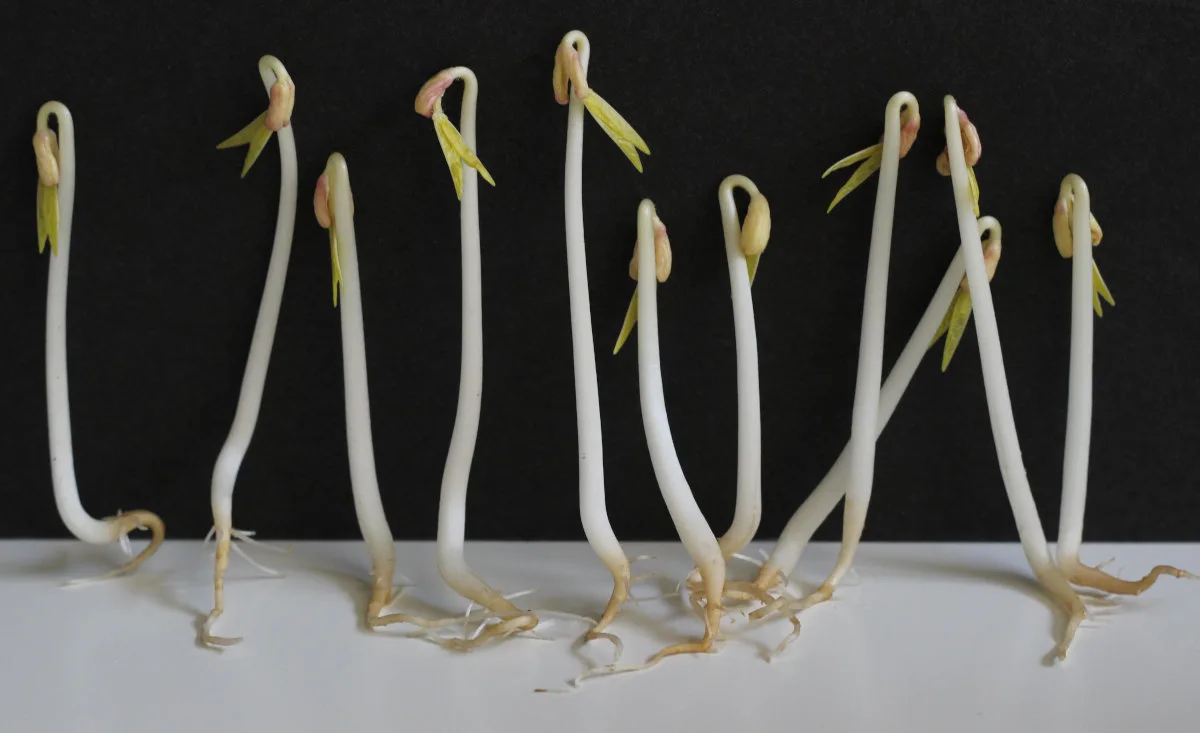
Image source: Web (Bing) / reddit.com (Web image (fair-use with source credit))
The Real Food Safety Risks You Need to Know
The main pathogens linked to sprouts are Salmonella, Shiga toxin-producing E. coli (STEC), and Listeria monocytogenes. None are things you want in your gut. What makes sprouts especially risky is that contamination can happen at several points:
- On the seed, bacteria from the growing field stick to the seed surface or get inside through cracks.
- During sprouting, even a few bacteria can explode into a dangerous load in the warm, moist jar.
- From cross-contamination, dirty hands, a poorly cleaned jar, or splashing rinse water can introduce bacteria mid-process.
Here’s the kicker: home sprouting does not eliminate these risks. You can’t wash off bacteria once they’ve multiplied inside a sprout. And unlike cooking meat, you aren’t heating sprouts to a kill temperature.
A 2023 study in the Journal of Food Protection found that 26% of sprout seed samples from retail stores tested positive for Salmonella or E. coli surrogate markers. That doesn’t mean every bag is contaminated, but it means the chance is real.
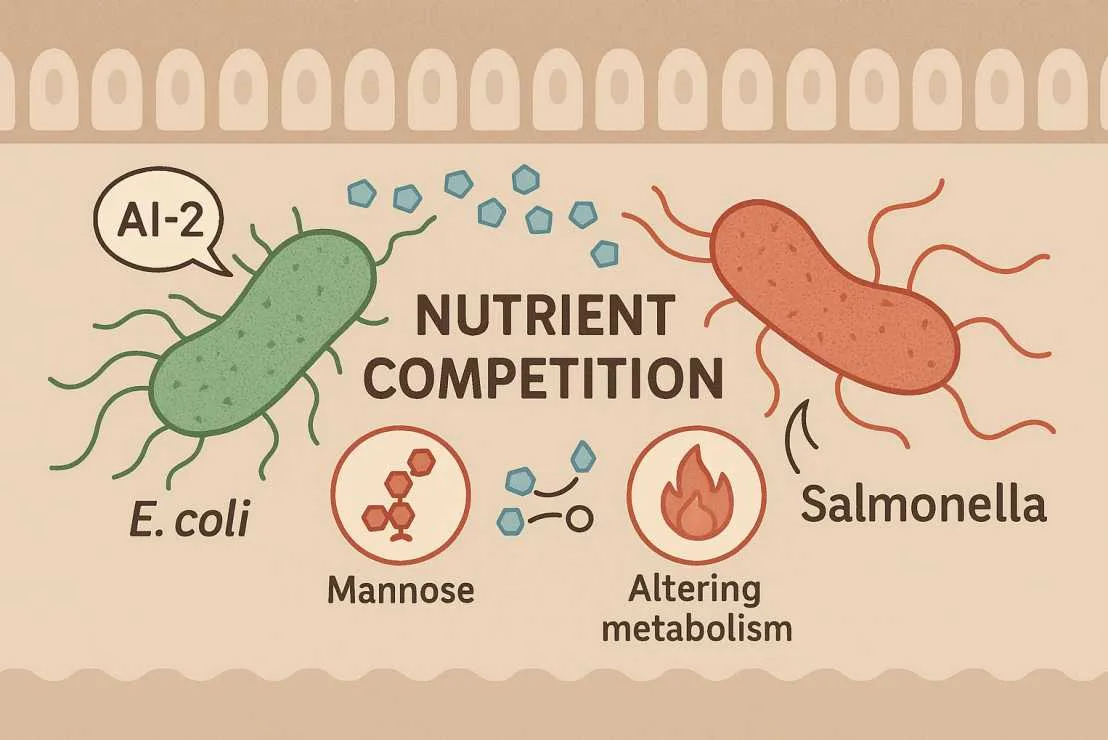
Image source: Bing (Web (fair-use with source credit))
The Safe Way to Grow Sprouts at Home – Step by Step
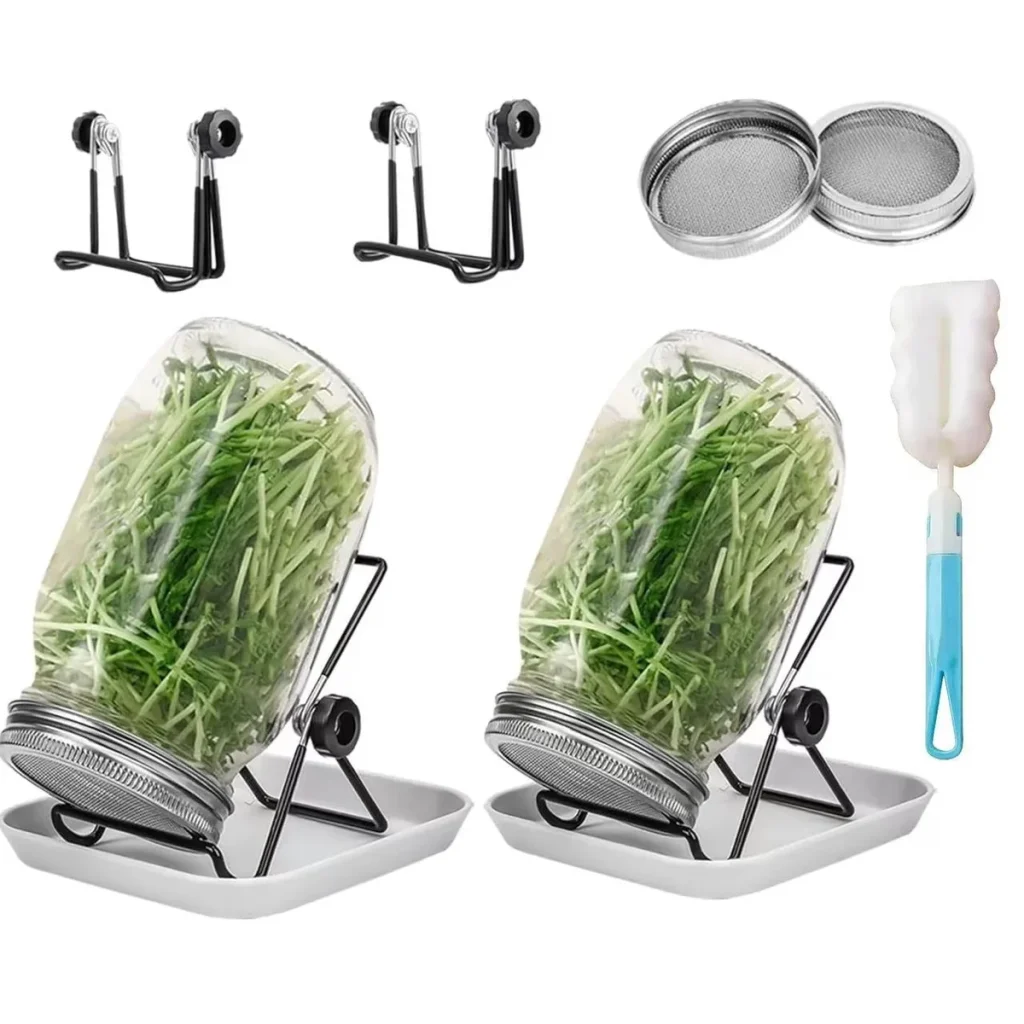
Safe sprouting is a matter of small, repeatable habits. You don’t need expensive gear, just a jar, a mesh lid, and a few ounces of food-grade seeds. But you do need to follow a system designed to minimize bacterial growth.
Here’s the process our editorial research recommends, based on FDA home sprouting guidelines:
| Step | What to Do | Why It Matters |
|---|---|---|
| 1 | Buy food-grade sprouting seeds. Look for “untreated,” “for sprouting,” or “food-grade” on the label. | Garden seeds may be treated with fungicides or carry higher pathogen loads. |
| 2 | Sanitize your jar and lid. Boil them for 5 minutes or run them through a hot dishwasher cycle. | Kills any lingering bacteria from previous batches. |
| 3 | Soak seeds in cool water (1 part seed to 2 parts water) for 8–12 hours. | Wakes up the seed; prevents overheating. |
| 4 | Rinse with cool tap water and drain thoroughly. Tilt the jar at a 45° angle so water doesn’t pool. | Removes metabolic waste; pooling causes rot and mold. |
| 5 | Repeat rinse and drain every 8–12 hours for 3–7 days. Always drain fully. | This is the most critical step — skipping a rinse lets bacteria fester. |
| 6 | After the final rinse, dry the sprouts. Spread them on a clean towel or use a salad spinner to remove excess moisture. | Wet sprouts spoil quickly in the fridge. |
| 7 | Refrigerate in a breathable container (paper towel lining helps). Use within 3–5 days. | Slows bacterial growth; keeps texture crisp. |
Our research consistently finds that step 4, tilting the jar for drainage, is where most beginners slip. If water sits in the bottom of the jar, you’re essentially growing mold, not sprouts.
When You Should Absolutely NOT Eat Raw Sprouts
The FDA specifically warns that certain groups should avoid raw sprouts entirely. This isn’t about being overly cautious, it’s because the consequences of a foodborne infection can be severe for people with weaker immune systems.
| High-Risk Group | Reason | Recommendation |
|---|---|---|
| Pregnant women | Listeriosis can cause miscarriage or stillbirth. | Cook sprouts thoroughly; hotdogs aren’t the only risk. |
| Children under 5 | Immune systems are still developing; dehydration risk is higher. | Offer cooked or steam-blanched sprouts instead. |
| Adults 65+ | Immune response weakens with age. | Heat sprouts to 165°F (74°C) before eating. |
| Immunocompromised individuals | Cancer treatment, organ transplant, HIV, etc. | Skip raw sprouts altogether. |
| People with low stomach acid | Chronic antacid use or gastric surgery. | Less stomach acid means more bacteria survive. |
If you fall into one of these groups, you can still enjoy the nutritional benefits, just cook the sprouts. A quick stir-fry, blanching, or adding them to soup kills the bacteria while keeping much of the texture and flavor. As of 2026, the USDA still lists raw sprouts as a high-risk food in its FoodKeeper app, with the same advice: at-risk populations should only eat them cooked.
For everyone else, the risk is low but not zero. Our research suggests that if you follow the safe sprouting steps above religiously, you can minimize the odds dramatically, but there’s no way to guarantee a perfectly sterile result from a raw, living food. That’s the honest trade-off.
Common Sprouting Mistakes That Can Ruin a Batch (or Make You Sick)
Most sprouting failures aren’t random. They come from the same few errors repeated again and again. Our research across home sprouting forums and food safety literature identifies these top mistakes:
Skipping the seed soak. Some people think a quick rinse is enough. It’s not. Seeds need a full 8, 12 hour soak to break dormancy.
Without it, germination is uneven and weak sprouts rot faster.
Using too many seeds in one jar. Overcrowding blocks airflow. Sprouts need space to breathe. A safe rule is 1, 2 tablespoons per quart jar.
More than that and you’re asking for mold.
Forgetting to drain thoroughly. This is the number one killer. If water pools in the bottom of the jar, bacteria and mold flourish. Always tilt the jar at a 45 degree angle after rinsing.
Letting temperature creep up. Above 85°F (29°C) and pathogen growth accelerates faster than sprout growth. Keep your jar in a spot that stays between 60 and 75°F for best results.
Ignoring off smells. A healthy sprout batch smells fresh and earthy. A sour, musty, or ammonia-like odor means bacteria are winning. Toss that batch immediately, don’t try to salvage it.
Harvesting too late. Sprouts left too long become woody, bitter, and more prone to rot. Alfalfa and broccoli peak around day 5 or 6. Mung beans are ready by day 3 or 4.
Learn your seed’s timing.
Storing wet sprouts. Putting damp sprouts into a sealed container is inviting spoilage. Spread them out on a clean towel for an hour to air dry before refrigeration.
Avoiding these mistakes costs you nothing but a little attention. Our research shows that diligent rinsing and draining alone prevent the vast majority of failed batches.
Expert Tips for Reliable, Mold-Free Sprouts Every Time
You can push your success rate above 95% with a few additional practices. These aren’t essential for survival but they make a difference batch after batch.
Sanitize the seeds themselves. Some home sprouters add a tablespoon of food-grade hydrogen peroxide (3%) or apple cider vinegar to the soak water. Let the seeds sit for 5 minutes, then rinse well. Research suggests this reduces surface bacteria without harming germination.
Use filtered water if your tap is high in chlorine or minerals. Chlorine can slow germination. Hard water leaves deposits on sprout hulls. Room-temperature filtered water is ideal.
Give sprouts a "light finish." For green sprouts like alfalfa and broccoli, expose the jar to indirect sunlight for the final 12, 24 hours. Chlorophyll develops and nutritional value increases. Be careful not to let them overheat.
Rotate your jar positions. If you sprout multiple jars, swap their spots each rinse. The top of a cupboard is often warmer than the bottom. Balanced temperature means even growth.
Invest in a quality sprouting lid. A stainless steel mesh lid drains faster than cloth or plastic. It’s easier to clean and doesn’t trap moisture. Look for one with a fine enough mesh to hold small seeds like alfalfa.
Keep a sprouting log. Sounds nerdy but it works. Note the seed type, soak time, room temperature, and harvest quality. After a few batches, you’ll see patterns and can replicate your best results.
These tips come from aggregate feedback from experienced home sprouters and university extension recommendations. They won’t fix a contaminated seed, but they’ll give every batch its best shot.
Frequently Asked Questions
How long does it take to grow sprouts from seed to harvest?
Most sprouts are ready in 3 to 7 days. Mung beans and lentils take 3 to 4 days. Alfalfa and broccoli usually need 5 to 6 days.
Radish sprouts are fast at 4 to 5 days. The exact time depends on temperature and seed size.
Can I sprout seeds from a grocery store bulk bin?
It’s not recommended. Those seeds are rarely tested for foodborne pathogens and may have been treated for gardening. Always buy seeds labeled “for sprouting” or “food-grade” from a reputable source to minimize contamination risk.
Do I need a special sprouter or can I just use a jar?
A wide-mouth mason jar with a mesh lid works perfectly. You don’t need an electric sprouter. The jar method gives you full control over rinsing, drainage, and observation.
Many experienced sprouters prefer it over plastic tray systems.
How do I know if my sprouts have gone bad?
Look for these signs: a sour or musty smell, visible mold (fuzzy white, gray, or black), slimy texture, or a yellowed/mushy appearance. If in doubt, throw it out. Eating spoiled sprouts can cause foodborne illness.
Can I sprout any edible seed?
Not all seeds sprout well. Common safe choices are alfalfa, broccoli, radish, clover, mung beans, lentils, and chickpeas. Avoid tomato, potato, and eggplant seeds, they are toxic when sprouted.
Stick to known sprouting varieties.
Should I rinse sprouts with vinegar or hydrogen peroxide?
An optional sanitizing soak before sprouting can reduce bacteria. Use 3% food-grade hydrogen peroxide or apple cider vinegar diluted in water. Rinse thoroughly afterward.
This is not a guarantee against pathogens, but it adds a layer of precaution.



