You bought the seed packet. You filled the little pots. You watered and waited.
Then nothing happened. That's where most people give up on trying to grow basil from seed.
The problem is almost never you. It's usually a temperature issue, a light problem, or a common beginner mistake that's easy to fix once you know what to look for. Most seeds fail because the soil is too cold.
Basil is a tropical plant. It needs consistent heat to germinate.
Research shows that basil seeds require a soil temperature between 70 and 85 degrees Fahrenheit (21-29°C) for reliable germination. Below that, your seeds might sit in the soil for weeks doing nothing, or worse, rot before they ever sprout. Let's fix that.
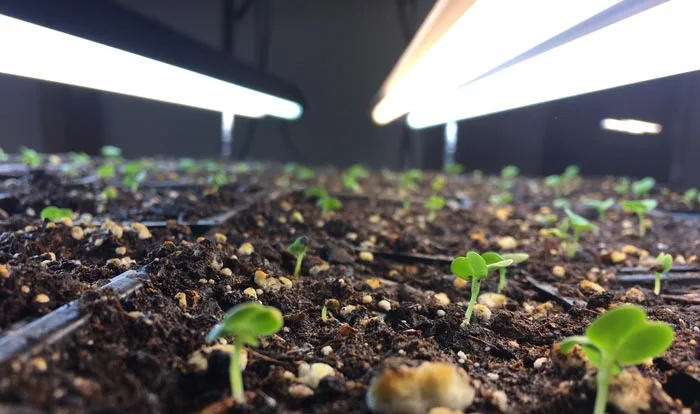
Image source: Web (Bing) / heksamiz.blogspot.com (Web image (fair-use with source credit))
Why Your Basil Seeds Didn't Germinate (And How to Fix It Next Time)
If your seeds failed, you probably made one of three classic mistakes: cold soil, overwatering, or burying the seeds too deep. Let's walk through each one.
Cold soil is the number one killer. Basil seeds need warmth. If your room temperature is 65°F (18°C) or below, those seeds are not going to cooperate. A heat mat solves this instantly.
Seedling heat mats from any garden supplier cost around $15 to $30. They sit under your seed tray and raise the soil temperature by roughly 10 to 15 degrees above room temp. That one tool changes the success rate from maybe 30 percent to nearly 90 percent.
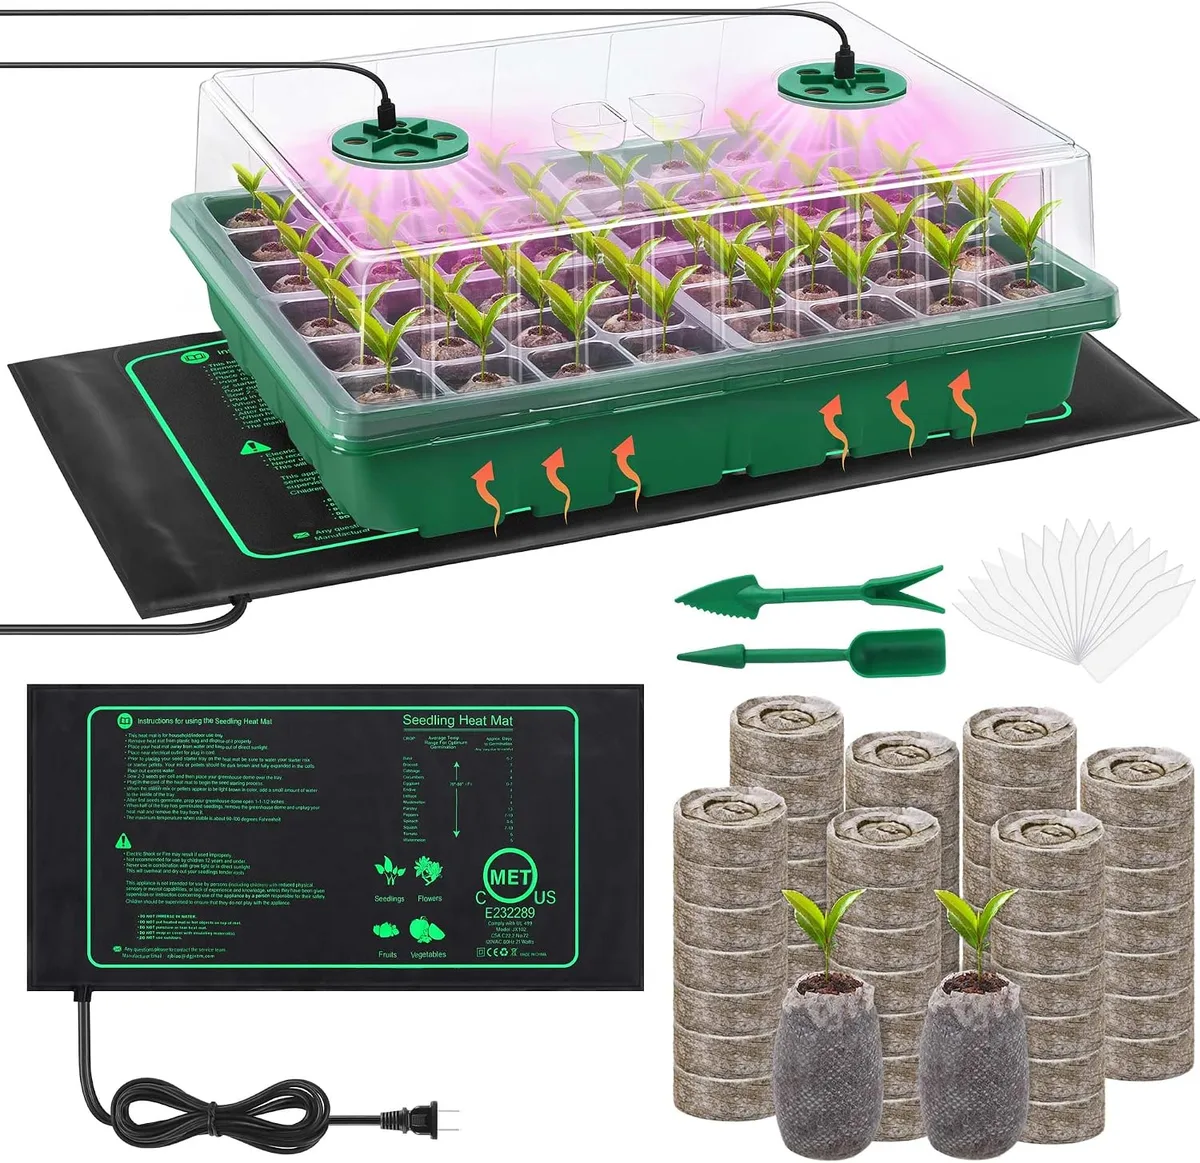
Image source: Bing (Web (fair-use with source credit))
Overwatering drowns them. Basil seeds are tiny. They don't need a flood. The soil should feel like a wrung-out sponge, damp but never soaking wet.
Pouring water directly onto the seeds can wash them too deep or cause them to rot. Bottom-watering is safer: pour water into the tray under your pots, and let the mix soak it up through the drainage holes.
Burying them too deep. Basil seeds need light to germinate. Plant them no deeper than ¼ inch (about 6 millimeters). Just press them gently into the surface of moist seed-starting mix, then barely cover them with a thin dusting of soil.
If you covered them with more than ½ inch of soil, they almost certainly won't emerge.
Old seeds also struggle. Basil seeds stay viable for about 3 to 5 years if stored in a cool, dry place. After that, the germination rate drops fast. If your seed packet is from 2020 or earlier, consider buying fresh seeds for better results.
The Simple Truth About Basil Germination: Warmth Is Everything
Here's the single most important thing to understand. Basil seeds will not germinate in cold soil. Period.
A standard room temperature of 68°F (20°C) is not warm enough for reliable germination. The seed packet instructions usually say something like "70-85°F" for a reason. That's not a suggestion.
That's the temperature range where the enzymes inside the seed can actually wake up and do their job.
What this means in practice:
- If your house runs cool (below 70°F), you need a heat mat.
- If you're starting seeds in an unheated garage or basement, expect failure.
- If you're waiting for the garden soil to warm up in spring, check the soil temperature with a probe thermometer. Anything below 60°F (15°C) means you'll wait a very long time for sprouts.
Germination time chart:
| Soil temperature | Typical time to sprout |
|---|---|
| 70-75°F (21-24°C) | 7-14 days |
| 75-85°F (24-29°C) | 5-10 days |
| Below 70°F (21°C) | 14-21 days or none |
A heat mat is the cheapest, most reliable fix for indoor seed starting. Manufacturer specs confirm that most heat mats raise soil temperature about 10 to 20 degrees above ambient air. If your room is 68°F, a heat mat brings the soil to roughly 78-88°F.
That's the sweet spot for basil.
University extension services recommend using a heat mat for warm-season crops like basil, tomatoes, and peppers. It's not an optional upgrade. For consistent results, it's a necessity.
Should You Start Seeds Indoors or Direct Sow? (The Decision Tree)
This is the first real decision you need to make. It depends entirely on your climate, your patience level, and what kind of basil you want.
Here's how to decide your path:
Start indoors if…
You live in a climate with a short growing season (zones 6 and below). You want basil ready to harvest as early as possible. You want to control the environment completely, soil quality, light, temperature, moisture.
You're growing specialty varieties like Thai basil or purple basil that need a little extra care early on.
Indoor starting gives you a 4 to 6 week head start. You plant seeds inside around 6 to 8 weeks before your last expected frost date. By the time the garden soil warms up, you have strong, bushy transplants ready to go.
Direct sow (plant seeds straight into the garden) if…
You live in a warm climate (zones 8 and above). Your soil temperature is consistently above 65°F (18°C) by late spring or early summer. You're not in a rush for an early harvest.
You want the simplest, least fuss method.
Direct sowing works well in warmer regions but comes with a trade-off. The plants will need more time to reach harvest size. You also have less control over soil moisture and pests like slugs or cutworms.
Decision table:
| Your situation | Best choice |
|---|---|
| Cold spring, short growing season | Start indoors |
| Warm climate, soil above 65°F by May | Direct sow |
| Want specialty basil varieties | Start indoors |
| Minimal equipment, low budget | Direct sow (if warm enough) |
| Want an earlier harvest | Start indoors |
If you're in a zone that can go either way, split your planting. Start a few seeds indoors and direct-sow a few outside. The indoor plants will give you an early harvest while the outdoor catch up.
That way you win either way.
How to Grow Basil from Seed: A Simple, Step-by-Step Process
Let's walk through the indoor method, since that's where most people need the clearest guidance. This process works for any common basil variety, sweet basil, Genovese, Thai, Holy, or purple.
Step 1: Gather your supplies
You'll need:
- Seed-starting mix (not garden soil, not regular potting mix)
- Seed-starting tray or small pots with drainage holes
- Basil seeds (fresh, from this year or last year)
- Heat mat (highly recommended)
- Grow light or very bright south-facing windowsill
- Spray bottle or mister
- Plastic dome or clear plastic bag for humidity
Step 2: Prepare the mix
Moisten your seed-starting mix before you fill the pots. Dry mix repels water. Pour some mix into a bowl, add water, and stir until it feels like a damp sponge.
Then fill your pots.
Step 3: Sow the seeds
Plant 2 to 3 seeds per pot, about ¼ inch deep. Use your fingertip or a pencil to make a small indent. Drop the seeds in.
Cover them with a light dusting of dry mix or vermiculite. Mist the surface gently.
Step 4: Create a warm, humid environment
Place the tray on your heat mat. Cover with a humidity dome or plastic wrap. Keep the soil temperature between 70 and 85°F.
You should see tiny sprouts in 5 to 10 days.
Step 5: Provide strong light the moment they sprout
Once the first tiny leaves appear (called cotyledons), remove the humidity dome. Move the tray directly under a grow light positioned 2 to 3 inches above the seedlings. Leave the light on for 14 to 16 hours per day.
Without strong light, basil seedlings get leggy and weak within 48 hours.
Step 6: Thin the seedlings
When each pot has 2 sets of true leaves (the second pair of leaves after the cotyledons), choose the strongest seedling and snip the others at soil level. Don't pull them out, you might disturb the roots of the one you're keeping.
Step 7: Pot up to larger containers
When your seedlings have 3 to 4 sets of true leaves, move each one to a 4-inch pot or a 6-inch final container. Use regular potting mix now, not seed-starting mix. Water them well after transplanting.
Step 8: Harden off before moving outside
About 7 to 10 days before transplanting to the garden, start hardening off. Set the plants outside in partial shade for an hour on day one, then gradually increase the time and sun exposure each day. This prevents transplant shock.
Step 9: Plant in the garden or final container
After all danger of frost has passed and nighttime temperatures stay above 50°F (10°C), transplant your basil to the garden or a final container. Space plants about 8 to 12 inches apart. Water thoroughly after planting.
The Five Most Common Basil Seedling Mistakes (And How to Avoid Them)
Mistake 1: Not enough light after germination
The biggest rookie error. Basil seedlings need intense, consistent light from the moment they sprout. A north-facing windowsill won't cut it.
Without enough light, the stems get thin and stretchy (leggy) within days. They'll fall over and die.
Fix: Use a grow light positioned 2 to 3 inches above the seedlings. Keep it on 14 to 16 hours a day. A cheap LED shop light works great.
Manufacturer specifications for most grow lights indicate a recommended distance of 2 to 6 inches for seedlings.
Mistake 2: Overwatering
Basil hates wet feet. Let the soil surface dry out slightly between waterings. Stick your finger about half an inch into the soil.
If it feels damp, wait. If it feels dry, water from the bottom by adding water to the tray.
Mistake 3: Skipping the hardening off process
Moving basil from a cozy indoor environment straight into full sun and wind is a shock. The leaves turn white, curl up, or just stop growing. This delay can cost you weeks of growth.
Fix: Spend at least 5 to 7 days gradually introducing plants to outdoor conditions. Start with an hour in dappled shade, then increase by an hour each day, adding direct sun slowly.
Mistake 4: Transplanting too early
Basil seedlings need at least 3 to 4 sets of true leaves before they can handle being moved. Trying to transplant tiny seedlings with only 1 or 2 leaves is asking for root damage and stunted growth.
Mistake 5: Not pinching the growing tips
Once your basil plant reaches about 6 inches tall and has several sets of leaves, you need to pinch off the top two leaves (the growing tip). If you don't, the plant grows straight up into one tall, skinny stem. Pinching forces it to branch out into a bushy, productive plant.
We'll cover pinching in detail in the next section.
Aggregate reviews from home gardeners confirm: the difference between a successful basil harvest and a disappointing one almost always comes down to temperature, light, and timing. Get those three right, and you'll have more basil than you can use.



