Every winter, the same scene plays out in kitchens across the country. You sow tomato seeds, they sprout beautifully, and then stretch into pale, spindly stems that flop over before you can transplant them. That's a lighting for seedlings problem, not a failure of your gardening skills.
Weak light makes weak plants.
The numbers back this up. Healthy seedlings need a daily light integral (DLI) of roughly 10 to 15 mol/m²/day, and a bright winter windowsill often supplies a fraction of that. As of 2026, LED grow lights have made full-intensity seed starting affordable for almost anyone.
Here's how to choose the right setup and use it without guessing.
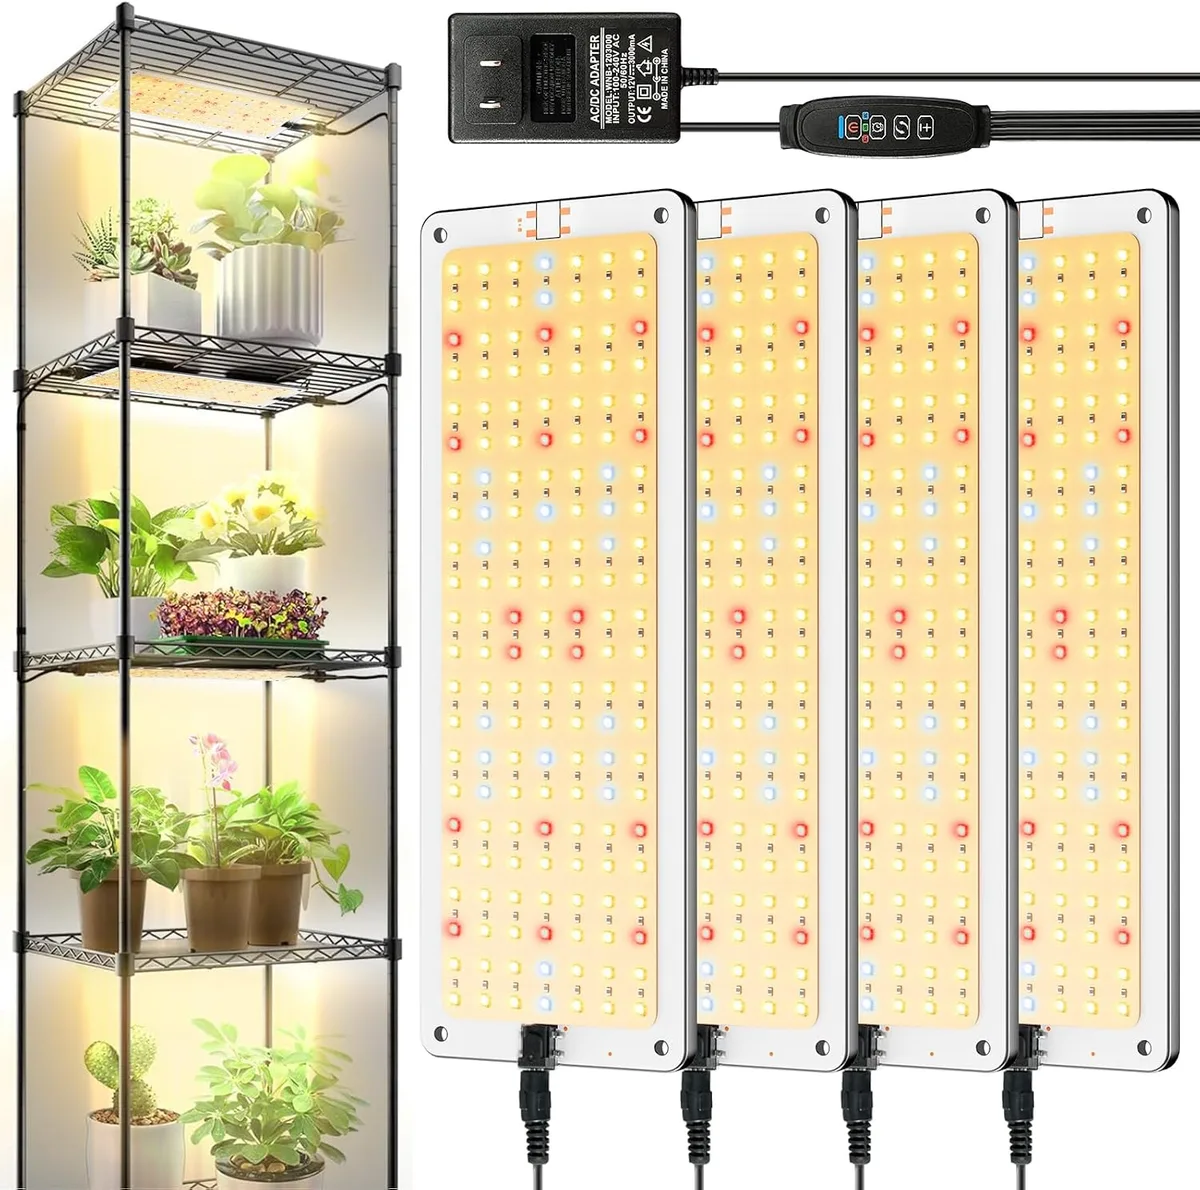
Image source: Web (Bing) / amazon.com (Web image (fair-use with source credit))
Quick Answer
Use grow lights for seedlings unless you have a very bright south-facing window. Choose a full-spectrum LED fixture rated at 5000K to 6500K. Hang it 2 to 4 inches above the leaves and run it 14 to 16 hours per day.
Use a timer for consistency.
Why Your Seedlings Are Leggy (The Light Problem)
In our research, legginess is the most common seedling complaint by far. Seedlings end up looking like tiny green spaghetti, with long pale stems and small, spaced-out leaves. That's called etiolation, and it happens when a plant stretches toward weak light.
The plant is begging for more photosynthetically active radiation, or PAR.
But there's a deeper problem in play. When light is insufficient, seedlings prioritize stem elongation over leaf and root growth. They're trying to outgrow whatever is shading them, even if the "shade" is just a cloudy winter window.
The result is fragile tissue that can't support the plant once it leaves the tray.
Leggy seedlings rarely recover. They might survive, but they transplant poorly, snap easily in wind, and produce less vigorous plants. The fix is not more fertilizer or more water.
The fix is correcting the light supply.
Here's what you'll see when light is the problem:
- Long, thin, pale stems
- Small, yellow-green leaves spaced far apart
- Plants leaning hard toward the nearest window
- Seedlings flopping over at soil level even when watered properly
Healthy seedlings look different. Short, stocky stems. Dark green leaves growing close together.
Plants standing upright without support.
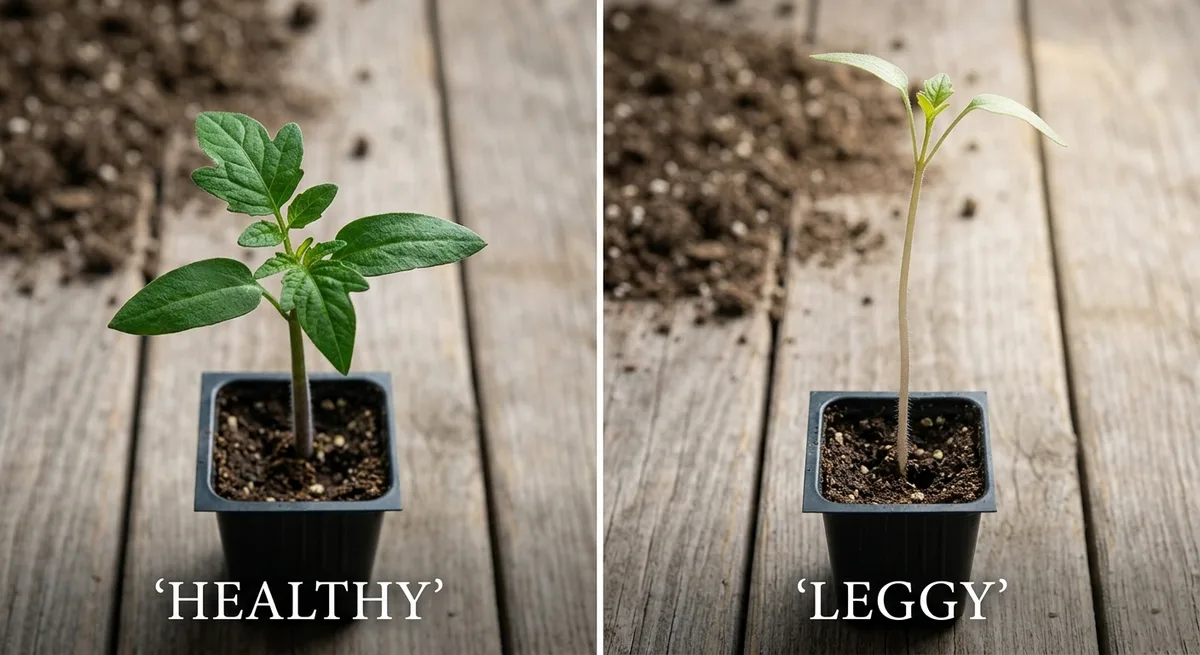
Image source: Web (Bing) / caribouseedcompany.com (Web image (fair-use with source credit))
If that leggy picture looks familiar, the next section will help you decide whether your window can handle it or whether you need grow lights.
The First Decision: Windowsill vs. Grow Lights
Before spending money on equipment, answer one question: do you actually need grow lights? The answer depends on three variables.
First, where are your windows? South-facing windows get the most usable light. But in late winter, even southern light is weak and the days are short.
East and west windows are worse. North-facing windows are nearly useless for sun-loving seedlings.
Second, what are you growing? Tomatoes, peppers, eggplant, and most flowers are sun lovers. They'll stretch under anything less than strong light.
Some low-light tolerant crops, like lettuce, kale, and herbs, can start fine on a bright windowsill.
Third, how many seedlings do you plan to raise? A single tray of lettuce on a sill is one thing. Twenty trays of tomatoes on kitchen counters is another.
If you have a bright south-facing window and you only grow cool-season crops, natural light might be enough. If you start warm-season vegetables in late winter, or you live in a cloudy region, grow lights are the reliable choice. In our research, every serious seed starter we've studied uses artificial light at least as a supplement.
According to the University of Minnesota Extension, even sunny windows often fail to deliver enough intensity during short winter days. That matches what plant physiology data shows: window light rarely meets the daily light integral that vegetable seedlings need. When in doubt, buy a light.
It's cheaper than losing a whole tray of seedlings.
Choosing a Grow Light: LED vs. Fluorescent, Spectrum, and Wattage
If you need grow lights, you'll face a wall of options. Let's simplify.
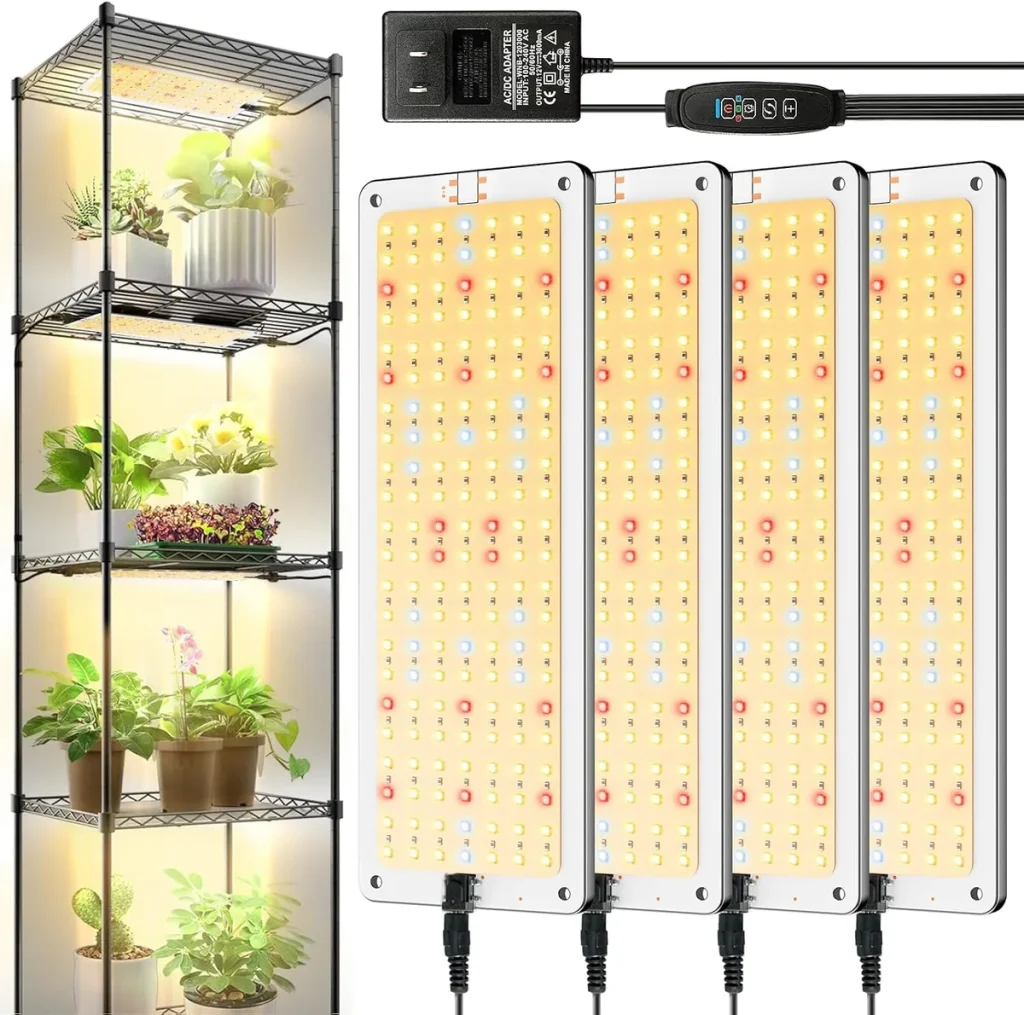
LED fixtures are the default choice as of 2026. They run cool, draw little power, and last tens of thousands of hours. Full-spectrum white LEDs produce light that looks like daylight and supports compact seedling growth.
Red-blue "blurple" lights still exist, but newer full-spectrum panels are easier to judge because plants just look green under them.
Fluorescent T5 fixtures still work well and cost less upfront. They emit plenty of light for seedlings and run cooler than old shop lights. The downsides are shorter bulb life, higher energy use, and more heat, which matters in a small space.
| Spec | Full-Spectrum LED Panel | T5 Fluorescent Fixture |
|---|---|---|
| Upfront cost | Moderate to high | Low |
| Energy use | Very low | Moderate |
| Heat output | Low | Moderate |
| Lifespan | 25,000-50,000 hours | 10,000-20,000 hours |
| Best for | Most indoor seed starting | Budget setups, wider shelves |
What about wattage? For a standard 1020 seedling tray, a quality LED panel drawing 30 to 50 watts from the wall is enough. The "equivalent wattage" marketing numbers are irrelevant.
Look at actual power draw and coverage ratings.
Light spectrum matters, but not as much as you might think. Blue light keeps seedlings compact. Red light supports photosynthesis and future flowering.
Full-spectrum white LEDs include both.
One more thing to check: fixture coverage. Budget panels often claim a huge coverage area, but the usable footprint with strong PPFD is much smaller than advertised. Read the fine print before buying.
The Setup Workflow: Distance, Duration, and Raising the Lights
Once you have a fixture, setup is straightforward. Get the lights running before your seeds germinate. Seedlings need bright light from the moment they emerge.
Here's the step-by-step workflow:
- Set your timer for 14 to 16 hours per day. A digital timer or smart plug makes this automatic.
- Hang the light 2 to 4 inches above the tray for LED panels. Fluorescent fixtures can sit 4 to 6 inches above.
- Turn the light on before seeds sprout. Some growers run it 24/7 until germination, then switch to 16 hours. That's optional.
- Check daily and raise the light as seedlings grow. The goal is to maintain the same gap between the light and the tallest leaves.
- Wipe the fixture clean every couple of weeks. Dust cuts light output noticeably.
Why does distance matter? Light intensity falls off quickly as you move away from the source. At 12 inches away, a panel delivers much less usable light than at 3 inches.
That's why hanging fixtures high above the shelf is a classic mistake.
Duration also matters. Seedlings need a dark period for efficient growth, so don't leave lights on around the clock. A 16/8 schedule (16 hours on, 8 off) is a solid default for most vegetables.
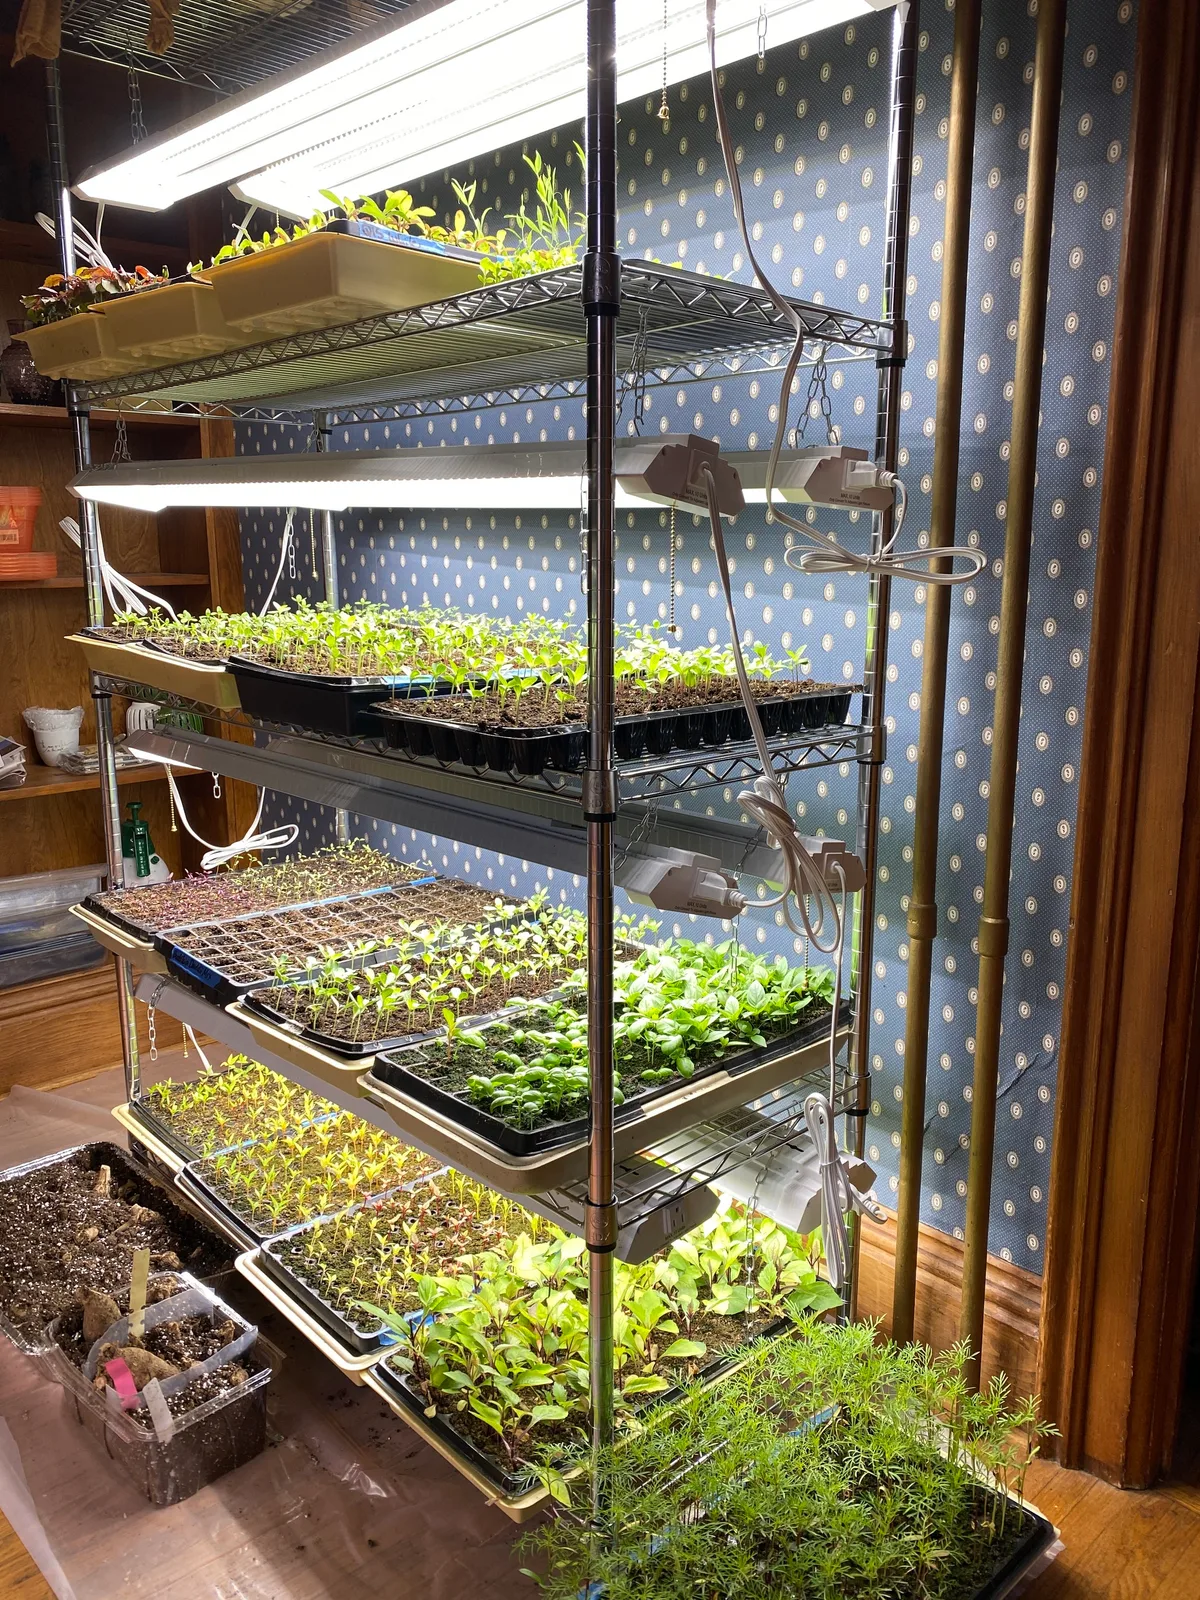
Image source: Web (Bing) / fity.club (Web image (fair-use with source credit))
One final tip: add a reflective surface around your trays. White walls, emergency blankets, or mylar sheeting bounce wasted light back onto the seedlings. It's free and it helps.
Reading the Leaves: Troubleshooting Light Stress
Your seedlings are telling you what they need. Here's how to read the signals.
Pale, yellowing leaves with lanky stems mean too little light. Increase hours, lower the light closer to the leaves, or both. You should see improvement within three to five days.
Bleached white or pale-yellow patches on the leaves mean too much light or the fixture is hanging too close. Raise the light a few inches and monitor new growth.
Seedlings leaning toward one side are getting uneven light. Rotate trays every few days, or position the fixture directly above the plants rather than at an angle.
Short, thick stems with dark green leaves and no stretching? That's a perfect response. Keep doing what you're doing.
Purple or reddish stems are often a cold stress or phosphorus deficiency, not a light problem. Check your room temperature and consider a gentle fan for airflow. Don't chase this with more light.
Slow growth can also be a clue. If your seedlings look healthy but are barely growing, check light duration. A consistent 16-hour photoperiod is standard.
Less than 12 hours will slow many crops to a crawl.
| Symptom | Likely Cause | Fix |
|---|---|---|
| Pale, bending stems | Too little light | Move light closer or add hours |
| Yellow bleached patches | Light too close | Raise fixture |
| Leaning to one side | One-sided light | Rotate tray or recenter fixture |
| Dark green and short | Perfect | Keep the current setup |
Watch the heat too. High-output fixtures, especially older fluorescent models, can raise canopy temperatures and stress seedlings. Monitor the air right above the tray, especially in small enclosed shelves.
Keep the setup well ventilated.
The Seedling Light Cheat Sheet: Crops, PPFD, and Schedules
Not all seedlings need the same light intensity. That's a common trap. People run everything under one generic setup and wonder why their peppers stall while their lettuce thrives.
Here is a practical reference based on what university extension research and aggregate grower data show. Use it as a starting point, then adjust based on what your own seedlings tell you.
| Crop | PPFD Target (µmol/m²/s) | DLI Target (mol/m²/day) | Photoperiod | Notes |
|---|---|---|---|---|
| Tomato, pepper, eggplant | 250-400 | 12-15 | 16 hours | Start at 300 PPFD, increase as true leaves appear |
| Lettuce, kale, chard | 150-250 | 8-12 | 14-16 hours | Low-light tolerant but still benefit from strong light |
| Brassicas (broccoli, cabbage) | 200-350 | 10-14 | 14-16 hours | More light means stronger stems before transplant |
| Basil, cilantro, dill | 200-300 | 10-13 | 16 hours | Herbs stretch fast under weak light |
| Onions, leeks | 200-300 | 10-14 | 14-16 hours | Onion seedlings need consistent light for bulb initiation |
| Flowers (marigold, petunia) | 250-400 | 12-15 | 16 hours | Many flowers are high-light crops, treat like tomatoes |
A few key takeaways from the table. Warm-season vegetables sit at the high end of the PPFD range. They evolved in full sun, and their seedlings respond to bright conditions with stocky growth.
If you can only run one fixture level, aim for 250 to 300 PPFD at canopy height. That serves most crops reasonably well.
Cool-season greens and herbs are more flexible. They still produce better transplants under stronger light, but they tolerate lower levels if you're limited by fixture power or shelf space.
What about the photoperiod? The 16-hour default works for everything in the table. Dropping to 14 hours saves a little energy and still works for greens.
Do not go below 12 hours for any of these crops. That invites stretching.
If you want to measure PPFD without buying a dedicated quantum sensor, a phone light meter app can give you a rough ballpark. It won't be lab accurate, but it helps you spot whether a tray at the edge of your fixture is getting half the light of the center tray.
Frequently Asked Questions
Can I use regular household LED bulbs for seedlings?
Yes, in a pinch. Look for bulbs labeled "daylight" or "5000K" to get the right color spectrum. Standard screw-in LEDs work for a single small tray if you place them within 3 inches of the plants.
They just won't cover much area, so multiple bulbs or a dedicated fixture is better for larger setups.
How close should my grow light be to the seedlings?
For LED panels, start at 2 to 4 inches above the tallest leaves. For T5 fluorescent tubes, 4 to 6 inches. You can lower the light as long as you don't see leaf bleaching or heat stress.
If leaves look pale or white at the top, raise the fixture a few inches and check again the next day.
Do I need a timer for grow lights?
Yes. Consistent photoperiods prevent stress and stretching. A basic 24-hour mechanical timer or a smart plug costs very little.
Set it for 16 hours on and 8 hours off for most vegetable seedlings. Manual operation leads to missed days or inconsistent schedules, and seedlings notice the difference.
Why are my seedlings falling over even with good light?
Check for damping off. This fungal disease attacks stems at soil level, causing them to rot and collapse. It thrives in cool, damp, poorly ventilated conditions.
Improve airflow with a small fan, water from the bottom, and avoid overwatering. Strong light alone cannot fix a damping off problem.
What color light is best for seedlings?
Full-spectrum white light at 5000K to 6500K works best for most home growers. It contains a balanced mix of blue and red wavelengths that support compact growth and photosynthesis. Red-blue "blurple" lights work too, but they make it harder to spot leaf discoloration because everything looks purple under them.
When should I start using grow lights after sowing seeds?
Set up the lights before seeds germinate. Some growers run lights 24 hours a day until the first true leaves appear, then switch to a 16-hour schedule. The moment seedlings break the soil surface, they need strong light.
Waiting even a day or two after germination can cause early stretching that never corrects.