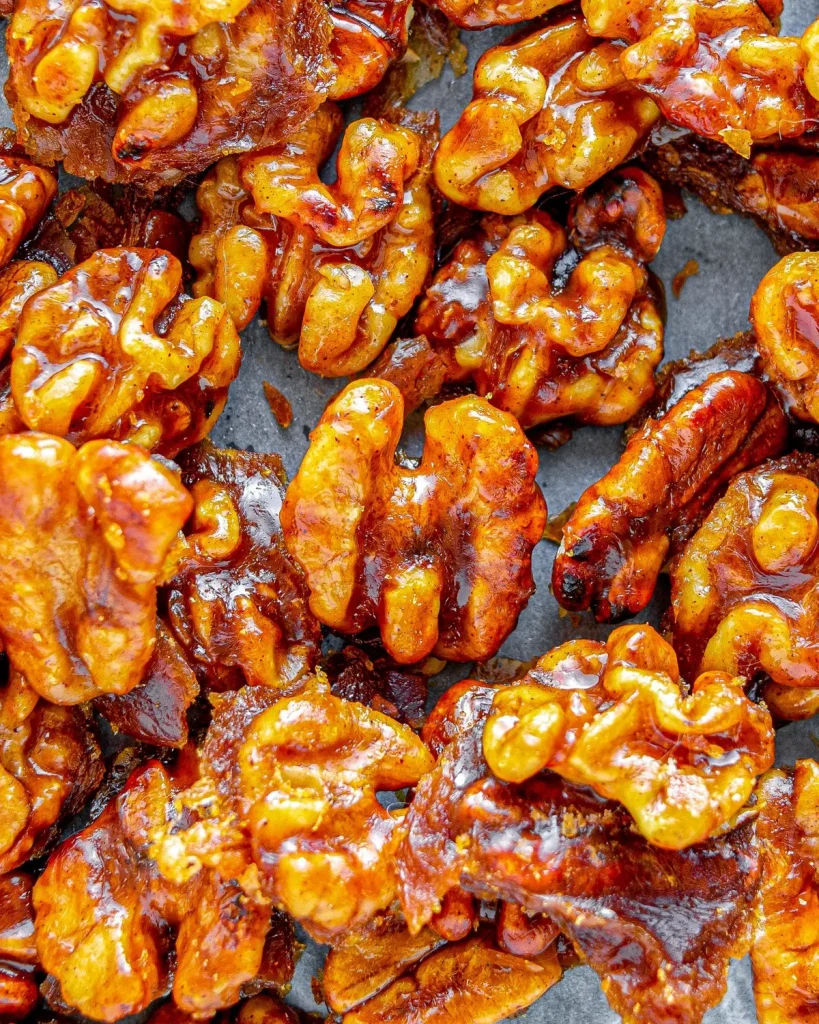
If you've ever tried to make candied walnuts and ended up with a sticky, burnt, or clumped mess, you are not alone. The difference between a perfect glossy coating and a crystallized disaster almost always comes down to what you see, not what a timer tells you. And that is exactly what this guide covers.
Syrup work is visual work. Professional pastry chefs rely on the same color-and-bubble cues used for over a century, and in our research across dozens of user reports and culinary guidelines, the number one variable is heat control combined with a single rule of thumb called the "wooden spoon test." Once you understand what the syrup is telling you, you will nail this recipe every time. Let us walk through it step by step.
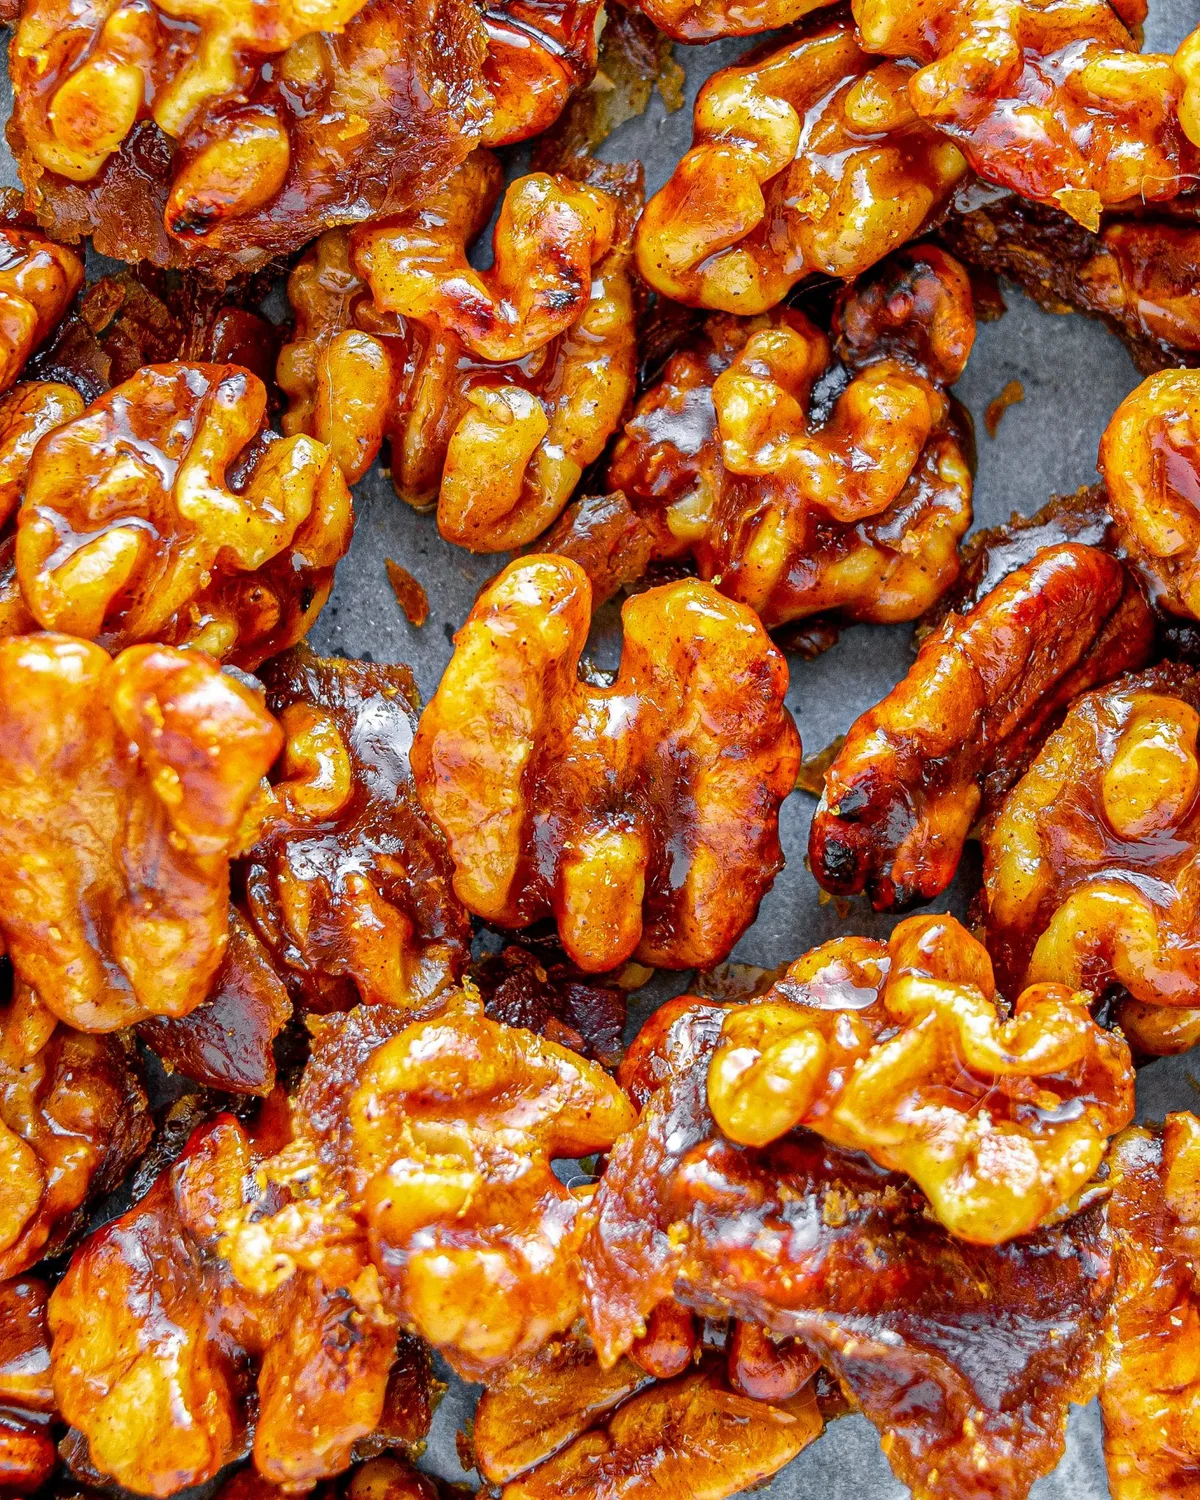
Image source: Web (Bing) / pinterest.com (Web image (fair-use with source credit))
Quick Answer
Boil sugar and water until it reaches 300°F. That is the hard crack stage. Stir in walnuts.
Pour onto parchment. Separate them. Let them cool completely.
Why Candied Walnuts Reward Watching, Not Timers
A clock can not tell you when syrup is ready. A thermometer helps, but even the best candy thermometer has a lag of five to ten degrees. By the time it catches up, your sugar can be over the edge.
That is why visual cues matter so much here. The syrup changes in three distinct ways as it heats up, and each one is easy to spot.
Color shift. Clear syrup turns to a pale straw, then amber, then a deep golden brown. The moment it hits that rich honey shade, you have to act fast.
Bubble behavior. Early on, the bubbles are small and foamy. As water boils off, the bubbles get larger and slower. That is the sign that the sugar is concentrating.
Threading test. Dip a spoon into the syrup and lift it. At the hard crack stage, the syrup forms thin, brittle threads instead of dripping.
Our research shows that cooks who rely on visual markers instead of a fixed time get consistent results on their very first batch. That is because stove power, pan size, and even humidity affect how fast syrup reaches temperature. As of 2026, the most reliable method remains watching the syrup, not the clock.
Syrup Stages: The Color and Bubble Cheat Sheet
Before you put a single walnut near the pan, you need to understand what you are looking for. The table below summarizes the key stages, but the real teacher is a quick test with a bowl of cold water.
Setup for the Water Test
Fill a small bowl with very cold water. As the syrup boils, drip a little into the water with a clean spoon. The behavior of that syrup drop tells you exactly what stage you are at.
The Stages
| Stage | Temperature | Visual Cue | Cold Water Test |
|---|---|---|---|
| Thread (230-235°F) | Clear, thin bubbles | Syrup makes a soft thread that dissolves | |
| Soft Ball (235-245°F) | Slightly thicker, small bubbles | Forms a soft, pliable ball | |
| Firm Ball (245-250°F) | Bubbles grow, syrup thickens | Ball holds shape but is chewy | |
| Hard Ball (250-265°F) | Syrup visibly thickens | Ball is firm but pliable | |
| Soft Crack (270-290°F) | Bubbles large and slow | Syrup separates into brittle threads | |
| Hard Crack (300-310°F) | Deep amber, thick syrupy bubbles | Syrup snaps cleanly; brittle |
For candied walnuts, you want hard crack. That is the stage where the sugar shell stays crunchy and does not get sticky after a day in the pantry.

Image source: Web (Bing) / askanydifference.com (Web image (fair-use with source credit))
What Hard Crack Looks Like in the Pan
The syrup will be deep amber, not dark brown. It will flow like warm honey off a spoon. If you lift that spoon, the syrup will form a thin thread that snaps when you tap it.
That is your go signal.
You should also see large, lazy bubbles across the surface. If the bubbles are still small and fast, the syrup is not ready.
Step-by-Step: How to Make Candied Walnuts on the Stove
This recipe works with raw walnuts halves or pieces. Do not use pre-toasted or salted nuts, because they add extra variables that mess with the sugar coating.
What You Will Need
- 2 cups raw walnut halves
- 1 cup granulated sugar
- 1/2 cup water
- 1 tablespoon unsalted butter (optional, adds richness)
- 1 teaspoon vanilla extract (optional)
- Pinch of salt
- Heavy bottomed saucepan
- Wooden spoon or silicone spatula
- Baking sheet lined with parchment paper
- Bowl of ice water (for the cold water test)
Step 1: Line Your Baking Sheet
Do this before you start cooking. Once the walnuts hit the pan, you have about thirty seconds to get them spread out. You will not have time to find parchment or a spatula.
Step 2: Combine Sugar and Water
Put the sugar and water in the saucepan. Stir gently with your spoon just until the sugar is mostly wet. Do not stir once it starts boiling.
Stirring introduces air and can cause crystallization later.
Step 3: Bring to a Boil
Set the heat to medium high. Let it come to a full rolling boil. You will see small bubbles at first.
Let them grow.
Step 4: Watch the Color and Test Often
After about five to seven minutes, the bubbles will get larger and the syrup will start turning pale gold. Drop a tiny bit into the cold water. If it forms a soft ball that flattens when you press it, you are still in the soft ball stage.
Keep boiling.
When the syrup reaches a deep amber and the cold water test gives you a brittle thread that snaps, you are at hard crack. This is usually around 300°F on a thermometer if you are using one.
Step 5: Add Walnuts and Butter
Remove the pan from the heat immediately. Stir in the butter and vanilla if using. Then pour in the walnuts and stir constantly.
The syrup will start to turn from clear to cloudy and then to a grainy white coating. That is exactly what you want.
Step 6: Spread and Separate
Dump the mixture onto the parchment lined sheet. Use two forks to separate the walnuts quickly. They will clump together as they cool, so work fast.
Spread them in a single layer.
Step 7: Let Them Cool
Do not touch them for at least 15 minutes. The coating needs to harden fully. If you try to move them early, the sugar will smear and stick to everything.
What "Done" Looks Like: Crack Test and Texture Cues
This is where the visual dependent nature of this recipe really shows. A finished candied walnut should have a smooth, glossy shell that is hard to the touch. It should not feel tacky or soft.
The Crack Test
Take one cooled walnut and try to snap it in half. The coating should crack cleanly. You should hear a small snap sound.
If the coating bends instead of snapping, your syrup did not reach hard crack and your walnuts will get sticky within a few hours.
The Sound Test
Drop a cooled walnut on a countertop. A properly done walnut makes a sharp clink, like a small rock. An undercooked walnut makes a dull thud.
The Appearance Test
Look at the surface. A good candied walnut has a slightly translucent coating that catches the light. It should not look white or powdery.
White spots mean the sugar crystallized too early, usually because the syrup was not hot enough or because you stirred it after it started boiling.
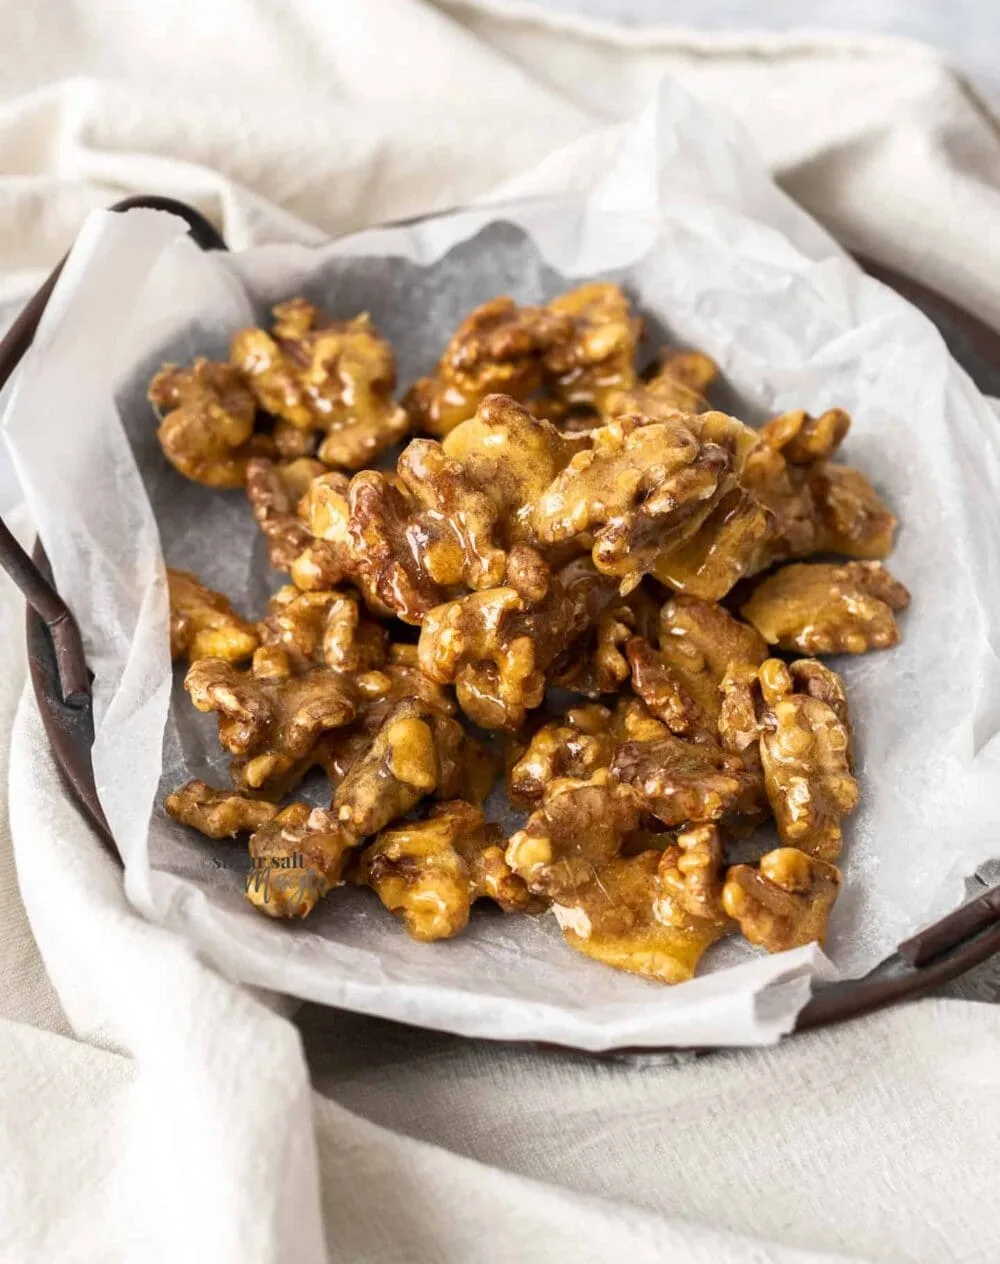
Image source: Web (Bing) / sugarsaltmagic.com (Web image (fair-use with source credit))
Common Results and What They Mean
| Result | Likely Cause | Fix Next Time |
|---|---|---|
| Soft, sticky coating | Syrup only reached soft or firm ball | Boil longer and test with cold water |
| Hard but cloudy white coating | Crystallization from stirring early | Stop stirring once syrup boils |
| Burnt, bitter coating | Syrup exceeded hard crack | Pull off heat sooner; check color |
| Coating separates from walnut | Syrup too thick or pan too hot | Lower heat slightly and stir gently |
| Walnuts stuck in one big clump | Did not separate fast enough | Work quicker; spread thinner layer |
If you find yourself with a batch that is halfway there but just slightly soft, you can reheat the coated walnuts in a 300°F oven for five minutes to drive off extra moisture. This works as a rescue but it is not as reliable as getting the syrup right the first time.
Common Candied Walnut Mistakes: Sticky, Burnt, Cloudy, and Clumped
Even experienced cooks hit these four problems. Here is what causes each one and how to fix it next time.
Sticky Walnuts That Never Dry
This is the most common complaint by a wide margin. If your walnuts are tacky hours after cooling, your syrup did not reach the hard crack stage. The sugar still holds too much water.
The fix is straightforward: boil the syrup longer and use the cold water test before you add the nuts.
Another reason for sticky walnuts is high humidity. Sugar is hygroscopic, meaning it pulls moisture from the air. If you are cooking on a rainy summer day, the coating can soften overnight.
Store them in an airtight container with a silica gel packet if you live in a humid climate.
Burnt Sugar That Tastes Bitter
Burnt syrup happens fast. The window between perfect hard crack and scorched sugar is roughly thirty seconds. Once the syrup turns dark brown or starts smoking, it is ruined.
There is no saving it.
To avoid this, lower your heat slightly as the syrup approaches the hard crack stage. This slows the final climb and gives you more time to react. Also, use a heavy bottomed pan that distributes heat evenly.
Thin pans create hot spots that burn sugar in one area while the rest is still undercooked.
Cloudy White Coating Instead of Glossy
A translucent, glossy shell is the hallmark of well made candied walnuts. If yours come out looking white and powdery, the sugar crystallized before it could coat the nuts evenly.
Crystallization happens when you stir the syrup after it starts boiling. It also happens if sugar crystals from the side of the pan fall back into the liquid. Use a wet pastry brush to wipe down the inside of the pan just above the syrup line before it boils.
That prevents stray crystals from seeding the whole batch.
One Solid Clump Instead of Separate Walnuts
This mistake usually comes down to speed. When you pour the coated walnuts onto the parchment, you have about twenty to thirty seconds to separate them before the sugar sets. If you hesitate, they fuse into a single slab.
Working with two forks lets you pull them apart quickly. Some cooks prefer to spread the nuts in a very thin layer and then shift them around every few seconds until they stop moving. The key is to keep them moving until the sugar firms up.
How to Store Candied Walnuts (And Revive Soft Ones)
Proper storage makes the difference between a snack that lasts two weeks and one that goes soft in two days.
The Right Container
Airtight is non-negotiable. Use a glass jar with a rubber seal or a plastic container with a snap lid. Avoid paper bags, open bowls, or any container that lets air circulate.
The Right Environment
Keep them at room temperature in a cool, dark spot. A pantry or kitchen cabinet away from the stove works well. Do not refrigerate them.
The refrigerator introduces moisture that softens the coating. Freezing is possible but risky because condensation forms when you thaw them.
Shelf Life Expectations
At room temperature in an airtight container, candied walnuts stay crunchy for two to three weeks. After that, the coating starts to absorb ambient moisture and soften gradually. They are still safe to eat, just less satisfying.
How to Revive Soft Candied Walnuts
If your batch goes soft, do not throw them out. Spread them on a baking sheet and put them in a 300°F oven for five minutes. Let them cool completely.
This drives off the absorbed moisture and restores much of the original crunch.
This works once. Reheating a second time tends to make the sugar taste caramelized and slightly different from the original.
Frequently Asked Questions
Why did my candied walnuts turn white?
That white coating is crystallized sugar. It happens when the syrup is stirred after it starts boiling or when sugar crystals from the pan fall back into the liquid. Wipe down the pan sides with a wet brush before boiling to prevent this.
Can I use maple syrup or honey instead of sugar?
Yes, but the texture changes. Honey and maple syrup contain invert sugars that stay softer than granulated sugar. The coating will be chewier and more likely to get sticky.
If you want a crunchy result, stick with granulated sugar.
How do I know when the syrup is at hard crack without a thermometer?
Use the cold water test. Drop a small amount of syrup into a bowl of ice water. If it forms a brittle thread that snaps cleanly when you bend it, you have reached hard crack.
If it bends or stays soft, keep boiling.
Why are my walnuts clumped together in one big piece?
You waited too long to separate them after pouring them onto the parchment. The sugar sets in about thirty seconds. Use two forks to pull them apart immediately.
Spread them in a thin single layer before the coating hardens.
Can I make candied walnuts in the oven instead of on the stove?
Yes, but the result is different. The oven method uses an egg white coating that bakes into a crisp shell. It is easier and less prone to burning, but the texture is lighter and airier.
The stovetop method gives a denser, glassier, more traditional candy shell.
How long do homemade candied walnuts last?
Stored in an airtight container at room temperature, they stay crunchy for two to three weeks. Keep them away from heat and humidity. Do not refrigerate them, as moisture will soften the coating.
Flavor Variations: From Cinnamon to Spicy
The base recipe is a blank canvas. Once you have the hard crack method down, you can push the flavor in any direction. The syrup itself stays the same; you just add extras at the right moment.
Cinnamon sugar walnuts. Add 1 teaspoon ground cinnamon and a pinch of nutmeg to the sugar before it boils. The spice dissolves into the syrup and coats every nut evenly.
Spicy cayenne walnuts. Stir in 1/2 teaspoon cayenne pepper and 1/4 teaspoon smoked paprika with the butter. The heat hits after the sweetness fades, which makes them dangerously easy to keep eating.
Vanilla bean walnuts. Use the seeds from half a vanilla bean instead of extract. Add them right after you pull the pan off the heat. The syrup stays clear, and the coating looks almost glassy.
Rosemary and brown sugar. Swap half the granulated sugar for brown sugar and add 1 tablespoon finely chopped fresh rosemary. The brown sugar adds a deeper, almost caramel note.
Maple and sea salt. Replace the water with maple syrup and finish the cooled walnuts with a sprinkle of flaky sea salt. The maple version is slightly softer, so store it in a very dry place.
When to Add Your Flavor
Extracts and spices go in after you remove the pan from the heat. That prevents them from burning. Dried spices can go in earlier with the sugar, but whole seeds like rosemary should be added with the butter so they soften slightly.
Ways to Use Candied Walnuts Beyond Snacking
These are not just a holiday snack. Candied walnuts are a genuinely useful kitchen staple once you have a batch on hand.
Salads. A handful of candied walnuts turns a basic spinach and goat cheese salad into something special. The crunch lasts through the whole bowl if you add them just before serving.
Cheese boards. Pair them with sharp cheddar, blue cheese, or brie. The sweetness balances the salt and funk of aged cheese. Add dried figs and roasted grapes for an easy upgrade.
Oatmeal and yogurt. Chop them roughly and sprinkle over overnight oats or plain Greek yogurt. They add texture and replace the need for extra syrup or honey.
Baked goods. Fold crushed candied walnuts into brownie batter, muffin tops, or banana bread right before baking. The sugar melts slightly and leaves pockets of nutty caramel.
Gifts. Pack them in a glass jar with a ribbon. They keep for two to three weeks, so they are a practical homemade present for the holidays.
Ice cream topping. Crush them into smaller bits and use them like a praline topping. They stay crunchy when they hit cold ice cream, unlike fresh nuts that get soft.