If you've ever watched a beautiful sweet potato vine turn into a sad black mess after the first frost, you know why overwintering sweet potato vine is worth the effort. That lush trailing foliage you babied all summer doesn't have to die. You can keep it alive through winter and have a head start next spring.
Two main methods work reliably, and the right choice depends on your setup. Proper storage temperature for dormant tubers sits between 55 and 60 degrees Fahrenheit, according to university extension guidelines. That specific range stops rot while preventing premature sprouting.
Let's walk through what actually works.
Quick Answer
Overwintering sweet potato vine means keeping your plant alive through cold months. Dig up the tubers before frost. Store them in cool damp peat moss at 55 to 60 degrees.
Or take stem cuttings in fall, root them in water, and grow them indoors under a bright window. Both methods work. Pick the one that fits your space.
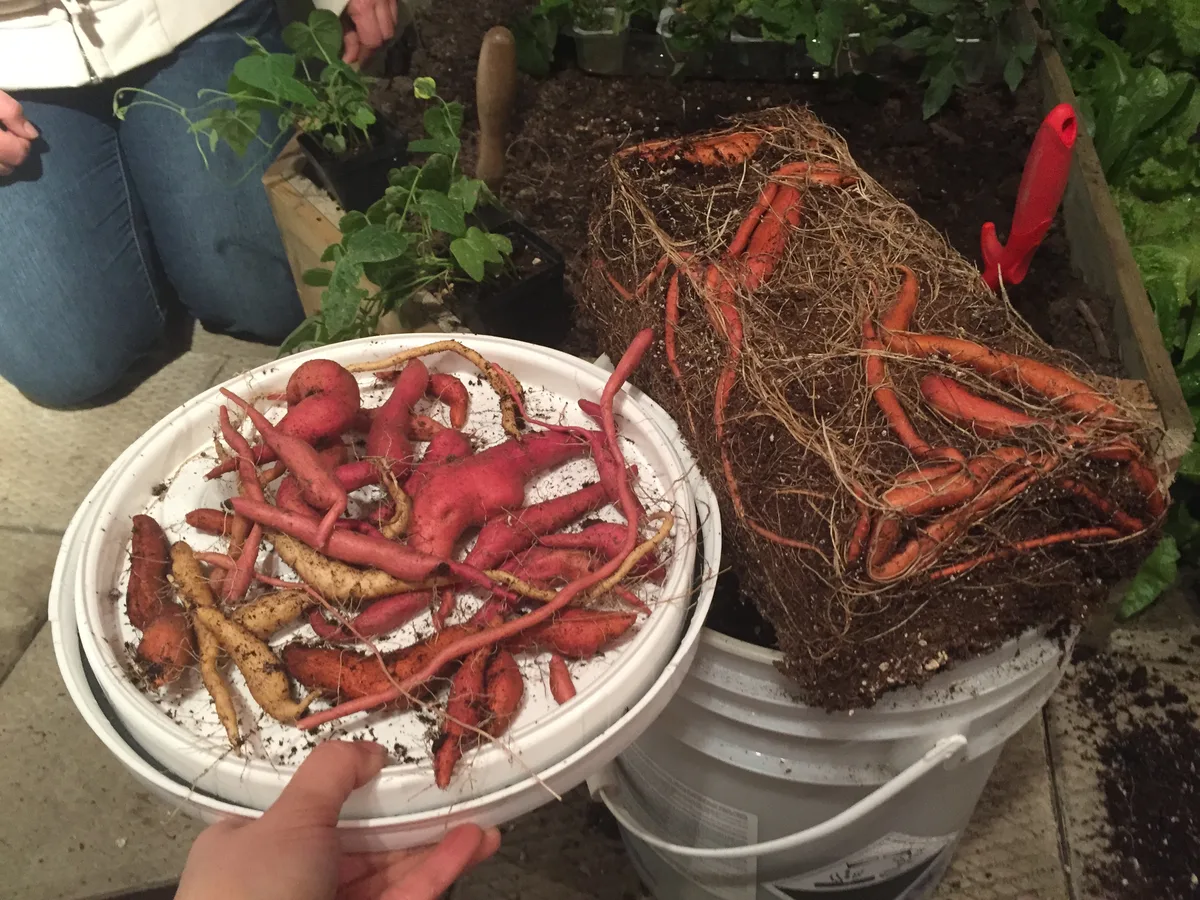
Image source: Web (Bing) / fity.club (Web image (fair-use with source credit))
The Real Problem: Frost Kills Sweet Potato Vines
Sweet potato vine is a tropical plant. It has zero tolerance for freezing temperatures. The moment the thermometer dips below 32 degrees, those beautiful leaves turn to water-soaked mush.
The stems collapse. Within a day, the whole plant is dead.
First frost dates are the hard deadline. You need to act before that night arrives. In a typical year, the first frost in USDA zone 5 hits between mid September and early October.
Zone 7 gets a bit more time, usually late October. If you are in zone 9 or warmer, your vine might survive outdoors as a perennial. Everyone else needs an overwintering plan.
The problem catches a lot of gardeners off guard. A warm fall tempts you to wait. Then an unexpected cold front rolls in, and your plant is toast.
This is not a subtle risk. One night below freezing wipes out every unprotected vine.
Another issue is size. Sweet potato vines grow aggressively. By September, they can trail eight feet or more.
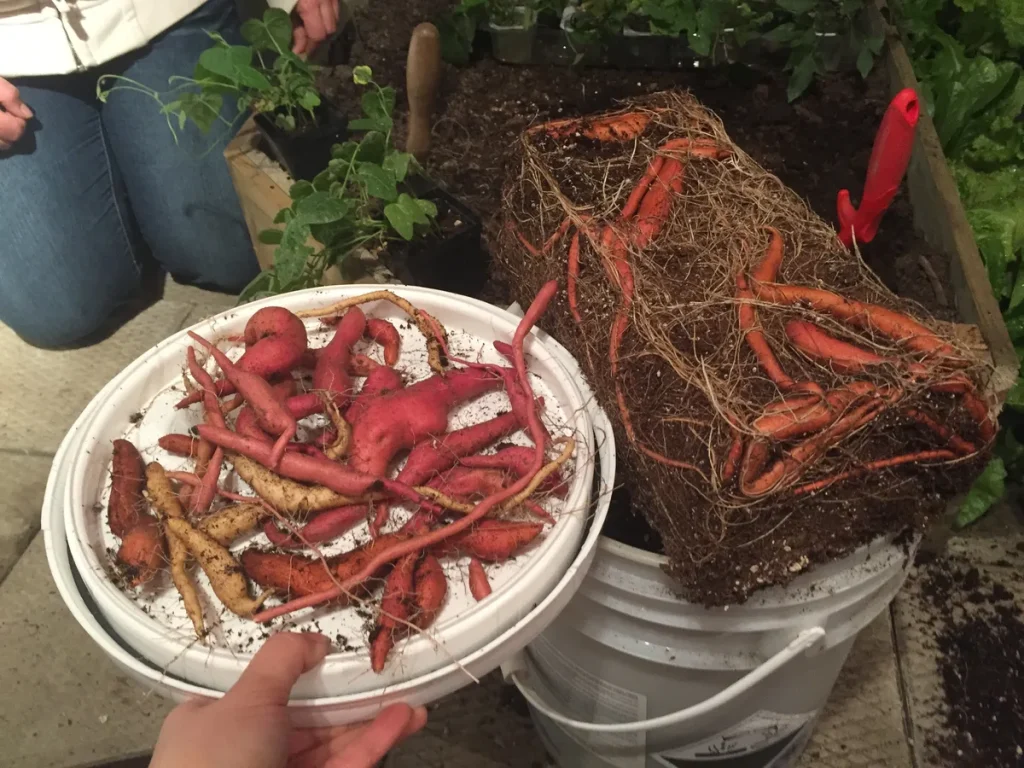
Digging up the entire root system feels like an archaeological dig. But you do not need the whole plant. The important part is the tuberous roots.
Those roots are where the plant stores energy. They look like small sweet potatoes, often about the size of your thumb or a pencil. If you save those, you save the plant.
The foliage is irrelevant once you dig.
Aggregate reviews from cooperative extension services confirm that proper timing is the single most important factor. Dig too early and the tubers have not stored enough energy. Dig too late and the frost kills them.
The sweet spot is after a light frost has blackened the leaves, but before a hard freeze hits the ground.
Understanding this deadline sets the stage for everything else. You cannot overwinter what is already dead. The first section of our decision tree starts with your local date.
Three Conditions That Decide Your Best Overwintering Method
Not every gardener has the same resources. Your home, your climate, and your time all matter. The decision tree depends on three main conditions.
Condition one: your winter storage space. Do you have a cool basement that stays between 55 and 65 degrees? An unheated garage that does not drop below freezing? A root cellar?
If you have a dark, cool, humid spot, storing dormant tubers is the easiest path. If you live in an apartment with no basement and a warm drafty hallway, you need another plan.
Condition two: your indoor light situation. To keep cuttings alive through winter, you need consistent bright light. A south facing window that gets at least six hours of indirect sun works. Grow lights are even better.
If your home is dark in winter and you are not willing to run artificial lights, do not choose the cutting method. You will end up with leggy pale vines that die in February.
Condition three: how many plants you want next spring. Storing tubers is efficient for volume. One set of tubers can produce multiple slips in spring. If you want to fill a whole garden bed, that is the method.
Cuttings are better if you only need a few plants and want them to look good immediately. A rooted cutting planted in spring already has foliage and a head start.
Here is a quick comparison table for the three conditions:
| Condition | Fits Tuber Storage | Fits Cuttings | Neither |
|---|---|---|---|
| Cool dark space (55-60°F) | Yes | No | No |
| Bright window or grow light | No | Yes | No |
| Want many plants in spring | Yes | No | No |
| Want instant mature plants | No | Yes | No |
| Warm house, no cool spot | No | Yes | No |
| No light, no cool spot | No | No | Yes |
If you fall into the "neither" column, you still have options. Some gardeners trade with friends. Others store tubers in a spare refrigerator, which can work if you set it to the warmest setting.
The third column just means more creativity.
Our research shows that the biggest mistake people make is ignoring these conditions. They choose a method because it sounds easy, then find out their basement is too warm or their windows are too dark. Match the method to your reality.
Decision Tree: Choose Your Path Based on Your Situation
This is the core of our approach. Answer the questions below and follow the branch that matches your situation.
Question one: do you have a cool storage spot between 50 and 65 degrees? A spot like an unheated basement, crawl space, root cellar, or attached garage that stays above freezing. If yes, move to question two. If no, skip to question three.
Question two: can you keep the humidity high? Dormant tubers shrivel in dry air. You need at least 60 percent humidity. A pile of damp peat moss inside a plastic bin works well.
If you can keep things humid, choose tuber storage (Path One). If your cool space is very dry and you cannot maintain humidity, consider cuttings instead.
Question three: do you have a bright indoor location? A south or west window with six or more hours of indirect light. Or a grow light setup. If yes, choose cuttings (Path Two).
If no, you might still store tubers in a creative spot, like a Styrofoam cooler in a cold pantry.
Question four: do you want a head start in spring? Both methods give you a head start. But cuttings produce an instant full vine. Tubers take a few weeks to sprout after potting.
If you want instant gratification, choose cuttings. If you want volume, choose tubers.
Here is a simplified flowchart text:
- Cool storage available + can keep humid = Path One
- Cool storage available but low humidity = Path Two
- No cool storage + bright indoor spot = Path Two
- No cool storage + no bright spot = try to create one, or trade with a friend
- Want many plants cheap = Path One
- Want instant established plants = Path Two
Follow the combination that fits your real space. Do not fake it. If you have a warm house and no basement, do not try to store tubers in a closet.
They will rot or sprout too early. Honest assessment of your conditions saves you from dead plants and wasted effort.
The next two sections give you the full step by step for each path. Read the one that matches your decision. Or read both if you want to understand the tradeoff.
Path One: How to Store Dormant Tubers Over Winter
This is the classic method. It works for most gardeners with a cool basement or garage. The plant goes dormant, sleeps through winter, and wakes up in spring ready to grow.
When to dig
Wait until the first light frost kills the foliage. Those blackened leaves are your signal. The plant has started sending energy to the roots.
Now dig before a hard freeze turns the ground solid. Usually within a week of that first frost is perfect.
How to dig and prep
Cut the vines back to about four inches from the soil. Use a garden fork or shovel to gently lift the root clump. Sweet potato vine roots are shallow but brittle.
You want to avoid slicing through the tubers.
Brush off the loose soil. Do not wash them. Water promotes rot during storage.
Let them cure for a few hours in a dry spot if the surface feels damp. But skip the long curing process used for edible sweet potatoes. Ornamental vines do not need it.
Small tubers thinner than a pencil often dry out and die. Focus on the thumb sized and larger ones. You can save the tiny ones, but do not count on them.
Packaging for storage
Grab a cardboard box or a plastic storage bin with ventilation holes. Add a two inch layer of slightly damp peat moss, vermiculite, or sand. The medium should feel moist but not wet.
Squeeze a handful. A few drops of water are okay. Running water means too wet.
Place the tubers in a single layer. Do not let them touch each other if possible. Cover with another few inches of the same medium.
Repeat layers if you have many tubers.
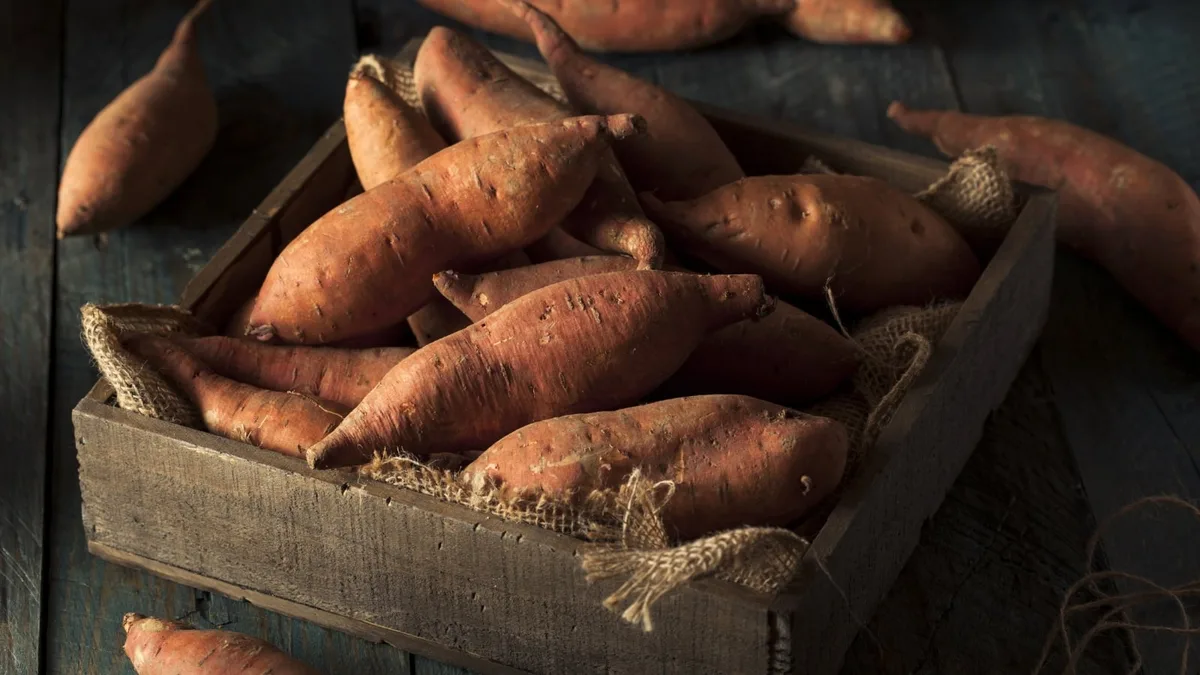
Image source: Web (Bing) / epicgardening.com (Web image (fair-use with source credit))
Where to store
The ideal spot stays between 55 and 60 degrees Fahrenheit. Dark and humid. An unheated basement near the interior wall works well.
Garages can work if they stay above freezing. Monitor the temperature during cold snaps.
Monthly checkup
Open the container once a month. Remove any tubers that look soft, mushy, or smell bad. That rot can spread.
Also check for shriveling. If they look dry, mist the medium lightly. If they look wet, leave the lid off for a day to dry out.
Spring wake up
About four to six weeks before your last frost date, pull the tubers out. Pot them in regular potting soil. Keep the container in a warm bright spot.
Water lightly. Within two to three weeks, sprouts will emerge. Cut them into slips once the leaves open.
Or just plant the whole tuber outside after frost.
USDA guidelines on root storage temperatures confirm this range works for ornamental Ipomoea batatas. The USDA Plant Hardiness Zone Map helps you find your frost dates and see if your zone supports outdoor overwintering.
Path Two: How to Root Cuttings and Keep Vines Growing Indoors
This method is great for gardeners without a cold storage spot. You keep the plant growing right through winter. It stays green and happy on a windowsill.
The tradeoff is that you need to provide consistent light and care.
When to take cuttings
Do this before the first frost. A week or two before the predicted date works well. The plant should still be healthy and vigorous.
Do not wait until the leaves are damaged.
How to take cuttings
Find the tips of the vines. Look for stems that are green and firm, not woody. Cut a four to six inch piece just below a leaf node.
Remove the leaves from the bottom half of the cutting. Leave a few leaves on the top.
You can root them in water or directly in moist potting mix. Water is easier to monitor. Place the cuttings in a clean jar of room temperature water.
Only the bare stem should be submerged. Leaves above the water line.
Where to root
Set the jar on a bright windowsill. South or west facing windows work best. Change the water every few days to keep it clear and oxygenated.
Within about ten days, you should see small white roots emerging. Two weeks and you have a solid root system.
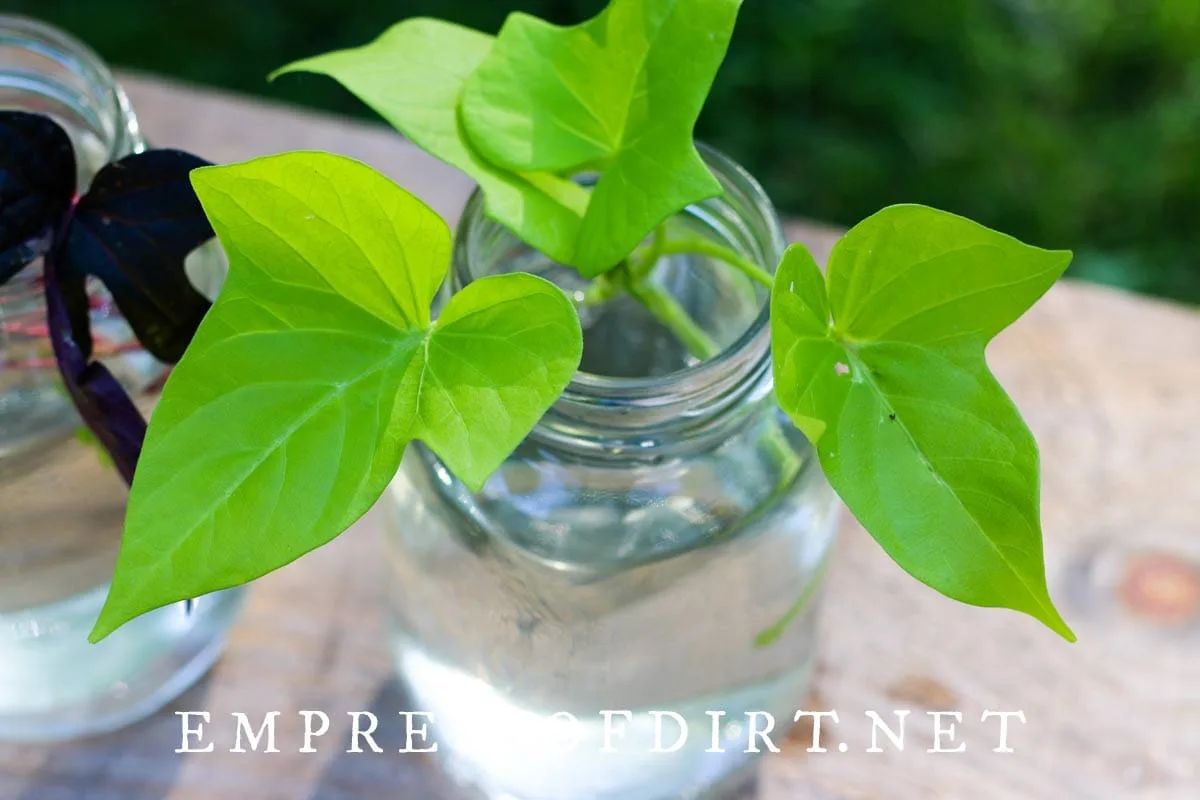
Image source: Bing (Web (fair-use with source credit))
Potting up
Once the roots are one to two inches long, move each cutting into a small pot with standard potting mix. A four inch pot is plenty. Water it in and keep the soil lightly moist.
Do not let it stay soggy.
Growing through winter
Place the potted cuttings in the brightest spot you have. If your winter days are short and gray, consider a simple LED grow light. Twelve to fourteen hours of light per day keeps the vine compact and happy.
Without enough light, the stems stretch thin and the leaves get pale.
Pinch back the growing tips every few weeks. This encourages branching and keeps the plant full. Sweet potato vine grows fast even in winter.
You will need to trim it back a few times to avoid a wild mess.
Water and humidity
Indoor air in winter is dry. You might need to mist the leaves or set the pot on a pebble tray with water. Water when the top inch of soil feels dry.
Overwatering is a common killer. Let the pot drain fully after each watering.
Transition back outside
About two weeks before your last frost date, start hardening off the plants. Move them outside for a few hours each day in a shady spot. Gradually increase exposure to sun and wind.
After the last frost, plant them in the garden or their final containers.
Aggregate reviews from cooperative extension services indicate that cuttings rooted in fall produce plants that flower earlier than those grown from stored tubers. If you want early color, this is your method.