You bought a peperomia because it looked easy. Now the leaves are yellowing and you're not sure why. That's the thing about peperomia care: it rewards a light touch, and most of us start by giving too much.
Peperomias store water in their thick, waxy leaves. This makes them closer to succulents than to typical tropical houseplants. Aggregate research from university extension services shows that overwatering is the primary cause of peperomia death.
The soil needs to dry out between waterings, often more than you'd expect. Let's walk through the exact conditions that tell you when to water and when to leave it alone.
Quick Answer
Water peperomia when the top 1-2 inches of soil are dry. Place it in bright indirect light. Use a well-draining soil mix with perlite.
Keep temperatures between 60-80°F. Overwatering is the most common mistake. This plant thrives when left alone.
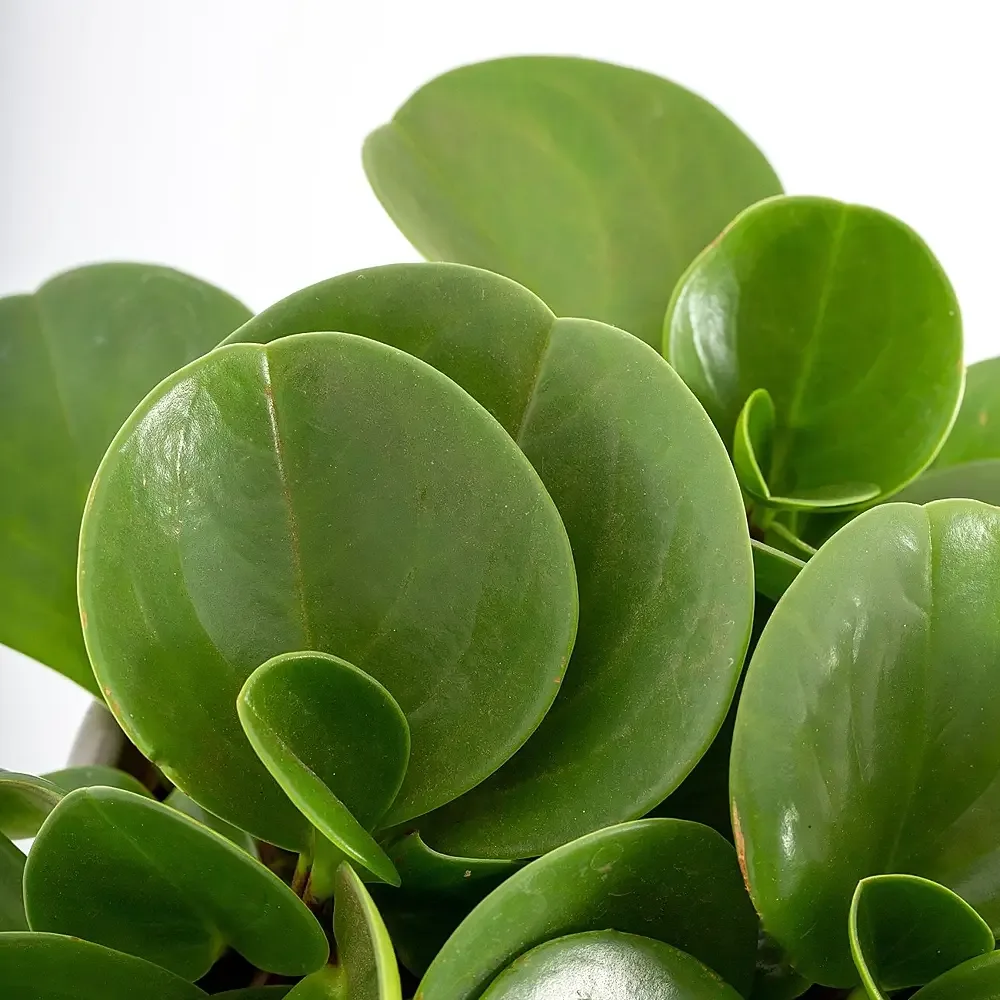
Image source: Bing (Web (fair-use with source credit))
Peperomia Care: What You Need to Know Before You Water
Peperomias grow differently than most common houseplants. In their native tropical Americas, they cling to tree bark and rock crevices. Their roots are shallow and designed to grab moisture from rain and humid air.
They are not built to sit in wet soil for days.
This is why the standard advice for many houseplants "keep the soil evenly moist" is the wrong approach here. A peperomia's thick leaves store water just like a succulent would. The soil needs to drain fast and dry out between waterings.
Treat it like a fern or a peace lily, and you will end up with yellow leaves and mushy roots.
Think of it this way: you're not growing a thirsty tropical plant. You're growing a succulent-adjacent epiphyte that evolved to survive periods of dryness. The Alabama Cooperative Extension System notes that epiphytic plants benefit from potting mixes that mimic their native growing conditions.
That means air, bark, and perlite instead of heavy garden soil.
Our research consistently shows that people who kill peperomias almost always overwater them. The fix is simple: wait longer between waterings and feel the soil before you pour.
The 3 Conditions That Change Every Peperomia Decision
There is no universal watering schedule for peperomias. Three variables determine how often yours needs water, and they shift throughout the year.
Light level. More light means the soil dries faster. A peperomia on a bright east-facing windowsill might need water every 7 days. One sitting in a darker corner might go 14 days or more between waterings.
Check your specific exposure.
Pot material. Terra cotta is porous and pulls moisture away from the soil. Plastic and glazed ceramic pots hold moisture much longer. This one variable can shift your watering schedule by nearly a full week.
Move a peperomia from plastic to terra cotta and you will need to water more often.
Season. Peperomias grow actively in spring and summer. They slow down in fall and winter when the light drops. During colder months, the plant uses less water and the soil stays damp longer.
Reduce your watering frequency by roughly half in winter.
Use these three conditions together. A peperomia in terra cotta with bright light in summer dries fast. One in plastic in low light during winter stays wet for weeks.
Your unique schedule depends on where your plant lives.
Watering Peperomia: The Decision Branch That Saves or Kills It
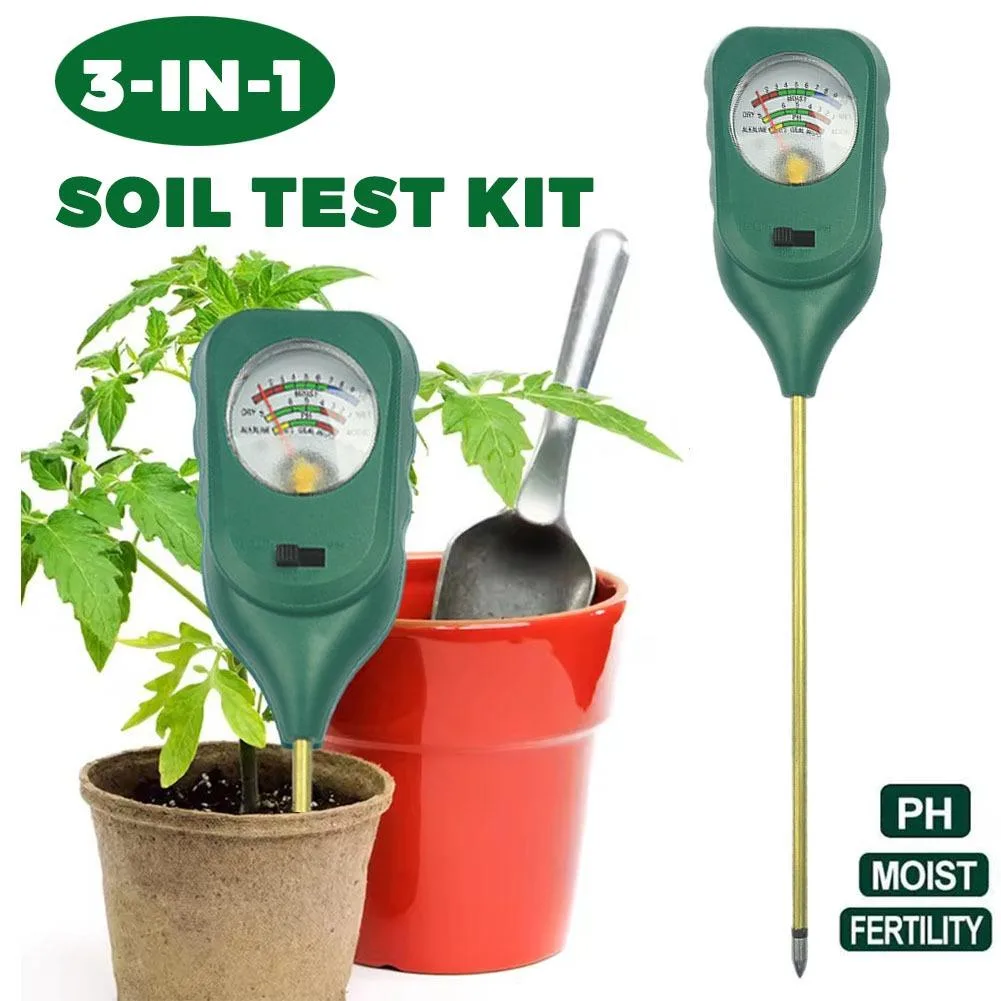
Image source: Bing (Web (fair-use with source credit))
The single most useful tool for peperomia care is a moisture meter. It removes the guesswork. But your finger works just fine.
The rule is simple: do not water until the top 1 to 2 inches of soil are completely dry.
Here is the decision path to follow.
If the soil is wet at 1 inch deep, do nothing. Check again in 3 to 4 days.
If the soil is barely damp at 1 inch, wait. Check again in 2 days. Peperomias handle dryness better than sogginess.
If the soil is dry at 2 inches deep, water thoroughly. Use room-temperature water. Water until it runs out the drainage holes, then empty the saucer.
Never let the pot sit in standing water.
If the leaves are wrinkled or curled, check the soil first. Wrinkled leaves can mean underwatering. But they can also mean overwatering has damaged the roots.
If the soil is bone dry, water. If it is wet, you have root rot and need to act fast.
Bottom watering works well for peperomias. Place the pot in a tray of water for 15 to 20 minutes. The roots draw water up from below.
This keeps the topsoil dry and reduces the risk of fungus gnats.
Light, Location, and Variety: Choosing the Right Spot for Your Peperomia
Peperomias want bright indirect light. That means a spot near a window where direct sun never hits the leaves. An east-facing window is ideal.
A north-facing window works well. A south or west window needs to be set back a few feet or filtered through a sheer curtain.
Here is what happens when the light is wrong.
Too little light. The stems stretch and get leggy. The leaves space out along the stem instead of forming a tight clump. Variegated varieties lose their pattern and turn solid green.
If you see this, move the plant closer to a window.
Too much direct sun. The leaves develop pale, bleached patches. Variegated varieties burn fastest. Leaves may curl or develop brown crispy edges.
Pull the plant back or add a sheer curtain.
Different varieties have slightly different tolerances. Peperomia obtusifolia and Peperomia caperata handle lower light reasonably well. Peperomia argyreia needs brighter conditions to keep its silver pattern.
Peperomia prostrata thrives under strong indirect light but needs consistent humidity.
Choose your location based on the variety you have. If you are not sure, start with medium bright indirect light and watch the plant. It will tell you if the spot is wrong within two to three weeks.
Soil, Pots, and Repotting: Building a Root System That Can Breathe
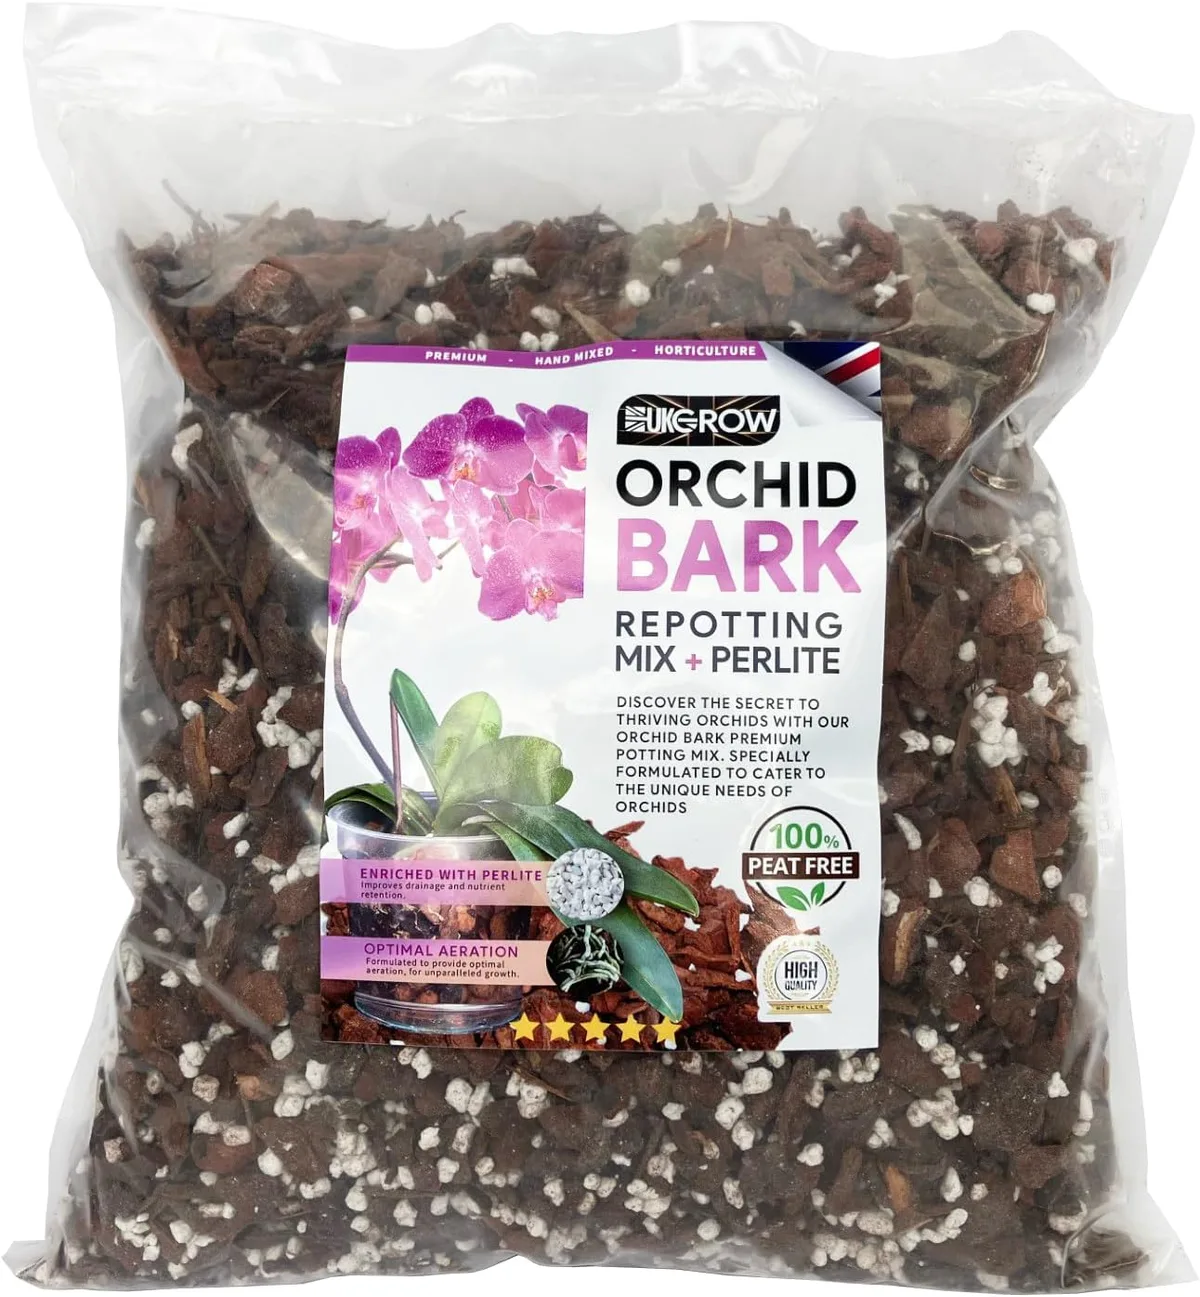
Image source: Bing (Web (fair-use with source credit))
Standard potting soil is too heavy for peperomias. It holds too much water and suffocates the shallow roots. The goal is a mix that drains fast while holding just enough moisture for the plant to drink.
A good peperomia soil blend is simple. Mix two parts standard potting soil with one part perlite and one part orchid bark. This creates air pockets between particles so the roots can breathe.
Skip any mix with added moisture-retaining crystals. They work against the plant.
Pot choice matters as much as what goes inside it. Terra cotta is the safest option for beginners. It wicks moisture away from the roots and dries faster than any other material.
Plastic and glazed ceramic pots work too but require more careful watering. Always use a pot with drainage holes. No exceptions.
Repot every two to three years, or when roots circle the bottom of the pot. Only go up one pot size, about 1 to 2 inches wider. A bigger pot holds more soil, which stays wet longer and increases the risk of rot.
Spring is the best time to repot, just before the growing season starts.
The ASPCA lists peperomia as non-toxic to cats and dogs, making it a safe choice for pet owners. You can check their full database online if you have concerns about any houseplant.
What's Wrong With My Peperomia? A Quick Diagnostic Workflow
Most peperomia problems show up in the leaves first. Here is a simple workflow to identify the issue based on what you see.
Yellow leaves. This usually means overwatering. Check the soil. If it is damp, skip watering for at least a week.
Let the pot dry out fully before your next water. If the soil is dry, the yellowing could be natural leaf aging at the bottom of the plant.
Curling or wrinkled leaves. This signals water stress. If the soil is bone dry, the plant is thirsty. Water thoroughly and it should recover within a day or two.
If the soil is wet, the roots are damaged and cannot absorb water. You may need to repot and trim away rotted roots.
Leggy growth with widely spaced leaves. The plant needs more light. Move it closer to a window. Rotate the pot every week so all sides get even exposure.
Brown crispy leaf edges. This points to low humidity or fertilizer burn. Group your peperomia with other plants to raise humidity. If you have been fertilizing recently, flush the soil with clean water.
Black mushy stems. This is advanced root rot. The plant needs immediate action. Remove it from the pot, cut away all soft roots and stems, and repot in fresh dry soil.
Dropping leaves. Temperature stress is the most common cause. Check for cold drafts from windows or air conditioning vents. Move the plant to a more stable spot away from temperature swings.
Use this table as a quick reference.
| Symptom | Likely Cause | Action |
|---|---|---|
| Yellow leaves | Overwatering | Let soil dry out |
| Curling leaves | Water stress | Check soil moisture |
| Leggy growth | Low light | Move to brighter spot |
| Brown edges | Low humidity or fertilizer burn | Increase humidity, flush soil |
| Black stems | Root rot | Repot in fresh soil |
| Leaf drop | Temperature stress | Move away from drafts |
Maintenance and Propagation: Keeping Your Peperomia Full and Healthy
Peperomias do not need much maintenance. A few small habits keep them looking their best year after year.
Pruning. Trim away yellow or damaged leaves at the base. Pinch back long stems just above a leaf node. This encourages bushier growth and keeps the plant compact.
Use clean scissors to prevent spreading disease.
Cleaning. Dust collects on the thick leaves and blocks light absorption. Wipe each leaf with a damp cloth every few weeks. This is also a good time to check for pests like mealybugs hiding in the leaf joints.
Fertilizing. Feed once a month during spring and summer only. Use a balanced liquid houseplant fertilizer diluted to half strength. Stop fertilizing completely in fall and winter when growth slows down.
Propagation. Peperomias are among the easiest houseplants to propagate. You have two reliable methods.
Leaf cuttings work for most varieties. Cut a healthy leaf with about an inch of stem attached. Let the cut end dry for a few hours to callus over.
Place it in moist potting mix and cover with a plastic bag to create humidity. Roots appear in 4 to 6 weeks.
Stem cuttings work best for trailing varieties like Peperomia prostrata. Cut a 3 to 4 inch piece of stem with several leaves. Remove the lower leaves and place the stem in water or soil.
Change the water weekly if rooting in water. Pot up when roots reach about an inch long.
Peperomia Care FAQs
How often should I water my peperomia?
There is no fixed schedule. Water when the top 1 to 2 inches of soil are dry. This might be every 7 days in summer and every 14 days in winter.
Always check the soil with your finger or a moisture meter before watering.
Why are my peperomia leaves turning yellow?
Yellow leaves almost always mean overwatering. Let the soil dry out completely before your next watering. If the yellowing continues, check the roots for rot.
Trim away any soft or mushy roots and repot in fresh soil.
Can peperomia grow in low light?
Yes, but not indefinitely. Peperomias tolerate lower light better than many houseplants. They will survive in a north-facing room.
But they need bright indirect light to maintain compact growth and keep their leaf coloration.
Is peperomia safe for pets?
Yes. The ASPCA lists peperomia as non-toxic to cats and dogs. This makes it a safe choice for households with pets.
No need to worry if your cat nibbles on a leaf.
Why are my peperomia leaves curling?
Curling leaves indicate water stress. If the soil is dry, the plant needs water and should recover within 24 hours. If the soil is wet, root damage is preventing water uptake and you need to address root rot.
When should I repot my peperomia?
Repot every 2 to 3 years or when roots circle the bottom of the pot. Only go up one pot size. Spring is the best time.
Peperomias actually prefer being slightly root bound, so do not rush to repot.
Peperomia Care Decision Guide: Your Next Steps Based on Situation
Choose your path based on where you are right now.
You just bought a peperomia. Do not repot immediately. Let it adjust to your home for 2 to 3 weeks. Place it in bright indirect light.
Check the soil moisture before watering. Wait until the top 2 inches are dry.
Your peperomia has yellow leaves. Stop watering immediately. Let the soil dry out completely. If the pot feels heavy, the soil is holding too much water.
Consider moving to a terra cotta pot with better drainage.
Your peperomia looks healthy and you want to keep it that way. Maintain a consistent watering schedule based on soil checks. Keep it in bright indirect light. Wipe the leaves monthly.
Fertilize lightly in spring and summer. Watch for signs of stress before they become problems.
You want to grow more peperomias from your plant. Take stem or leaf cuttings in spring or early summer. Root them in water or moist soil. Keep the cuttings in a warm spot with indirect light.
You will have new plants in 6 to 8 weeks.
Your peperomia is struggling and you cannot figure out why. Start with the most common issue: overwatering. Let the soil dry completely. Then check light levels.
Then check for drafts or temperature swings. Work through the diagnostic table above in order. Most problems are fixable if caught early.