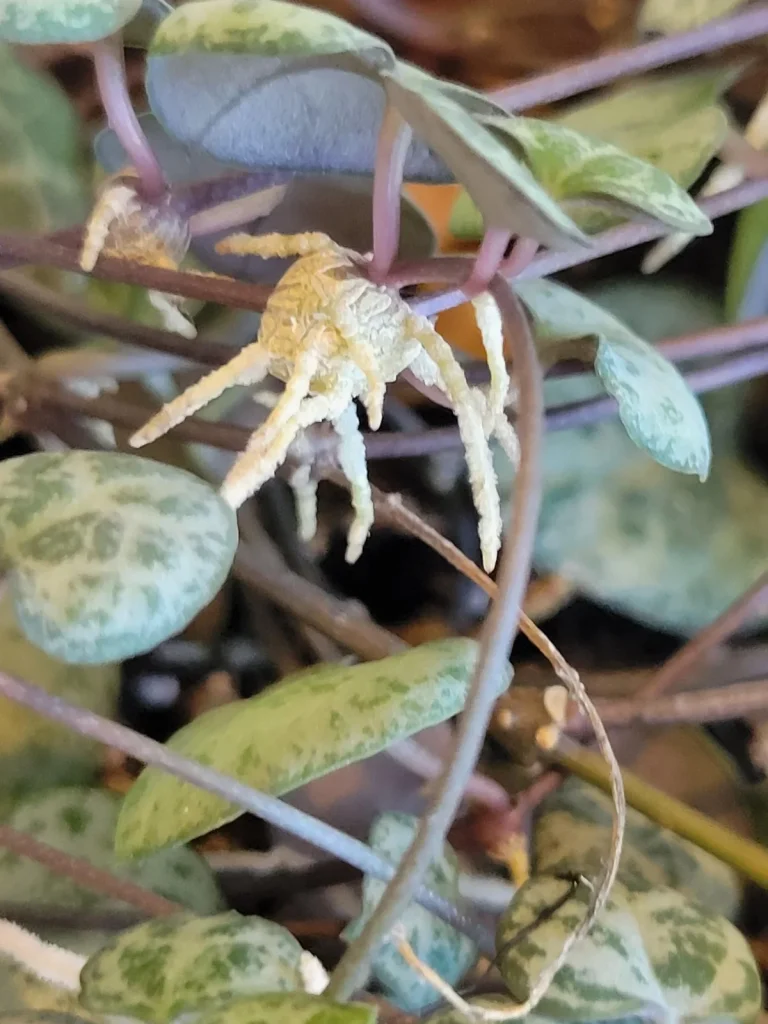
If your string of hearts is looking long, leggy, and bare near the top, propagating string of hearts is the easiest fix you'll ever try. This trailing semi-succulent roots quickly from cuttings, and the plant almost tells you where to cut. The hard part is reading those tiny stems correctly.
Miss the node, and nothing happens.
In our research, a single healthy vine can produce 10 to 20 new plants, with roots appearing in two to four weeks in soil. As of 2026, the butterfly method is the most reliable technique among serious houseplant growers. It works because it uses the plant's aerial tubers, the little brown beads that form along the stem.
Once you can spot those, propagation becomes almost automatic.
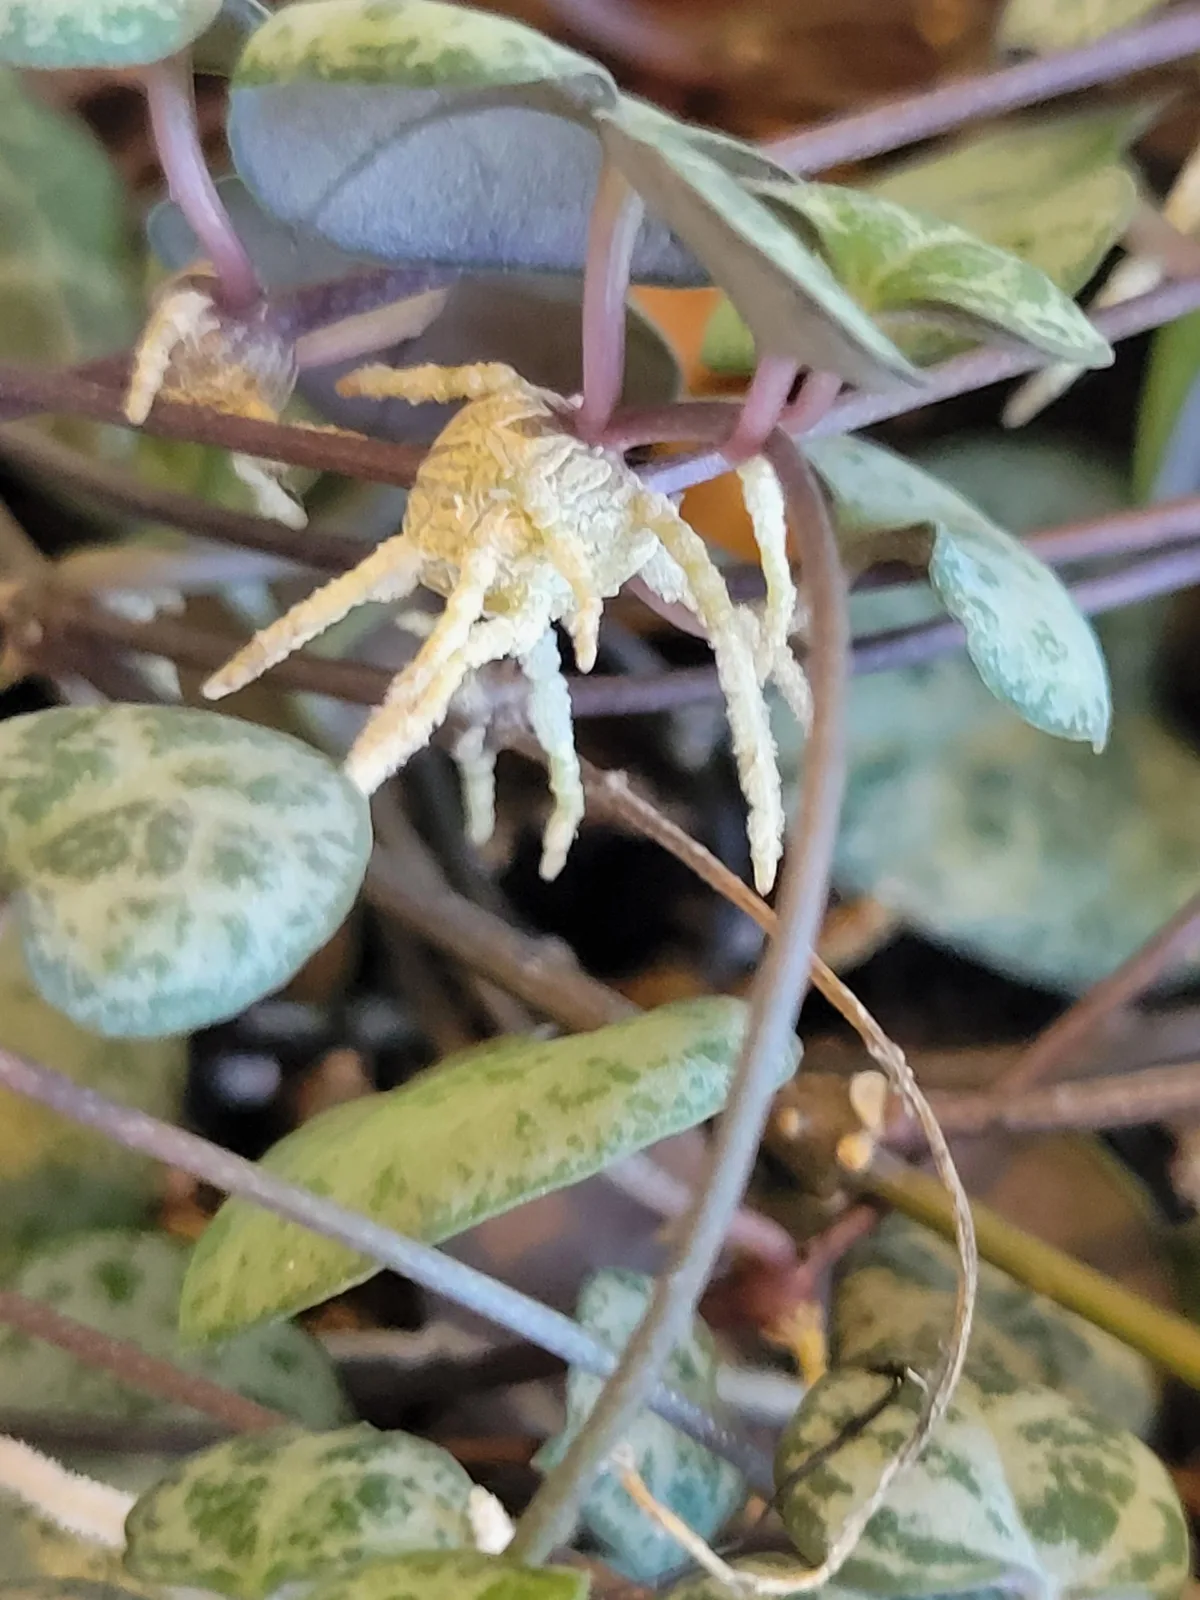
Image source: Bing (Web (fair-use with source credit))
Quick Answer
Propagating string of hearts starts with a clean cut.
Cut just below a node or aerial tuber.
The butterfly method gives the highest success rate.
Lay cuttings flat on moist, well-draining soil.
Roots usually form in two to four weeks.
Keep them in bright, indirect light.
Don't let the soil stay soggy.
Why Most People Kill Their String of Hearts Cuttings
The biggest killer is water. String of hearts is a semi-succulent, so those thin vines store moisture in their tissues. Leave a cutting in a water glass and it often turns to mush within days.
It looks perfectly healthy at first, then suddenly the stem goes brown and slimy.
The second killer is a missing node. A node is the small bump where a leaf attaches to the stem. Roots grow from that bump, not from the smooth section between nodes.
If you cut in the internode, the cutting will sit there doing nothing. It might stay green for weeks, but it will never root.
The third mistake is visual, and it's easy to make. New growers bury the leaves. They push the leaf down into the soil to hold the cutting in place, and that buried leaf rots very quickly.
It causes mold in the soil and often takes the whole cutting with it.
So the fix for all three is the same. Make a clean cut just below a node or an aerial tuber. Let the cut dry for a few hours.
Then place the cutting flat on moist soil with the node touching the surface. Do not bury anything but the stem.
Water propagation isn't impossible here, but it's unreliable. The stems are too delicate, and the move back to soil often shocks the new roots. Aggregate reviews from houseplant groups show a much higher success rate when cuttings go straight into soil.
That's the foundation you want.
What Your Eyes Need to See: Nodes, Aerial Tubers, and the Right Cut
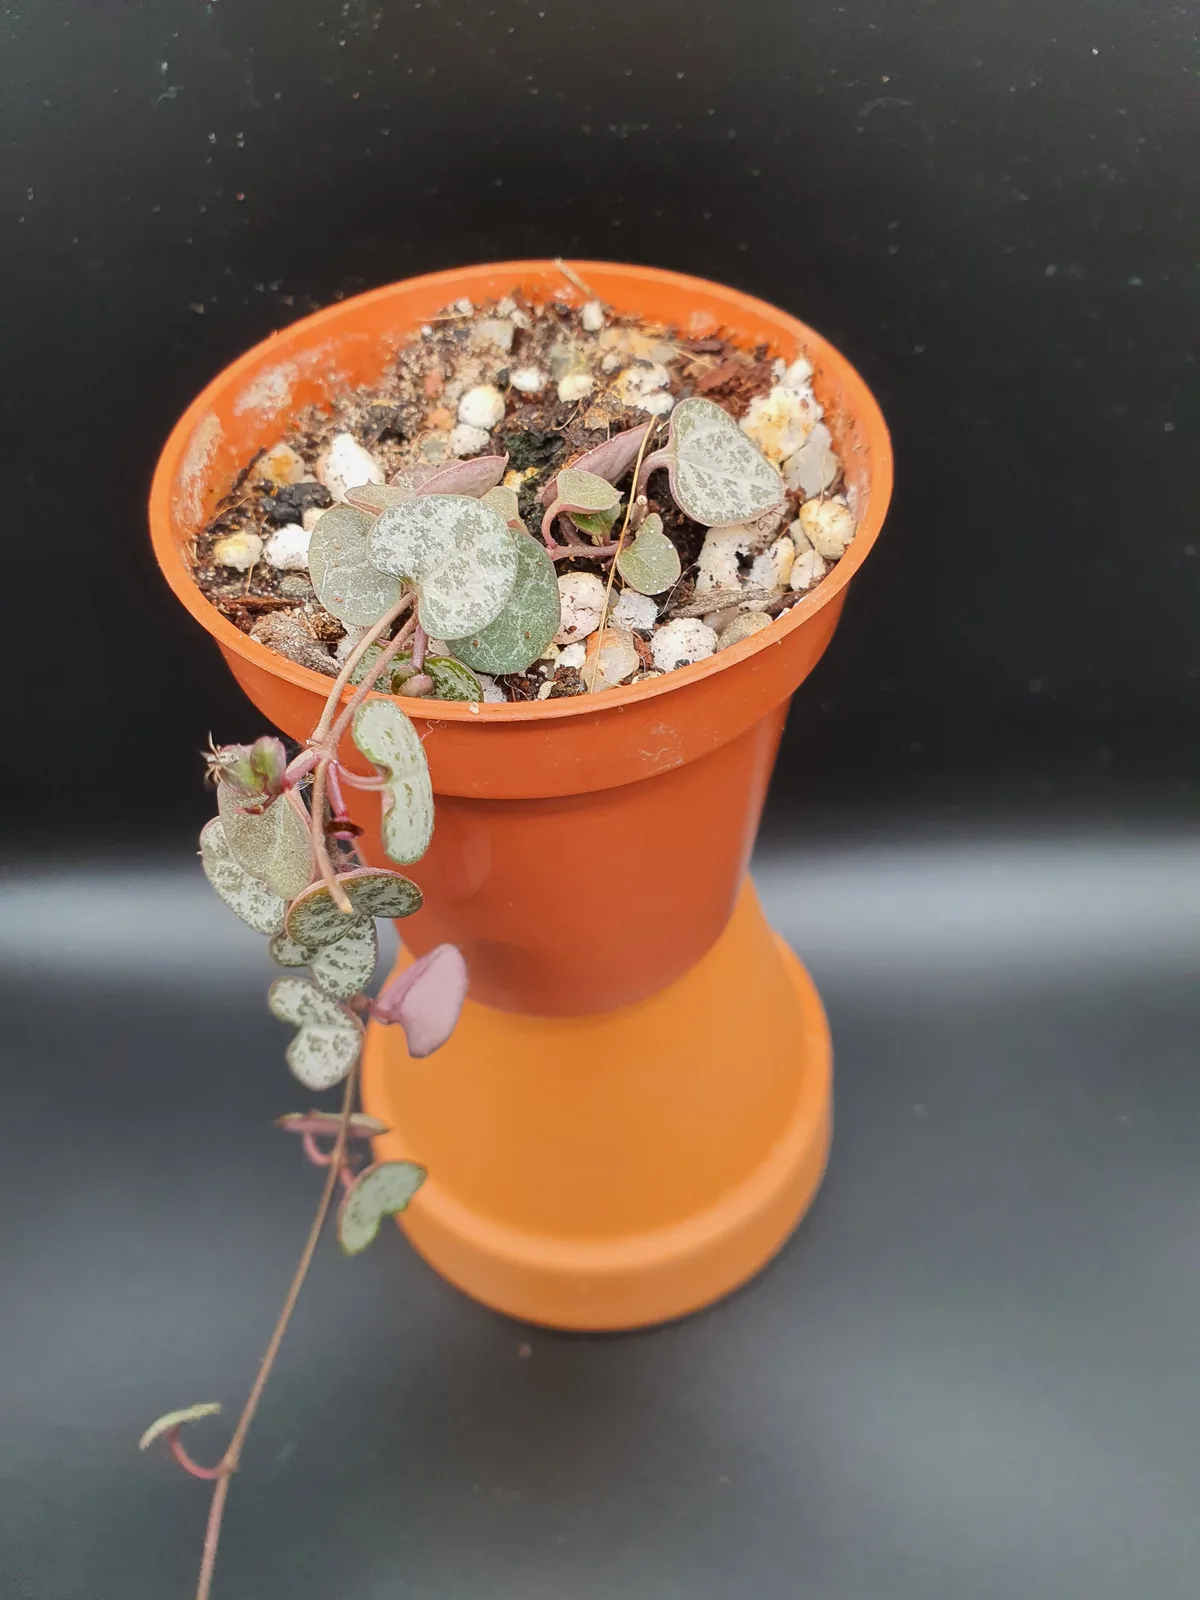
Image source: Web (Bing) / barneyplants.co.uk (Web image (fair-use with source credit))
Before you make any cut, take a close look at the vine. You might need a bright window or a small magnifying glass. Along the stem you'll see small brown bumps where leaves attach.
Those are the nodes. They're the junctions where roots want to grow.
Slightly larger are the aerial tubers. These round, swollen beads look like tiny potatoes hanging along the vine. They start out green and turn purplish-brown as they age.
Some people mistake them for pests on first glance. They're not. They're the plant's backup energy vaults.
The right cut is simple. Take sharp, sterilized scissors and snip a quarter to half inch below a node or tuber. You want the node to be part of the cutting, not the leftover stem.
That means cutting between nodes, not through one.
Here's what to look for:
- Node: a small bump where a leaf meets the stem.
- Aerial tuber: a round bead at or just beside the node.
- Cut placement: 1/4 to 1/2 inch below the visible node.
Once you can identify these structures, every cutting becomes predictable. If you can't see a node yet, don't cut. Wait until the vine shows you a clear spot.
The Three Propagation Methods (and Which to Pick by Sight)
Once you've spotted a node or tuber, you have three options. The right one depends on what you see in front of you. Each method uses the same basic anatomy, but the results differ quite a bit.
| Method | Best For | What to Do | Success Rate |
|---|---|---|---|
| Soil stem cutting | Nodes without obvious tubers | Cut below a node, place flat on damp soil | High |
| Butterfly method | Nodes with aerial tubers | Cut into paired leaves, lay flat, pin down | Very high |
| Water propagation | Beginners who want to watch roots grow | Put the stem in water, change it frequently | Low to medium |
For basic stem cuttings, look for a healthy vine with clear nodes. Snip just below a node, let the cut callus, then lay it flat on soil. The node will root and push out new growth.
For the butterfly method, you need paired leaves with a short piece of stem between them. Each pair becomes its own plant. That's why this method wins for filling out a pot quickly.
The aerial tuber gives the cutting enough stored energy to root almost every time.
Water propagation gets attention online, and it does work. This species is just prone to rot in standing water. If you try it, change the water every two days and move cuttings to soil as soon as roots reach half an inch.
Many growers skip this method entirely because the transplant shock is rough on such thin roots.
In our research, the butterfly method is the safest bet for beginners. The Royal Horticultural Society's houseplant guidance also highlights how naturally Ceropegia woodii roots from stem sections. It's forgiving when you match the method to what you see.
The Butterfly Method: Why It's the Best One (and How to Do It Right)
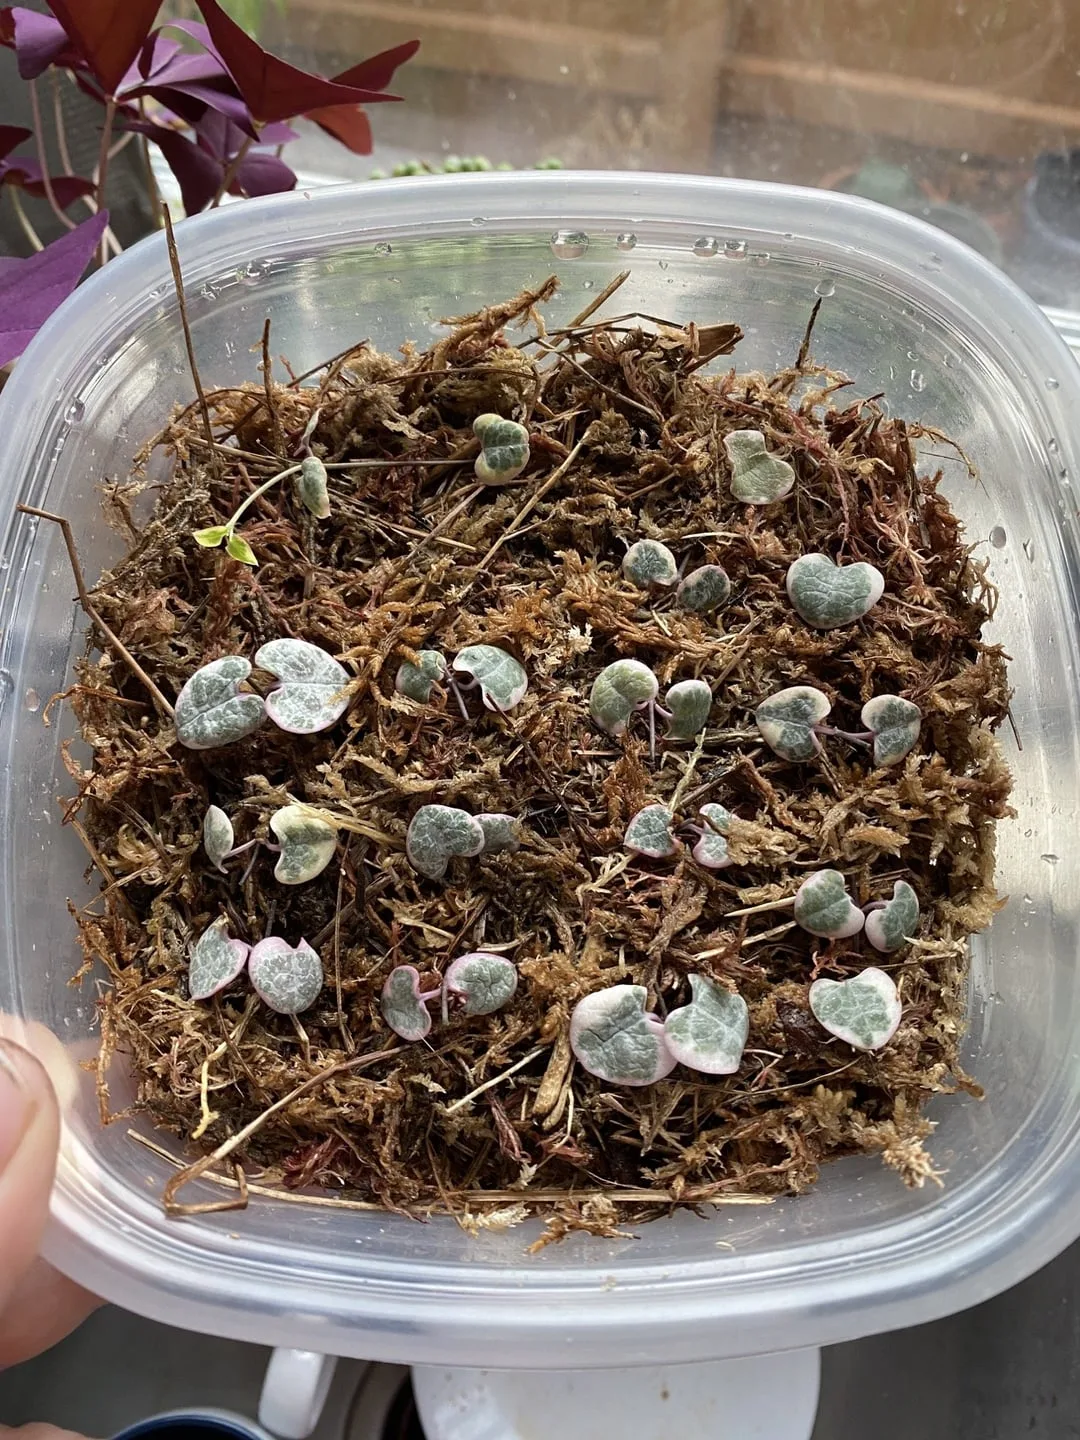
Image source: Web (Bing) / reddit.com (Web image (fair-use with source credit))
The butterfly method turns one long vine into many compact plants. Each node gets its own stem segment, and each segment roots independently. That means you don't wait for a single cutting to grow into a full basket.
You build a full basket from the start.
Here's the process:
- Pick a healthy, semi-firm vine. Avoid anything shriveled or mushy.
- Cut between each pair of leaves, leaving a small segment of stem connecting them.
- Let the cuttings callus for a few hours. This prevents rot.
- Lay each pair flat on top of moist, well-draining soil.
- Press the stem gently into the soil. Use a floral pin or a bent paper clip to hold it.
- Mist the soil lightly. Keep it barely damp, not wet.
- Place the pot in bright, indirect light.
The leaves should sit on top of the soil. The stem between them needs contact with the soil. Roots will grow from the nodes where the leaves meet the stem.
New shoots usually follow within two to four weeks.
Don't water heavily until you see new growth. Soggy soil is the fastest way to lose these cuttings. If you notice mold forming on the soil surface, you're giving it too much moisture.
Back off and let the top layer dry slightly.
The butterfly method also makes it easy to see which cuttings are working. A healthy cutting stays plump and firm. A failing one turns translucent or brown.
That visual feedback is exactly what makes this method so beginner-friendly.
Four Visual Mistakes That Look Fine but Ruin Your Cuttings
Some failures don't look like failures at first. They look like you did everything right. Here are the four visual mistakes that quietly kill string of hearts cuttings.
Cutting too far below the node. A long, bare stem below the cut looks harmless. In reality, that exposed section rots before the node ever wakes up. Keep the bare stem short.
A quarter inch is plenty.
Flicking off the aerial tuber. Those little brown beads look like debris or scale insects. They're actually the cutting's energy reserve. If you remove them, the cutting loses its best chance of rooting.
Leave every tuber in place.
Burying the leaves. It's tempting to tuck the leaves under the soil to make the cutting stand upright. Buried leaves hold moisture against the leaf tissue, which causes rot. Let the leaves rest on the surface.
Only the stem needs contact with soil.
Using a plastic bag as a humidity tent. This looks like a protective greenhouse, but it traps condensation against the leaves. String of hearts doesn't want high humidity at this stage. Wet air creates mildew.
A bright, dry spot with airflow works better.
Each of these mistakes shares one problem. They put moisture where the plant doesn't want it. The stems and roots need slight dampness.
The leaves and tubers need air. Keep that balance and your cuttings will thrive.



