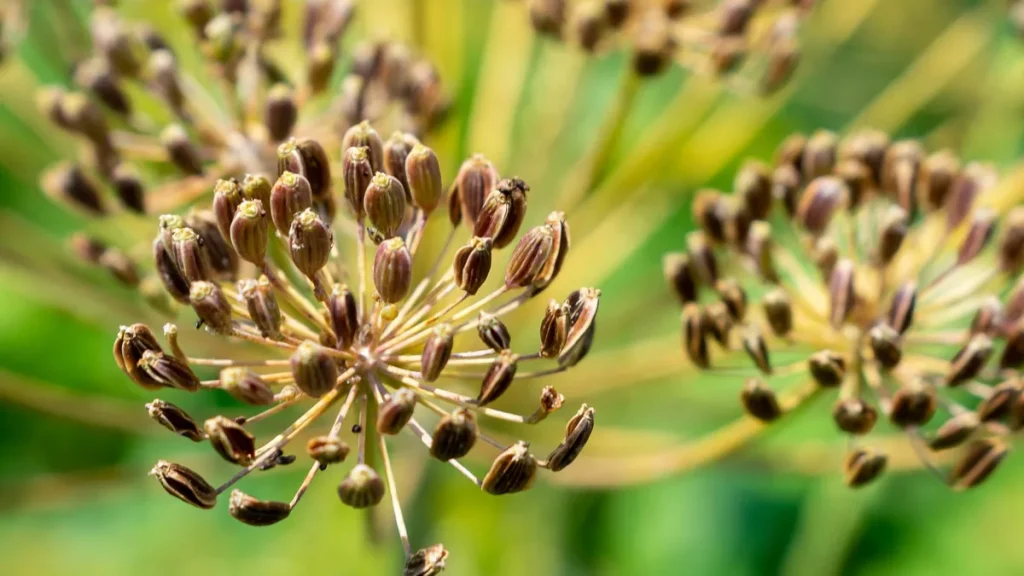
If you’ve ever let a dill plant bolt and flower, you already know how many seeds one umbel can produce. Saving dill seeds from garden plants is one of the simplest ways to build a self-reliant seed bank, but it’s easy to miss the narrow harvest window if you aren’t watching closely. The whole process hinges on a single condition: the seeds must be fully mature but still attached to the plant when you cut them.
Dill flowers open in succession, so seeds on the same head ripen at different rates. As of 2026, research from cooperative extension systems still agrees on the key benchmark, harvest when the majority of seeds turn brown and the head begins to feel dry. University of Minnesota Extension guidance confirms that improper timing is the most common reason home-garden seed saving fails.
Once you know what to look for, the rest is just a matter of patience and a paper bag.
Quick Answer
Cut dill umbels when seeds turn brown but haven’t dropped yet. Place the umbels in a paper bag and hang them in a dry spot. Wait 7 to 14 days for the seeds to fully dry.
Rub the heads between your hands to separate the seeds. Remove the chaff with a fine sieve or by winnowing. Store seeds in an airtight container in a cool, dark place.
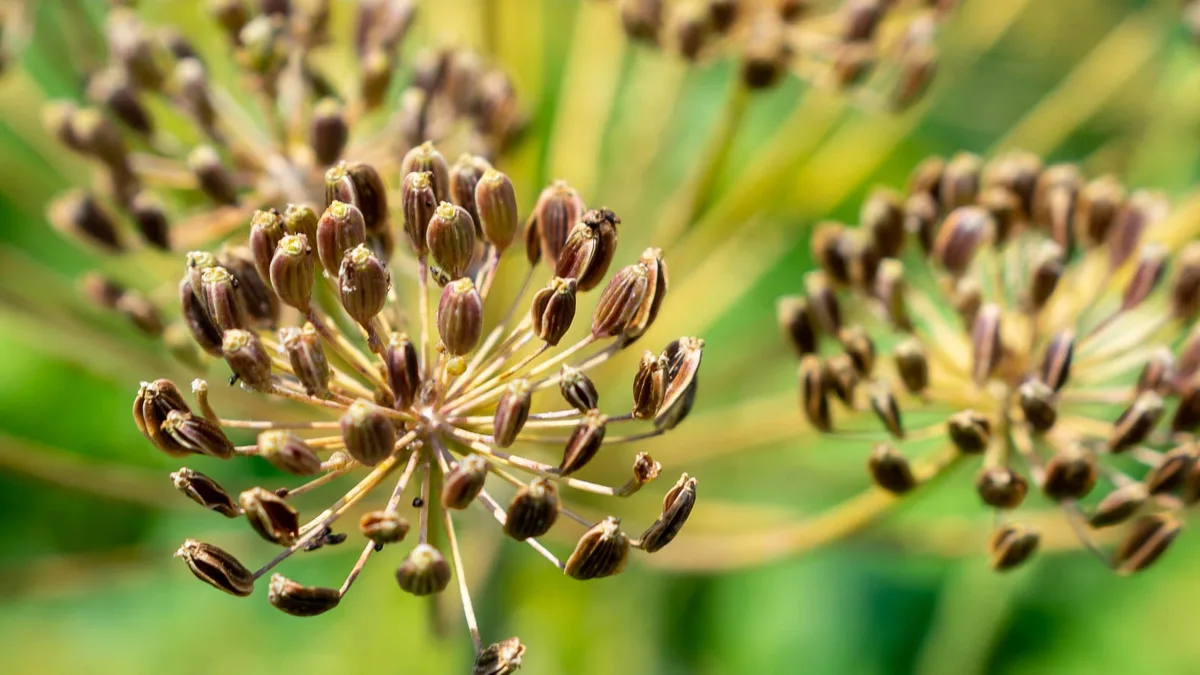
Image source: Web (Bing) / epicgardening.com (Web image (fair-use with source credit))
When to Harvest Dill Seeds (Timing Is Everything)
Dill seeds don’t ripen all at once. Each umbel (the flat, umbrella-shaped flower head) contains dozens of tiny flowers that open over a week or two. That means some seeds will be brown and ready while a few at the center are still green.
If you wait for every last seed to brown, the first batch will already be scattered across your garden soil.
The key indicator is the color of the majority of seeds on the head. Look for seeds that have shifted from green to a tan or light brown color. At this stage, the seeds will also feel slightly firm and have a faint, familiar dill aroma if you crush one between your fingers. Examine at least three umbels from different parts of the plant.
If about 80 percent of the seeds across those heads are brown, it’s time to harvest.
If the weather has been humid or wet, check more frequently. Damp conditions can cause seeds to mold on the plant if left too long. On the other hand, hot and dry weather speeds up shattering, the natural process where the mature seeds separate from the head and fall to the ground. In our research, once the first seeds start dropping on their own, the remaining seeds are at risk of being lost within two or three days.
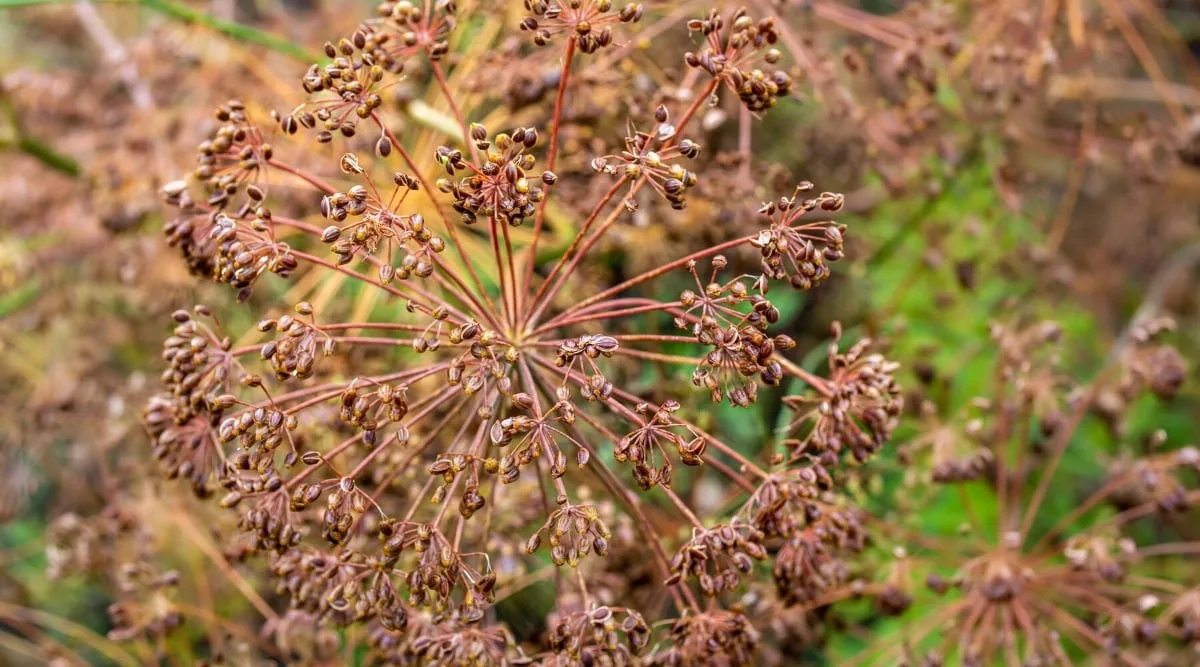
Image source: Web (Bing) / epicgardening.com (Web image (fair-use with source credit))
The safest rule is this: cut the whole umbel with about 6 inches of stem attached as soon as you see the first few seeds starting to loosen. That single umbel will continue drying indoors, and the seeds that are still slightly green will finish maturing in the bag. You lose almost nothing by cutting a little early, but you lose everything by cutting late.
Step-by-Step: How to Collect and Dry Dill Seeds
Once you’ve spotted the right moment on your plants, it’s a straightforward process that takes a couple of weeks. No special tools are needed, but a few simple choices make a big difference.
1. Cut the umbels on a dry morning. Morning harvest is ideal because the plants are still crisp from overnight moisture but the dew has dried. Wait until after any rain has passed.
Wet umbels invite mold during the drying phase.
2. Use a paper bag, not plastic. A paper bag lets air circulate while catching any seeds that drop during drying. Turn each umbel upside down and place it into the bag so the stem sticks out.
You can secure the stem to the bag opening with a rubber band or twist tie. Then hang the bag upside down in a warm, well-ventilated area away from direct sunlight. A covered porch, a garage shelf, or a kitchen cabinet that stays below 80°F works well.
3. Wait 7 to 14 days. During this period, the remaining moisture leaves the seeds and the green ones finish turning brown. Give the bag a gentle shake every three or four days.
This dislodges any seeds that have already fallen and helps you see your progress.
4. Thresh and clean the seeds. After two weeks, check a few seeds by pressing them with your thumbnail. If they snap cleanly instead of bending, they’re dry.
Empty the bag onto a baking sheet or tray. Rub the umbels between your palms over the tray, letting the seeds fall. You’ll be left with a mix of seeds, small pieces of stem, and fine chaff.
5. Separate the chaff from the seeds. The easiest method is to use a fine-mesh sieve with holes just smaller than the seeds. Shake gently, and the chaff catches on the screen while the seeds fall through.
For a more traditional approach, take the tray outside on a breezy day and gently pour the seeds from one container to another. The wind carries away the lighter chaff while the heavier seeds drop straight down.
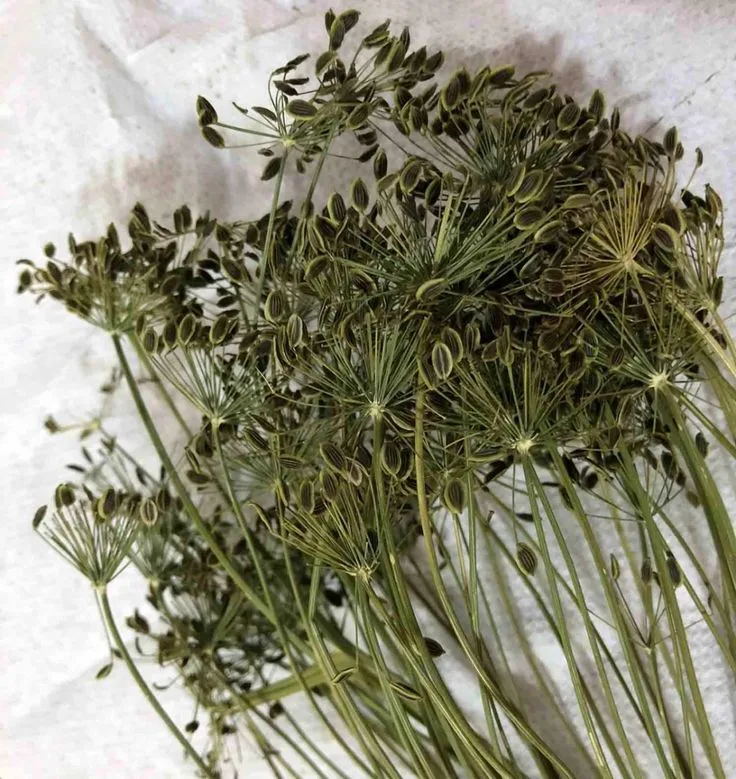
Image source: Bing (Web (fair-use with source credit))
Pro tip: Reserve a few of the large, flat seed heads intact. They look beautiful dried and make a natural addition to a kitchen wreath or a gift jar of pickling spices.
Saving Seeds for Next Season vs. Saving for Cooking
Not all saved dill seeds serve the same purpose. The way you handle them after harvest depends on whether you plan to plant them next spring or toss them into a jar of pickles.
For planting, viability is everything. Seeds intended for next year’s garden need to stay alive, which means they must be fully dry before storage. Any residual moisture inside the seed can kill the embryo over the winter. Store planting seeds in an airtight glass jar with a tight lid, kept in a consistently cool place like a refrigerator drawer or a basement cupboard.
Label the jar with the variety and the harvest year. Seeds saved this way typically stay viable for two to three years.
For cooking, flavor and purity matter more. Culinary seeds don’t need to survive, so you can skip some of the fussier steps. You still need to dry them thoroughly to prevent mold. But a few stems or bits of chaff in the jar won’t hurt the spice blend.
Store cooking seeds in a dark cabinet away from the stove’s heat. A small paper envelope inside a mason jar works fine for a year’s supply.
A few things never change. Whether for planting or cooking, never store seeds in a warm, humid spot near the stove or dishwasher. Heat and moisture are the enemy of both viability and flavor. Also, label everything.
It’s remarkably easy to confuse dill seeds with fennel or caraway seeds six months later, especially if the jars look similar.
| Use | Drying Requirement | Storage Container | Best Location | Expected Shelf Life |
|---|---|---|---|---|
| Planting next season | Thorough (snap test confirmed) | Airtight glass jar with lid | Refrigerator or cool basement | 2–3 years |
| Cooking / pickling | Thorough (snap test confirmed) | Glass jar or paper envelope | Dark, cool pantry | 1–2 years |
How Long Do Saved Dill Seeds Last? (And How to Test)
Dill seeds aren’t the longest-living seeds in the garden shed, but they hold up pretty well when stored correctly. Under ideal conditions, cool, dark, and bone-dry, you can expect reliable germination for two to three years. After that, the germination rate starts to drop noticeably.
Here’s what “ideal” actually looks like. Temperature should stay between 32°F and 41°F. A refrigerator works perfectly. Avoid the freezer unless you’ve vacuum-sealed the seeds.
Freezer humidity fluctuations can cause condensation inside a regular jar, which ruins viability. Moisture content in the seeds themselves should be below 8 percent, which is what the snap test confirms.
If you’re unsure whether seeds from last year are still good, run a simple germination test. Take ten seeds and place them on a damp paper towel. Fold the towel over the seeds and put it inside a sealed plastic bag. Keep the bag in a warm place around 70°F.
Check after 7 to 10 days. Count how many seeds sprouted. If 7 out of 10 germinated, you’ve got a 70 percent germination rate, fine for most home gardens.
If fewer than 4 germinated, buy fresh seeds for the bed and use the remaining old seeds for pickling.
One more thing about storage containers. Standard paper seed packets are fine for the short term, but they breathe. Over six months, seeds stored in paper lose more moisture than necessary, and they can reabsorb moisture from humid air. For long-term storage, an airtight glass jar with a rubber gasket or a Mylar bag with an oxygen absorber will keep your seeds viable years longer.
Common Dill Seed Saving Mistakes (And How to Avoid Them)
Even experienced gardeners make a few predictable errors with dill seeds. The good news is they’re all easy to fix once you know what to watch for.
Harvesting too early. Green seeds look nothing like the brown seeds you’re used to seeing in a spice jar. If you cut umbels when the seeds are still green and soft, they will dry into shriveled, hollow husks with almost no chance of germinating. Wait for that brown color to spread across most of the head.
Harvesting too late. Dill is designed to scatter its seeds. The moment they’re fully dry, a light breeze or brushing against the plant will send them flying. Check your plants every other day once the first brown seeds appear.
If you see bare stems where seeds used to be, you’ve already lost that head’s yield.
Drying in plastic bag or in direct sun. A plastic bag traps moisture and guarantees mold. Sunlight heats the seeds unevenly and can kill the embryos. Always use a paper bag for the drying phase and keep it out of bright light.
Skipping the snap test. Moisture is the single biggest threat to stored dill seeds. If you’re not sure they’re dry enough, wait another three days. It’s much better to overdry slightly than to seal in damp seeds that rot inside the jar.
Storing without labeling. Here’s the scenario that happens to nearly everyone. You harvest dill and fennel in the same season. Both look almost identical.
By spring you have no idea which is which. Write the plant name, the harvest year, and the variety (if you know it) on the container. Use a permanent marker or a typed label.
Trust us, you will thank yourself in March.
Storing in a warm or humid spot. The cabinet right above the stove seems convenient, but the heat and steam cycle through that space daily. That fluctuation kills germination fast. Choose a storage spot that stays cool year-round.
The refrigerator is the most reliable place in most homes.
Frequently Asked Questions
Can I save dill seeds from hybrid varieties?
Hybrid dill seeds will grow into plants that don't match the parent. The seeds are still fine for cooking. But if you want true-to-type plants next year, save seeds only from open-pollinated or heirloom dill varieties.
Check your seed packet for the word "hybrid" before you commit.
How many dill seeds does one plant produce?
A single healthy dill plant can produce anywhere from 100 to 500 seeds. The exact number depends on the variety, soil quality, and how many flower heads the plant develops before you stop harvesting dill weed. That's more than enough for both next year's garden and a full season of pickling.
Do dill seeds need cold stratification before planting?
Dill seeds do not require cold stratification. They germinate readily at soil temperatures between 60°F and 70°F. Just plant them directly in the garden after the last frost.
Many gardeners also find that self-sown seeds from the previous year sprout on their own without any cold treatment.
What's the difference between dill seeds and fennel seeds?
Dill seeds are flatter, lighter brown, and have a more pungent, slightly bitter aroma. Fennel seeds are plumper, greener, and taste sweeter with a hint of licorice. If you saved seeds without labels, crush one and smell it.
Dill is sharp and clean. Fennel is noticeably sweeter.
How do I prevent dill from self-seeding everywhere in my garden?
Cut the umbels before the seeds turn fully brown. That stops the plant from scattering seeds on its own. If you miss the window, the seeds will drop and sprout next spring.
The seedlings are easy to pull, but you'll end up with dill popping up in unexpected places all season.
Can I save dill seeds that fell to the ground?
You can, but the success rate drops. Seeds that have been on the soil for more than a few days may have absorbed moisture or started to decay. Brush away debris and dry them thoroughly indoors.
Use them for cooking rather than planting, since the germination rate is unpredictable.



