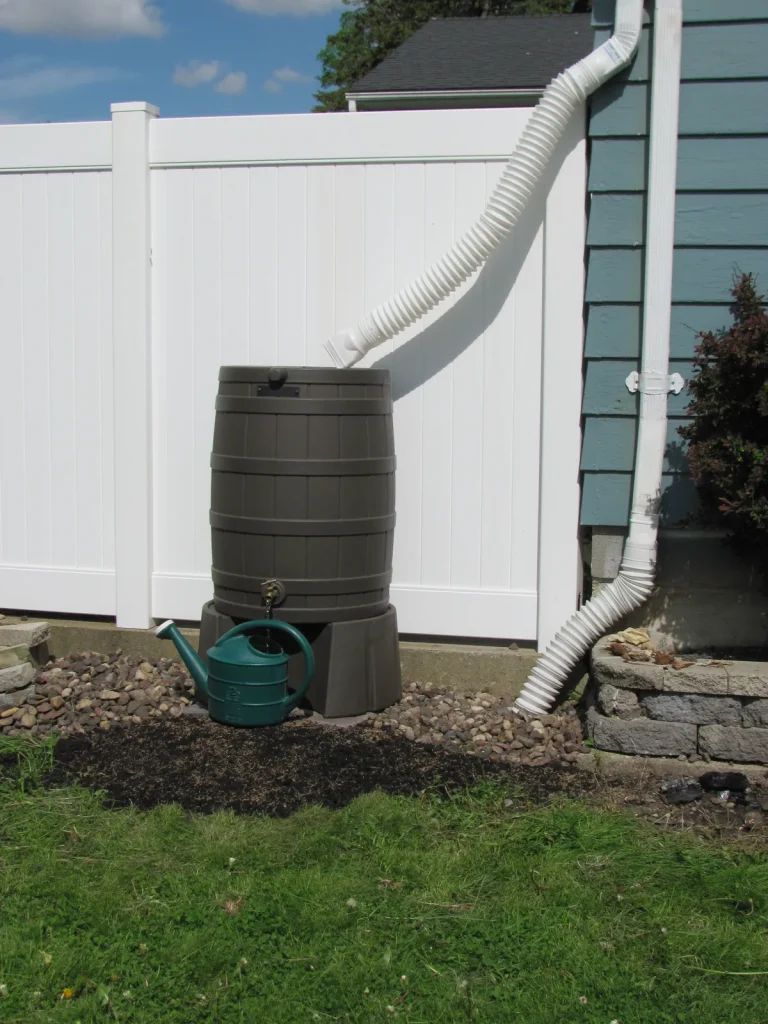
Skip the pile of instructions that came with your barrel. Setting up a rain barrel is straightforward once you know which questions to ask yourself first. If you’re ready to set up a rain barrel, the path you take depends entirely on your home’s gutter setup and your watering needs.
According to the American Rainwater Catchment Systems Association (ARCSA), a typical 55-gallon barrel fills in a quarter-inch of rain on a 600-square-foot roof section. That’s a lot of free water. But you have to catch it right, or you’re just making mosquito soup.
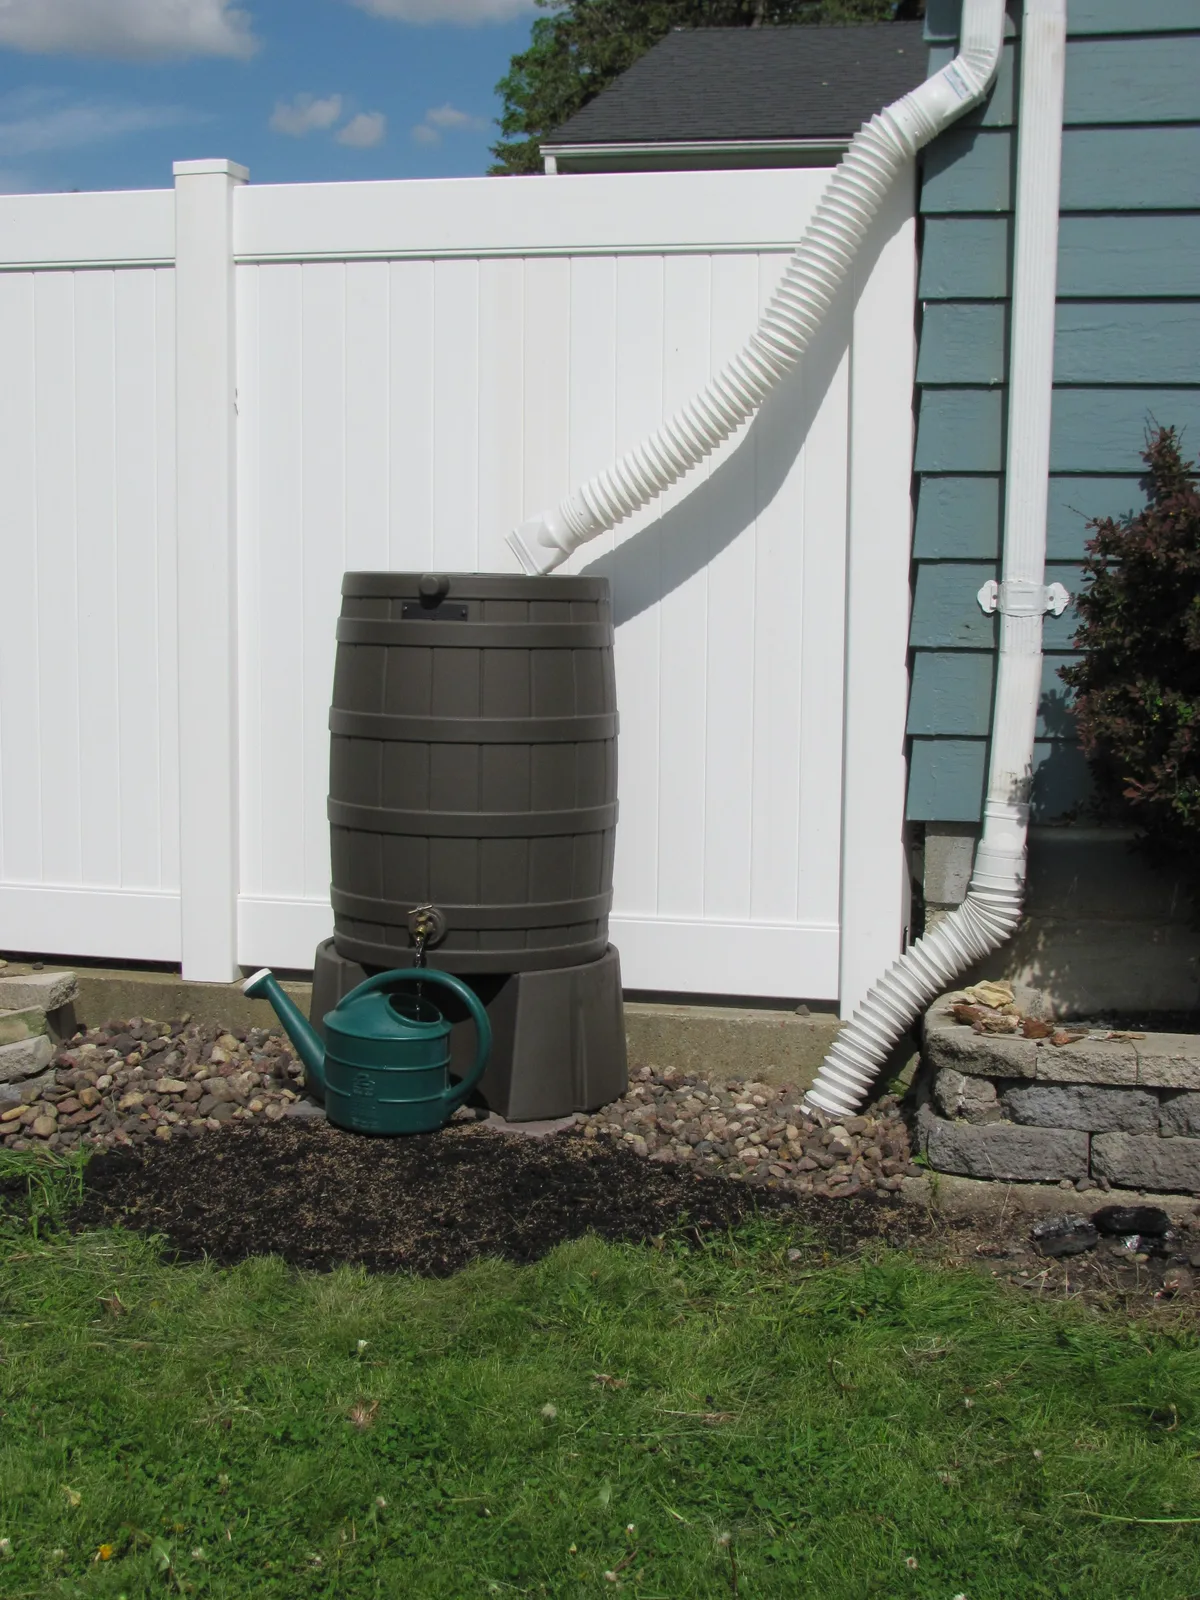
Image source: Web (Bing) / pinterest.com (Web image (fair-use with source credit))
Quick Answer
Place your barrel on a level stand near a gutter downspout. Cut the downspout and install a diverter kit. Drill a spigot near the bottom.
Add an overflow hose and a mosquito screen on top. Test for leaks. That’s the simple version.
Why Most Rain Barrel Setups Leak, Flood, or Fail
The most common failure point isn’t the barrel itself. It’s the overflow. Without a properly sized overflow hose aimed away from your foundation, a rain barrel in a heavy storm turns into a 50-gallon water cannon pointed at your house.
Cracks, seepage, and basement moisture follow.
The second issue is an unlevel base. A full barrel weighs over 450 pounds. Put it on a slope or unstable ground, and it tips.
Water spills, connections snap, and you’re left with a cracked barrel.
Third, poor mosquito prevention. A single gap in your mesh screen allows a full breeding cycle in under ten days. The CDC confirms that standing water containers are a primary vector for West Nile virus.
You need a tight seal.
Finally, folks forget winter. Water freezes, expands, and cracks a plastic barrel overnight. If you live where temps dip below freezing, you must drain and store the barrel before the first frost.
Most leaks trace back to one of these four causes.
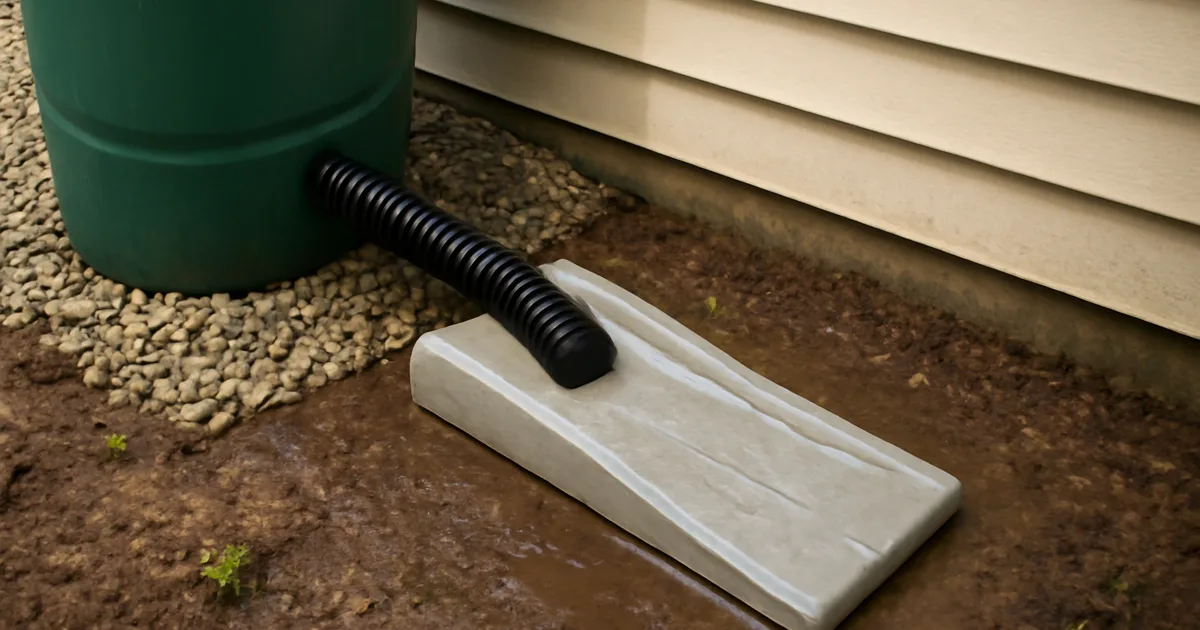
Image source: Bing (Web (fair-use with source credit))
A leak at the spigot is almost always cause-and-effect: no plumber’s tape on the threads, or an overtightened plastic fitting that split. The fix is cheap and takes two minutes. But if you don’t catch it, that slow drip rots your stand and attracts wasps.
Flooding near the foundation happens when the overflow hose dumps water right next to the house. You need to extend that hose at least six feet away, or into a rain garden. Otherwise you’re just moving the gutter water from the downspout to a new spot right against your basement wall.
What You’re Working With: Gutter Type, Roof Material, and Yard Slope
Your downspout shape determines which diverter kit fits. Most U.S. homes use rectangular 2×3 inch downspouts. Older homes and some newer architectural gutters use round downspouts.
Measure before you buy. A round diverter on a rectangular downspout leaks immediately.
Roof material matters for water quality. Asphalt shingles shed fine grit that clogs screens. Metal roofs shed almost nothing, giving you cleaner water.
No roof water is safe to drink without treatment, but for gardening, metal roof runoff is superior.
Yard slope dictates overflow strategy. If your ground slopes away from the house, a simple hose extension works. If it slopes toward the foundation, you need a longer drain line or a pop-up emitter to move water away.
Otherwise you’re watering your basement.
| Downspout Type | Typical Shape | Divider Kit Needed |
|---|---|---|
| Standard residential | Rectangular (2×3 in) | Universal diverter |
| Round | 3-inch diameter | Round downspout diverter |
| Corrugated | Flexible vinyl | Diverter with adjustable strap |
The bottom line: you can’t buy a kit until you eyeball your gutter. Measure, look at the material, note the slope. That two-minute inspection saves you a return trip to the store.
One more thing: strap-style diverters work on most shapes but require a clean cut on the downspout. If your downspout is rusted or crushed, you’ll need to replace that section first. A damaged downspout won’t seal with the diverter gasket, and you’ll get leaks between the barrel and the gutter.
The 3 Setup Paths: Diverter Only, Stand Only, or Both
Here’s the decision flow.
Diverter only: You attach a diverter to the downspout and run a hose into the barrel. The barrel sits on the ground. This is the simplest setup.
Best for renters or anyone who can’t modify the property. The downside? No gravity pressure.
You’ll fill watering cans directly from the spigot at ground level.
Stand only: You raise the barrel on cinder blocks or a commercial stand. The downspout drops directly into the open top (with a screen). You get gravity pressure for a hose.
Best for homeowners with straight downspouts. The risk? Overflow management is harder because the barrel isn’t connected to a diverter.
Both: A diverter plus a raised stand. This is the gold standard. The diverter feeds the barrel automatically and shuts off when full.
The stand gives you pressure. Best for serious gardeners who want a hose to reach raised beds. The downside is cost and installation time.
Here’s the decision flow in plain terms:
- If you water container plants on a patio and have a short hose, use Diverter Only. It’s $30 and zero skill needed.
- If you water a small garden and have a straight downspout, Stand Only works. Cost is about $20 for blocks.
- If you want automated filling and real hose pressure, do Both. Budget $80 to $120 for the full setup.
About 80% of frustrating setups trace back to picking the wrong path. You skip the stand for cost reasons, then complain that the water trickles. Or you skip the diverter and deal with overflow flooding.
Match the path to your actual watering job, not your desire to save $20.
How to Install Each Path Without Regret
Path A: Diverter Only
- Measure and mark your downspout at the height where the diverter will sit above the barrel.
- Cut the downspout with a hacksaw or tin snips.
- Attach the diverter box and connect its output hose to the barrel inlet.
- Place the barrel on level ground. Add a screen on top.
- Open the spigot and test.
Path B: Stand Only
- Build or place a stand 12 to 18 inches high. Cinder blocks are fine.
- Cut the downspout so it drops directly into the barrel opening.
- Fit a filter basket or screen in the opening.
- Connect an overflow hose from the barrel’s overflow port.
- Secure the barrel to the stand with straps if in a wind-prone area.
Path C: Both (Diverter and Stand)
- Build the stand first. Level it perfectly.
- Place the barrel on the stand. Mark the diverter height.
- Cut downspout, install diverter, connect hose to barrel.
- Install spigot, overflow, and screen.
- Test every connection with a garden hose before a real storm.
Each path has a single regret. For Diverter Only, it’s low pressure. Fix it by using a short hose or a battery-powered pump.
For Stand Only, it’s overflow. Fix it by extending the overflow hose six feet away. For Both, it’s expense.
Fix it by using a DIY stand and a basic diverter kit.
The Silent Killers: Mosquitoes, Freezing, and Overflow
Mosquitoes are the number one reason people abandon rain barrels. A single female lays eggs in standing water. They hatch in 7 to 10 days.
You need three things: a tight-fitting lid, a fine mesh screen (16×16 or finer), and no gaps around the inlet.
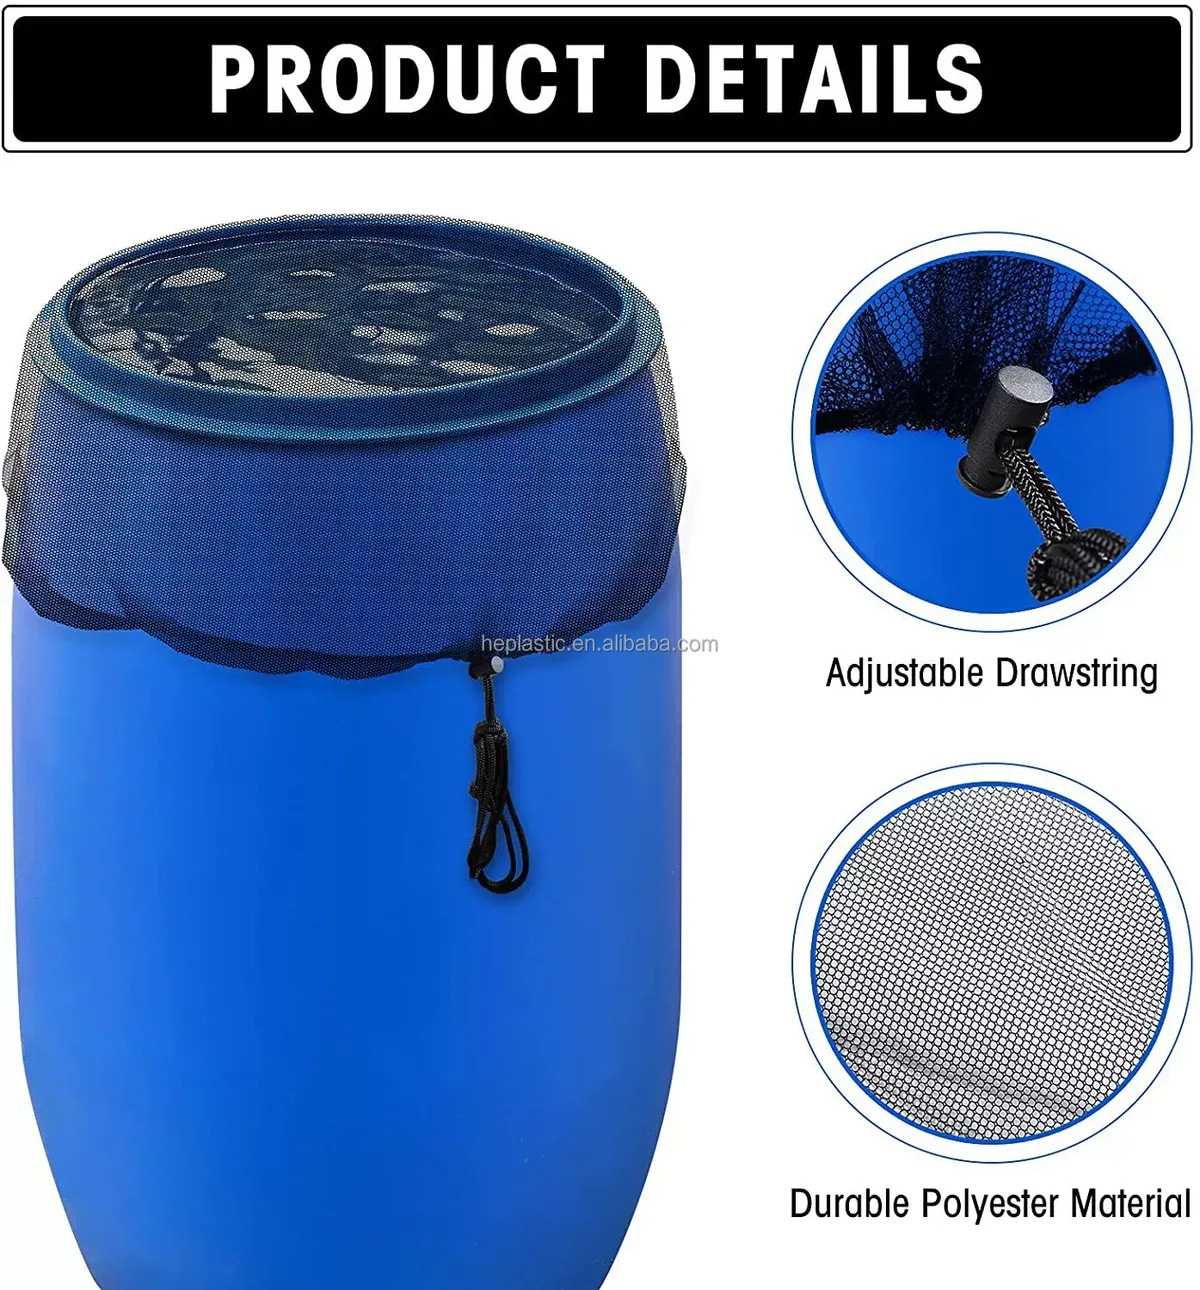
Image source: Web (Bing) / alibaba.com (Web image (fair-use with source credit))
Freezing destroys barrels. Water expands by 9% when it freezes. A plastic barrel cracks at the seam.
A metal barrel bulges. The rule: drain and store before the first hard freeze. Disconnect the diverter too, or the ice can crack the downspout.
Overflow must go somewhere useful. Never let it pool next to the foundation. Extend it with a garden hose.
Aim it at a thirsty shrub or a rain garden. The goal is zero standing water near the house.
Per EPA guidelines, a well-maintained rain barrel with intact screens and regular cleaning is an effective part of stormwater management. Neglected, it’s a public health hazard. Clean the screen monthly.
Rinse the barrel annually. Dump standing water if you see mosquito larvae. These are non-negotiable tasks.
A Real Look at Costs, Size, and Savings
As of 2026, a premade rain barrel runs between $50 and $150. A DIY version using a food-grade drum costs $20 to $40 plus fittings. Diverter kits land around $20 to $50.
Cinder blocks for a stand run about $2 each.
Our research shows a solid total setup lands between $80 and $200. That includes a 55-gallon barrel, diverter, spigot, overflow hose, and stand. Skip the stand and you save $20 to $60, but you lose gravity pressure.
Water savings depend on climate and roof size. A 1,000-square-foot roof collects about 600 gallons from one inch of rain. A single barrel captures that in one storm.
Switching to rainwater for lawn and garden watering can cut your outdoor water bill by 30% to 50% during the growing season, per EPA estimates.
Size matters more than people think. A 50-gallon barrel is the bare minimum. If you water anything beyond a few pots, go with 75 gallons or link two barrels together.
One barrel fills in a single heavy rain. Without a second barrel, you just overflow the first.
Frequently Asked Questions
How long does setup take?
A basic setup takes one to two hours. A full system with a stand, diverter, and overflow hose takes about three hours. Most of that time goes into cutting the downspout and letting sealant dry.
Do I need a downspout diverter?
If you want hands-free filling, yes. A diverter automatically fills the barrel and shuts off when it's full. Without one, you must aim the downspout or babysit the barrel during every storm.
Can I drink water from a rain barrel?
No. Rain barrel water is not potable unless you treat it. Roof runoff can contain lead, bird droppings, and chemical residue.
Use it for gardening, washing tools, or outdoor cleaning only.
What size rain barrel should I choose?
Start with 50 to 55 gallons. That size matches a typical downspout and one heavy rain. If you have a larger garden, link two barrels together with a connector kit.
How do I winterize my rain barrel?
Drain it completely. Disconnect the diverter. Store the barrel upside down with the spigot open.
If you can't store it indoors, leave it empty and tilted so water can't pool inside.



