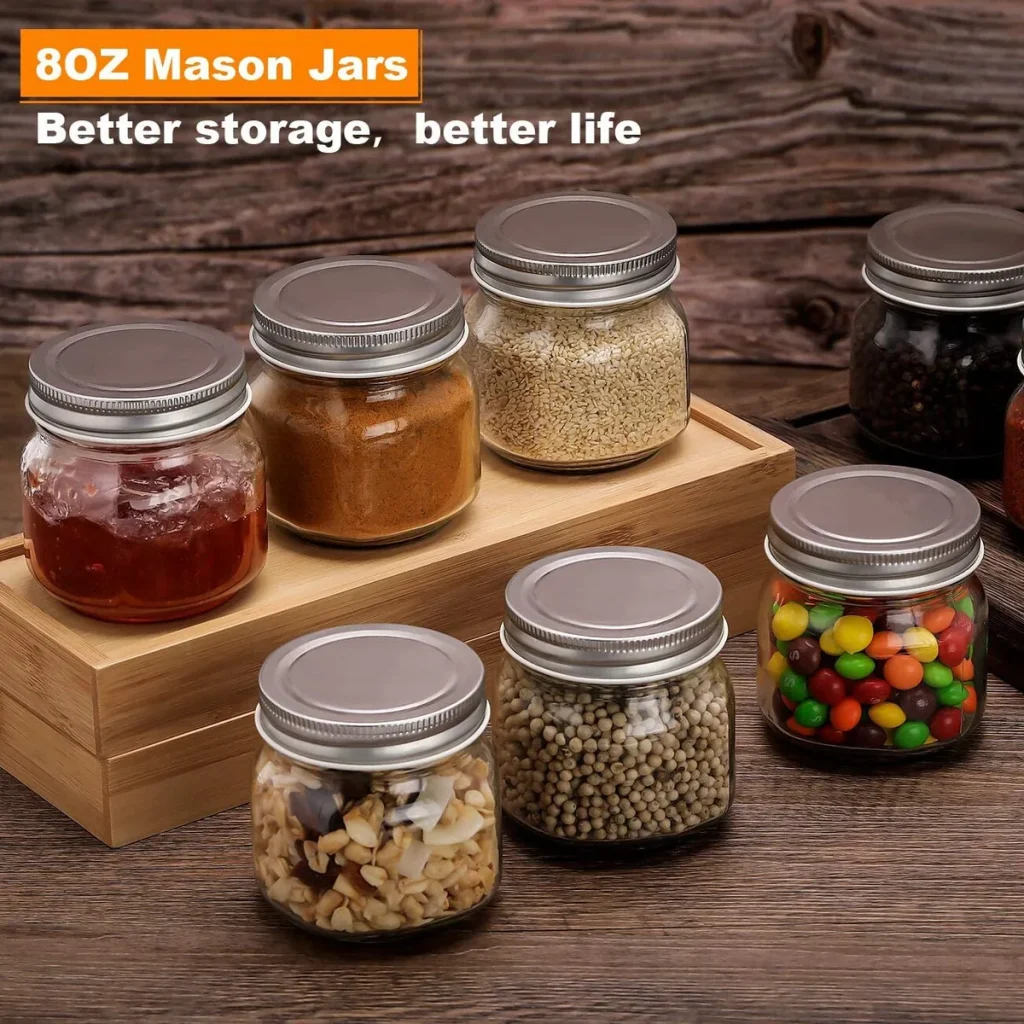
If you've ever stared at a stack of jars wondering whether you're supposed to boil them, rinse them, or just hope for the best, you're not alone. Preparing jars for canning is one of those steps that looks simple on paper but trips up more beginners than almost anything else. Get it right, and your shelf-stable food stays safe for a year or longer.
Get it wrong, and you're rolling the dice on spoilage or worse.
Per the USDA Complete Guide to Home Canning, the difference between a jar that seals perfectly and one that fails often comes down to three things: cleanliness, temperature, and rim condition. Those three factors are exactly what we're covering here. Let's walk through the process step by step so you know what matters, what doesn't, and where most people make mistakes.
Quick Answer
Preparing jars for canning means inspecting, washing, and heating them before filling. Check every jar for cracks, chips, or nicks. Wash jars in hot soapy water or a dishwasher.
Keep jars hot until filling to prevent thermal shock. Sterilize jars by boiling for 10 minutes only if processing time is under 10 minutes. Heat lids in hot water but do not boil them.
Wipe rims clean after filling and apply bands finger-tight.
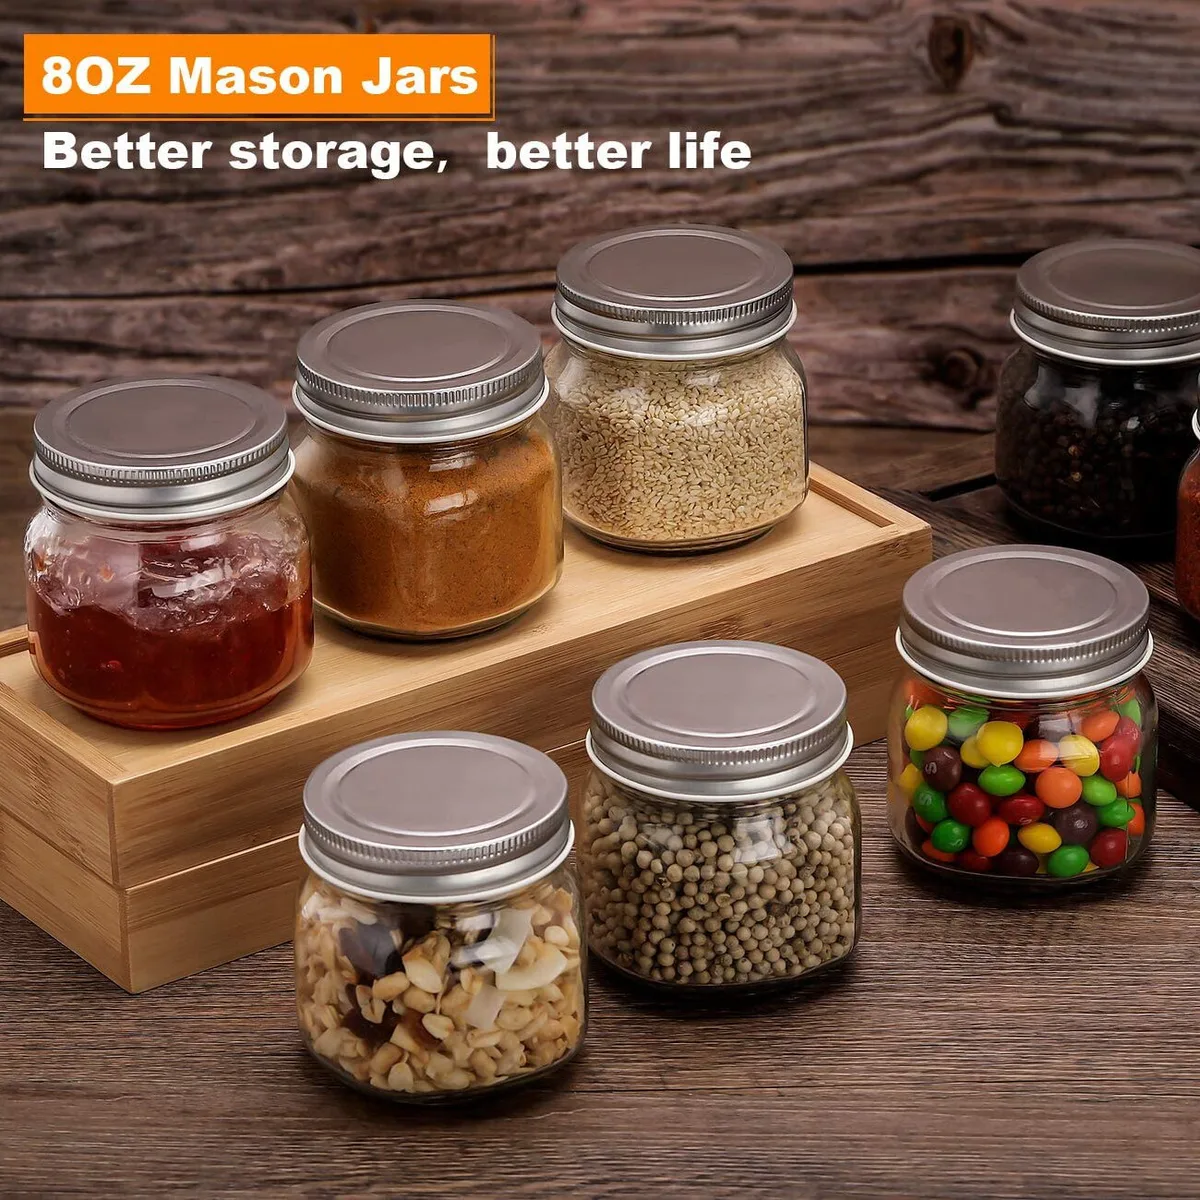
Why Jar Prep Matters More Than You Think
Home canning is a science of exclusion. You're trying to keep harmful microorganisms out of a sealed environment where they can't survive. The jar itself is your first line of defense.
If the glass has a hairline crack or the rim has a tiny chip, that seal is compromised before you even start processing.
The thermal shock problem
Glass expands when it gets hot and contracts when it cools. That's normal. The problem comes when you take a cold jar and drop it into boiling water or pour hot food into an ice-cold container.
The sudden temperature difference creates stress in the glass, and that stress can cause cracks. Those cracks might not show up during filling. They can appear inside the canner, which means you lose the jar, the food, and possibly contaminate other jars around it.
According to manufacturer specifications for Mason jars, the glass is tempered to handle gradual temperature changes. But "gradual" is the key word here. A room temperature jar filled with boiling liquid is at risk.
A hot jar filled with hot food is not. That's why keeping your jars warm before filling is a safety step, not just a convenience.
The rim is everything
The seal happens where the lid gasket meets the glass rim. That's a very small surface area. Any debris, grease, or damage on that rim creates a gap.
Even a tiny sugar crystal from jam or a speck of food caught between the lid and the rim is enough to prevent a vacuum seal from forming.
We see this all the time in aggregate reviews from home canners. Someone follows every step perfectly, processes the jars on time, and still ends up with a shelf full of unsealed lids. Nine times out of ten, the culprit is a dirty rim they thought they wiped clean enough.
What You Actually Need (Tools & Supplies)
You don't need a lot of specialized gear for jar preparation. Most of what you need is probably already in your kitchen. But there are a few items that make the difference between a frustrating afternoon and a smooth one.
Essential tools
| Tool | Purpose | Why It Matters |
|---|---|---|
| Mason jars | Food storage container | Tempered glass designed for canning; avoid repurposed commercial jars |
| Two-piece lids | Flat lid with sealing compound + screw band | Lids are one-time use; bands are reusable |
| Jar lifter | Removes hot jars from canner | Prevents burns and dropping jars |
| Jar funnel | Fills jars without spilling | Keeps rims clean, reduces waste |
| Bubble remover / headspace tool | Removes air pockets before sealing | Ensures proper headspace and seal |
| Clean kitchen towels | Wipe rims, cushion cooling jars | Prevents thermal shock from cold countertops |
| Large pot or canner | Holds jars during processing | Must be deep enough to cover jars with 1-2 inches of water |
Jars: new vs used
New jars are always safe if they're undamaged. Used jars are perfectly fine too, as long as the glass is free of cracks and chips. Mason jars can be reused dozens of times.
The key is careful inspection every single time.
What you should not use are repurposed commercial jars. Spaghetti sauce jars, pickle jars, and salsa jars from the store are made from thinner glass that isn't tempered for canning. They're more likely to crack under thermal stress.
The USDA explicitly advises against using them.
Lids: one time only
The flat metal lid with the sealing compound is designed for single use. After you process a jar, that gasket has already compressed and formed a seal. Trying to reuse it means the gasket won't seat correctly, and your odds of a failed seal go way up.
Screw bands, on the other hand, can be reused. Just wash them, dry them, and store them. The only thing to watch for is rust.
If a band shows rust spots, replace it. Rust can interfere with how the lid seats and can contaminate your food.
Step-by-Step: How to Prepare Jars for Canning
This process takes about 15 minutes for a standard batch of 7 to 8 jars. Do it right, and everything after this goes smoother.
Step 1: Inspect every jar
Hold each jar up to the light. Run your finger around the top rim. Look for:
- Cracks in the glass, especially on the bottom or sides
- Chips along the rim
- Nicks or rough spots on the rim surface
- Stains that won't wash off (sometimes mineral deposits)
If a jar fails inspection, don't use it. You can repurpose it for dry storage, refrigerator pickles, or crafts. But it's not safe for canning.
Step 2: Wash thoroughly
Wash jars in hot soapy water. A long-handled brush helps reach the bottom. Rinse well.
Alternatively, run them through a dishwasher on the hottest cycle with a heated dry setting.
Jars that come straight from the dishwasher are already hot and ready to fill. That's actually the easiest approach if your dishwasher runs a good hot cycle.
Step 3: Keep jars hot
Once your jars are clean, you need to keep them hot until filling. There are a few ways to do this:
- Leave them in the dishwasher with the door closed after the cycle finishes
- Place them in a pot of simmering water (180°F / 82°C) and keep them there until needed
- Warm them in a 180°F oven (not hotter, or glass can weaken over time)
The goal is to have the jars at roughly the same temperature as the food you're putting in them. That prevents cracking and helps the vacuum seal form correctly.
Step 4: Prepare the lids
Put the flat lids in a small saucepan of water. Heat them on medium until the water is hot but not boiling. Aim for about 180°F.
Do not boil the lids. Boiling can damage the sealing compound and reduce its effectiveness.
Let the lids sit in the hot water until you're ready to use them. Keep the bands at room temperature. You don't need to heat the bands.
Step 5: Fill and seal
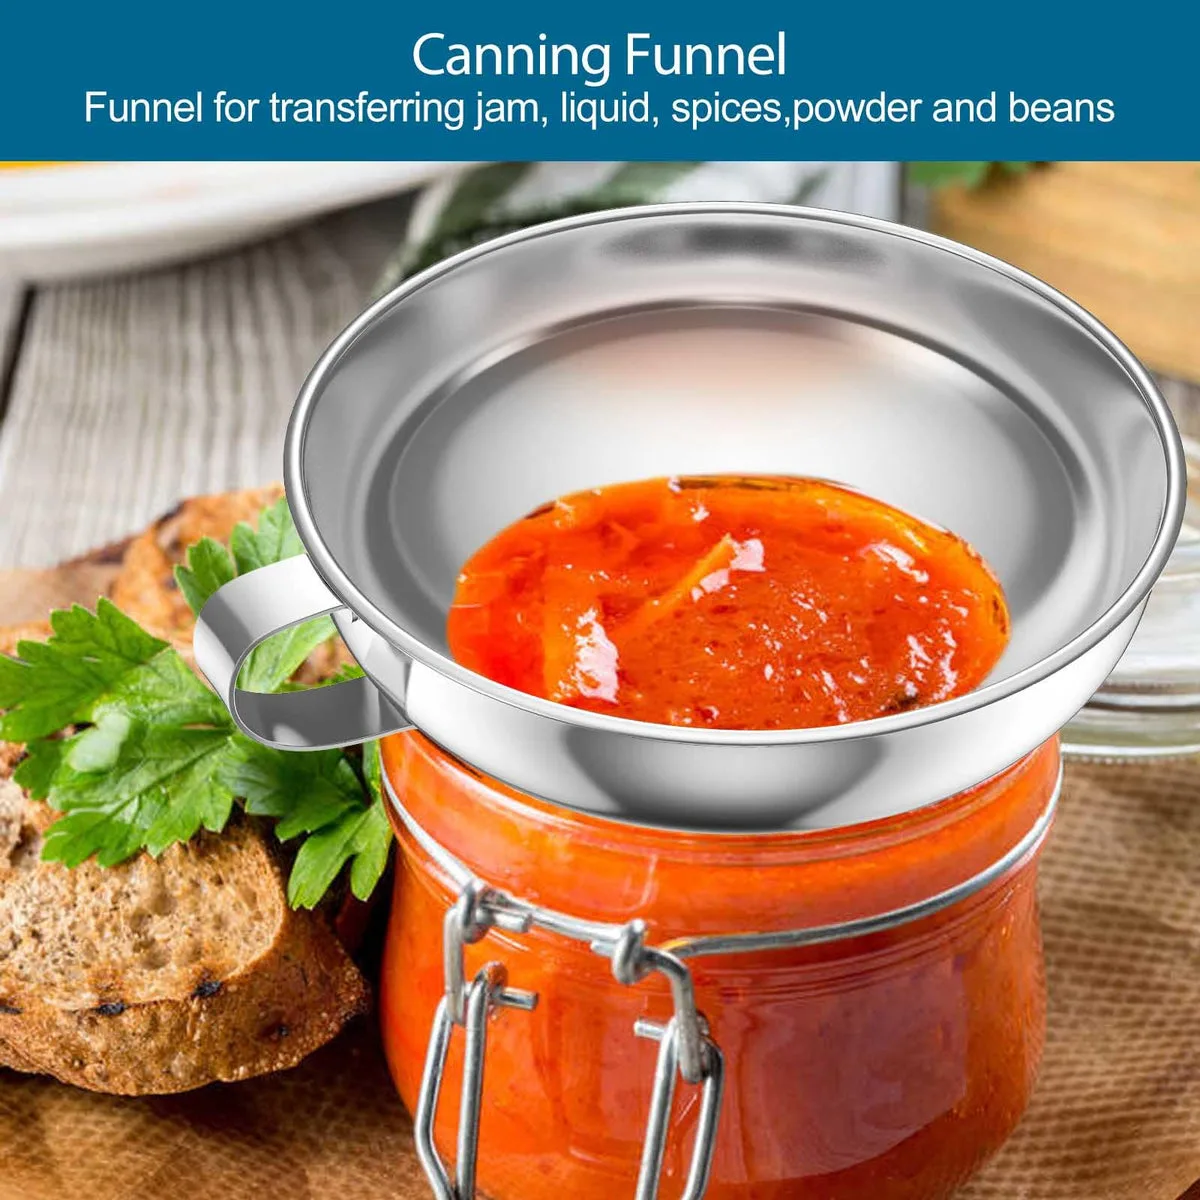
Use your jar funnel to fill each jar with your prepared food. Leave the correct headspace, more on that in the next section. Remove air bubbles with your bubble remover tool.
Wipe the rim with a clean damp towel. Place the lid on the jar, center it, and screw on the band until it's fingertip tight. That means tight enough to hold the lid in place but not so tight that you can't turn it another quarter turn with force.
The One Thing Beginners Get Wrong (Headspace & Sealing)
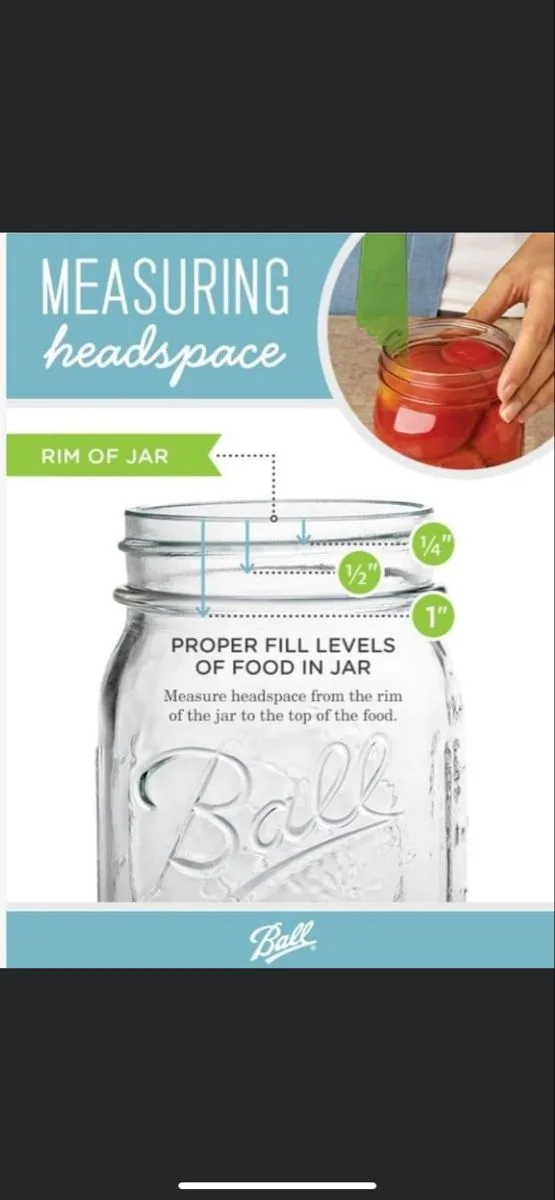
Headspace is the empty space between the top of your food and the rim of the jar. It's not just leftover room. It serves a specific purpose during processing.
Why headspace matters
During processing, the contents of the jar expand as they heat up. That expansion pushes air out of the jar. When the jar cools, a vacuum forms, and the lid seals down.
If you fill the jar too full, the expanding food can push out through the lid before it seals. That's called siphoning. You lose liquid, and you can get food residue between the lid and the rim, which prevents a proper seal.
If you leave too much headspace, there's too much air left in the jar. That air pocket can prevent a strong vacuum from forming. The lid might seal initially but fail later during storage.
Headspace by food type
| Food Type | Headspace | Examples |
|---|---|---|
| Jams and jellies | 1/4 inch | Strawberry jam, grape jelly |
| Fruits and tomatoes | 1/2 inch | Peaches, pears, whole tomatoes |
| Vegetables and meats | 1 inch | Green beans, corn, chicken, soups |
Those measurements are from the USDA guidelines. Use a headspace measuring tool or the marks printed on some jar necks to get it right.
The bubble problem
Even if you measure headspace correctly, air pockets can hide inside the jar. Those pockets are trapped between pieces of food. When the jar heats up, the trapped air expands and forces its way out.
That sudden release can push food up into the headspace or cause the liquid to overflow.
Always run your bubble remover tool around the inside of the jar after filling. You'll see bubbles surface. Do it gently.
You don't want to crush soft foods. Just release the pockets. Then check your headspace again and add more liquid if needed.
The rim wipe
This is the step that separates successful canners from frustrated ones. After filling and debubbling, take a clean damp towel and wipe the rim of the jar. Run your finger over the rim after wiping.
If it feels sticky or greasy, wipe again. The rim should be clean enough that you'd lick it without hesitation. Gross image, but accurate test.
A single grain of sugar or a drop of cooking liquid on that rim is enough to break the seal. We've seen entire batches fail because someone skipped this step.



