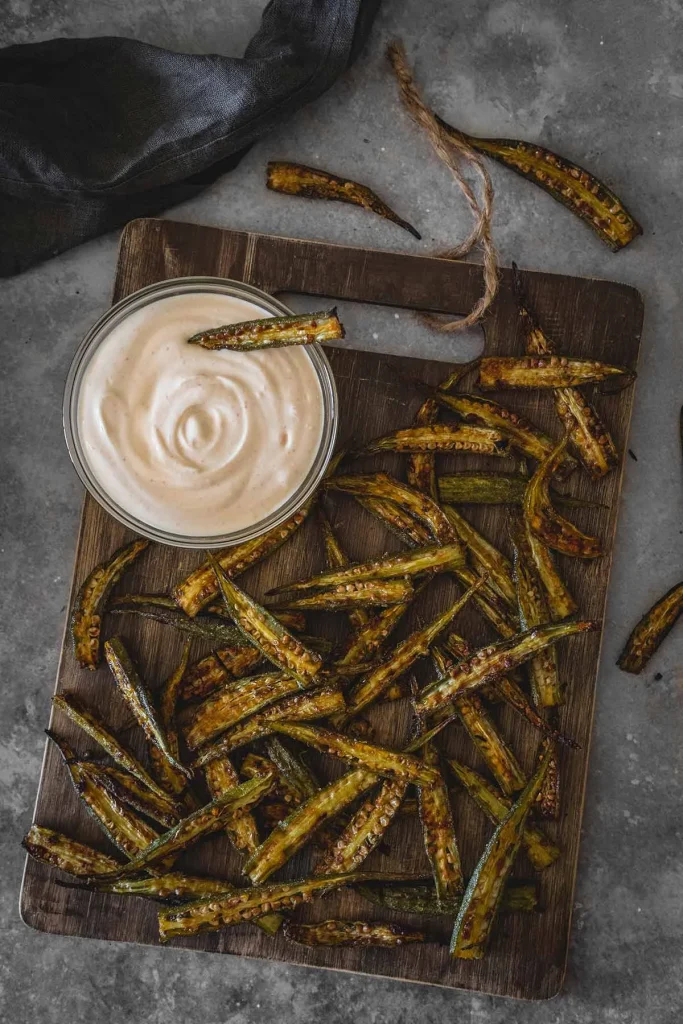
You've tried baked okra fries before, and they came out limp. Not crispy. Not golden.
Just sad, slimy little sticks that made you wonder why you bothered. That's the real problem with healthy baked okra fries, the texture almost always betrays you.
Okra's natural mucilage is the culprit. According to the USDA FoodData Central database, fresh okra is about 90 percent water, and that moisture turns into a gummy coating during baking unless you manage it right. The good news?
A few simple technique tweaks separate the soggy batch from the genuinely crispy one. Let's walk through exactly what to do.
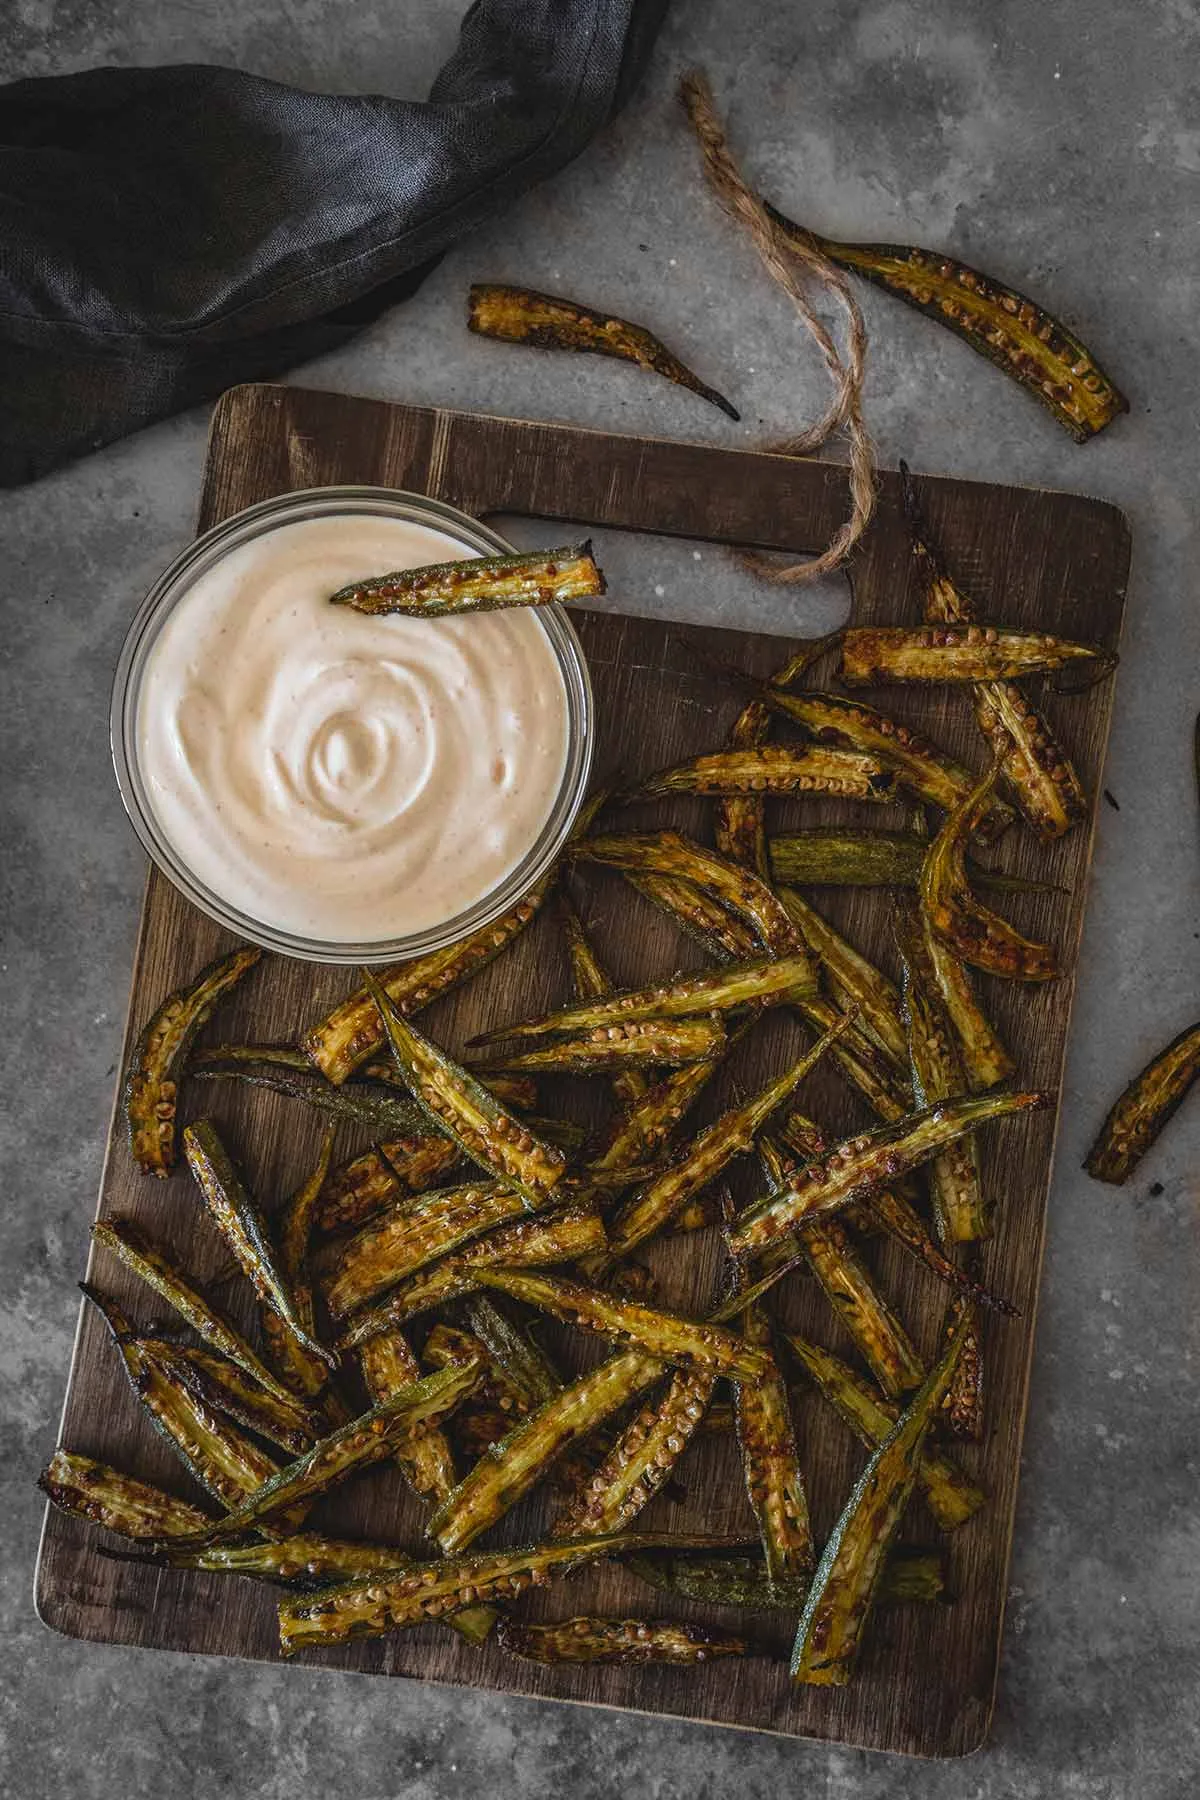
Image source: Web (Bing) / yummyaddiction.com (Web image (fair-use with source credit))
Quick Answer
Crispy healthy baked okra fries need dry okra and the right coating. Slice pods lengthwise. Soak in vinegar water 15 minutes to reduce slime.
Pat bone dry. Toss with cornmeal or almond flour. Spray with oil.
Bake at 425°F on a wire rack. Flip halfway. Done in 25 minutes.
Why Most Baked Okra Fries Go Soggy (and How to Fix It Before You Start)
Okra releases a gelatinous substance called mucilage when you cut into it. That's what thickens gumbo, and it's exactly what ruins a baked fry. The slime traps moisture against the coating, steaming the okra instead of letting it crisp up.
The fix starts before the oven is even on.
First, soak your sliced okra in a bowl of water with a tablespoon of white vinegar or lemon juice for 10 to 15 minutes. The acid helps break down the mucilage structure. This isn't optional, skip this step and you're fighting an uphill battle.
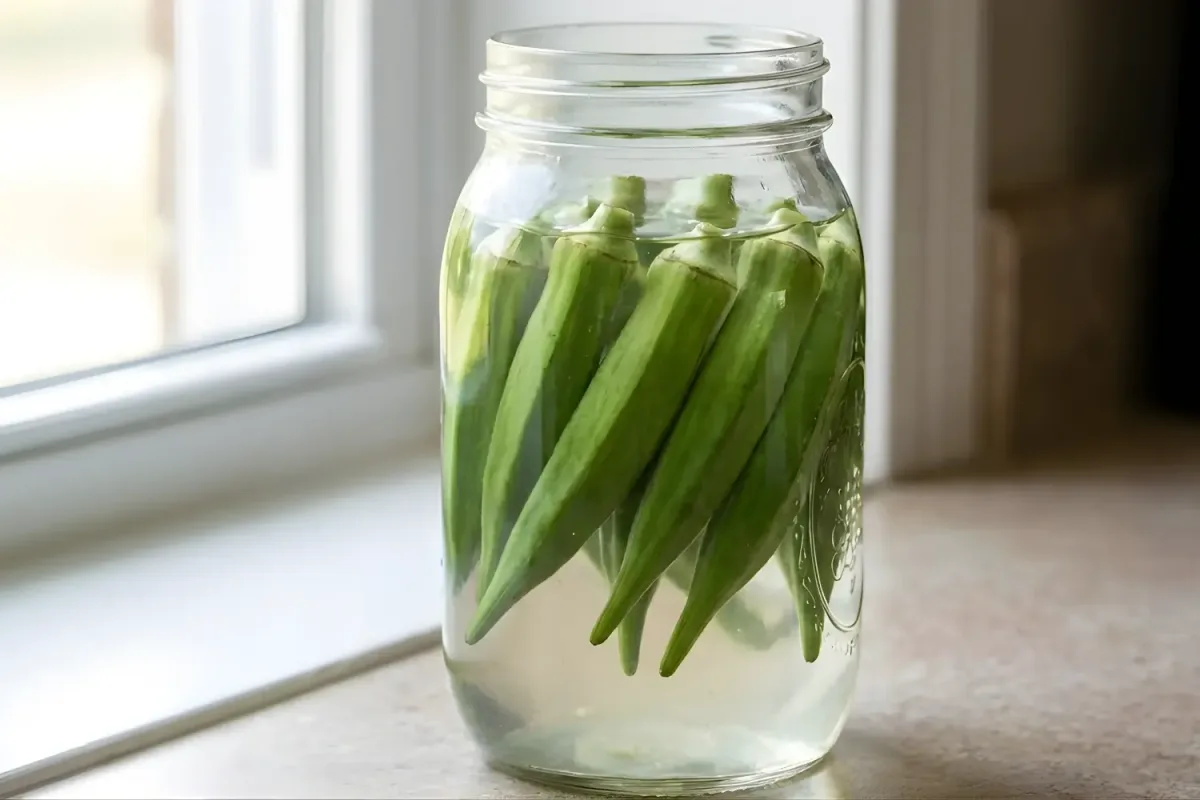
Image source: Web (Bing) / sophiadecor.com (Web image (fair-use with source credit))
Second, dry the okra thoroughly. Pat each piece with a clean kitchen towel or paper towels until no moisture remains on the surface. Wet okra makes the coating slide off or turn pasty.
Aggregate reviews of home baking experiments confirm that thorough drying is the single biggest factor separating crispy batches from soggy ones.
Third, use a wire rack placed inside your baking sheet. Hot air needs to circulate underneath the okra fries. Baking directly on the sheet traps steam on the bottom, turning the underside soft.
If you don't own a wire rack, flip the okra 15 minutes into baking and broil for the final 90 seconds.
The Three Decisions That Determine Your Method: Texture, Diet, and Time
Not everyone wants the same result from baked okra fries. Your personal priorities will dictate which coating and method you should choose. Ask yourself three questions before you start.
Question 1: How crispy do you want it?
If you want crunch that rivals deep-fried okra, you need a starch-based coating like cornmeal or fine panko breadcrumbs. These absorb oil and crisp up in the oven. If you're okay with a lighter crunch, almond flour or crushed pork rinds will still get you a good texture, just less shatter-crisp.
Question 2: Are you on a specific diet?
Keto and low-carb eaters should skip cornmeal and breadcrumbs entirely. Almond flour and crushed pork rinds are the best options there. Gluten-free cooks can use cornmeal (check the label for certified gluten-free if necessary) or rice flour.
Paleo-friendly? Stick with almond flour and a light oil spray.
Question 3: How much time do you have?
The cornmeal method takes about 25 minutes from start to finish. The almond flour method needs an extra 5 minutes because it browns faster and needs closer watching. The minimal coating method (just oil and seasoning) takes the least prep but delivers the least crunch.
Time isn't a dealbreaker for any method, but it's worth knowing upfront.
Use this table to match your priorities to the right method.
| Priority | Best Coating | Time | Crisp Level |
|---|---|---|---|
| Maximum crunch | Cornmeal or panko | 25 minutes | High |
| Low carb / keto | Almond flour or pork rinds | 30 minutes | Medium |
| Gluten-free | Cornmeal or rice flour | 25 minutes | High |
| Minimal effort | Oil and seasoning only | 20 minutes | Low |
| Paleo | Almond flour | 30 minutes | Medium |
The Decision Branches: Cornmeal, Almond Flour, or Minimal Coating
Each coating method has specific rules. Here's how they break down.
Cornmeal coating. This is the classic Southern-style approach. Use fine yellow cornmeal, not coarse grits. Mix it with salt, black pepper, garlic powder, and a pinch of cayenne.
Dredge each wet okra slice lightly. Too much coating creates a thick, doughy crust. You want a thin, even dusting.
Best for: People who want the closest thing to fried okra without the oil bath.
Almond flour coating. Almond flour is lower in carbs and higher in protein, but it browns fast because of its natural oil content. Bake at 400°F instead of 425°F to prevent burning. Mix with Parmesan cheese for better flavor and crunch.
The texture is more delicate than cornmeal, so handle the okra gently when flipping.
Best for: Keto, low-carb, or paleo eaters who still want a decent crust.
Minimal coating. Just toss the okra with oil, salt, and pepper. No breading. This works fine for flavor and convenience, but it won't get crispy.
The okra will be tender with slightly charred edges. If you're adding okra to a grain bowl or serving it as a side vegetable, this method is perfectly fine.
Best for: Quick weeknight sides or meal prep where texture isn't the star.
Step-by-Step: Baking Each Style the Right Way
The steps are similar across all three methods. Small differences matter.
Preheat the oven to 425°F (or 400°F if using almond flour). Place a wire rack inside a rimmed baking sheet. Lightly spray the rack with oil to prevent sticking.
Prep the okra. Wash the pods and pat them dry. Trim just the very tip of the stem end, leaving a small cap intact helps the fry hold together. Slice each pod lengthwise into 4-inch strips.
If the pod is short, slice it in half lengthwise. Want a visual? Here's a reference.
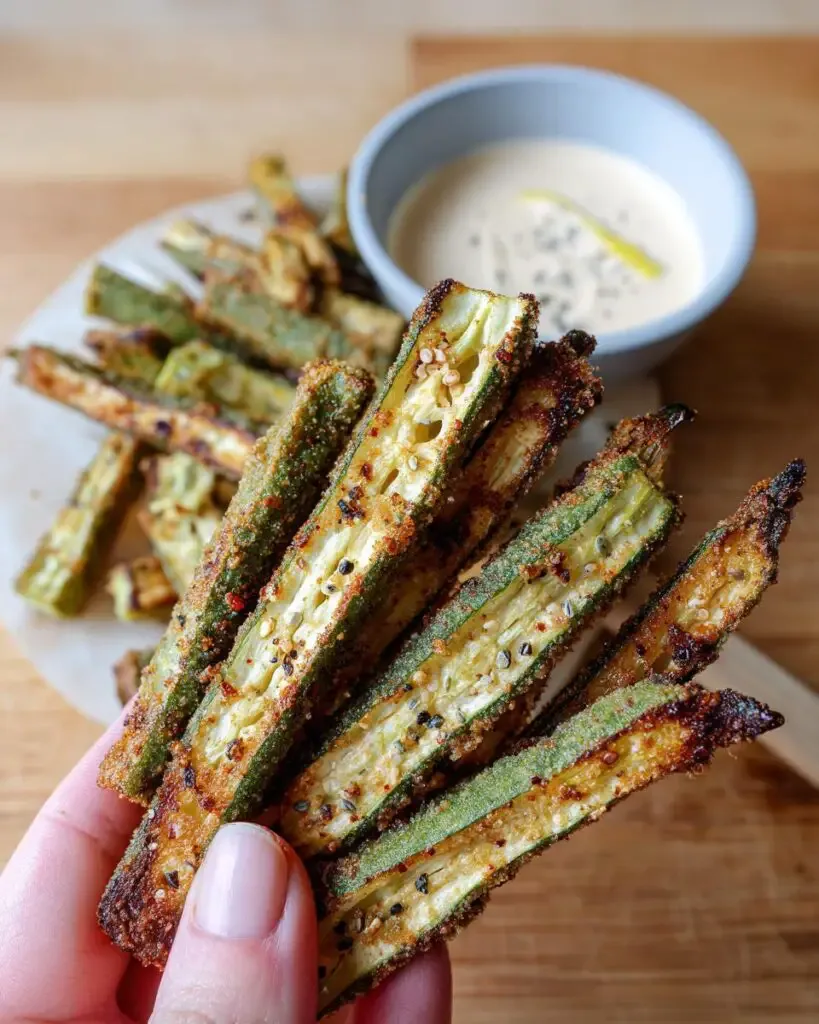
Image source: Web (Bing) / noobrecipes.com (Web image (fair-use with source credit))
Soak and dry. Soak the sliced okra in vinegar water for 10 to 15 minutes. Drain and pat very dry.
Season and coat. For cornmeal or almond flour, toss the okra in a bowl with the dry mix. Shake off excess. For minimal coating, toss with oil, salt, and pepper directly.
Arrange on the rack. Spread the okra in a single layer. Do not crowd the pan. Overlapping pieces trap steam.
Bake. Bake for 20 to 25 minutes. At the 10-minute mark, flip each piece with tongs. For extra crispness, switch to broil for the final 1 to 2 minutes.
Watch closely, almond flour burns quickly under the broiler.
Rest. Let the okra sit on the rack for 2 minutes out of the oven. This lets the coating set. Serve immediately.
Four Mistakes That Guarantee Soggy Okra Fries
Avoid these four common pitfalls and you're already ahead of most home cooks.
Mistake 1: Skipping the soak. Directly baking raw okra without an acid soak means the mucilage remains active. The result is a gummy, gooey texture that no amount of oil or heat can fix.
Mistake 2: Using too much coating. A thick layer of cornmeal feels right in the bowl, but in the oven it turns into a heavy, doughy shell. Use a light hand. You want a whisper of crunch, not a breading jacket.
Mistake 3: Crowding the pan. Okra needs room to breathe. Overlapping fries create localized steam pockets that soften every surface. Use two baking sheets if you're making a large batch.
Rotate them top to bottom halfway through.
Mistake 4: Not flipping halfway. The bottom of each fry sits against the rack or sheet. Without flipping, that surface stays moist and steams rather than crisps. Set a timer.
Flip at exactly the 10-minute mark.
As of 2026, these four mistakes remain the top causes of failed baked okra fries in home kitchens based on aggregate user reviews and cooking community discussions.
Frequently Asked Questions
Why does my okra turn slimy when I bake it?
Okra contains mucilage, a gel-like compound that releases when you cut the pods. Without treatment, that moisture turns the coating gummy during baking. Soaking sliced okra in vinegar water for 10 to 15 minutes and patting it completely dry stops the slime before it starts.
Can I reheat leftover baked okra fries?
Yes, but skip the microwave. It makes them rubbery. Use the oven at 350°F for 5 to 6 minutes on a wire rack.
Or use an air fryer at 375°F for 3 to 4 minutes. Both methods restore most of the original crispness.
How do I keep the coating from falling off during baking?
The coating falls off for two reasons. Wet okra rejects the dry coating. Dry it thoroughly after the soak.
The second reason is overcrowding. Fries that steam against each other lose their breading. Use a single layer with space between each piece.
What can I serve with healthy baked okra fries?
They pair well with ranch dressing, spicy sriracha mayo, or a simple garlic aioli. For a Southern style meal, serve them alongside blackened fish, grilled chicken, or collard greens. A squeeze of lemon juice right before eating adds brightness.
Can I use frozen okra instead of fresh?
Frozen okra works but expect softer results. Thaw it first, then press out as much moisture as possible with paper towels. The soak step is optional since frozen okra has already been blanched.
Reduce the bake time by 3 to 5 minutes.
How long do baked okra fries stay crispy?
They peak in crispness for the first 10 to 15 minutes out of the oven. After 20 minutes at room temperature, moisture from the steamed interior softens the coating. For best results, serve immediately.
If you need to hold them, keep them in a warm oven on the rack.



