You bought a tomato plant at the nursery, and now you're staring at a pot wondering what's next. Or maybe you've tried growing tomatoes before, only to watch them turn yellow, crack, or never ripen. You are not alone.
The truth is, growing tomatoes comes down to making the right decisions before you even put a plant in the ground, and the decisions change completely depending on your space, climate, and goals.
Per USDA hardiness zone data, the window for successful outdoor tomato growing ranges from 60 days in zone 3 to over 200 days in zone 10. That one number changes everything: what variety you can grow, whether you start from seed or buy transplants, and even how much fruit you'll pick before frost hits. So let's walk through the decisions you need to make, in the order they matter.
Quick Answer
Growing tomatoes means matching the right variety to your space and season. Pick determinate types if you want all your fruit at once for canning. Pick indeterminate varieties for steady harvests all summer.
Plant in full sun with rich, well-drained soil. Water deeply once a week. Support plants with cages or stakes from day one.
Watch for pests and water stress. Harvest when fruit color deepens and yields slightly to pressure.
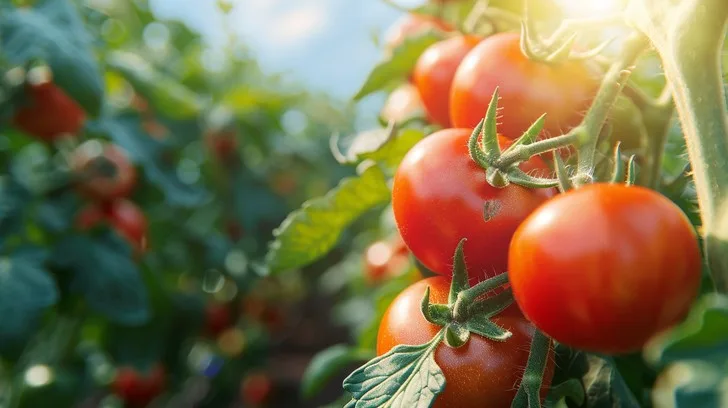
Image source: Web (Bing) / stockcake.com (Web image (fair-use with source credit))
Your Starting Point: What Kind of Tomato Grower Are You?
Before you pick a variety or buy a single seed, you need to answer three questions. These define every other decision in this guide.
How much space do you have? A single indeterminate tomato in a 10-gallon pot on a balcony can produce 20 pounds of fruit. But cramming four plants into a 2×4-foot bed with poor soil will leave you with a tangled mess and very few tomatoes. Be honest about your space.
It drives everything else.
How long is your growing season? Count the days between your average last spring frost and your average first fall frost. The USDA hardiness zone map available at usda.gov gives you a starting point. But local microclimates matter too.
If you have fewer than 60 frost-free days, you need an early determinate variety and probably a heat mat to start seeds indoors.
What do you want to do with the tomatoes? This sounds obvious, but it's the question most beginners skip. If you want slicers for sandwiches, choose beefsteak types. If you want sauce, go with paste tomatoes like Roma or San Marzano.
If you want a continuous supply of salad tomatoes, cherry indeterminates are your best bet. Each use case points to a different variety group with different growth habits and care needs.
Accounting for your conditions now saves you from buying the wrong plant later. And the single biggest fork in the road is the question of determinate versus indeterminate growth.
The Big Fork in the Road: Determinate vs. Indeterminate
This is not a subtle difference. It changes how you prune, how you support the plant, how you water, and when you harvest. Here is the breakdown.
Determinate (bush) tomatoes grow to a specific height, usually 2 to 4 feet, then stop. They produce all their fruit over a short window, typically 2 to 4 weeks. After that, the plant declines.
You do not prune them much beyond removing lower leaves. They work well in containers and small spaces because they stay compact. They also work for canning, because you get a big harvest all at once.
Indeterminate (vining) tomatoes keep growing upward all season until frost kills them. They produce fruit continuously, giving you a steady supply rather than one big wave. They need tall stakes, cages, or trellises.
They need regular pruning (removing suckers) to keep the plant manageable and to direct energy into fruit. They are the better choice if you want fresh tomatoes from July through October.
If you are still unsure, ask yourself this: do you have a 6-foot trellis or cage, and are you willing to prune weekly? If yes, go indeterminate. If you want a low-maintenance plant in a pot on the patio, go determinate.
Here is how they stack up side by side.
| Factor | Determinate | Indeterminate |
|---|---|---|
| Typical height | 2–4 feet | 5–8+ feet |
| Support needed | Small cage or stake | Tall stake, cage, or trellis |
| Harvest window | 2–4 weeks | Continuous until frost |
| Best for | Containers, canning, short seasons | Long seasons, fresh eating all summer |
| Pruning | Light (remove lower leaves) | Regular sucker removal |
| Days to maturity | Usually shorter (50–70 days) | Often longer (70–90+ days) |
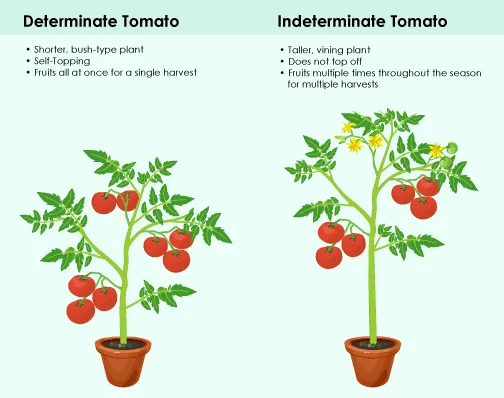
Image source: Bing (Web (fair-use with source credit))
The exception worth knowing: some varieties are called semi-determinate. They grow a little taller than a true determinate, but not as sprawling as an indeterminate. They still produce most of their fruit in a compressed window.
If you see this label, treat it like a determinate for support and pruning purposes.
Where Will You Plant? Choosing Between In-Ground, Raised Beds, and Containers
Your planting method is the second major decision. Each one has strengths and specific requirements. None is universally better.
The right choice depends on your soil conditions, mobility needs, and willingness to water.
In-ground beds give tomato roots the most room to spread. A well-prepared in-ground bed with rich, loose soil can produce the most vigorous plants. The catch is that your native soil has to be good or you need to improve it significantly.
Aggregate reviews from Cooperative Extension resources indicate that most home garden soils benefit from 2 to 4 inches of compost tilled in before planting. You also need to wait until soil temperature reaches at least 60°F, measured 4 inches deep, or the plant will sulk.
Raised beds offer better drainage and warmer soil in early spring. They also give you control over soil quality since you fill them with your own mix. University extension guides recommend a bed depth of at least 12 inches for tomatoes, with 18 inches being better.
The downside is the upfront cost of materials and the need for more frequent watering compared to in-ground beds. But if your native soil is heavy clay or pure sand, a raised bed can be the difference between a harvest and a disappointment.
Containers are for anyone with a patio, balcony, or limited space. They are also great for gardeners who want to move plants to catch sun or avoid storms. The rule is simple: bigger is better.
A 5-gallon container is the absolute minimum for one determinate plant. A 10-gallon container or larger is ideal for an indeterminate. Plastic pots retain moisture better than terracotta, but terracotta is fine if you water more often.
The biggest mistake with containers is using too-small pots that dry out before dinnertime on a hot July day.
Here is the quick comparison.
| Factor | In-Ground | Raised Bed | Container |
|---|---|---|---|
| Soil quality | Must amend native soil | Full control with fill mix | Potting mix required, no garden soil |
| Warm-up time | Slowest to warm | Warms faster than in-ground | Fastest to warm |
| Watering need | Least frequent | Moderate | Most frequent (daily in heat) |
| Space required | Large | Medium | Small |
| Upfront cost | Low (just compost) | Medium (materials) | Low to medium (pot + soil) |
| Portability | None | None | Yes |
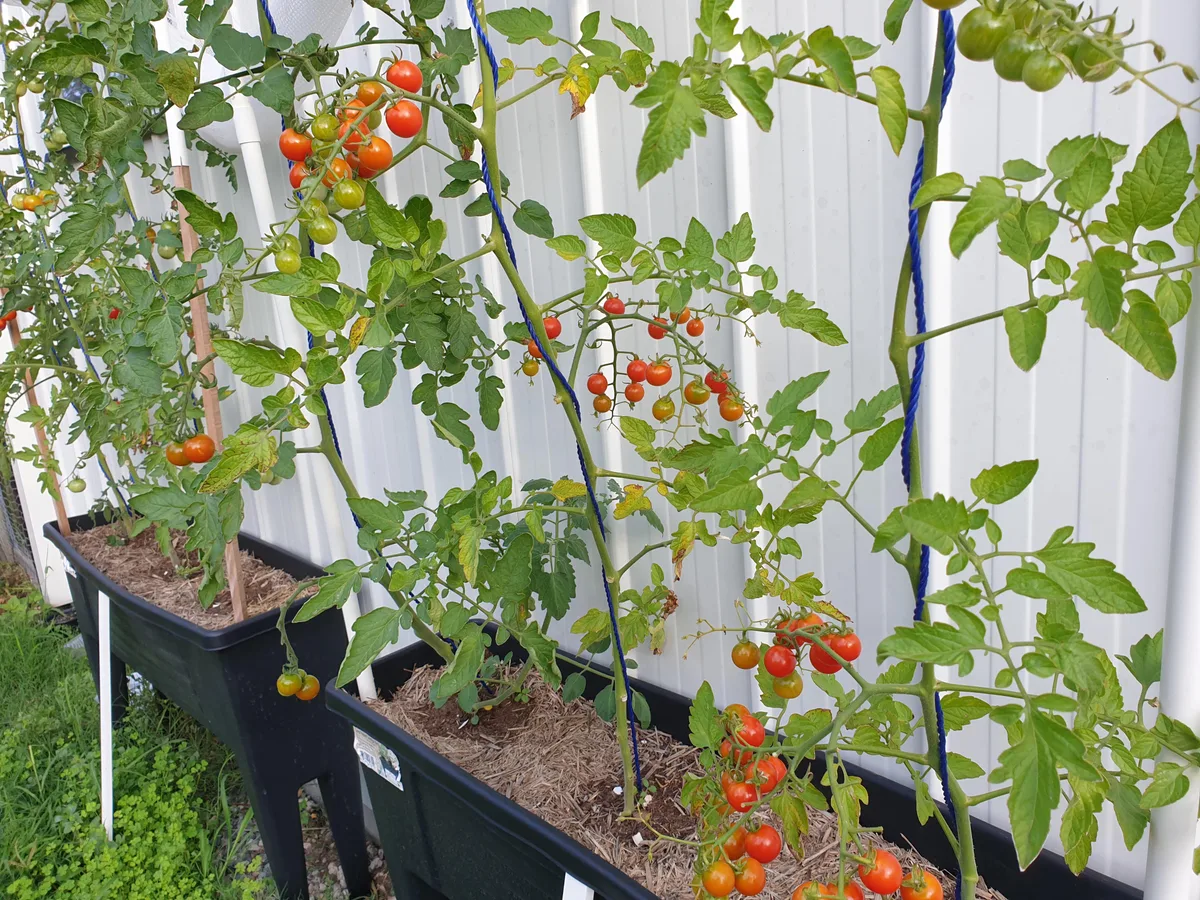
Image source: Bing (Web (fair-use with source credit))
A note on drainage: no matter which method you pick, tomatoes hate sitting in wet soil. If your in-ground area holds puddles for more than a few hours after rain, build a raised bed or mound the soil. Container growers should ensure drainage holes are unblocked and that the pot sits on feet or bricks to allow water to escape.
Step by Step: Your Grow-From-Transplant Workflow
Most home gardeners buy transplants rather than starting from seed. This skips the tricky early stages and gives you a 6- to 8-week head start. Here is the workflow that gets those transplants into the ground successfully.
Step 1: Harden off your plants. Transplants straight from the nursery have been babied in perfect conditions. If you put them outside without adjustment, sun and wind will shock them badly. Start by placing them outside in a shady, protected spot for 2 hours on day one.
Add an hour each day and gradually introduce more direct sun. By day 7 to 10, they should be ready for full sun all day. If you skip this step, expect wilted, stunted plants that take weeks to recover.
Step 2: Prepare your planting hole. Dig a hole deeper than the root ball. Tomato plants can grow roots along their stem if you bury part of it. Remove the lower leaves from the transplant, leaving the top cluster.
Bury the plant so that only the top 3 to 4 inches of stem and leaves are above ground. This encourages a deep, strong root system. Add a handful of compost to the bottom of the hole and mix it with the existing soil.
Step 3: Install support at planting time. This is non-negotiable. Push your cage, stake, or trellis into the ground before you firm the soil around the transplant. If you wait until the plant is 2 feet tall and floppy, you risk damaging roots to force a support in later.
For cages, choose ones with openings large enough to reach through for harvest. For stakes, drive them at least 12 inches into the ground.
Step 4: Water deeply immediately after planting. Give each transplant at least a gallon of water right at the base. This settles the soil around the roots and eliminates air pockets. Then apply a 2- to 3-inch layer of mulch around the base, keeping it a few inches away from the stem.
Straw, shredded leaves, or untreated grass clippings all work. Mulch keeps soil moisture even and prevents soil from splashing onto lower leaves, which reduces disease risk.
Step 5: Follow a consistent watering schedule. For the first week, water every day or two to keep the root zone moist while the plant establishes. After that, switch to deep, infrequent watering, about 1 to 2 inches per week, applied all at once. A soaker hose or drip line is ideal because it delivers water to the roots without wetting the foliage.
Wet leaves invite fungal disease. Water in the morning so any accidental splashes dry quickly.
Step 6: Wait two weeks before fertilizing. The compost in the planting hole plus the starter nutrients in the potting mix are enough for the first two weeks. After that, begin a balanced tomato fertilizer according to the label instructions. Look for a formula with lower nitrogen and higher phosphorus and potassium, a 5-10-10 ratio is common.
Too much nitrogen early on gives you a huge, leafy plant with very few flowers.



