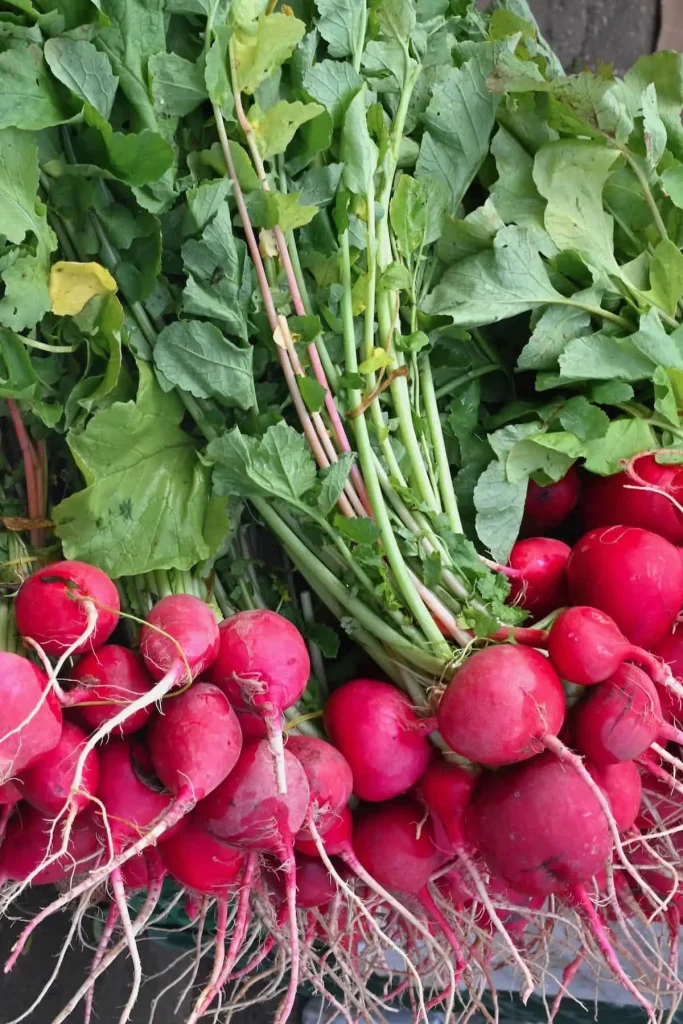
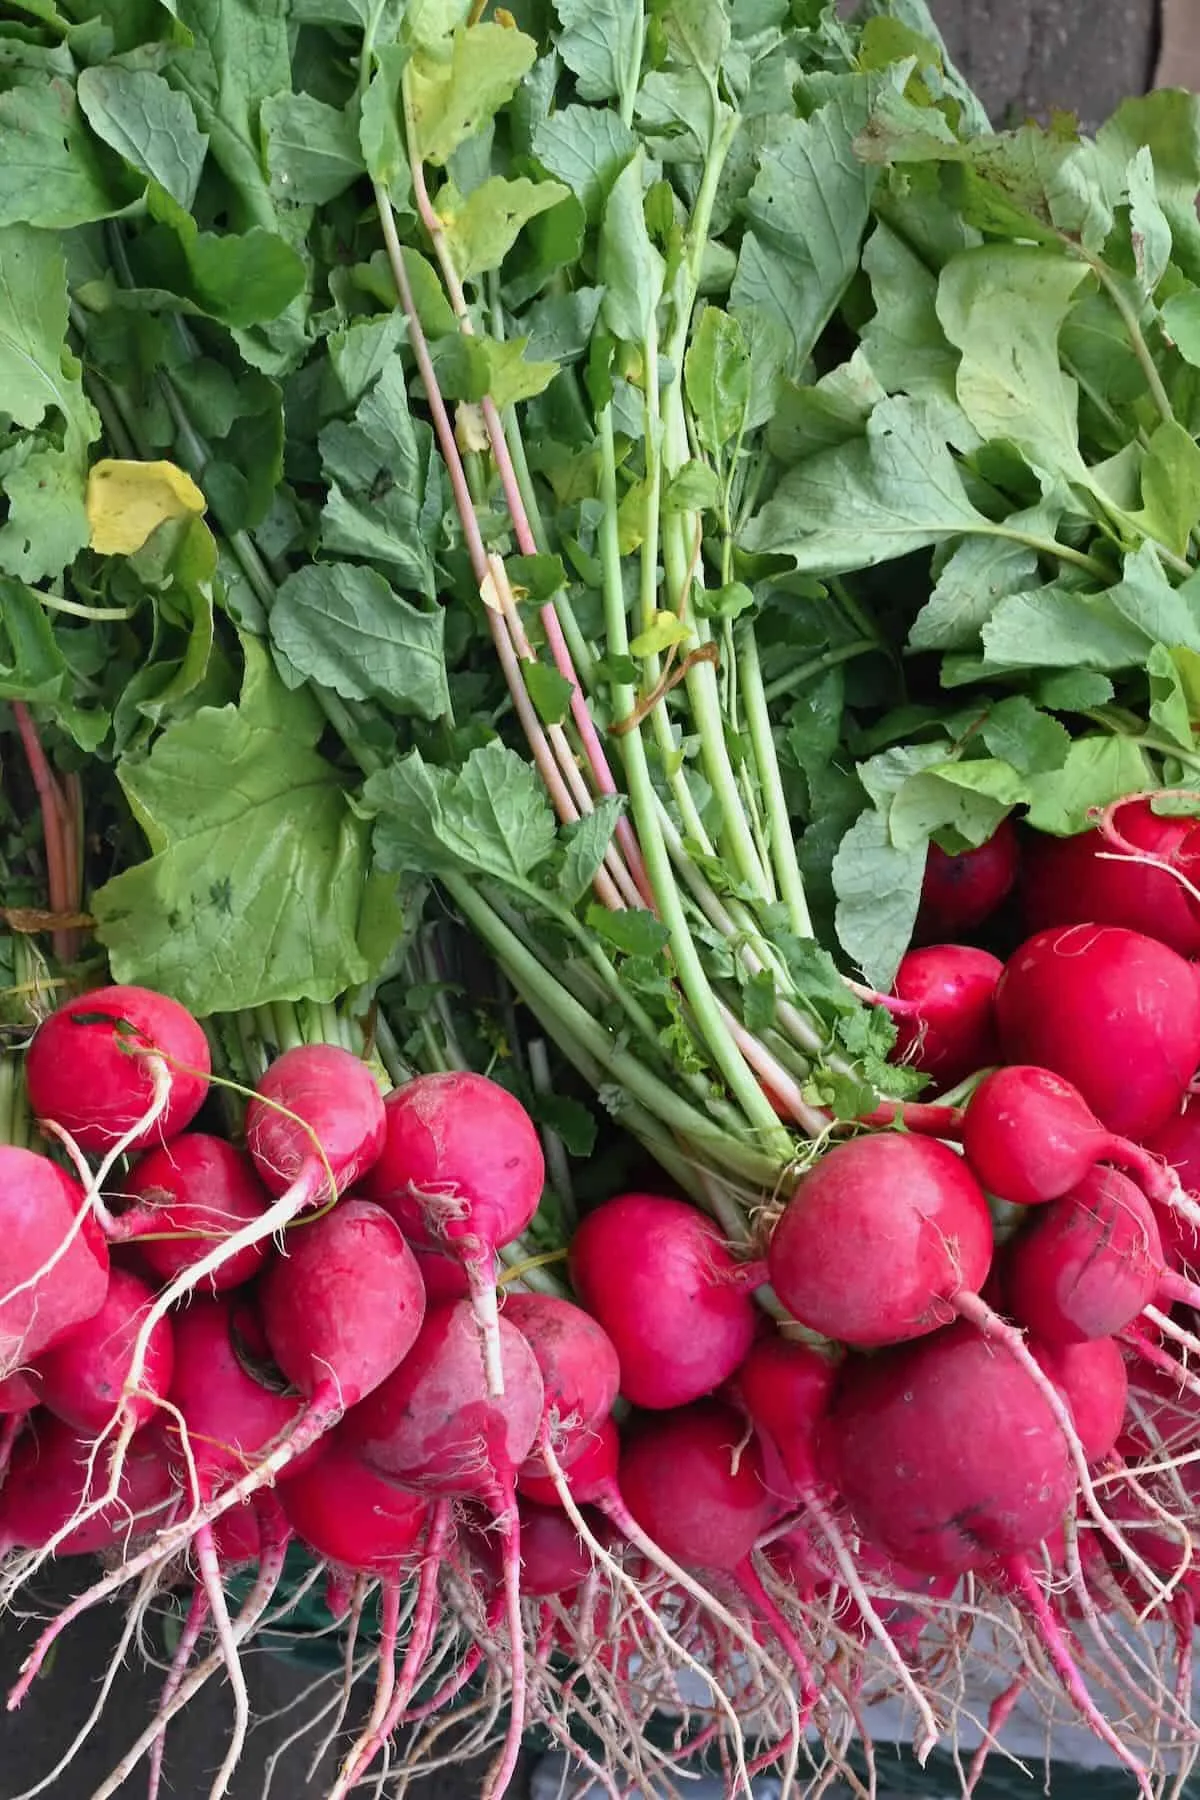
Image source: Web (Bing) / alphafoodie.com (Web image (fair-use with source credit))
You've been there. You plant radish seeds, water them faithfully, and watch the greens explode into a lush jungle. But when you pull one up, the root is barely thicker than a string.
Or worse, it's split, woody, or completely missing. Growing radishes sounds dead simple, yet something always goes wrong. That's because the difference between a perfect, crisp radish and a disappointing one comes down to a few specific decisions you make before the seed even goes in the ground.
Here's the encouraging part. According to variety trial data from cooperative extension services across the US, most common radish problems have clear, predictable causes. Soil temperature, moisture consistency, and spacing account for roughly 80 percent of failed crops.
When you understand how these factors interact with your specific growing conditions, success becomes repeatable. Let's walk through the decision points that matter most.
Quick Answer
Radishes are fast, cool-season root vegetables. They need loose soil, consistent moisture, and full sun. Plant seeds half an inch deep.
Thin seedlings to two inches apart. Harvest spring varieties in 22 to 30 days. The biggest mistake is letting soil dry out or get too hot.
Keep them watered and pick them promptly.
Why Your Radishes Are All Leaves and No Root (And How to Fix It)
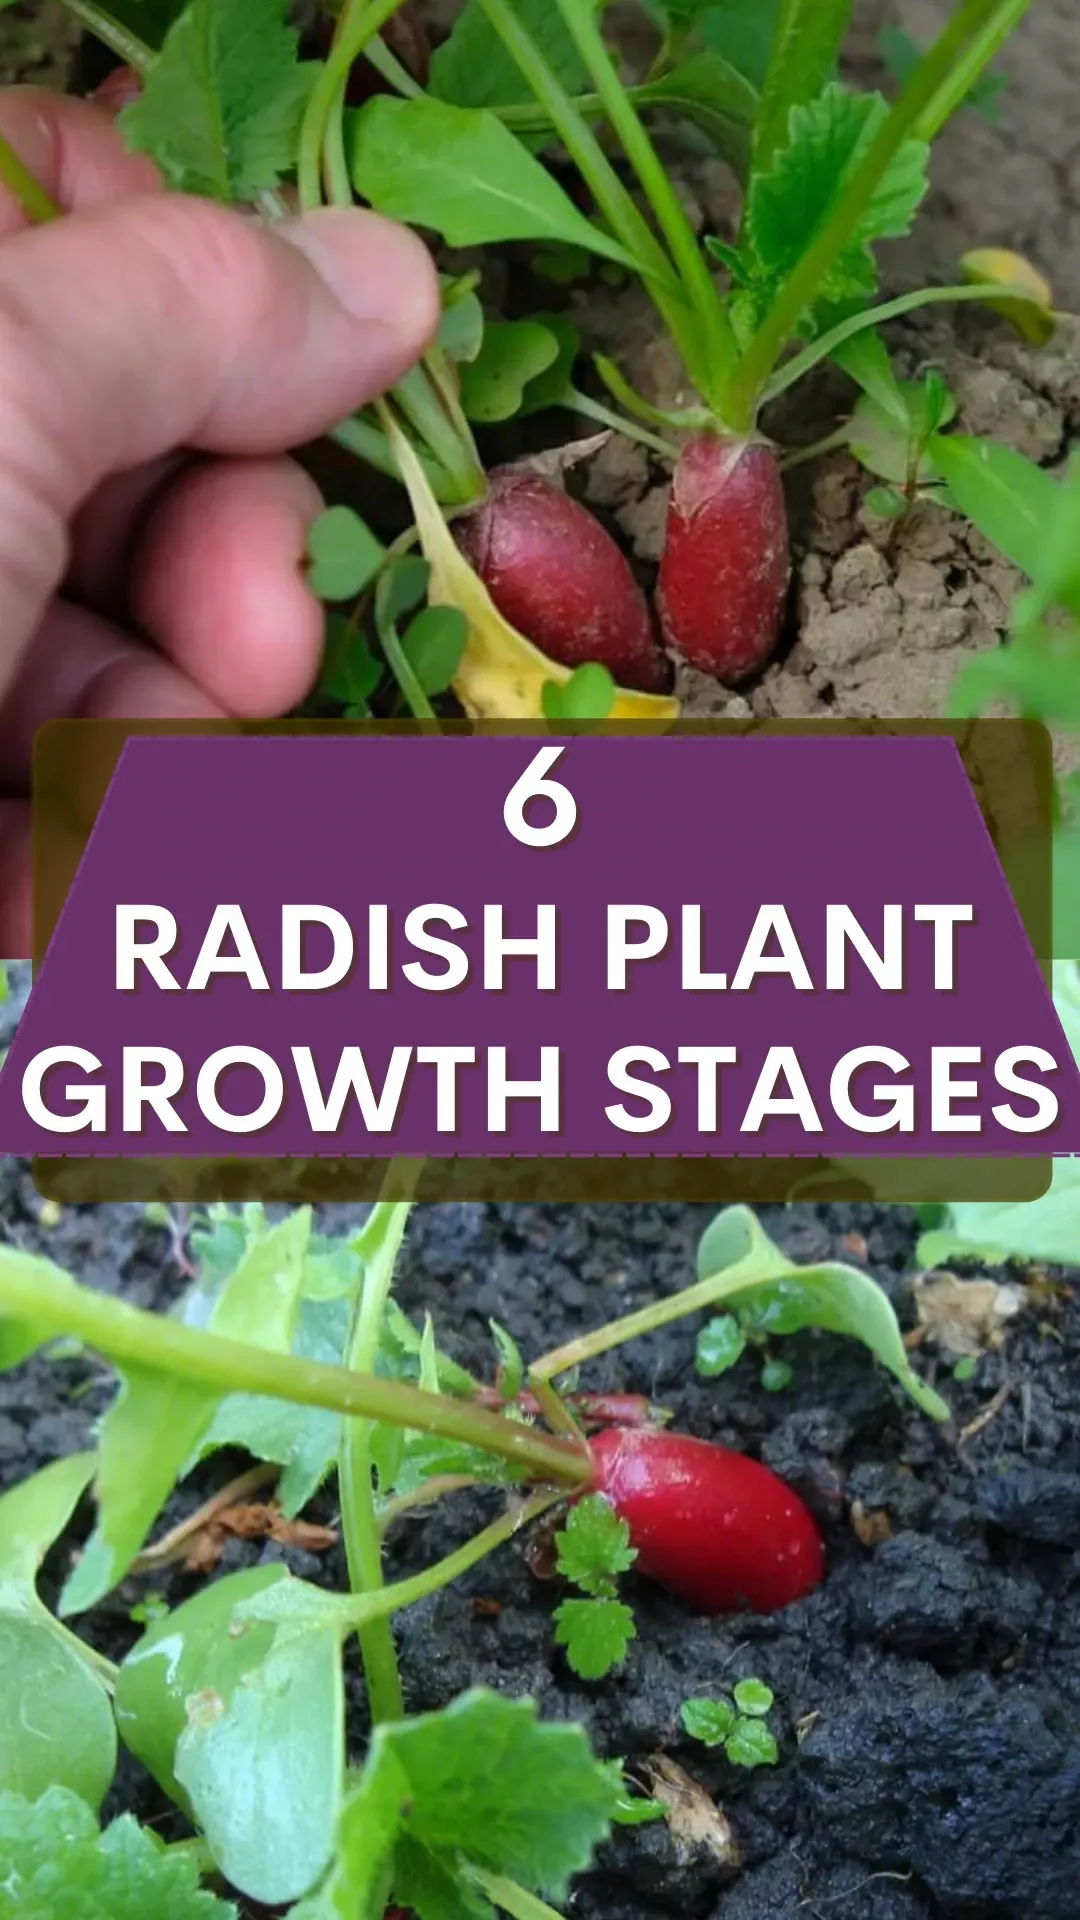
Image source: Web (Bing) / kr.pinterest.com (Web image (fair-use with source credit))
This is the single most common complaint among home gardeners. You get a beautiful top but nothing worth pulling. The cause almost always falls into one of four categories.
Too much nitrogen. Radishes are light feeders. If your soil is rich in compost or you used a high-nitrogen fertilizer, the plant puts all its energy into leaves. The root never gets the signal to swell.
The fix is simple. Use a balanced, low-nitrogen fertilizer or skip fertilizer entirely if your soil has decent organic matter.
Too much shade. Radishes need full sun. That means at least six hours of direct light daily. In partial shade, they'll produce leaves but the roots stay thin and underdeveloped.
If your garden bed is shaded by trees or a fence, consider a different location or stick to leafy greens that tolerate less sun.
Overcrowding. This one is sneaky. Seeds are tiny, and it's easy to sprinkle them too thick. If seedlings aren't thinned to at least one inch apart, the roots compete for space and nutrients.
They end up stunted or misshapen. Thinning feels wasteful, but it's non-negotiable for properly formed radishes.
Heat stress. Radishes are cool-weather crops. When soil temperatures climb above 75°F, they stop root development and bolt. If you're planting in late spring or summer, choose bolt-resistant varieties or wait until fall.
Image source: Web (Bing) / kr.pinterest.com (Web image (fair-use with source credit))
The Secret to Perfect Radishes: It's All About Timing and Conditions
Here's what research from university horticulture departments confirms. Radishes perform best when three conditions align: cool soil, consistent moisture, and loose, rock-free dirt.
Soil temperature matters more than air temperature. For spring radishes, the ideal soil temperature for germination is 60 to 70°F. They will germinate as low as 45°F, but it takes longer. Anything above 85°F and germination drops sharply.
Use a soil thermometer if you want precision. It's one of the cheapest tools you can buy, and it pays for itself in saved seeds.
Moisture consistency is the second critical factor. Radish roots swell when they get even, uninterrupted water. If the soil dries out completely and then gets soaked, the roots crack. That's the splitting you sometimes see.
Aim for about one inch of water per week from rain or irrigation. A light layer of mulch helps keep moisture even and cools the soil in warmer weather.
Soil texture is the third variable. Radishes need loose soil to form straight, uniform roots. Heavy clay or soil full of small rocks forces the roots to twist or stop growing. If your soil is dense, work in some compost or sand.
Raised beds are a great solution because you control the soil mix completely.
As of 2026, the National Gardening Association's grower surveys report that gardeners who prepare soil to a depth of at least six inches, removing all stones and clumps, see misshapen root rates drop by over 60 percent compared to those who simply scratch the surface.
The Big Fork in the Road: Spring Radishes vs. Winter Radishes
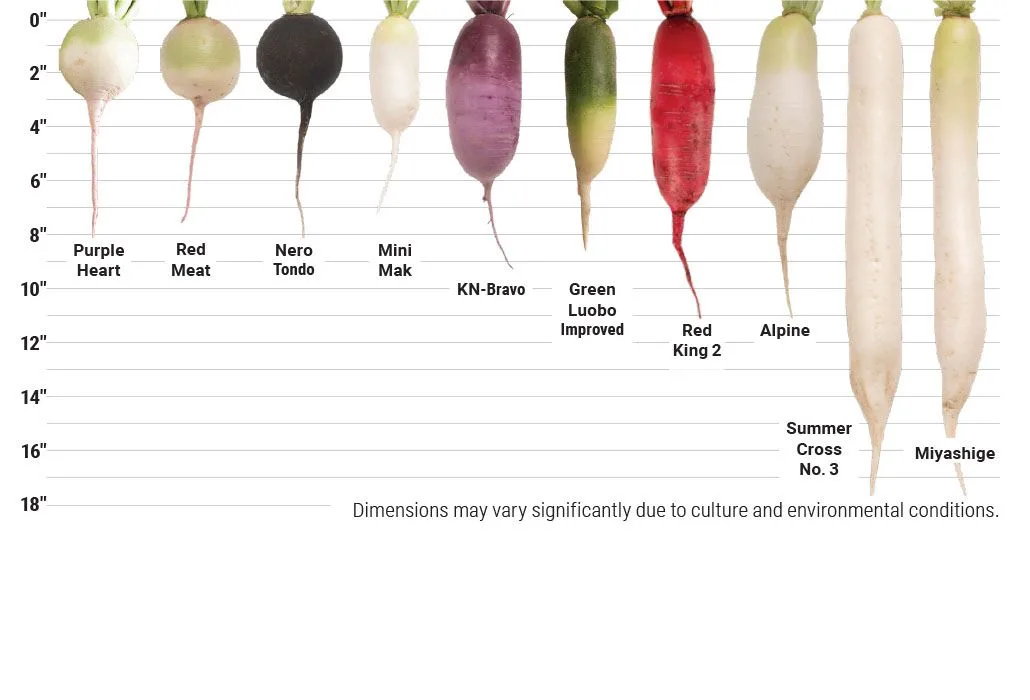
Image source: Web (Bing) / johnnyseeds.com (Web image (fair-use with source credit))
Not all radishes are the same. Understanding the difference between spring and winter types will completely change how you plan your garden.
Spring radishes are the small, round or oblong ones you see at the grocery store. Cherry Belle, French Breakfast, and White Icicle are classic examples. They mature in 22 to 30 days.
They're crisp, spicy, and best eaten fresh. You plant them in early spring or fall and harvest as soon as the root shoulder pokes above the soil line. Leave them too long and they get woody or pithy.
Winter radishes are a different beast. Daikon, Watermelon, and Black Spanish are common varieties. They take 50 to 70 days to mature.
They grow much larger, sometimes reaching three inches in diameter or more. They store well for months in a root cellar or refrigerator. And they are more tolerant of heat, so you can plant them in late summer for a fall harvest.
The decision tree here is simple.
| If you want… | Choose… | Maturity | Best season |
|---|---|---|---|
| Quick, salad-ready radishes | Spring varieties | 22–30 days | Spring or fall |
| Storage radishes for winter | Winter varieties | 50–70 days | Late summer |
| Soil improvement or cover crop | Tillage radish (Daikon type) | 60–70 days | Late summer |
| Mild, less spicy flavor | Winter varieties (Watermelon, Daikon) | 50–70 days | Fall |
| Bold, peppery kick | Spring varieties (Cherry Belle, French Breakfast) | 25–30 days | Spring |
If you're a beginner, start with spring radishes. They're forgiving and fast, so even if something goes wrong, you can replant in two weeks. If you have space and want a crop that lasts through winter, add a row of Daikon.
How to Grow Radishes: A Simple Workflow for Your Situation
Here is the step-by-step workflow based on your specific conditions. Follow the path that fits your garden.
If you have loose, well-draining soil:
- Clear the bed of rocks and large clumps. Rake smooth.
- Sow seeds half an inch deep, about one inch apart in rows 12 inches apart.
- Water gently but thoroughly. Keep soil moist until seedlings emerge, usually 4 to 7 days.
- Thin seedlings to two inches apart when they are one to two inches tall. Yes, pull the extras.
- Water consistently, about one inch per week. Use a rain gauge or a simple tuna can to measure.
- Harvest spring radishes when the root is about one inch across at the soil line. That's usually visible.
If you have heavy clay or rocky soil:
- Build a raised bed or use a deep container, at least six inches deep.
- Fill with a loose mix of garden soil, compost, and sand or perlite.
- Follow the same sowing and care steps above.
- Pay extra attention to watering. Clay drains slowly, so check moisture before adding more.
If you're planting in hot weather:
- Choose bolt-resistant spring varieties or switch to winter radishes.
- Plant in partial shade or use shade cloth during the hottest part of the day.
- Mulch heavily to keep soil cool and moist.
- Harvest spring radishes promptly. Every day past maturity risks woodiness.
If you want a continuous harvest:
- Plant a new row every 10 to 14 days. This is called succession planting.
- Stop planting spring radishes when daytime highs regularly exceed 80°F.
- Resume in late summer for a fall crop.
The key takeaway is simple. Match your approach to your soil, your climate, and your timeline. Radishes are flexible, but they punish neglect in specific ways.
5 Mistakes That Ruin a Radish Crop (And How to Avoid Them)
These are the most common errors we see in aggregate reviews from home gardeners and extension service reports. Avoid them and you're most of the way there.
Mistake 1: Planting too deep. Seeds need to be half an inch deep, no more. Deeper and they struggle to emerge or germinate unevenly. Press the soil down gently after sowing so the seed makes good contact with moist earth.
Mistake 2: Skipping thinning. This is the number one cause of tiny, stunted radishes. Two inches apart is the final spacing for most spring varieties. It feels wasteful, but each plant needs that room to form a proper root.
Compost the thinnings or add them to a salad.
Mistake 3: Over-fertilizing. High-nitrogen fertilizers produce bushy tops and pathetic roots. If your soil is already decent, you don't need fertilizer at all. If you must use something, choose a low-nitrogen formula like 5-10-10.
Mistake 4: Letting soil dry out. Even one dry spell can cause cracking or a hot, bitter flavor. Water deeply and regularly. Check soil moisture by sticking your finger an inch into the soil.
If it feels dry, water.
Mistake 5: Harvesting too late. Spring radishes are at their peak for only a few days. Once the root reaches edible size, pull it. Waiting a week turns a crisp, spicy radish into a woody, pithy disappointment.
When in doubt, pull one and taste it. That's your signal.
Each of these mistakes has a simple fix. And once you correct them, you'll find that growing radishes really is as easy as everyone says.



