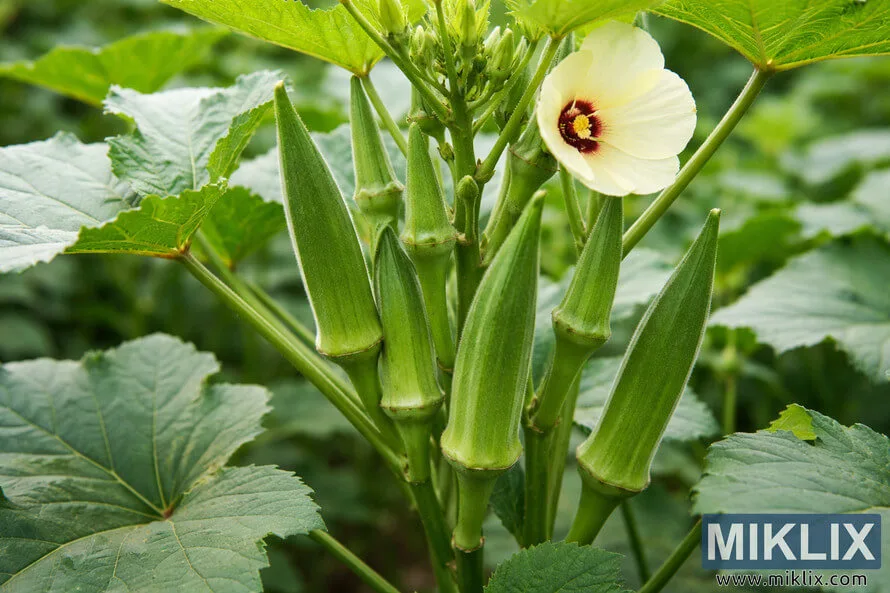
If you’ve ever tried growing okra and ended up with tough, stringy pods or plants that just sat there, you’re not alone. The real trick to growing okra isn’t complex, it’s knowing the exact conditions it craves and making the right choices before you even put a seed in the ground. Most failures come from treating okra like any other warm‑weather vegetable.
It’s not.
Soil temperature below 65°F will stop okra seeds cold. Germination essentially halts. And if you plant too early, seeds rot.
That’s not a guess, it’s been confirmed in research from multiple state university extension programs. The first step to a great harvest is understanding that okra answers to heat, not the calendar.
Quick Answer
Okra needs warm soil, full sun, and consistent heat. Wait until your soil hits 65°F before planting. Choose a variety that matches your season length.
Water deeply once a week. Harvest pods at 2, 3 inches. Avoid over‑fertilizing with nitrogen.
With those basics, okra is one of the easiest summer crops.
Why Most Okra Gardens Disappoint (and What to Do Instead)
The biggest mistake home gardeners make is rushing. They see the last frost date pass, plant seeds, and then wonder why nothing happens. Okra is a tropical annual.
It evolved in hot, humid climates. Treat it like a pepper or a tomato, and you’ll get weak plants or no harvest.
Here’s what usually goes wrong:
- Planting too early. Even if the air feels warm, the soil may still be cold. Okra seeds need sustained soil warmth, not just a day or two.
- Using the wrong variety for your season length. A long‑season heirloom in a short‑summer zone will never mature.
- Overwatering. Okra is drought‑tolerant once established. Wet feet cause root rot.
- Fertilizing with high‑nitrogen mixes. Big leafy plants produce few pods.
- Harvesting too late. Pods turn woody in a matter of days.
The fix? Slow down. Measure your soil temperature.
Pick a variety that fits your climate. Water deep but infrequent. Harvest often.
That’s it.
The Two Things You Absolutely Must Get Right First
If you only remember two things from this guide, these are them. Everything else can be adjusted. These two decide whether your okra thrives or struggles from day one.
Soil Temperature — The #1 Difference Maker
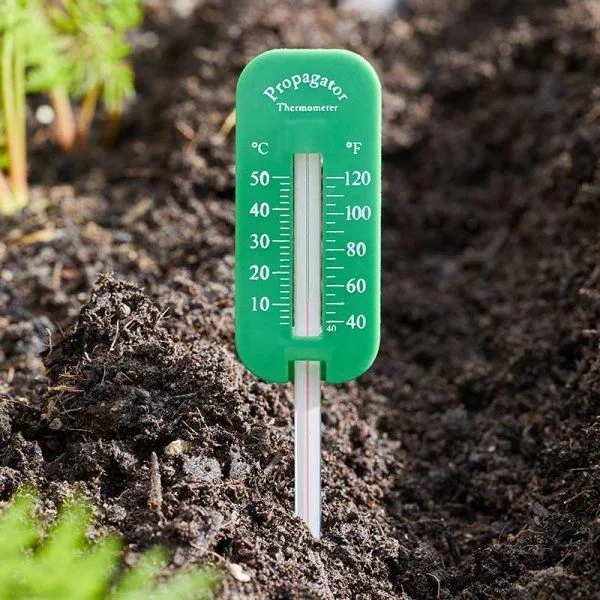
Okra seeds will not germinate reliably in soil colder than 65°F. Below that, germination slows, and seed‑rotting fungi take over. Ideal soil temperature for rapid, strong germination is 70, 85°F.
Use a soil thermometer to check the temperature at planting depth, about 1 inch down, early in the morning. If it’s below 65°F, wait.
Black plastic mulch is a simple tool to warm the soil faster. Lay it down a week or two before your planned planting date. It traps heat and can raise soil temperature by several degrees.
In cooler climates, it’s almost essential.
Timing Your Planting Around Your Last Frost Date
The old advice “plant after the last frost” isn’t precise enough for okra. A light frost kills okra plants outright. But even a frost‑free night doesn’t mean the soil is warm enough.
Wait at least two weeks after your average last frost date before direct sowing.
For gardeners in zones 5, 6, starting seeds indoors 4, 6 weeks before transplanting is a safer bet. Use peat pots to avoid root disturbance. Harden off seedlings over a week before moving them outside.
In warmer zones (8, 11), direct sowing works fine, provided you check soil temperature.
The Two Decisions That Decide Everything
Once your soil is warm and the timing is right, you face two critical choices. Pick wrong, and you’ll fight your plants all season. Pick right, and okra practically grows itself.
Variety Selection: Match It to Your Season Length and Climate
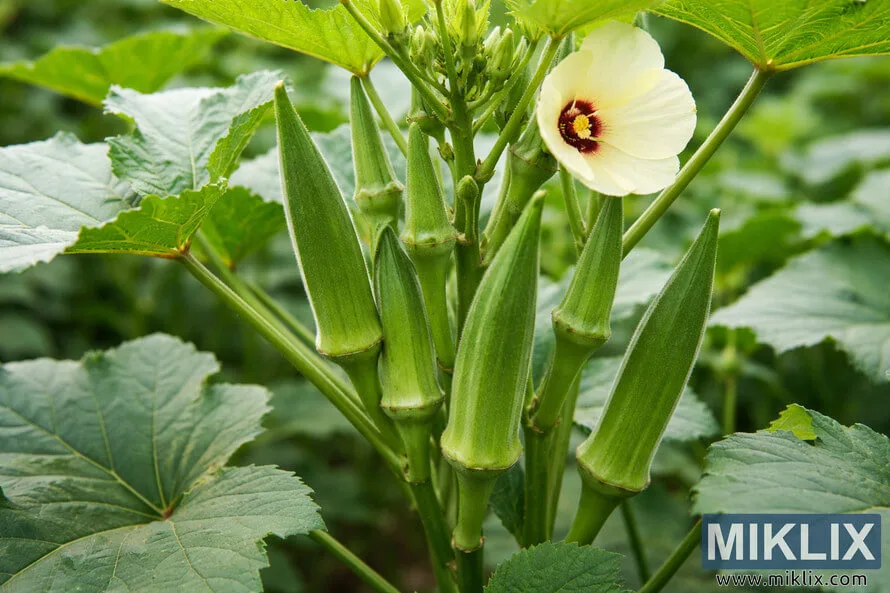
Not all okra is the same. Days to maturity range from about 50 days to over 70. Your choice depends on how many hot days you typically get.
| Your growing season | Best variety types | Examples |
|---|---|---|
| Short (under 90 frost‑free days) | Early‑maturing, dwarf | ‘Clemson Spineless’, ‘Jambalaya’ |
| Long (120+ hot days) | Standard, full‑size | ‘Cowhorn’, ‘Burgundy’, ‘Louisiana Green’ |
| Very humid / rainy | Mildew‑resistant hybrids | ‘Annie Oakley II’, ‘Jade’ |
| Dry / arid | Deep‑rooted heirlooms | ‘Hill Country Red’, ‘Stewart’s Zeebest’ |
If you’re a beginner, start with ‘Clemson Spineless’. It’s forgiving, spineless (easier on your hands), and matures in about 55 days. In our research, it consistently ranks as the most reliable all‑purpose variety for home gardens.
Method Selection: Direct Sow vs. Indoor Start vs. Container
Your method depends on your climate and space.
- Direct sow is the simplest. Wait until soil hits 65°F, plant seeds ½ to 1 inch deep, and keep the soil moist until they sprout. Best for warm climates.
- Indoor start works well in cooler zones. Start seeds 4, 6 weeks before your transplant date. Use peat pots or biodegradable cells. Transplant carefully, okra roots hate being disturbed.
- Container growing is doable if you choose a dwarf variety. Use a pot at least 5 gallons (18 inches deep). Water every day once it’s hot. Stake tall varieties.
Planting, Care, and the Art of Harvesting
Get these basics right, and your okra will reward you with a steady supply from midsummer until frost.
Proper Spacing, Watering Rhythm, and Mulching
Okra plants grow tall and bushy. Crowding reduces airflow and invites disease. Space standard varieties 12, 24 inches apart in rows 3 feet apart.
Dwarf varieties can go 12 inches apart.
Water deeply once a week, about 1 inch of water. Drip irrigation or soaker hoses work best. Shallow watering encourages shallow roots that can’t handle dry spells.
Once established, okra is surprisingly drought‑tolerant, but consistent moisture keeps pods tender.
Mulch after the soil has warmed. Straw, grass clippings, or black plastic all work. Mulch keeps soil temperatures steady, suppresses weeds, and reduces moisture evaporation.
Fertilizer Pitfalls and Mid‑Season Adjustments
Okra is a light feeder compared to tomatoes or corn. Too much nitrogen, especially quick‑release synthetic sources, produces giant leaves and few pods. Use a balanced fertilizer like 10‑10‑10 at planting time.
Apply about 1 tablespoon per plant, worked into the soil.
Mid‑season, side‑dress with compost or a low‑nitrogen organic fertilizer. If leaves turn pale green, a light dose of fish emulsion can help. But more often, the problem is too much fertility, not too little.
When and How to Harvest for the Best Pods
Harvest time is critical. Pods grow fast, 2, 3 inches in 3, 5 days after flowering. Check every two days once picking starts.
Pods should be 2, 3 inches long, tender, and snap easily when bent. Anything larger gets tough and woody.
Cut the pod with pruning snips. Don’t pull, you can damage the plant. Wear gloves if you’re growing a spiny variety.
Harvest in the morning when pods are crisp.
Encouraging a Second Flush Before Frost
By late summer, okra plants can get tall and leggy. Lower leaves often drop. That’s normal.
To extend your harvest, cut the main stalk back by about a third after the first big flush. This encourages side shoots and a second round of pods in early fall.
If frost threatens, cover plants overnight with a floating row cover. Okra can handle a light touch of cold, but a hard freeze kills it. Plan to harvest everything before the first killing frost.
The Six Most Common Okra Mistakes (and How to Avoid Them)
After digging into the research and talking to experienced growers, some patterns show up again and again. If you avoid these six, you're instantly ahead.
Mistake 1: Planting in cold soil. We covered this. It bears repeating. A soil thermometer costs maybe ten dollars.
It will save you entire seasons of frustration. If you plant at 60°F, you might not see a single sprout.
Mistake 2: Overwatering after planting. Seeds need consistent moisture to germinate. That doesn't mean flooding them daily. Keep the top inch damp.
Too much water drowns the seed and invites fungal disease. Once seedlings emerge, back off.
Mistake 3: Using too much nitrogen fertilizer. High nitrogen feeds leaves. Pods need phosphorus and potassium. Use a balanced fertilizer at planting.
Skip the lawn food or blood meal. Big bushy plants with no pods are heartbreaking.
Mistake 4: Harvesting too late. Two days past the ideal size, a pod goes from tender to tough. Once you see the ridges start to bulge, pick it. If you snap a pod and it feels fibrous, you waited too long.
Compost that one and check earlier next time.
Mistake 5: Ignoring pest damage early. Stink bugs and corn earworms are the most common threats. Check the underside of leaves at least once a week. Small infestations are easy to spot and treat.
Let them get established, and they'll ruin a whole planting.
Mistake 6: Choosing the wrong variety for your region. A long-season okra in the Pacific Northwest is a setup for disappointment. Short-season varieties like 'Clemson Spineless' or 'Baby Bubba' exist for a reason, they match the growing window you actually have.
Frequently Asked Questions
Can I grow okra in a container?
Yes, with a few rules. Use a dwarf variety like 'Baby Bubba'. Choose a container at least 5 gallons and 18 inches deep.
Use high-quality potting soil, not garden soil. Water every day once the weather gets hot. Stake the plant if it starts to lean.
How often should I water okra?
Once established, water deeply once a week, about an inch total. Okra's long taproot helps it handle dry spells. If you see leaves wilting during the hottest part of the day, increase frequency.
Avoid daily shallow sprinkling; it encourages weak roots.
Why are my okra pods tough and woody?
Two causes. First, you harvested too late. Pods should be 2, 3 inches long.
Second, the plant was stressed by drought. Inconsistent watering during pod development makes them tough. Water regularly and check pods every other day once they start appearing.
Should I soak okra seeds before planting?
It helps. An overnight soak in room-temperature water softens the seed coat and speeds germination by a few days. Dry seeds still work fine.
Don't soak longer than 24 hours. Plant immediately after soaking so the seeds don't rot.
What pests attack okra the most?
Stink bugs and corn earworms are the main troublemakers. They pierce pods and leaves, causing damage. Neem oil applied in the evening works well for light infestations.
Check plants weekly. Catch the problem early before it spreads.
Quick Answers to the Questions I Hear Most
Here are the questions beginners ask most, with straight answers, as of 2026.
How much sun does okra really need?
Full sun. Aim for 6 to 8 hours of direct sunlight daily. Less than that, and the plants grow leggy while pod production drops.
If your spot is shaded, okra will survive, but it won't thrive. Move the bed or pick a different crop.
What soil pH is best for okra?
Okra prefers a pH between 6.5 and 7.5. Slightly acidic to neutral soil gives the best access to nutrients. A basic soil test from a garden center takes ten minutes.
If your pH is far outside that range, adjust with lime or sulfur before planting.
Can okra grow in partial shade?
Technically, yes. Practically, no. Morning-only sun keeps the soil cooler, which slows growth.
Afternoon shade in hot climates can help, but the yield loss isn't worth it. Okra is a heat-loving sun worshipper. Give it the brightest spot you have.
How do I save okra seeds for next year?
Let a few pods stay on the plant until they dry and split open. Crack them open and pick out the dark round seeds. Spread them on a paper plate for a week.
Store in a labeled envelope in a cool, dark place. They stay viable for two to three years.
Why are my okra flowers falling off?
That's called blossom drop, and it's usually stress-related. Inconsistent watering is the most common cause. Extreme heat over 95°F can also trigger it.
Keep the soil evenly moist, and mulch to regulate soil temperature. The plant usually recovers when conditions steady out.
If you've followed the steps in this guide, you know the real secret: okra rewards patience and warmth, not fussing. Pick the right variety, wait for hot soil, and harvest often. Do that, and you'll have a steady supply of tender pods from midsummer to the first frost.



