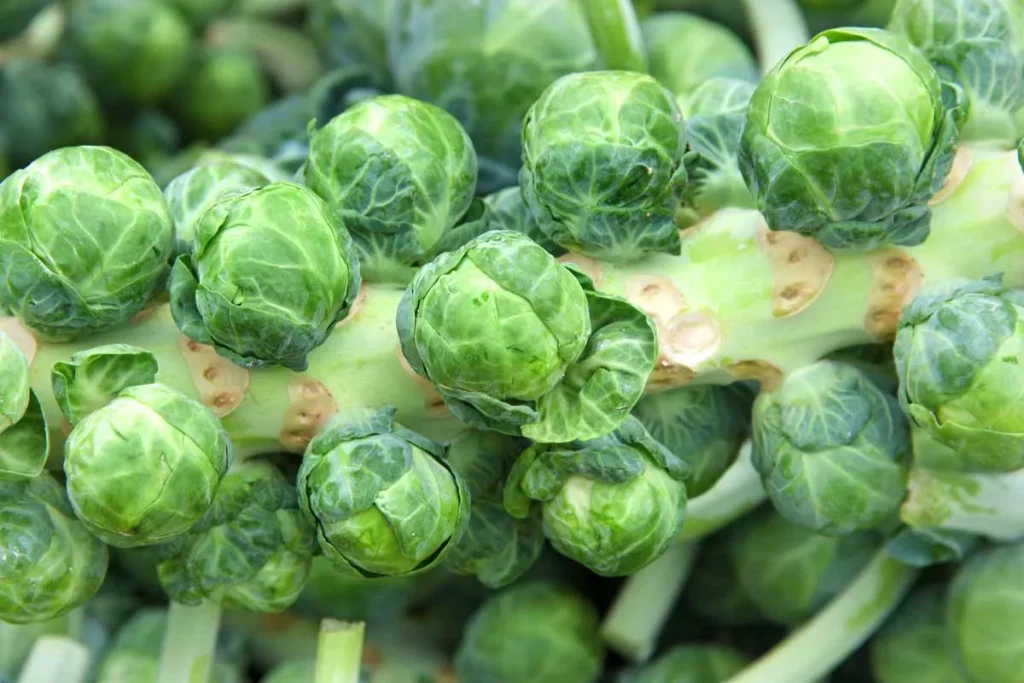
Growing brussels sprouts feels like a test of patience. You plant them in summer, wait through the heat, then hope the weather cools down enough before frost hits. The truth is, timing isn’t just part of the game.
It’s the entire game.
Growing brussels sprouts is a cool-season crop that demands 80 to 130 days from transplant to harvest, and it needs temperatures that stay mostly between 60°F and 70°F to form tight, sweet sprouts. Plant too late, and you’ll get tall stalks with loose leaves where sprouts should be. Plant too early, and the heat will make them bolt.
That’s why every decision from here on should start with your local frost dates.
Quick Answer
Growing brussels sprouts requires a long, cool growing season. Count back from your first fall frost date to find your planting time. Start seeds indoors 6 to 8 weeks before transplant.
Harden off seedlings gradually. Plant them 18 to 24 inches apart in full sun. Water consistently and watch for aphids and cabbage worms.
The Real Challenge: Timing Is Everything
Brussels sprouts are not like tomatoes or peppers where you can squeeze a crop into any warm window. They are genetically programmed to grow leaves all summer, then form sprouts when day length and temperature signal fall’s approach.
If you plant too late, the plant doesn’t have enough cool weather left to develop sprouts. If you plant too early or in hot climates, temperatures above 80°F trigger stress responses like bolting or loose, leafy buttons instead of firm sprouts. That’s why seasoned gardeners treat the first fall frost date like a hard deadline.
The math is straightforward. Find your average first fall frost date, then count backward 80 to 110 days for most varieties. That’s your transplant window.
Then count back another 4 to 6 weeks for seed starting. In most regions, that puts transplanting between late June and mid-July.
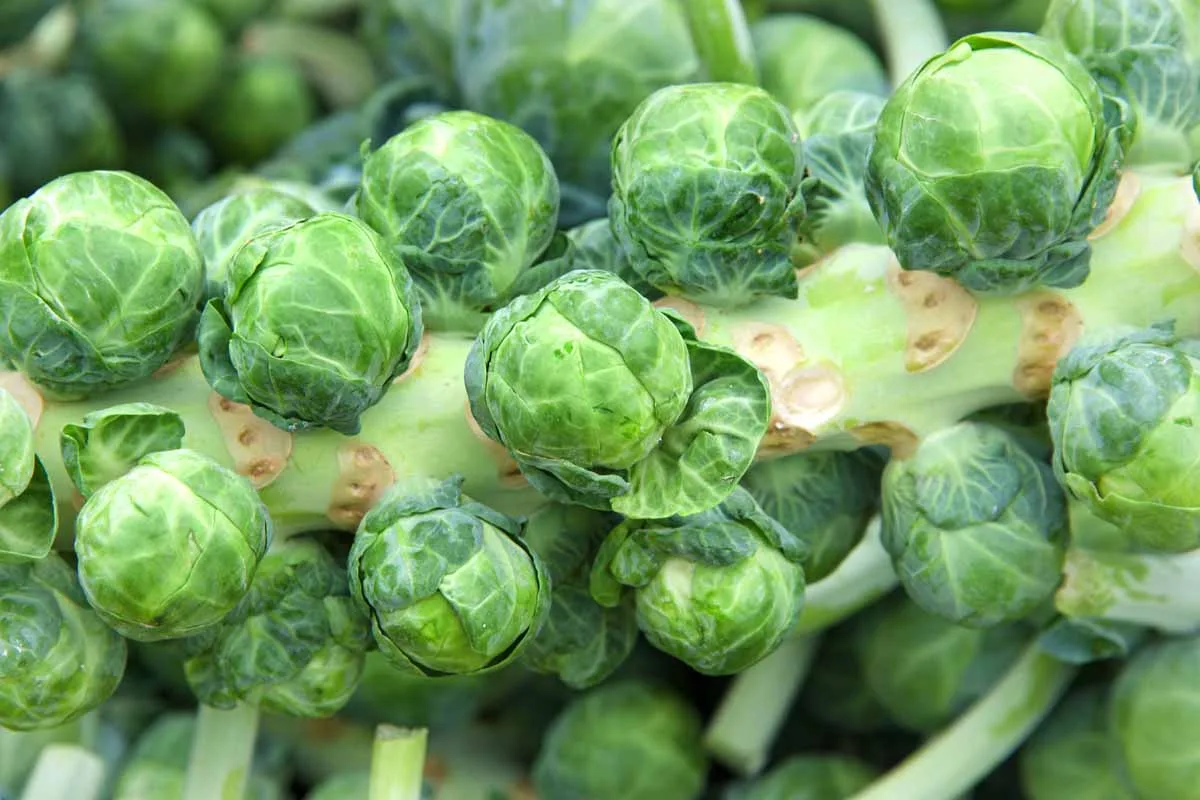
Image source: Web (Bing) / gardenerspath.com (Web image (fair-use with source credit))
Your local university extension service can give you the exact average frost dates for your zip code. For example, gardeners in Minnesota can reference University of Minnesota Extension to confirm their frost window before committing to a planting schedule. That simple step eliminates most timing failures before they start.
Your Climate and Zone – The First Big Decision
Brussels sprouts grow best in US Hardiness Zones 3 through 7. They can survive in Zones 8 and 9, but they need an overwintering strategy since fall temperatures stay too warm for proper sprout formation in October.
The decision tree starts here, with your zone determining everything else.
| Zone | Strategy | Best planting window |
|---|---|---|
| Zones 2–4 | Start indoors early; choose fast-maturing varieties like Jade Cross | Transplant late May to mid-June |
| Zones 5–6 | Classic fall crop with reliable cool autumns | Transplant late June to early July |
| Zones 7 | Late-season crop; mulch heavily and plan for January harvest | Transplant mid-July |
| Zones 8–9 | Overwintering approach; plant in late summer | Transplant August to September |
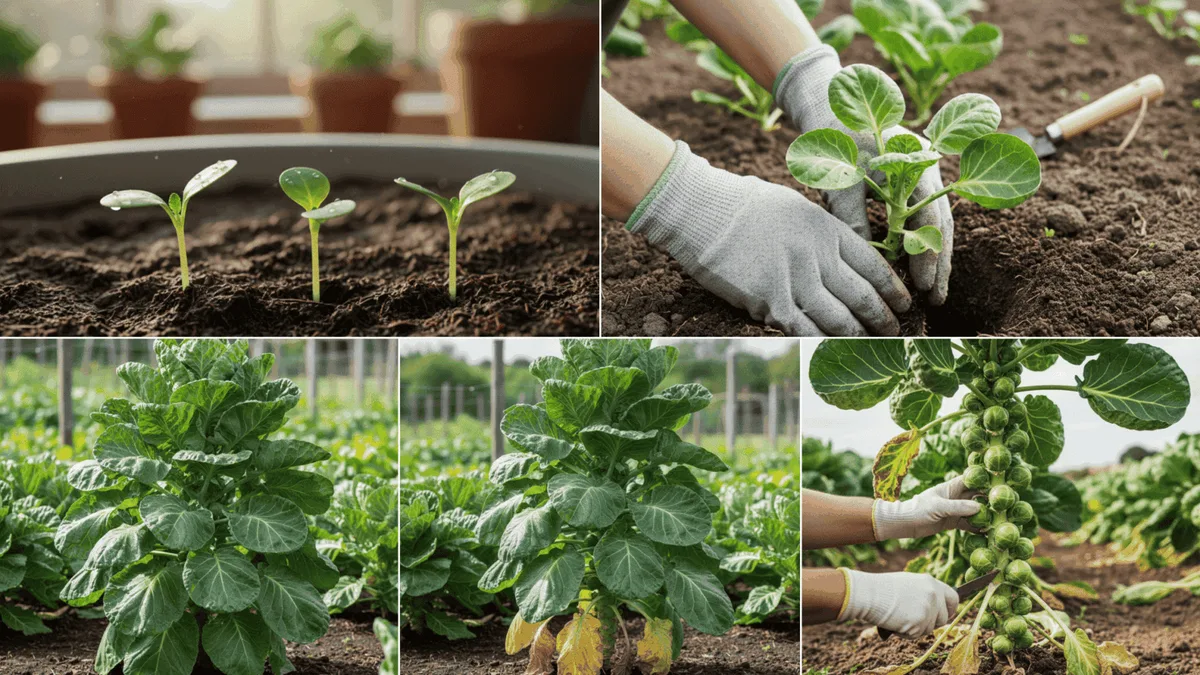
Image source: Bing (Web (fair-use with source credit))
If you live in a hot climate like Texas or Florida, you’re fighting the calendar. Mature plants tolerate frost down to 20°F, so many Gulf Coast gardeners manage by planting in late August and harvesting through the winter. It works, but only if you choose slow-bolting, heat-tolerant varieties and provide consistent irrigation through September’s heat.
The shorter your cool season, the more precise your planting date must be. Gardeners in Zone 3 might have only 100 days between last and first frost, so they must start seeds indoors no later than early April. Gardeners in Zone 7 have more flexibility, but they also face the risk of warm autumns that delay maturity.
The Season-Long Decision Tree: From Seed to Harvest
Once you’ve set your dates, follow this step-by-step workflow. Each stage has a simple if/then check to keep you on track.
Step 1: Start seeds indoors (6–8 weeks before transplant date)
Sow seeds ¼ to ½ inch deep in cell trays filled with moist seed-starting mix. Germination takes 5 to 10 days at soil temperatures between 45°F and 85°F.
If your seedlings get leggy, they need more light. Move them under a grow light or into a bright south-facing window within a day or two of sprouting.
Step 2: Harden off seedlings (7–10 days before transplant)
Stop watering heavily and start moving trays outside for increasing periods each day. Start with 1 hour of shade, then gradually add sunlight and wind exposure. If temps drop below 45°F, bring them back in.
Step 3: Prepare your planting bed
Test soil pH first. Brussels sprouts prefer a pH between 6.0 and 6.8. Incorporate 2 to 3 inches of compost and a balanced fertilizer like 10-10-10 per soil test recommendations.
If you have heavy clay soil, build raised beds instead of amending the native soil. Good drainage prevents clubroot, a fungal disease that causes swollen, deformed roots.
Step 4: Transplant deeply
Bury each seedling up to the first set of true leaves. This stabilizes the stalk and encourages a stronger root system.
Space plants 18 to 24 inches apart in rows 30 to 36 inches apart. Closer spacing yields more sprouts per plant but smaller sizes. Wider spacing gives each plant room to produce large, dense buttons.
Step 5: Side-dress with nitrogen (3–4 weeks after transplant)
Sprouts are heavy feeders. Apply an additional shot of balanced fertilizer when plants reach about 12 inches tall. If you see dark green leaves and vigorous growth, skip it, excess nitrogen creates leafy, loose sprouts.
Step 6: Pinch the top (when lower sprouts are ¼ to ½ inch)
Remove the growing tip at the top of the stalk to redirect energy into the developing sprouts below. This is often called topping. Without topping, the plant may produce top growth at the expense of sprout size.
Step 7: Harvest from the bottom up
Sprouts mature from the bottom of the stalk upward. Pick them when they’re firm, tight, and about 1 to 1.5 inches in diameter. Harvesting regularly encourages the next sprouts up the stalk to develop.
Common Mistakes (and How to Avoid Them)
Even experienced gardeners trip up on brussels sprouts. The good news is that most failures fall into a handful of predictable patterns, and each one has a straightforward fix.
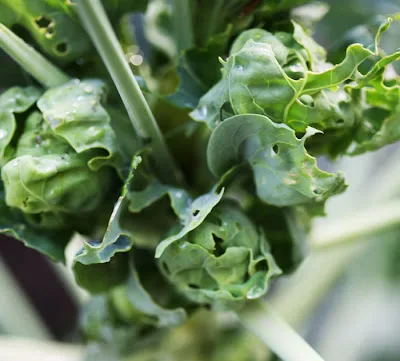
Image source: Bing (Web (fair-use with source credit))
Mistake 1: Planting too late. If sprouts come out loose or don’t form at all, your plant didn’t get enough cool weather. Fix it next season by moving your transplant date two weeks earlier. Use a fast-maturing variety like Jade Cross to gain a few extra weeks.
Mistake 2: Overfeeding with nitrogen. Excess nitrogen produces big, leafy stalks and small, loose sprouts. If your plants look gorgeous but the sprouts never firm up, cut out the side-dressing and switch to a low-nitrogen fertilizer like 5-10-10.
Mistake 3: Ignoring aphids. Aphids love hiding in the undersides of leaves and inside the tight layers of sprout buttons. Check plants weekly. A strong blast of water dislodges most colonies, and insecticidal soap handles the rest.
Mistake 4: Forgetting to pinch. Without pinching, plants keep pushing energy into the growing tip. Sprouts end up uneven, with the bottom ones ripe while the middle stays tiny. Pinch the top when the lower sprouts reach thumbnail size.
Mistake 5: Letting the soil dry out. Inconsistent watering stresses the plant and causes sprout buttons to be sparse or bitter. Aim for 1 to 1.5 inches of water per week and mulch generously with straw or shredded leaves.
Pro Tips for Bigger, Sweeter Sprouts
A few advanced techniques separate good growers from great ones. They don’t require fancy equipment, just attention to detail.
Use row covers from day one. Floating row covers protect young plants from flea beetles and cabbage worms without chemicals. Leave them loose enough for light and water to pass through. Remove them during flowering if you’re saving seed, but for eating, keep them on until harvest.
Time your harvest around frost. A light frost converts starches in the sprouts into sugars. It’s a natural sweetening process. If you can wait until after the first hard frost, your harvest will taste noticeably sweeter.
Mulch heavily for overwintering. Gardeners in Zones 7 through 9 can harvest into late winter by mulching around the base with straw and letting sprouts ride out mild freezes. Cover plants with a blanket row cover if temperatures drop below 25°F.
Rotate your brassicas. Don’t plant Brussels sprouts anywhere that held any cabbage family member, broccoli, kale, or cauliflower in the past three years. This breaks the clubroot cycle and reduces pest populations that overwinter in the soil.
Harvest consistently. Once sprouts start maturing, pick them every few days. Left too long, tightened buttons split open, and loosened ones turn bitter. Fresh-picked sprouts stored in the fridge last 3 to 5 weeks in a plastic bag.



