Growing amaryllis in water sounds simple, but it takes more than dropping a bulb in a jar. If you've ever tried it and ended up with a rotting bulb or a floppy flower stalk, you're not alone. Most failures come down to a few manageable setup mistakes, not bad luck.
Per guidance from horticultural organizations like the RHS, forcing a bulb in water typically produces blooms in 6 to 10 weeks at room temperature. The real trick is keeping water away from the bulb base while the roots drink freely. Here's what we'll walk through: the decisions that make or break the method.
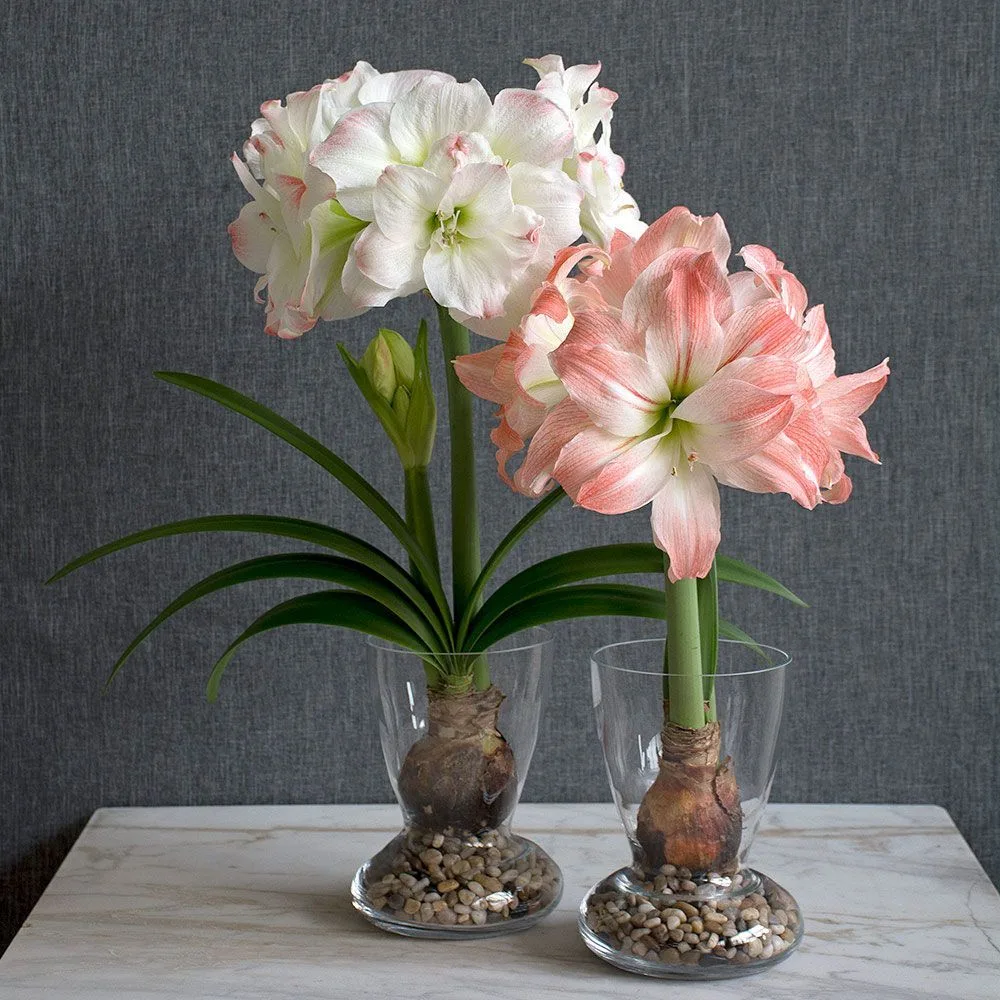
Image source: Web (Bing) / storage.googleapis.com (Web image (fair-use with source credit))
Quick Answer
Growing amaryllis in water works if you keep water below the bulb base. Use a narrow vase or pebbles for support. Place the setup in a cool dark spot until roots grow.
Then move it to bright light. Expect blooms in 6 to 10 weeks.
Why Growing Amaryllis in Water Can Go Wrong (and How to Get It Right)
Most people don't fail because they're bad at gardening. They fail because water forcing runs on a few non-negotiable rules. Get the water level wrong and the bulb rots.
Skip the stake and the stalk snaps. Put the vase in harsh sun and you'll grow algae instead of roots.
The good news is that every problem has a known fix. You just need to understand what matters most. Here's the core rule: keep the bulb above water, not in it.
The roots drink from below while the bulb stays dry. Aggregate reviews from home growers show that this single habit prevents the most common failures.
Let's break down the common failure points quickly. If water touches the bulb base, soft brown rot sets in within days. A wide-mouth jar lets the bulb sink into the water, so you need a narrow-necked vase or a pebble bed to hold it up.
If you don't stake the stalk, a heavy bloom can pull the plant sideways overnight. Direct afternoon sun turns the vase into an algae farm within a week.
Here's a quick lookup table for the main problems and their fixes:
| Failure | What you'll see | Quick fix |
|---|---|---|
| Bulb rot | Soft brown base, foul smell | Lower water level below bulb base |
| Toppling | Stalk bends or snaps | Add a stake before the stalk grows tall |
| Algae | Green slime on vase and roots | Move to indirect light, change water weekly |
| No blooms | Leaves only, no stalk | Keep temperature below 70°F, be patient |
Temperature matters too. If the room stays above 75°F, you'll get leaves first and flowers later, or no flowers at all. Keep the vase at 60 to 70°F during root development.
As of 2026, the standard advice across horticultural sources remains the same: cool and dark for the first few weeks, then bright indirect light. University of Minnesota Extension points to the same rule for hydroponic bulb forcing: keep the bulb above water. Follow that rule and most other details take care of themselves.
How Water Forcing Actually Works
An amaryllis bulb is a storage organ. Inside it sits everything needed for one bloom cycle: sugars, proteins, and a flower bud that formed the previous season. When you place it in water, the roots absorb moisture and the bulb uses its stored energy to push up a flower stalk.
No soil, no fertilizer, no fuss.
That's why the water level matters so much. The bulb itself needs to stay dry, because it's not designed to sit in moisture. Soil drains.
A pool of water doesn't. When the base stays wet, bacteria and fungi move in quickly. Rot follows.
But roots are different. They thrive in water, and they need oxygen. That's why you want enough water for the roots to reach down, but not enough to submerge the bulb.
A forcing vase solves this by holding the bulb in a cup above the water chamber. Pebbles work too, if you rest the bulb on top of them.
Water quality matters, but not in the way you'd guess. Tap water left out for 24 hours lets chlorine evaporate, which is easier on young roots. Room-temperature water is better than cold water straight from the tap.
Change it weekly to add oxygen and prevent stagnation.
Once roots form, the flower stalk grows impressively fast. In warm rooms, stalk growth can reach 1 to 3 inches per day. That speed catches people off guard.
One morning you have a nub, the next evening you have a leaning stem. That fast growth is why support and light adjustment are both part of the plan, not optional extras.
Your Setup Decision: Choosing the Right Vase and Support
The container you pick decides a lot of the outcome. There are two main routes: a purpose-built forcing vase, or a standard jar with pebbles.
An hourglass forcing vase has a cup on top that holds the bulb above the water chamber. It works beautifully for medium bulbs. The downside is that larger bulbs, 26 cm or bigger, may not sit well in the cup.
The pebble route is more flexible. Fill a clear glass jar or a wide vase with washed pebbles, settle the bulb on top, then pour water to a level just below the bulb base. The pebbles keep the bulb from sinking while leaving room for roots to pass through.
Here's how to choose:
| Setup | Best for | Watch out for |
|---|---|---|
| Hourglass forcing vase | Medium bulbs, clean look | Bulb may sit too high or too low |
| Jar with pebbles | Large bulbs, any container | Keep it clear so you can spot rot |
Whatever you pick, clear glass helps. You'll see root growth, water level, and any algae that needs scrubbing. If the container is opaque, you're flying blind.
And remember, the vase also needs enough height for the flower stalk. A shallow dish looks nice but won't support a 20-inch bloom.
Step-by-Step: The Water Growing Process
Start with a healthy bulb. Look for one that feels firm and shows no soft spots. Remove the loose brown husk and trim any dried roots to about an inch long.
Then follow this order:
- Choose your container and add pebbles if needed.
- Place the bulb on top. The base should not sit in water.
- Pour room-temperature water until it reaches about half an inch below the bulb base.
- Put the vase in a cool, dark place, 60 to 68°F, for 2 to 4 weeks.
- Check weekly. Replace water if it looks cloudy.
- When roots reach 2 to 3 inches long, move the vase to bright indirect light.
- Rotate the container a quarter turn each day to keep the stalk straight.
- When the flower stalk reaches 12 to 18 inches, insert a stake gently beside the bulb.
- Top off water as needed, but keep it below the bulb base.
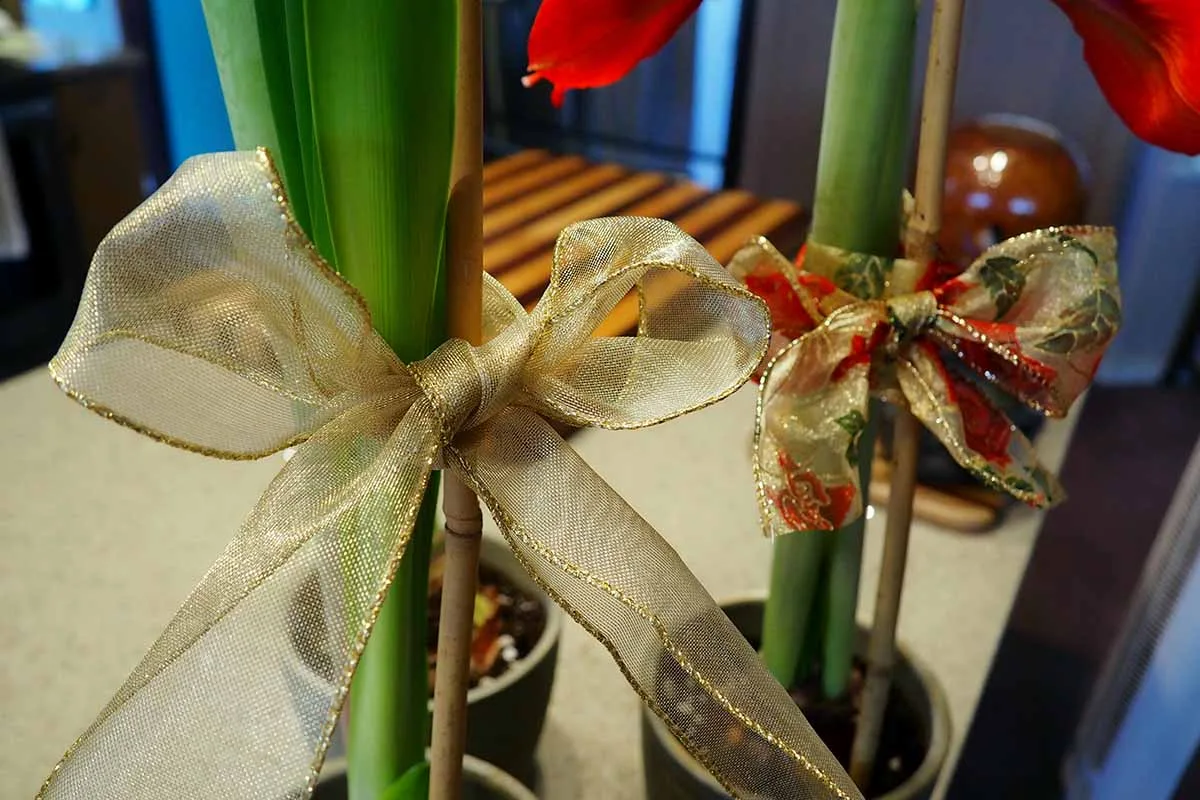
Image source: Web (Bing) / gardenerspath.com (Web image (fair-use with source credit))
Here's the timing you can expect:
| Stage | Duration | What to watch |
|---|---|---|
| Rooting in dark | 2 to 4 weeks | Water stays clear, bulb stays firm |
| Stalk growth | 3 to 6 weeks | Stake before top-heavy |
| Blooming | 1 to 2 weeks | Keep out of direct sun |
Common Mistakes That Kill Blooms (or Rot the Bulb)
Let's run through what goes wrong most often and how to avoid it.
- Water touching the bulb base. This is mistake number one. It guarantees rot. Always keep water below the bulb.
- Skipping the stake. The stalk grows fast and heavy. Without support, it bends or snaps. Add the stake before the plant needs it.
- Direct sunlight. Bright light does not mean a sunbath. Placing the vase on a hot windowsill makes algae bloom and roots overheat. Use east or north-facing light or a sheer curtain.
- Warm rooms. Home temperatures above 75°F push leaf growth ahead of flower development. If you see lots of leaves and no stalk, move the vase somewhere cooler at night.
- Ignoring water quality. Stagnant water is a breeding ground for bacteria. Change it weekly. Rinse the pebbles and inside the vase at the same time.
- Forgetting that the bulb is spent afterward. Forcing in water drains stored energy. The bulb rarely blooms again indoors. If you want another water bloom, start with a fresh bulb next year.
Image source: Bing (Web (fair-use with source credit))



